This article contains affiliate links
Porcelain paving has become one of the most popular paving options for patios and surfaces around the home. Its clean and contemporary aesthetic fits well with current modern and minimalist trends.
Porcelain generally comes in a range of neutral colours such as greys, whites and creams. The paving is regularly laid in one size very much like internal tiles. As a manufactured material, porcelain is extremely dense and impervious. This gives it great resistance to discolouration and the extremities of weather. Porcelain paving is actually more like large tiles than regular paving slabs. This makes them slightly different to lay than a conventional, natural stone and concrete paving. Their low absorbency means they require a strong mortar with high bonding potential. Like tiles, porcelain paving also looks effective with smaller grout joints than traditional paving slabs. Here I will answer some common porcelain questions and explain how to lay porcelain paving step by step. What do you put under porcelain paving?
To lay porcelain paving you will need to remove the soft, topsoil layer of the ground. No loose or crumbly soil should be left and excavations should generally be about 150mm. You will then need to spread a 100mm layer of compactable sub-base aggregate. The best material for this is Mot type 1,this should then be well compacted with a whacker plate. You should then lay your porcelain paving on a pliable 1:4 mortar mix on a consistent mortar bed. There should be no voids under the paving which should be well bonded to the mortar below. 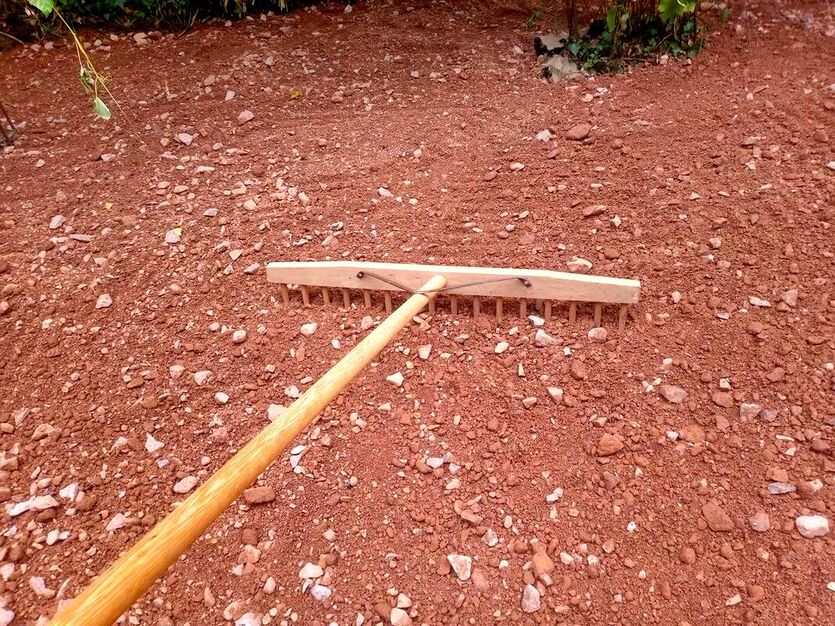
Does porcelain need to be laid on concrete?
Due to porcelains non absorbent nature it can be challenging for mortar to bond to the paving. This can make it challenging to lay especially on a very workable mortar. For this reason the thicker mortar bed you use the more difficult porcelain is to lay. Consequently, some choose to install a concrete base to lay porcelain paving. By doing this you are able to lay on a much thinner mortar bed of around 20mm. 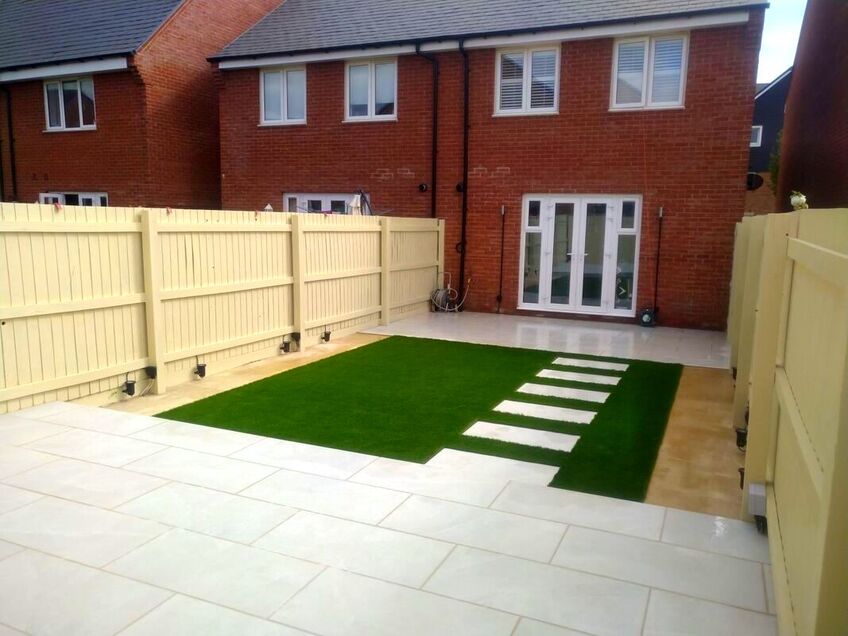
One of our porcelain paving projects in Aylesbury, Buckinghamshire
This can make laying the porcelain pavers faster and provide a much more robust base. However bear in mind this is a much more labour intensive and expensive way to base porcelain.
I have found some porcelain has an absorbent and calibrated underside for easier laying. For more information on individual products contact the supplier, brand or manufacturer. What thickness of mortar do you need under porcelain paving?
Generally the ideal thickness for laying porcelain paving is between 20mm-30mm. If your porcelain is particularly impervious you may wish to lay a solid concrete base first. This will enable you to bed down tiles on a thinner mortar bed without them sliding around. However a skilled paver should have no problem laying porcelain on a standard 30mm bed of mortar. 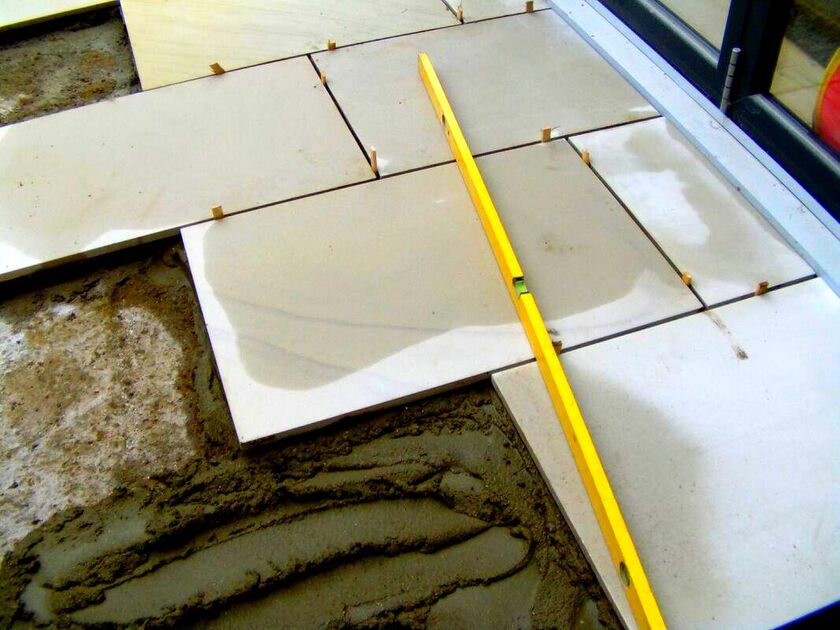
Can you lay porcelain tiles on a dry mix?
I do not recommend laying porcelain tiles on a dry mortar mix or screed. The reason for this is porcelain needs to bond well to the underlying mortar. This is because porcelain paving does not readily absorb moisture and stick to mortar easily. This can lead to tiles shifting and moving potentially causing loose units, rocking and cracking. Eventually this could lead to cracked grout, water penetration and a general failure of the surface. What is the best mortar mix for porcelain paving?
The best mix for porcelain paving is a 1 part cement 4 parts sharp sand mix. The mix should contain some kind of waterproof bonding agent such as Sikabond and plasterciser. Mortar should have the consistency of a stiff brick laying mix so it is rigid but easy to work. You should be able to smooth a sealed effect on the mortar with the back of a trowel. This consistency will ensure a good suction layer between the paving and the mortar. It is important to ensure the tiles have a consistent mortar bed under each paver with no voids. 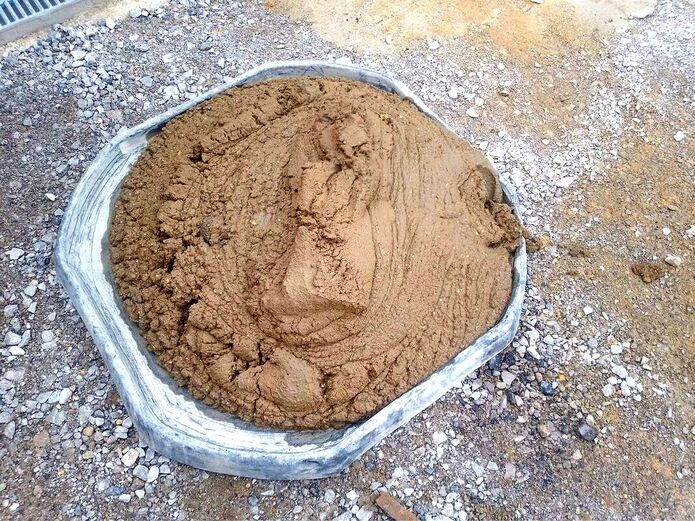
What is the best grout mix for porcelain paving?
The best grout mix for porcelain paving will be a 3:1 plastering sand, cement mix. This is best mixed up dry and small amounts of water added and mixed in gradually. You do not want your grouting mix to become too wet. Grout should have a consistency of brown sugar, you should just be able to form a ball in your hand. There should be no water discharge from the mix to prevent staining. For coloured grout mixes there are many different dyes andproducts on the market. 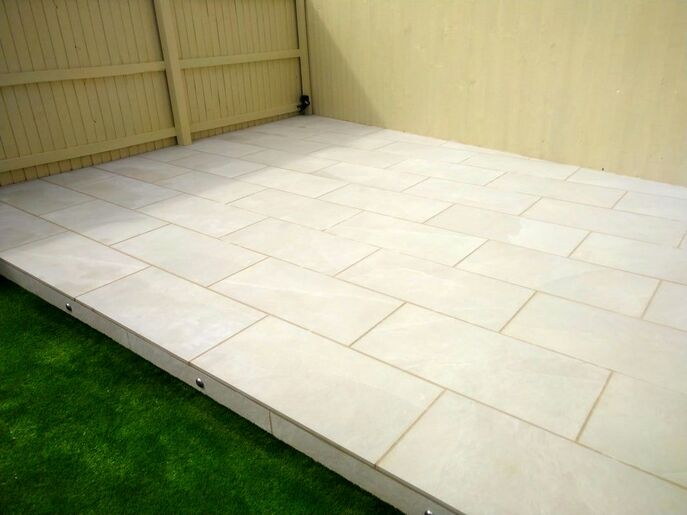
Potential problems of laying porcelain outside.
On the whole porcelain paving is a very good product which is both aesthetic and durable. However it is not perfect and there are some potential problems to using porcelain. Cutting
Firstly, some porcelain tiles are difficult to cut neatly. This is because they are made of extremely dense materials, you will certainly need a diamond blade for your grinder. Some porcelain have hairline cracks inside the paving, these can crack open when cutting leading to a lot of wastage. My advice here is buy from a reputable supplier where the paving is packed properly.
Laying
Porcelain paving has very low levels of absorbency and permeability. This means it can struggle to bond to mortar mixes. Laying porcelain without experience can lead to poor bonding and cracking of the surface. Try to use a contractor with some good experience of laying porcelain tiles.
Reflective glare
Particularly if you are using very light coloured porcelain be prepared for the reflective nature of this material. In a full sun position you may find the reflected UV rays overwhelming, especially in the middle of the day.
Dirt
Even though porcelain is non absorbent and impervious this does not mean it cannot get dirty. Many clients are under an illusion that their brilliant, cream, porcelain, patio will stay this way. Like any outdoor surface algae, bird poop, and dirt will seasonally litter your patio. You will have to still wash down and pressure wash to keep it pristine! I personally do not agree that porcelain paving is no maintenance.
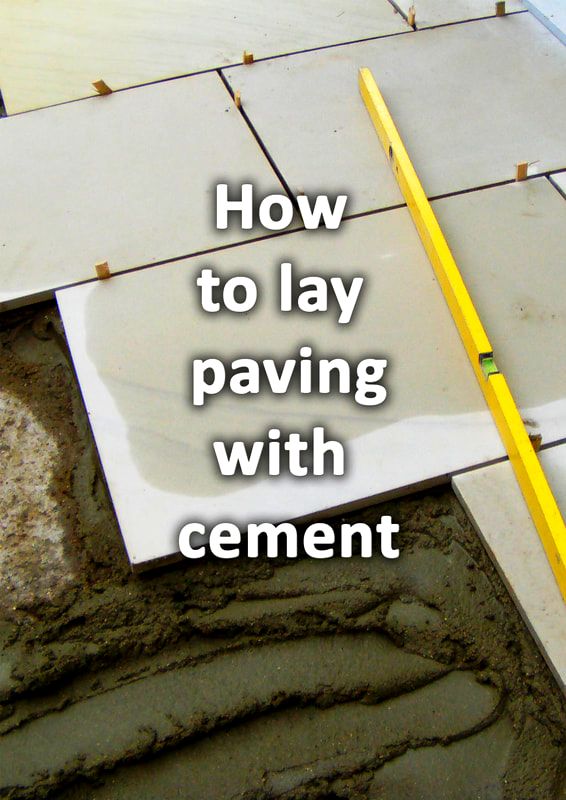
How to lay porcelain paving step by stepSetting out
The first thing you will have to do is mark out where you want you’re paving. This can be done with spray paint or string lines and pegs. You may want to experiment with different shapes and forms before you commit to a size and shape. If you are planning on specific garden furniture make sure the size of your patio can accommodate it. Working out your levels
Working out your levels for porcelain paving is very important. Porcelain paving looks best when it is laid level with only very slight falls for water runoff. It is a good idea to peg out your finished level across your paving with a long spirit level. This will reveal if you need to build any retaining structures around your paving. Working out your finished level will also allow you to accurately dig out for your sub-base. 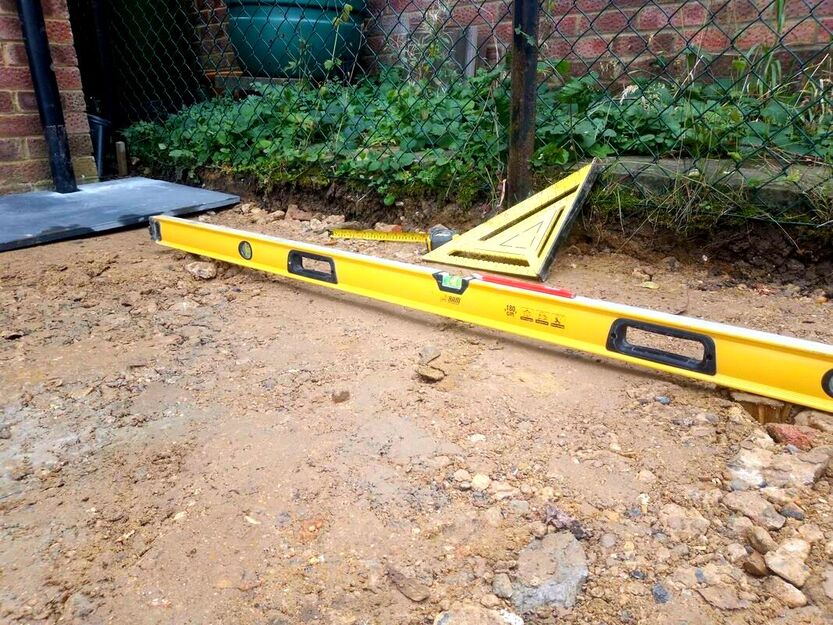
Where will surface water run?
You will need to have a drainage strategy for your new area of paving. Porcelain is very impervious meaning it will create a lot of surface runoff during heavy rain. You do not want puddles of water pooling against your home, structures or boundaries. If your paving is replacing soft topsoil you will need to mitigate the loss of natural ground absorption. The most effective way to do this is with a garden soakaway which will hold excess surface run-off. Why not read my step by step guide on how to install a garden soakaway here. You may also want to read my articles on patio drainage, drainage channels and installing drainage chambers. 
One of our porcelain paving projects in Harrow, Greater London
Digging out
In order to build a robust patio you will need to dig out the top layer of topsoil. Typically this will be to a depth of around 150mm from the finished level. This will allow for a sub-base of 100mm, a mortar bed of 30mm and allow 20mm for the porcelain. 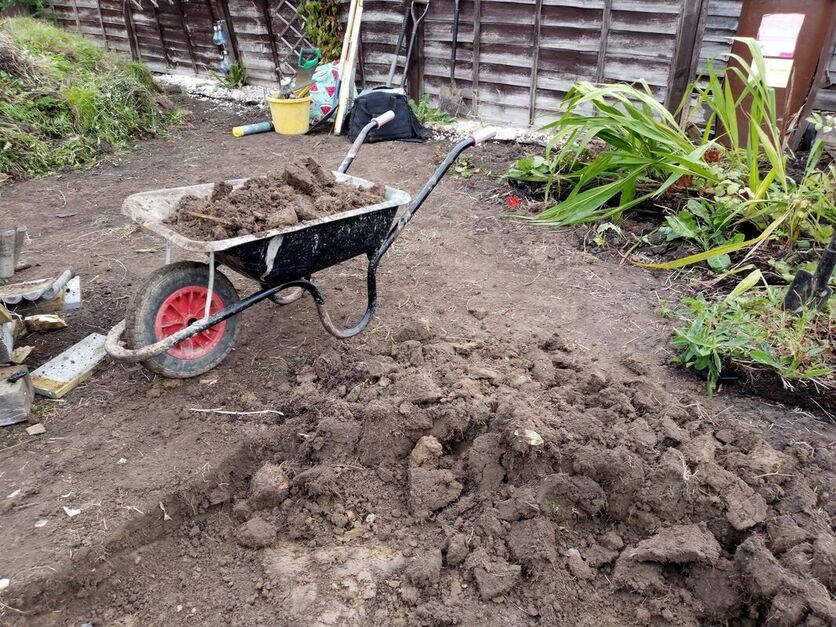
Sub-base
A regular sub-base of compactable mot type 1 is a suitable base for porcelain paving. It will have to be spread to a minimum depth of 100mm and be well compacted. However, if you have the time and budget a concrete base is even better. This way you can form a perfectly solid and flush base laid to perfect falls. You can then lay your porcelain on a thinner bed of mortar with less need for vigorous tamping and levelling. 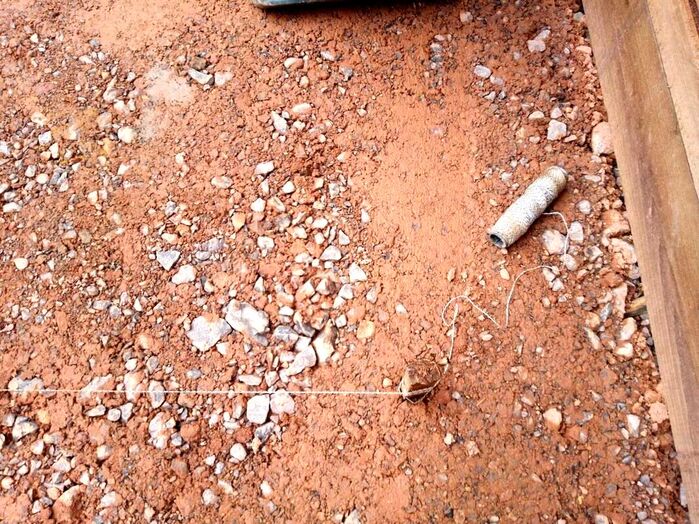
Preparation
The key to efficient laying is getting your mixing and laying areas well prepared. This involves stacking your paving where it is to hand but not obstructive. Mixing areas should sheeted to prevent walking cement over the project. Mixers should also be positioned so they do not splash over tools and paving. Working areas should be kept clean and all tools should be to hand. 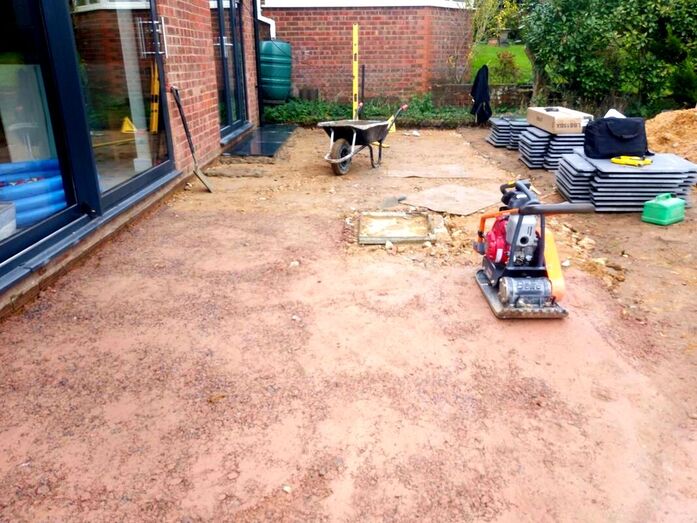
Mortar mix
The best mortar mix for laying porcelain is a 1:4 cement and sharp sand mix. Mortar should have added plasticiser to make the mix workable without being too wet. It will also be advantageous to add a waterproofing bonding agent like Sikabond. The mortar mix should have the consistency of a stiff, bricklaying mortar. 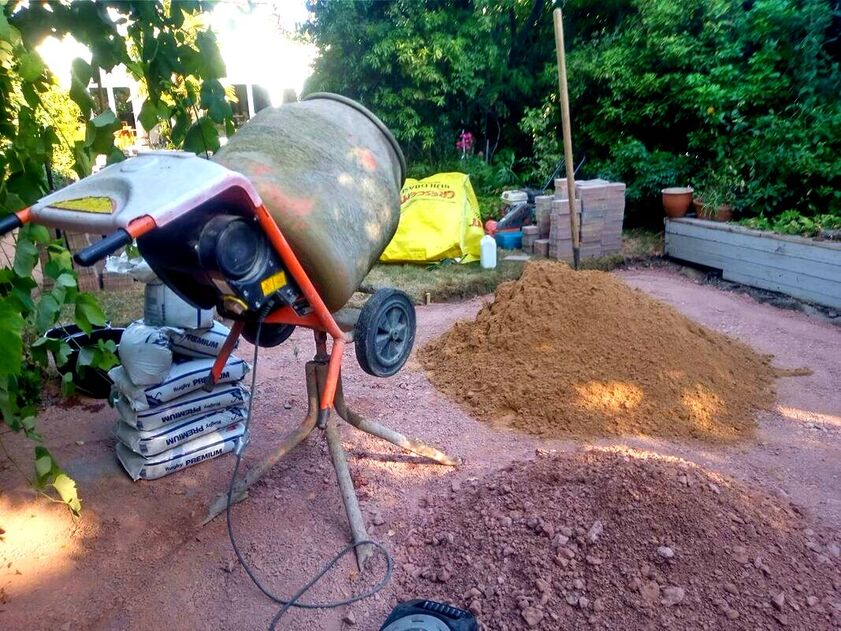
Bedding down your porcelain
The goal with bedding porcelain onto mortar is reaching a continuous fillet with no voids. Achieving this while keeping paving perfectly flush and level requires some skill. Make sure the mortar does not ride up between your tiles, this will lead to inconsistent joints. for beginners, a concrete base and laying a thinner mortar bed will make laying porcelain easier. 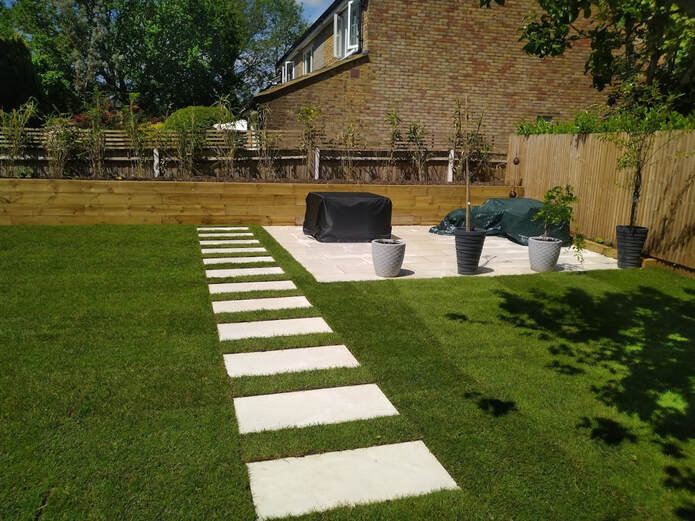
One of our porcelain paving projects Hyde Heath, Buckinghamshire
Keeping your paving level
The more level and flush your sub-base is the easier it will be to level your porcelain. It is always a good idea to lay the first span of your paving to a tight string line. As you lay make sure you check your levels with a long bricklayer’s spirit level. 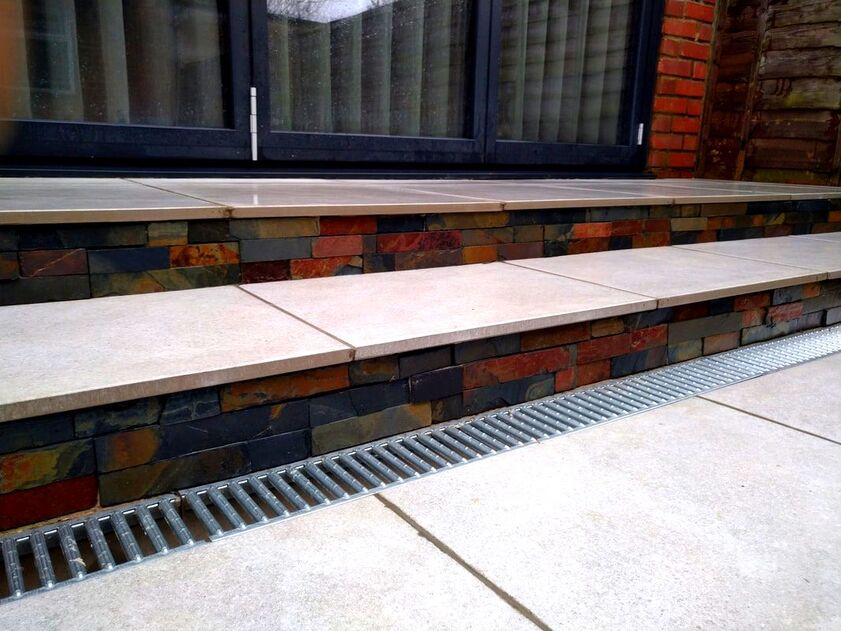
Our porcelain paving steps with stack slate cladding, Harrow, Greater London
Keeping your lines straight
It is amazing what the human eye can pick up on! Try to keep the grouting joints as perfectly aligned as possible. The best way to do this is to start laying along a straight feature like a wall or string line. Keep your joints consistent
Keeping your grouting joints consistent will make your porcelain look refined and professional. A good way to achieve this is to use spacers to keep gaps uniform. I personally find plastic wall pugs an effective spacer for porcelain. 
Grouting your porcelain paving
Like all grouting, porcelain grouting has to be strong to resist seasonal extremities of the outdoors. However, as porcelain is typically laid with thinner joints grout must be especially robust. Furthermore, as porcelain has low absorbency it may have difficulty bonding to paving. Therefore it is advised to add a waterproof bonding agent to the mix like Sikabond. 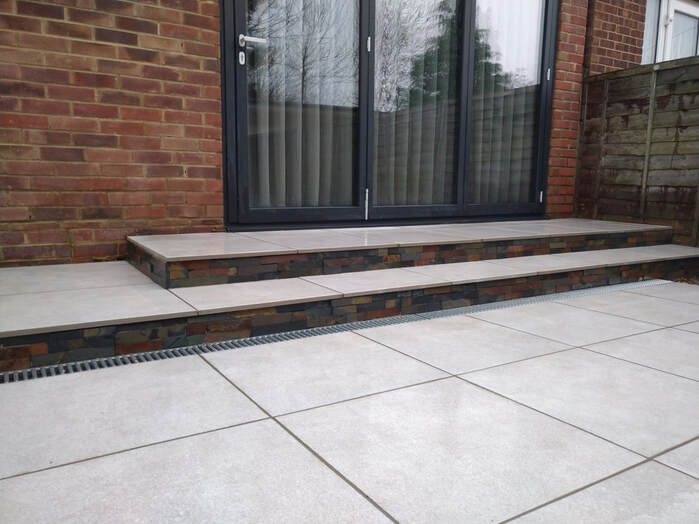
Mix up 1 part cement and 3 parts plastering sand until it is well mixed. Add small amounts of water until it has the consistency of brown sugar.
The mix should be damp enough to work a finish but dry enough not to discharge water. It is popular to use different colour grouting with porcelain tiles. Colours such as creams can be achieved by using cement colour dyes.
Thank you for reading our article on how to lay porcelain paving correctly. Below I have included some other relevant articles you may find useful.
'As an Amazon Associate I earn from qualifying purchases'
0 Comments
Leave a Reply. |
The Author
|


Landscaping services across Buckinghamshire, Amersham, Aylesbury & High Wycombe
Hyde Heath, Amersham, Buckinghamshire
|
|