|
This article contains affiliate links
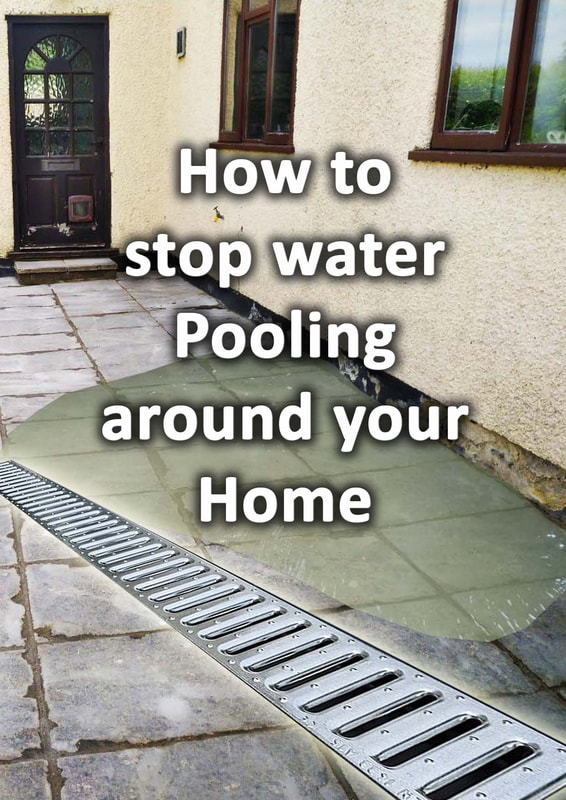
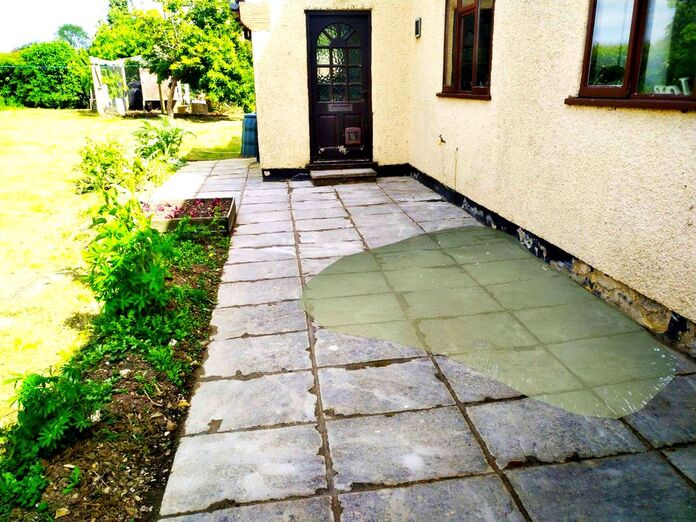
Water pooling against your homes walls and foundation is far from ideal. Excess water next to the home can lead to a variety of issues including; flooding, damp, mould, subsidence and cracks.
The subsoil around your home should have a relatively consistent moisture content throughout the year. Large fluctuations in the grounds saturation can lead to regular shrinkage and expansion. Such action can eventually lead to the structural weakening of your home. Damp walls and foundations can be become victim to freeze and thaw damage. Such conditions can also lead to internal dampness and mould. Consequently a thorough effort should be made to stop water pooling against your home. Here I will explain the best interventions to prevent water and moisture sitting against your walls. Why you should stop water pooling against your home?
Water pooling around the home can increase the chances of flooding, damp, mould, subsidence and structural failure. How to divert water from a house on a slope
If your home is on a slope or, at the foot of a hill it could potentially trap surface water. This can lead to water pooling against your house potentially causing negative circumstances. Water not only flows along a landscapes ground level it can also travel under the surface. This can increase and exacerbate ground saturation levels around your property. For this reason it is optimal to divert hydraulic flows around or away from your home. Take a look at your property from numerous directs and angles. Try to get an idea of the surrounding topography and where surface water would flow towards your home. This will help you to identify where to potentially block or divert ground water flows. Ways to divert water from your homeMounds
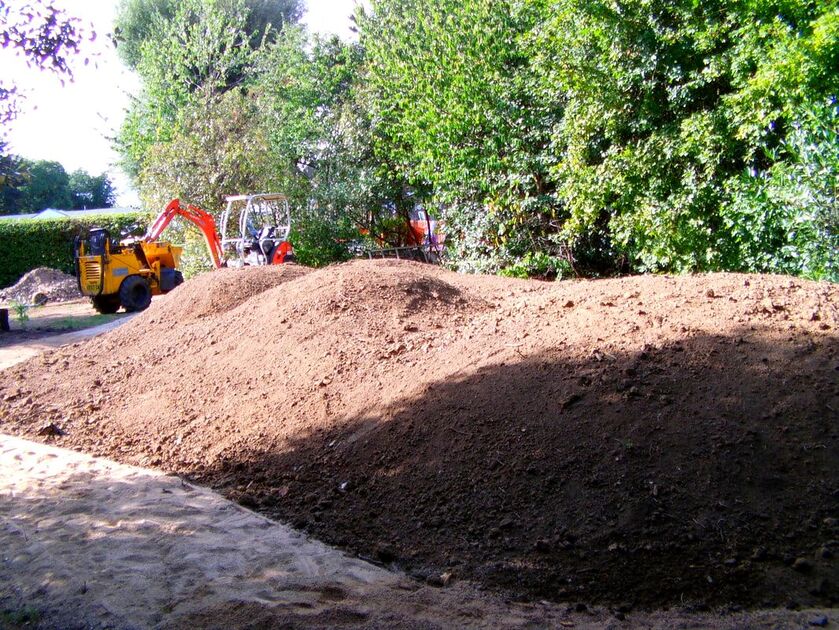
Mounds or 'bunds' are manmade embankments of soil designed to block and channel surface water. If your house is situated on a slope an arc shaped mound will divert water around your home. These mounds can become interesting landscape features planted with ornamental plants or aesthetically landscaped.
Swales
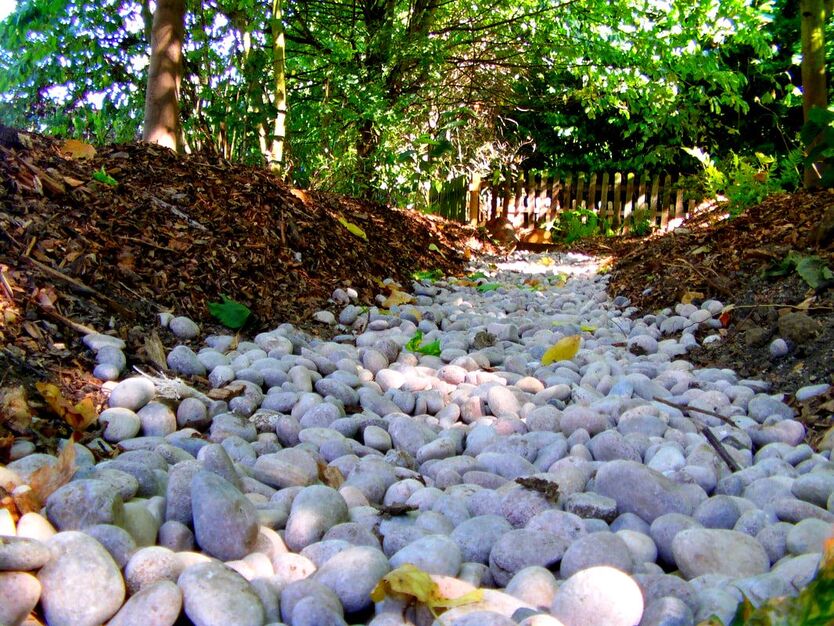
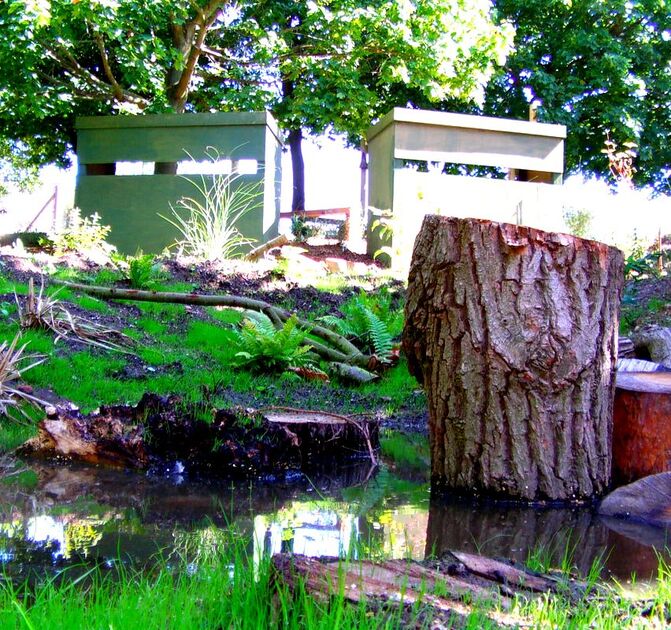
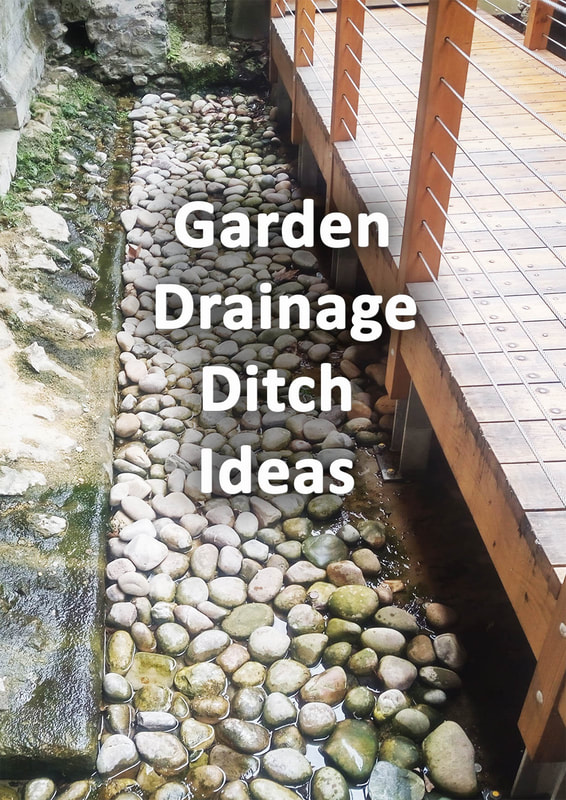
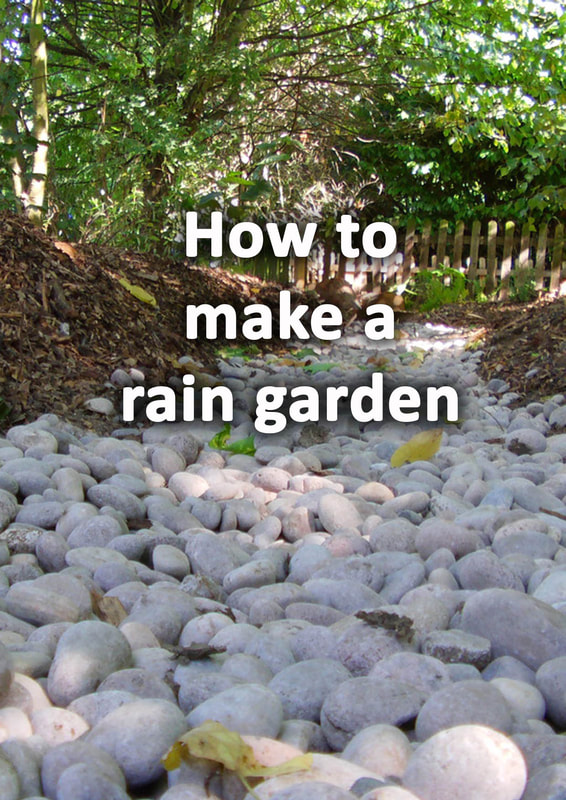
Swales are linear depressions within the landscape which collect and channel excess water. These can feed seasonal flooding wetlands or retention ponds at the lower contours of your property. Swales can be designed to collect ground water flowing towards your home and divert it elsewhere. Similarly to mounds, swales can also be designed to be pleasing landscape features. They can be based with pebbles and planted with decorative wetland pants.
Drainage channels
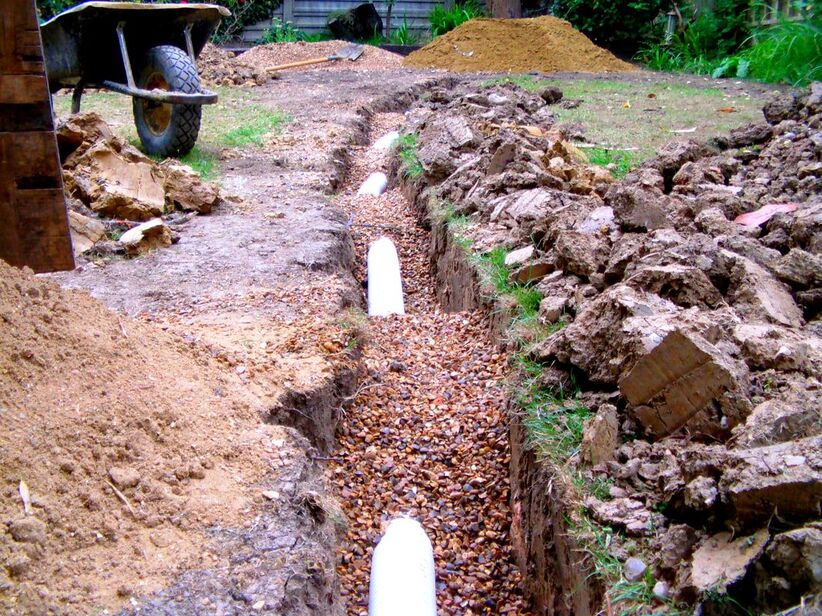
Drainage channels work in a similar way to swales but are engineered in a more direct way. These channels consist of a deep and linear trench filled with free draining gavel and a perforated pipe. The channel allows ground water to leach into the channels and be directed away. The channels can directly feed into a drainage feature such as a soakaway or wetland. Drainage channels can be installed along your homes boundary to collect and redirect encroaching ground water.
Ideas to stop water pooling against your house
Gutters
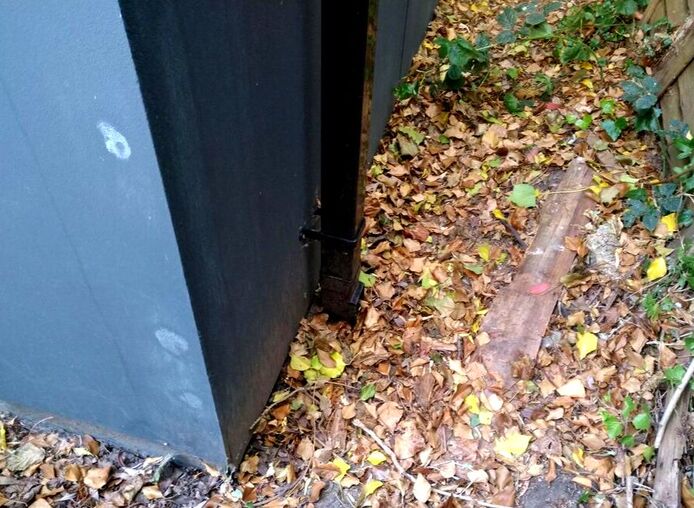
It is very common for roof gutters to become blocked with, dirt, moss and autumn leaves. This can lead to overflowing storm water running down the walls of your home. This excess water can pool around your home along sideways, patios and borders. To stop water pooling around your home make sure gutters, pipes and drains are clear of debris.
Leantos
Lean tos are covered structures which extend the shelter of the home outside. These pergolas like structures are very effective at keeping rain water away from the home. They can also create extra storage space, log stores or greenhouses.
Surfacing falls
A typical cause of water pooling against a home is badly laid paving and incorrect surface falls. All surfaces around the home should run ‘away’ from the building.
Furthermore, there should be no bellies and troughs in the surface which hold standing water. If your local topography does slope towards your home you must implement a drainage strategy. This will normally take two forms; Drainage chambers installed along the building or a surface, back fall from the home. Both scenarios will channel collected water into a drainage network or soakaway feature. Resurfacing around your home with gradients which fall away will stop water pooling around your home. Sealants
If your property is surrounded by old brickwork and concrete it is likely it will naturally absorb water. As these materials age, they become less impervious and more absorbent.
Therefore, it is a good idea to consider sealing them with a weatherproof sealant. These can be rolled or painted on with a large paint brush. It is often best to do this during the summer when the surfaces are dry. If they have lots of dirt and algae ground in they will also need to be pressure washed first. Paints
Paint is also an effective way to add extra protection from water around your home. Very much like sealants paints add a protective and impervious barrier to moisture. You also have the option to coat concrete pathways and sideways around the house with concrete floor paint. These can not only repel water but bring new life to old surfaces.
What are better permeable or impermeable surfaces around home?
If you are worried about water pooling against your home impermeable paving will be better than permeable. The ecological and sustainable credentials of permeable paving are hugely over exaggerated, especially for residential gardens!
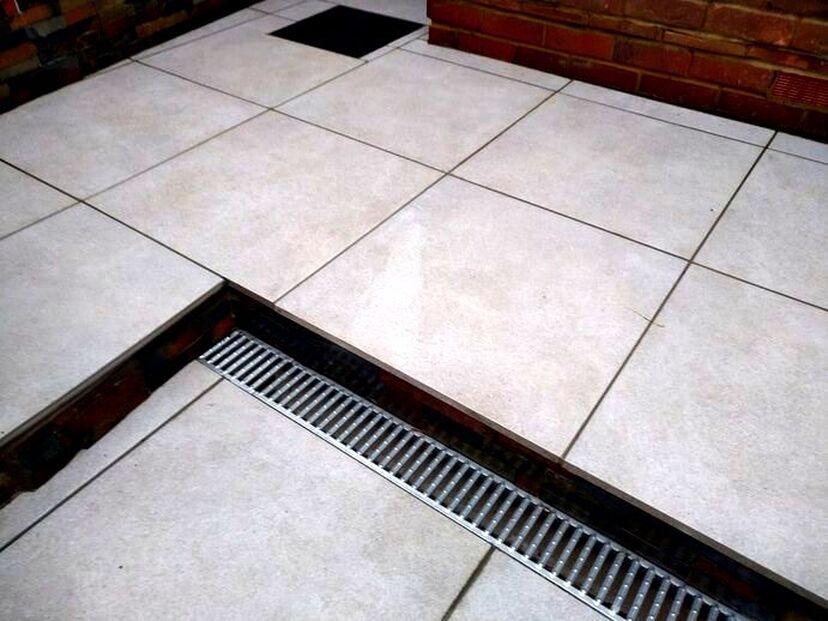
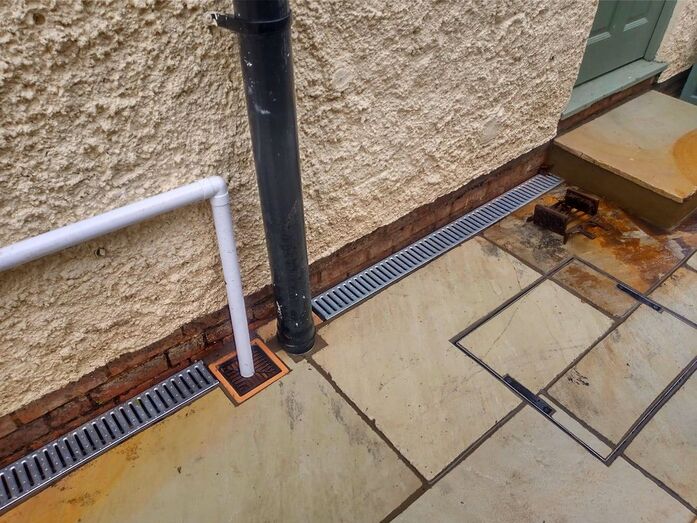
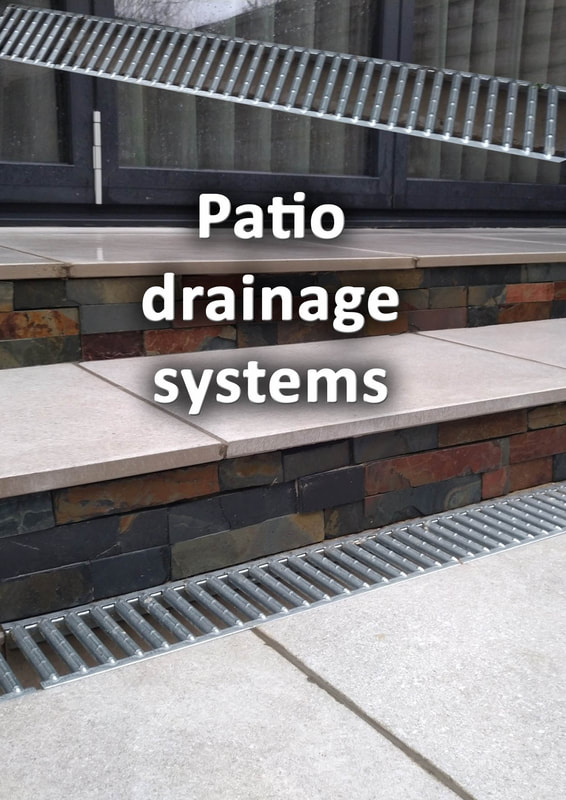
One of our patio drainage systems with porcelain paving
It is actually more sustainable to install impervious paving with drainage channels plumbed into ecological wetlands. These can be small ditches and swales planted with wetland plants. This way, you can drain water away effectively and create wildlife habitats at the same time.
You are still allowing water to be reabsorbed into the soil naturally while keeping your homes structure dry. Seasonal flooding wetlands and drainage swales are much more sustainable than permeable paving.
One of our seasonal flooding drainage wildlife ponds
Should you put gravel around your house for drainage?
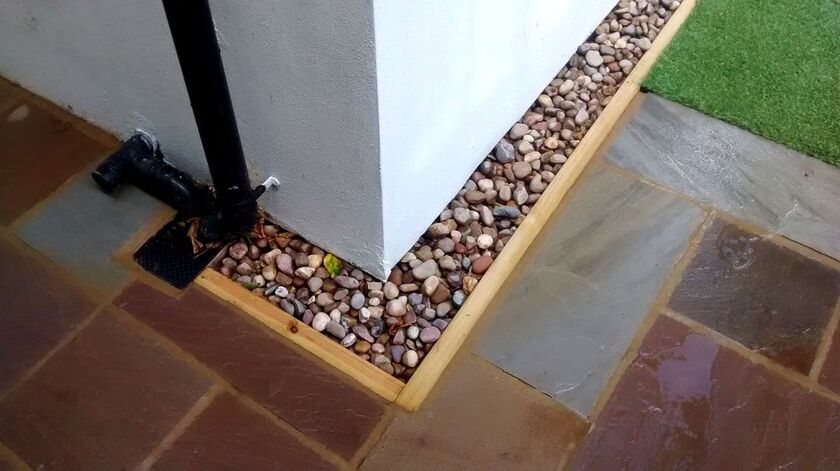
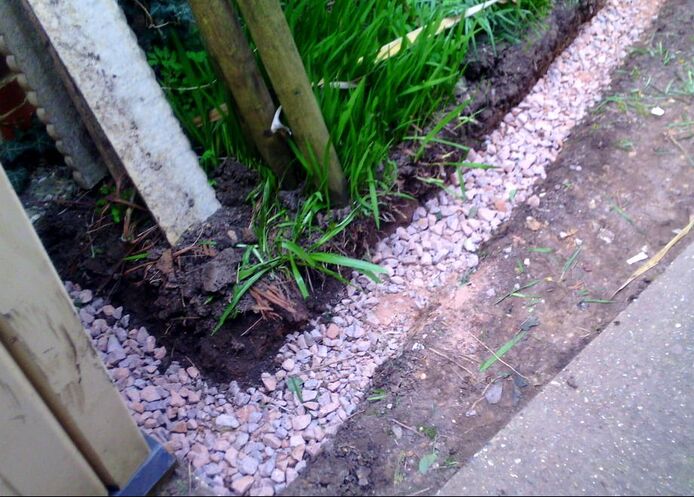
A very typical thing you see around some paths and patios is a gravel trap. These are implemented where the building meets a hard surface such as concrete or paving. Although they will help to drain excess water away they are not the best option. If water is sitting against your home you are much better off capturing water separately than it travelling along your walls.
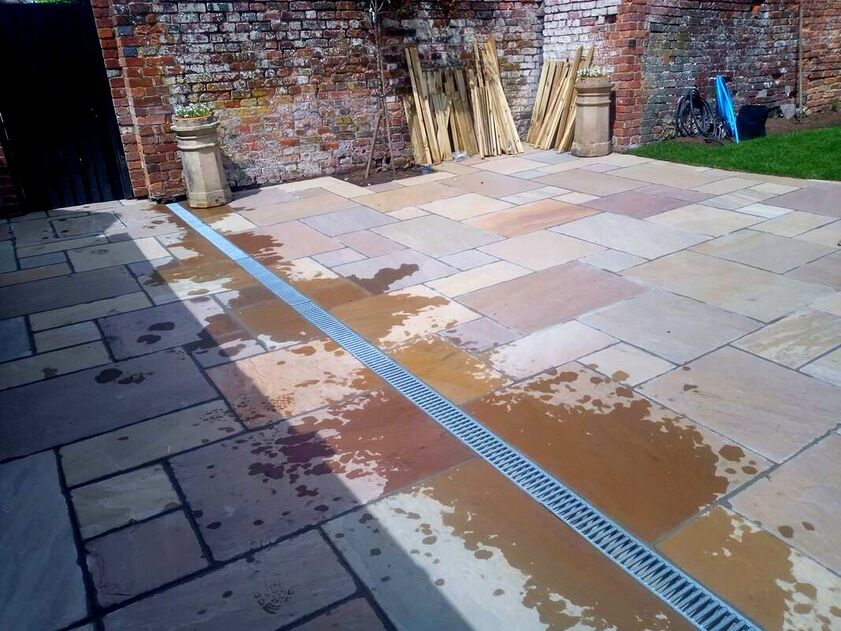
This is best done with a grated, channel drain or Acco chamber. These can then be plumbed into a garden drain or soak away.
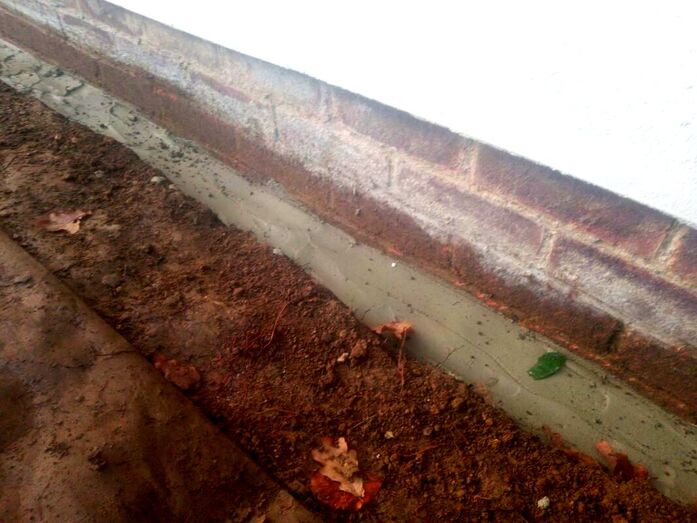
If you have to create a gravel pea trap make sure you render it with waterproof mortar. I would also recommend painting the channel with two coats of bitumen paint before filling with gravel. Install a channel drain which feeds into a drainage feature.
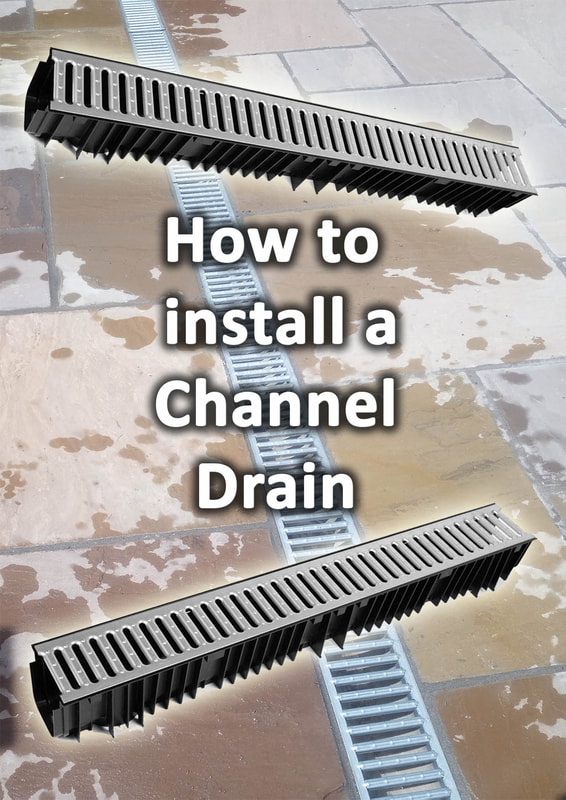
Whether you choose to collect water against the home or a patio, channel drains are an effective solution. These grated channels can collect surface water and transport it away efficiently. If you are thinking of installing a grated channel drain why not read our step by step article here. Alternatively read our step by step guide on installing an acco drainage chamber below. How to install acco chamber channel drains step by step
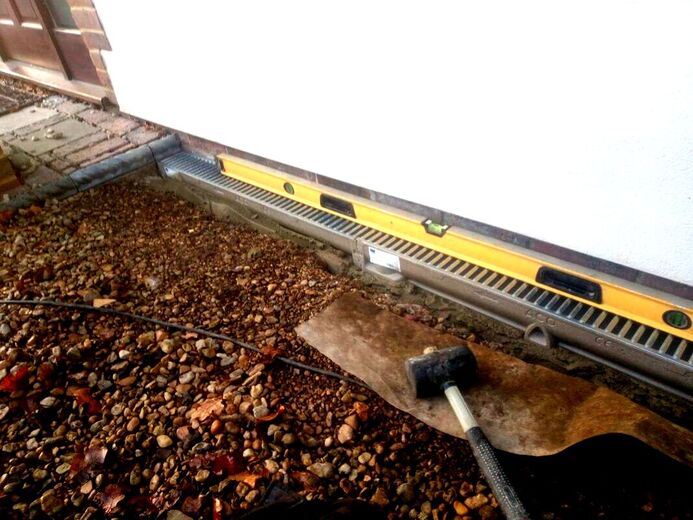
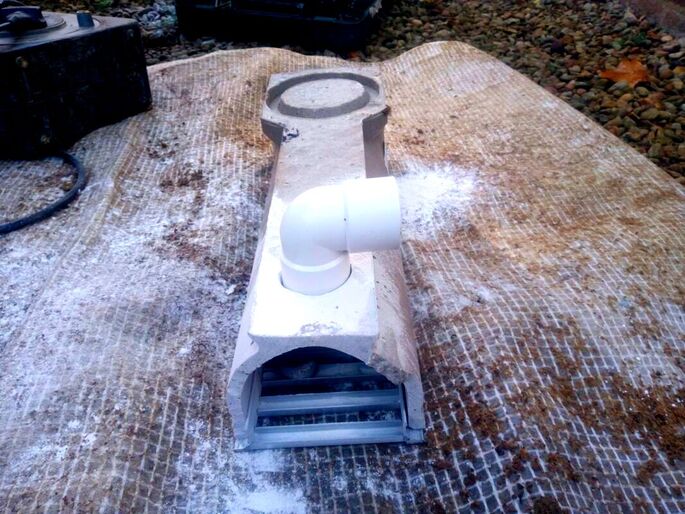
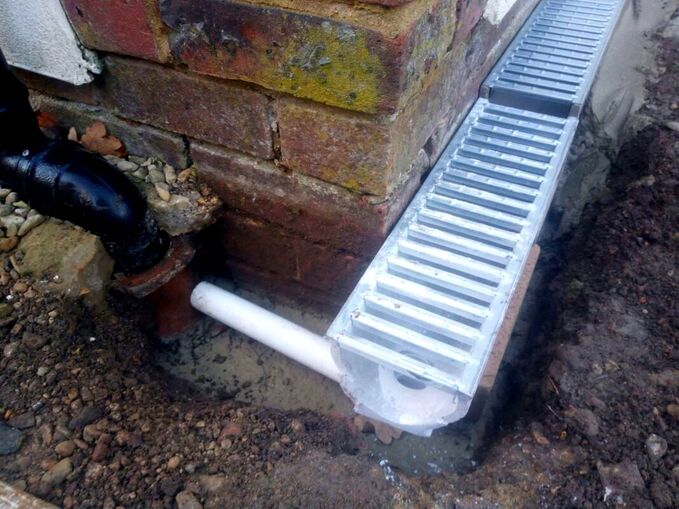
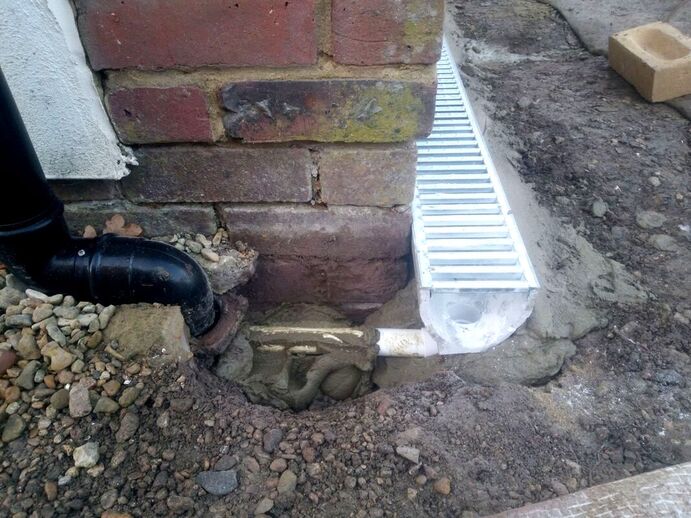
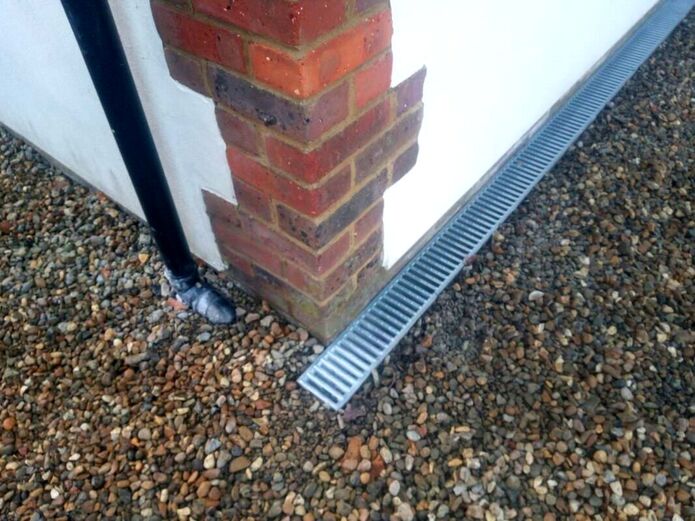
Below is a case study of a recent drainage project we undertook in Buckinghamshire. The client had water pooling against the home and was worried about flooding and damp. The existing driveway was a loose gravel drive which had become saturated and compacted. I excavated a channel along the home and installed, concrete, acco chambers plumbed into a soakaway. The Acco chambers have a stainless steel grill which has a neat and contemporary finish. Step 1:
Excavate a trench along the home wide and deep enough to set in acco chambers bedded on mortar.
Step 2:
Examine the ground under the excavation. If it is soft and moves under pressure you will need to excavate out a little more. Dig until you reach thick and compacted subsoil which does not displace.
Step 3:
If you have excavated lower than 40mm below the bottom of the chamber, fill up the void with compactable hardcore. The best aggregate for this is mot type 1. Spread this evenly and compact with a hand tamper.
Step 4:
At this point it is a good idea to mark your finished height for the top of the chamber on your wall. If you are not laying against a wall set up a string line to work to.
Step 5:
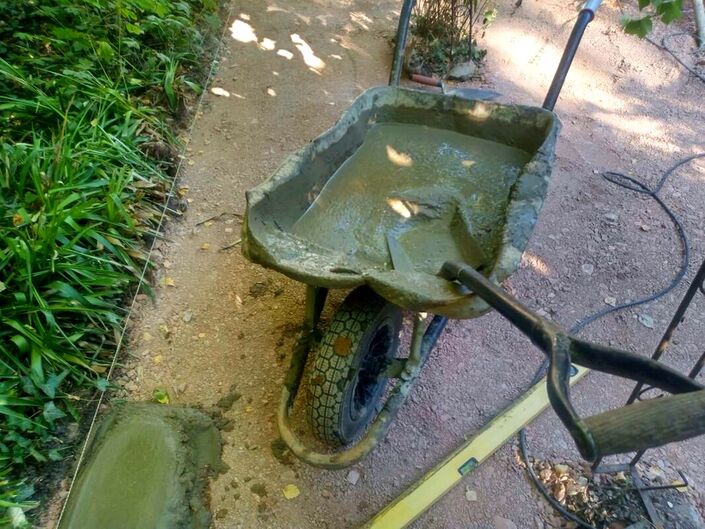
Mix 4 parts sharp sand to 1 part cement in a cement mixer until it becomes a thick, brick, laying, mix. When mixing the mortar add a couple of cap full’s of mortar plasticiser.
Step 6:
Lay an even bed of mortar along your chamber route. Work in peaks and folds so you can bed down the chambers gently.
Step 7:
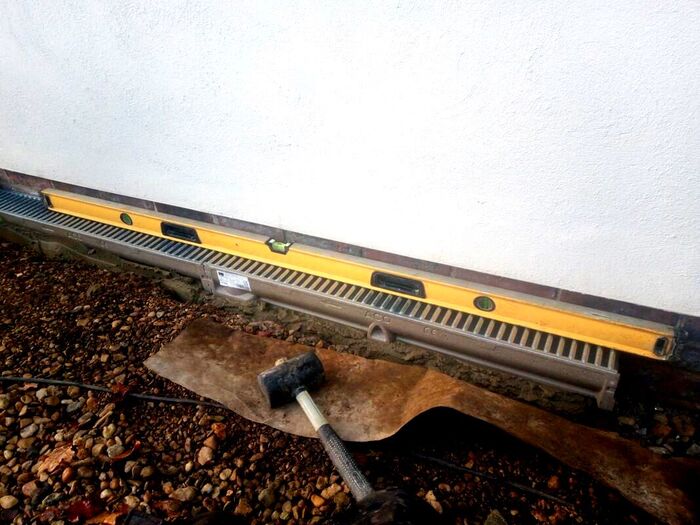
Bed down your first chamber carefully to the correct level you want. Also watch your level across the width of the Acco chambers, these should not be at a gradient.
Step 8:
Acco chambers come with connection slots at each end so they connect tightly. Try not to bed too much mortar under these joins as it can prevent them connecting tightly.
Step 9:
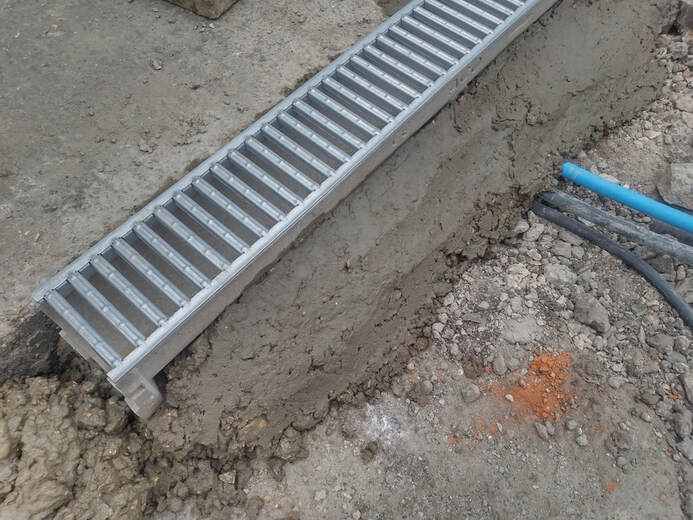
Bed the chambers down one at a time checking your levels as you go. As the chambers start to set, point some mortar around the edges to hold them in place securely.
Step 8:
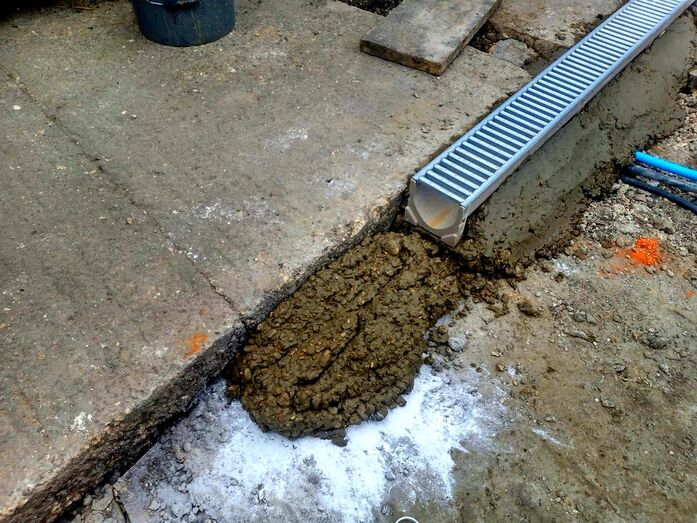
If you need to block off one end of the chamber, place a brick inside the channel. Then render a triangular mortar haunch up to the top of the chamber. When the mortar starts to set remove the brick and clean up the flat mortar edge with pointing.
Step 9:
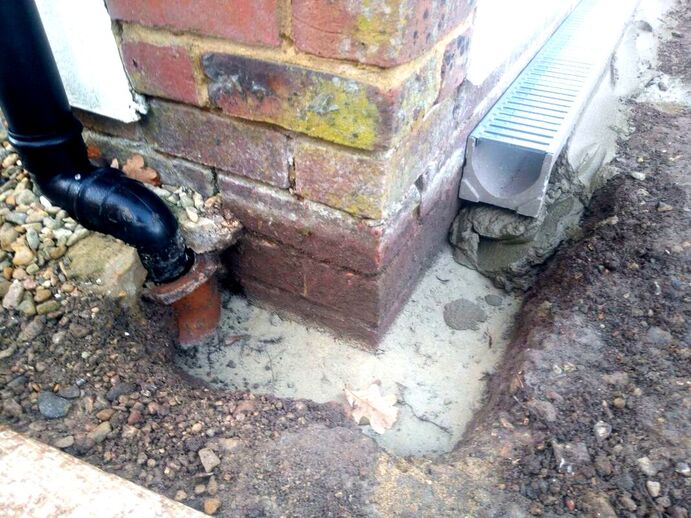
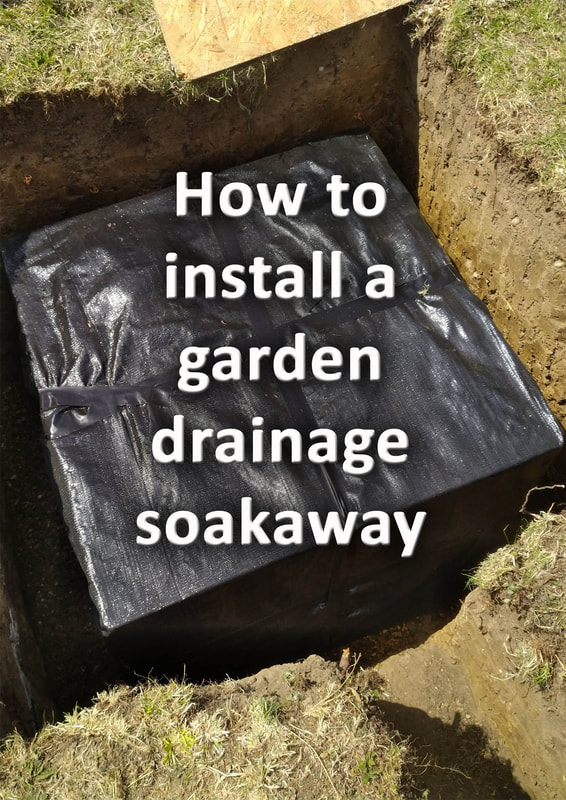
You will need to plumb your chambers into some form of drainage feature. This will normally be a drainage network or a soakaway. In this example we plumb into the gutter down pipes of the house. These lead to larger soakaways at either side of the property. First, you must identify the part of your chamber closest to the outlet. If you also need to install a garden drainage soakaway visit our step by step guide here.
Step 10:
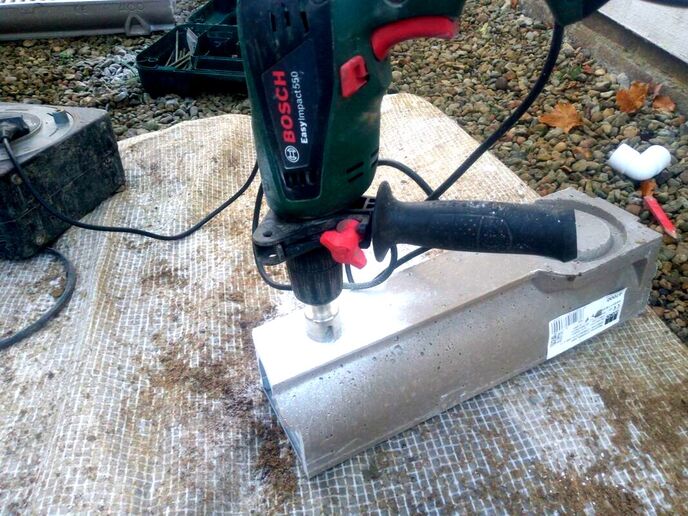
Cut out a circular hole to the base of the chamber where the drop outlet is to go. This can be done with a circular diamond coring bit. If your coring diameter is too small you can gently rotate it inside the hole to cut wider. Fit a 35mm PVC pipe elbow attachment to the drop hole at the base of the chamber.
Step 11:
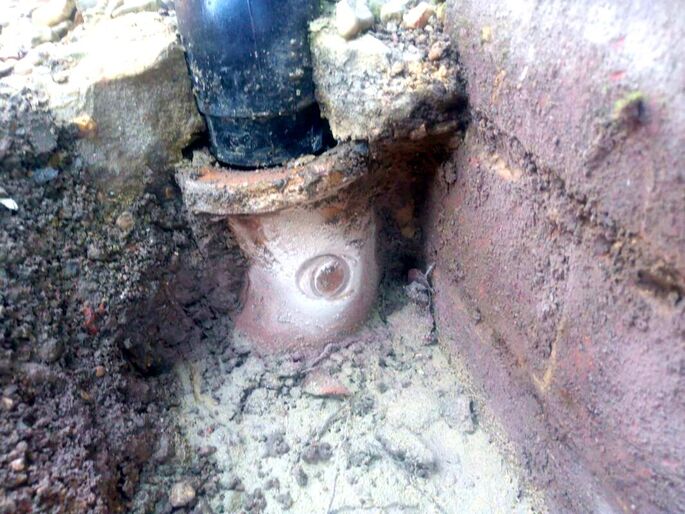
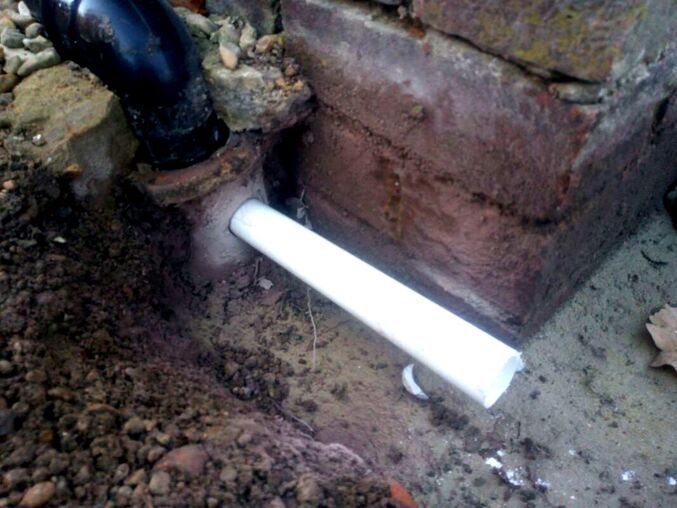
Fit a pipe from the elbow attachment to the destination pipe. You will have to cut another hole into the outlet pipe. Like before make this as neat and as tight as possible.
Step 12:
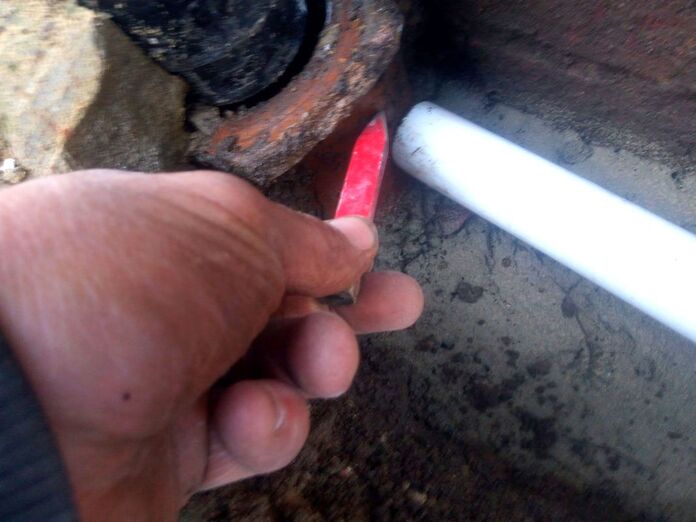
Identify where your outlet pipe will enter the destination pipe and mark a circle where the cut needs to go.
Step 13:
Cut a neat hole into the destination pipe with a power drill.
Step 14:
Make sure the pipe fits into the destination drain at an angle to fit the Acco chamber elbow connector.
Step 15:
Connect all the pipework together while laying the last section of Acco chamber on Mortar. This last bit is a little tricky, but is easily achievable with a little persistence.
Step 16:
Seal up any holes, cracks or gaps with an external grade sealant such as silicone. Larger voids can be wrapped tightly in DPC Membrane and sealed with waterproof mortar.
Step 17:
Once the pipe work is sealed, encase it within mortar so future excavation doesn’t disturb it.
Step 18:
Re-grade aggregates and finish surfaces around the chambers. After 24 hours you can then test your chamber with buckets of water to watch them drain.
You have now completed your Acco chambers and stopped water pooling against your home. Below we have included some other, relevant articles, you may find useful.
'As an Amazon associate I earn from qualifying purchases'
1 Comment
|
The Author
|
Landscaping services across Buckinghamshire, Amersham, Aylesbury & High Wycombe
Hyde Heath, Amersham, Buckinghamshire |
|
