|
This article contains affiliate links
Soakaways are an engineered, void, submerged, underground to allow storm water to be collected and contained. This function reduces the need for water to be piped off of site and into the drainage network.
The soakaway will allow water to be slowly reabsorbed into the surrounding ground naturally. This makes soakaways an effective drainage installation and one which reduces flash flooding. However a soakaways effectiveness strongly depends on its correct positioning and installation.
For many years soakaways were simply a hole filled with old masonry and builder’s rubble. The problem with these was most of the void was filled with dense materials.
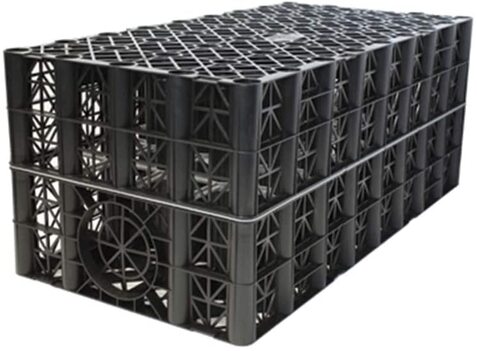
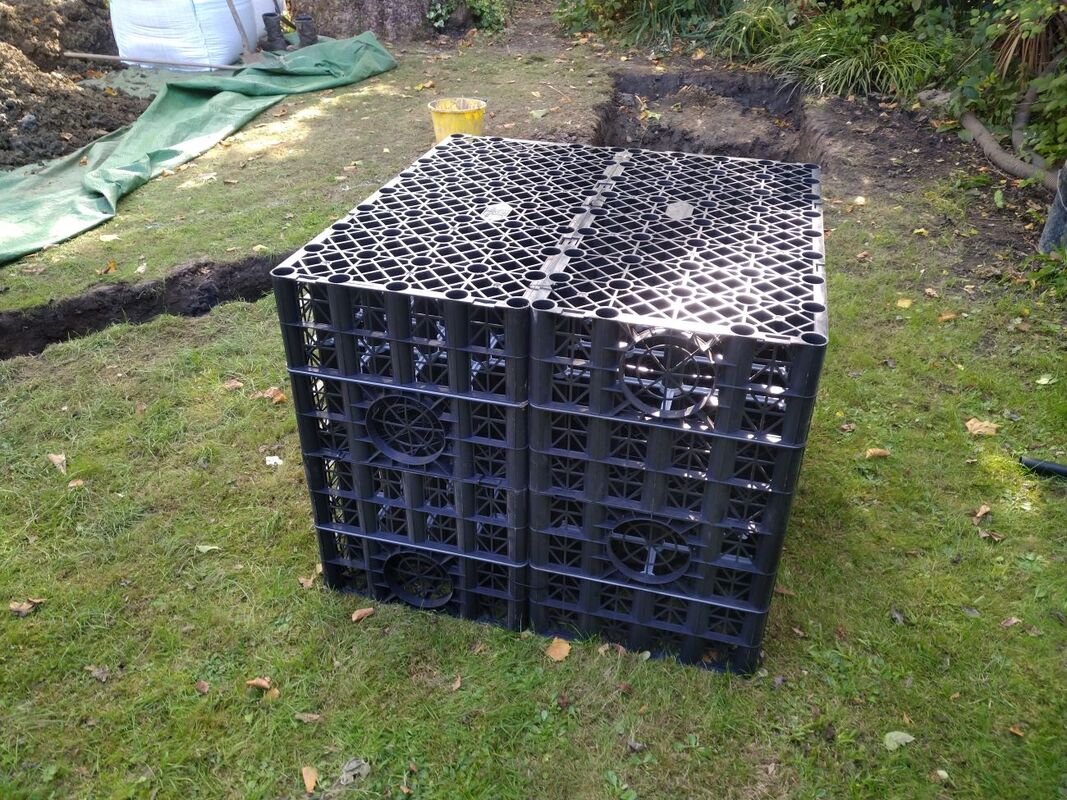
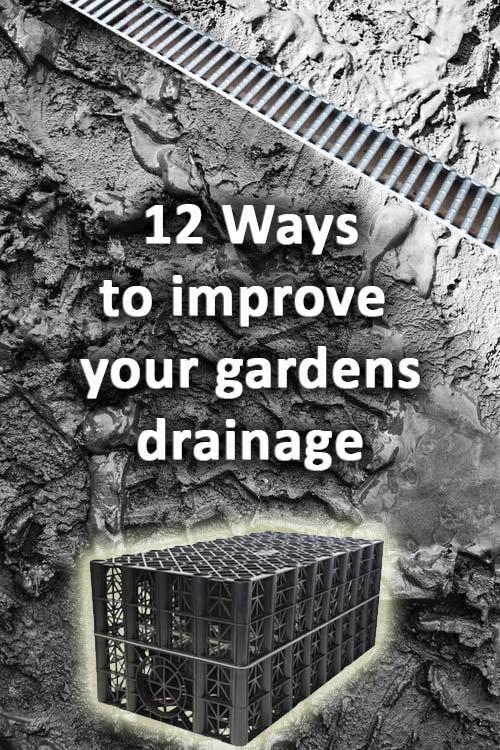
This meant they never really held much water and soon became silted. Today however we have soakaway crates, these are robust, interconnected, structures which hold a large volume of water. These can be custom fixed to hold as much water volume as you need. In this article we will explain how to install a garden drainage soakaway with modern drainage crates. Diagnosing your drainage problem – do you need a soakaway?
The most important part of installing a drainage soakaway is diagnosing why and if you need one. Very often, garden drainage problems can have a whole host of causes. Therefore diagnosing your drainage problem correctly should be your first step. This will also enable you to locate and position your soakaway if indeed you do need one. For more in depth information on diagnosing garden drainage issues read our article on the subject here. Recent construction
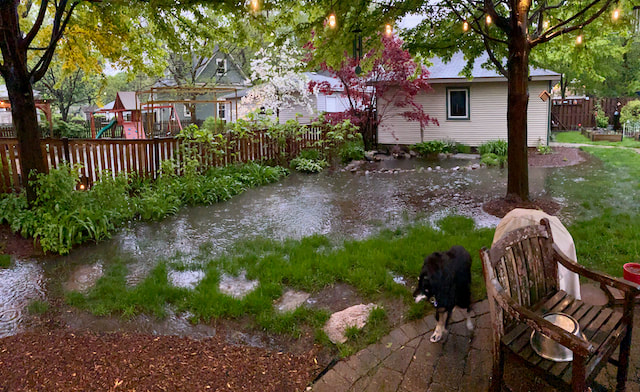
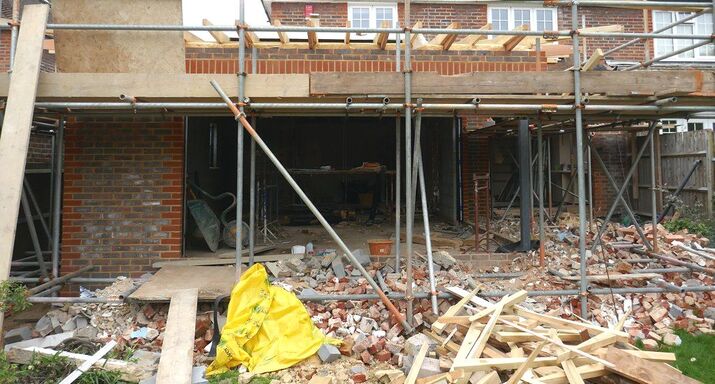
The most common reason for needing a new soakaway system is some sort of recent construction. This is usually an extension, summer house or patio. In fact any installation which has impervious surfaces will accelerate surface run off. Furthermore such installations often replace lawn and flower beds which are effective at absorbing water naturally. In such scenarios you will need to identify the best location to collect the runoff and direct it away. Neighbouring groundwork’s
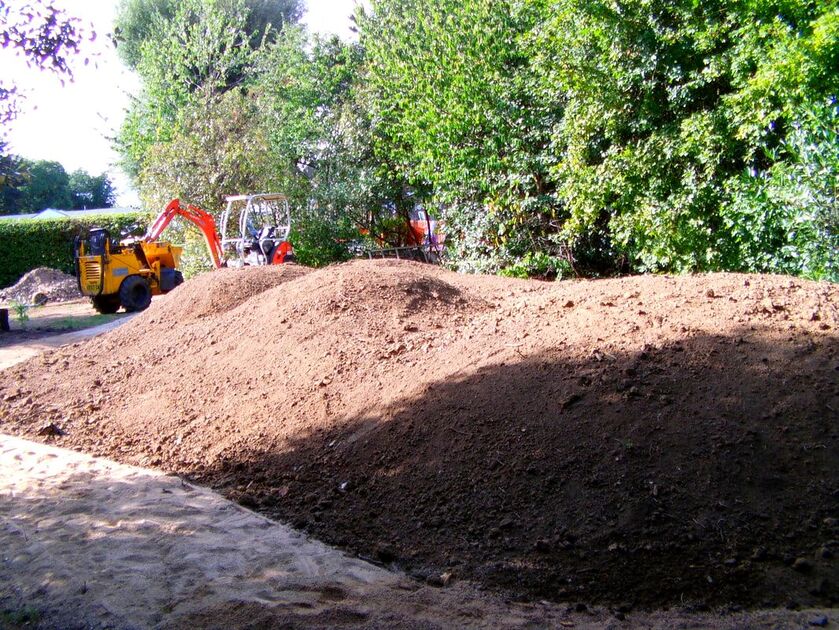
It is surprising how even modest changes in garden levels can caused drainage problems. If your neighbour has recently undertaken garden work this could have affected your drainage. The most typical scenario is a neighbour raising their gardens level which could dam water in your garden. Gradients may also have been altered which means surface water now falls to your boundary. Very often in such a case a soakaway will enable you to solve the problem. Compaction
A very common issue which results in standing water is compaction. If your garden is subjected to continuous foot fall, tree roots and undulation you will get standing water. Normally improving the gardens soil drainage and level can resolve the problem without a soakaway. Therefore it is best to do this first before installing a soakaway. A boggy patch
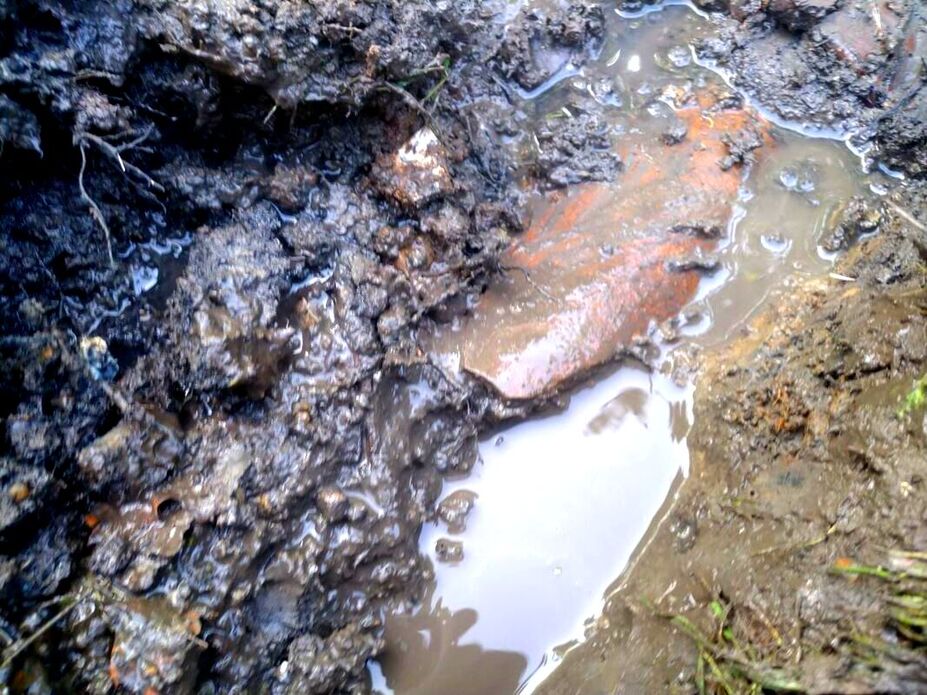
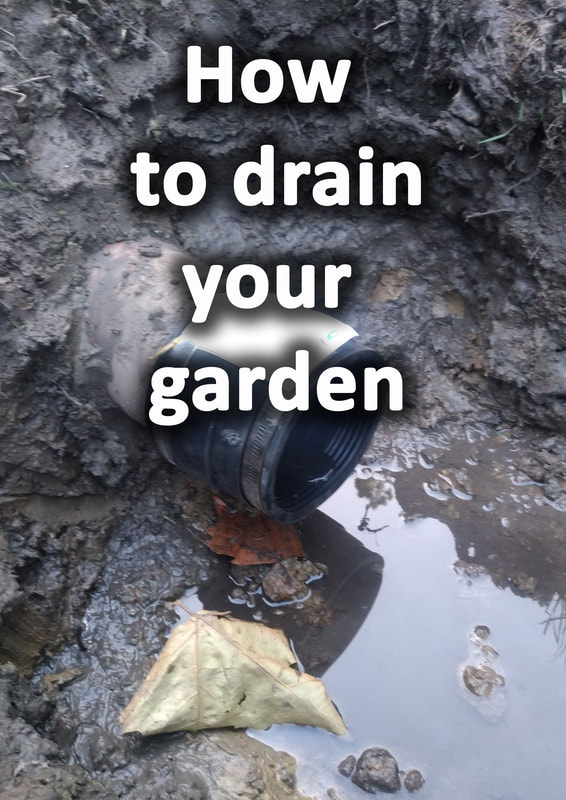
If you have a suspicious boggy patch in your garden this could be a sign of an external problem. If the patch is not a part of a low spot you could have a broken or leaking pipe. Very often broken land drains can become blocked leading to boggy areas. These will need to be carefully excavated to expose any broken pipes. If you find broken drainage pipes see our drainage article to find out how to fix them. This means you will probably not need a soakaway to solve the drainage issue. High water table
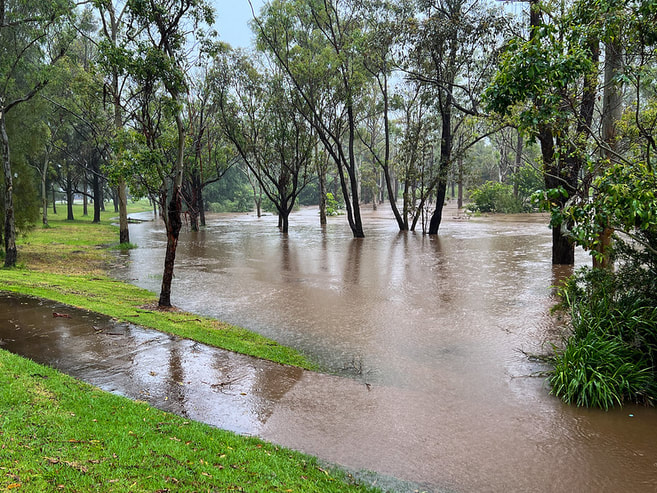
A common reason for garden drainage problems is a high water table. This is the hydraulic saturation level under the ground. This water table, level, normally fluctuates throughout the year being high in winter and low in summer. Normally you can get a gauge of how high your water table is from your properties flood risk level. If you are local to a river basin or in a low lying area you have a higher chance of a low water table. Modern drainage legislation requires storm water to be reabsorbed by the surrounding landscape. This can exacerbate drainage problems and contribute to raising high water tables. The particular threat with a high water table is the soakaway simply fills up with water. This means the installation simply accommodates more water without solving the initial drainage problem.
How to locate your drainage soak away
Positioning your garden soakaway in the correct location is essential to reach maximum effectiveness of the system. Generally you are attempting to drain a wide area of landscape not a specific location. Therefore it is important take note of your gardens existing topographical levels. Generally you will want to use gravity to your advantage to move the water where you want it to go. This generally means situating your soakaway in the lowest part of the garden.
This way you can dissect boggy areas with drainage channels leading downwards towards the soakaway drainage system.
It is important to remember that the surrounding ground of any soakaway will have higher moisture content. This means it has a higher chance of future ground movement and subsidence. Therefore it is important to locate any soakaway at least 5 metres from permanent structures and property boundaries. It is always best to position your soakaway somewhere where it can easily be inspected later. Working out the size of your soak away
For most new building extensions and outbuildings a recommended size for a soak away is a cubic metre. This is based upon the size of the average roof area for typical new construction projects. Most of the time, a cubic metre is more than adequate for most drainage circumstances. This includes summerhouses, patios sheds and general garden, drainage, scenarios. I always say to clients it is best to make it too big than too small. If you want to get a more accurate volume quantity you can do a calculation. You will need to times your catchment, surface area by the depth of the perceived rainfall. A serious storm in the UK could see up to 100mm of rain within a week. Therefore if a new patio is 20 metres squared in one week it would generate 2 cubic metres of rain water. You have to bear in mind that lawns and flower borders will start to absorb such run off straight away. Water inside the soak away itself would also also start to permeate into the subsoil. Therefore, most of the time, a cubic metre is more than sufficient for a garden soakaway. How deep should you dig your soakaway?
Most of the time the soakaway will be one metre cubed and hence 1 metre tall. The soakaway should be encased by 100mm of free draining gravel on all sides. This includes the top and the bottom! If your soakaway is covered by soil or lawn you will need at least 200mm of topsoil on top. This will prevent a dry and cracked patch of lawn developing during the summer months.
If you are paving over the top you will also need to allow 200mm on top of the gravel. This is so you can pour a 150mm slab of concrete over the top as a base for the new paving.
If you are installing under a driveway make sure the concrete slab extends past the void itself by 500mm on each side. It is also wise to incorporate reinforcing mesh into the concrete to prevent cracking. Therefore the average soakaway requires an excavation of 1.4metres deep. Can you pave over a soak away?
As discussed above yes you can pave over a soakaway however there are some things to consider. Firstly any soakaway will raise the moisture content of the surrounding ground. Moisture helps to lubricate soil particles leading to a higher possibility of movement and subsidence. Therefore it is always best to locate soakaways within soft landscaping such as under lawns and borders.
This allows contained water to be further absorbed by surrounding soil and plants. However if you have no other option make sure you lay a 150mm concrete slab over the top.
This should bridge the whole soakaway excavation and overlap by at least 500mm on each side. It is also recommended to incorporate reinforcing mesh and an inspection cover to the concrete. Installing a drainage channel feed
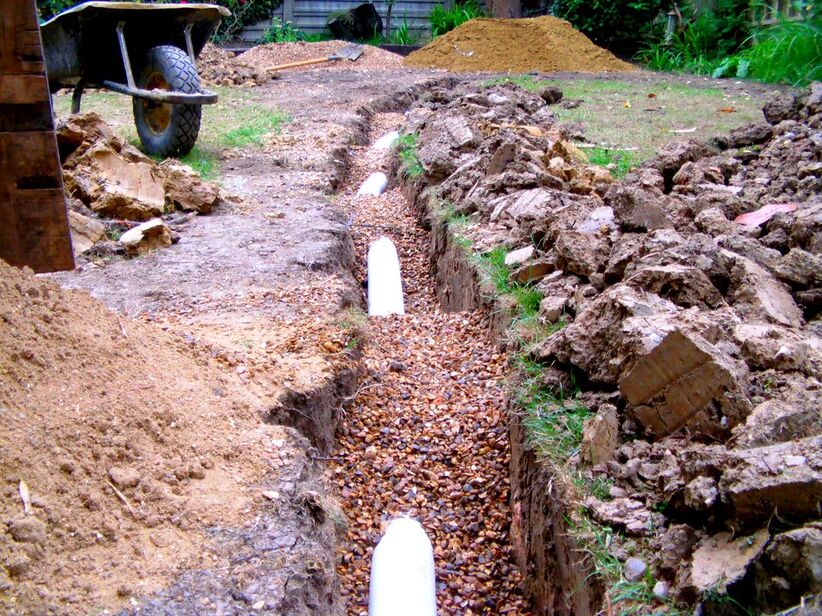
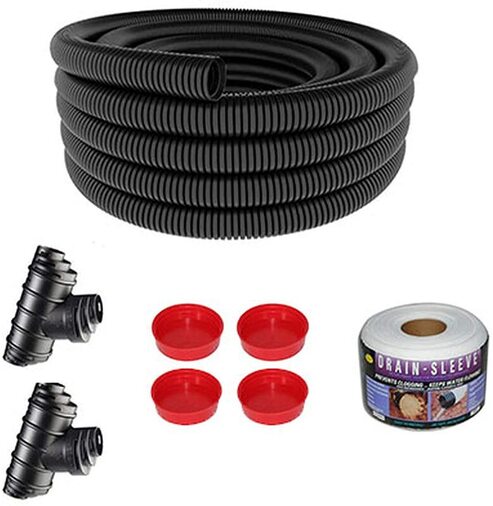
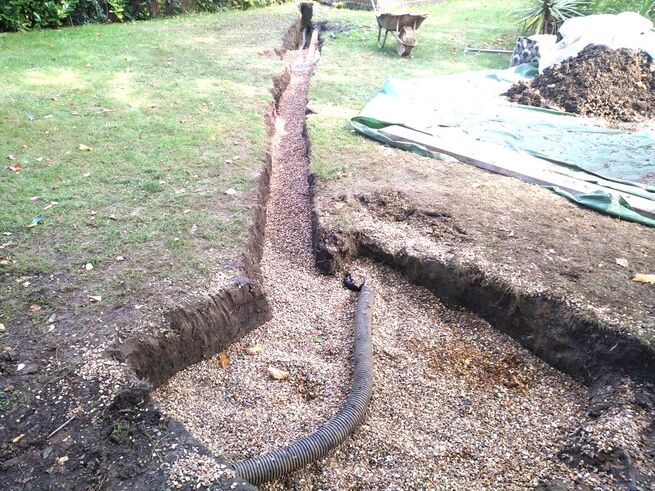
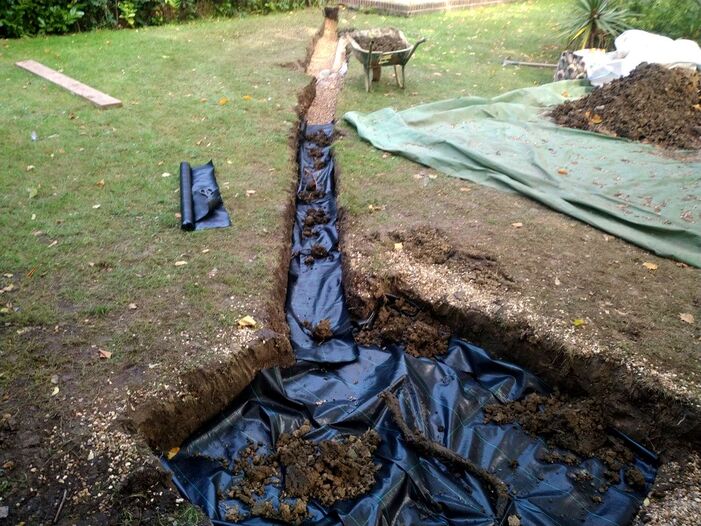
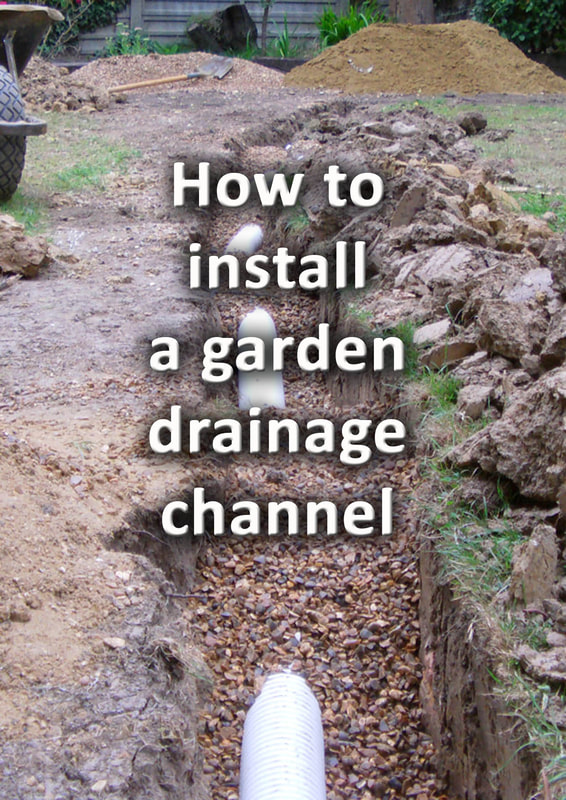
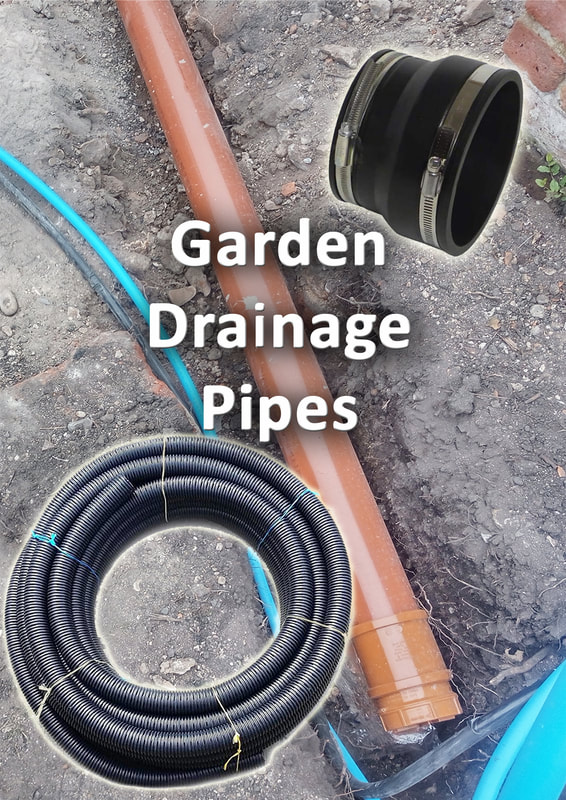
If you are thinking of installing a new garden drainage soakaway consider how it will be fed. If your soakaway is plumbed into a patio drainage grate this probably isn’t necessary. However if you are attempting to drain a section of boggy ground you will need a drainage channel. This will allow water to seep from the surrounding ground into a channel which feeds the soakaway. Such a drainage channel typically consists of an excavation about 200mm wide and 600mm deep. A 100mm diameter, perforated, pipe is then laid along its length and plumbed into the soakaway. The pipe is then backfilled with free draining gravel and capped with geo-textile membrane and soil. Drainage channels can sometimes be overlooked but essential to feed soakaways for effective landscape drainage. This is especially so for lawn drainage and generally boggy ground. Tools to install a soak away
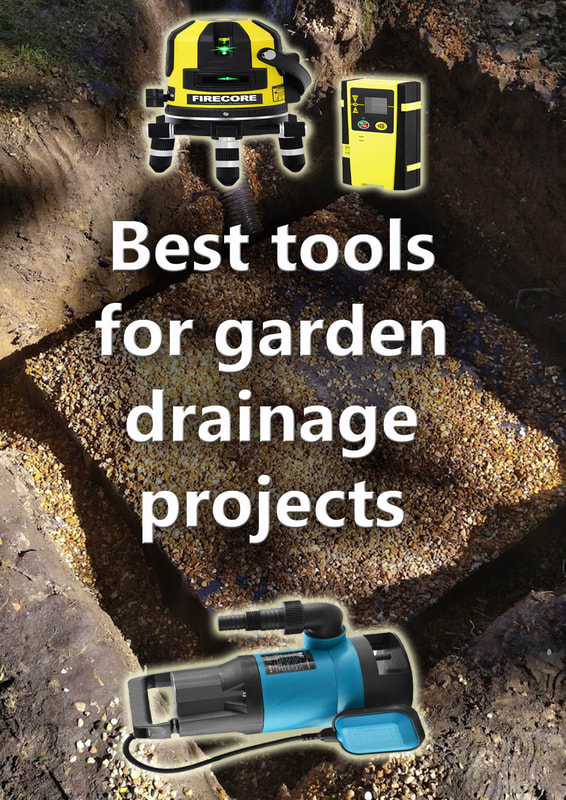
The typical tools for installing a soakaway include a spade, long handled shovel, grafting spade, and wheelbarrow. However for the complete list of garden drainage tools and accessories visit our article on the subject here. Materials
Drainage cratesGeotextile membrane
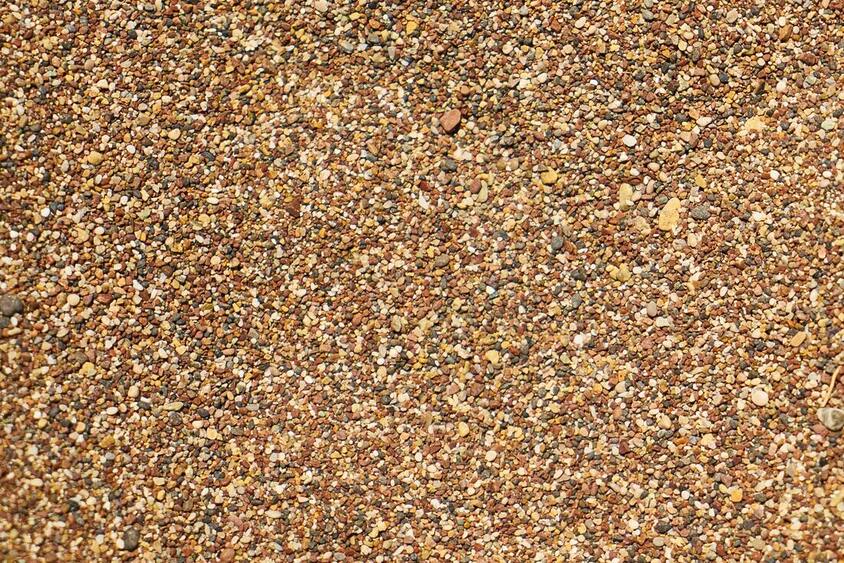
Pea shingle gravel (non calcareous)Perforated pipe
SkipImportant
It is important to only use non calcareous gravels and aggregates for drainage projects. Many articles on the internet specify limestone gravel which is incorrect.
Limestone and other calcium based aggregates will slowly be broken down by the acid within rainwater. This can lead to the silting and the eventual blocking of drainage systems. You need to use evenly graded, impervious gravels which do not break down easily in water. Typically the best gravel for drainage projects is pea, shingle, gravel. How to install a drainage soak away step by stepStep 1
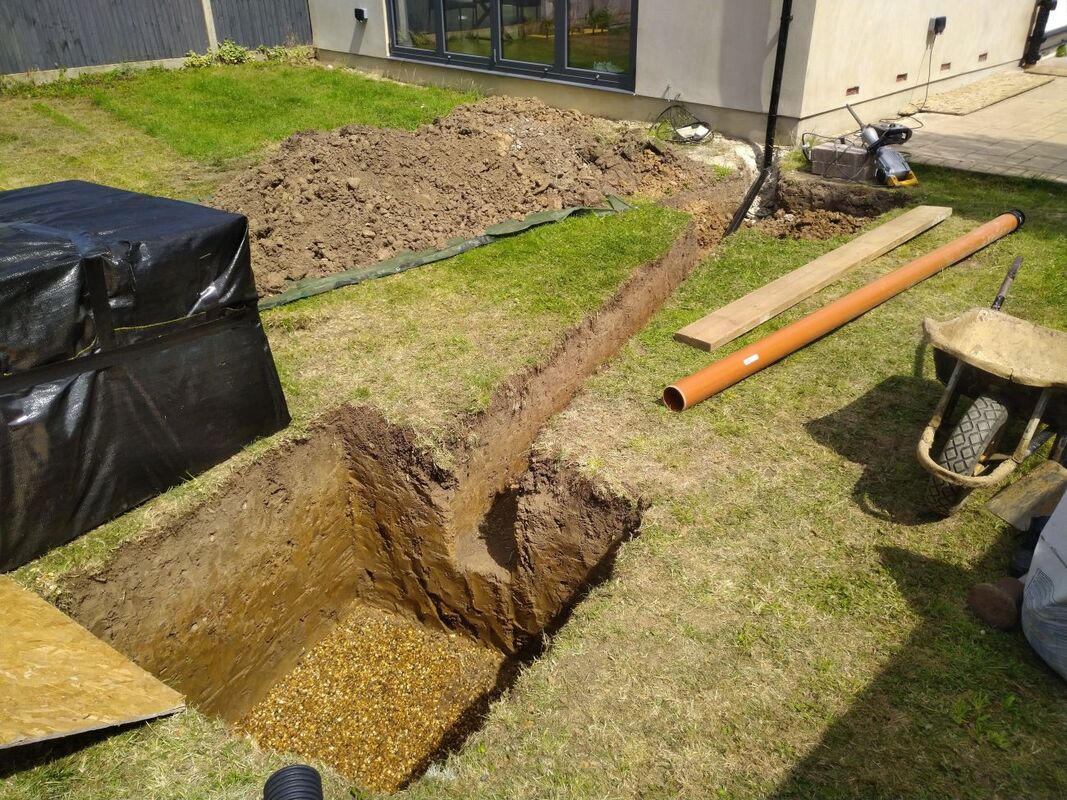
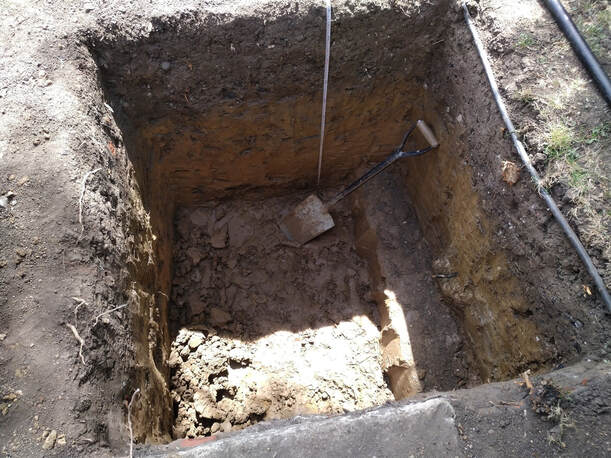
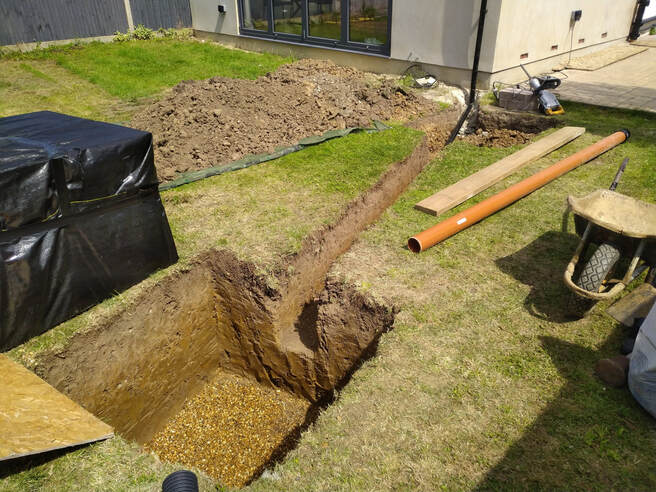
Excavate a trench 1.2m by 1.2 metres wide and 1.4 metres deep where the soakaway is to be situated. Step 2
Excavate any drainage channels or pipe feed excavations to the new soakaway. Step 3
Retain the good quality topsoil layer from the top of the excavation and skip the subsoil away. Step 4
Supply and spread a 100mm layer of free draining gravel to the base of all excavations. Step 5
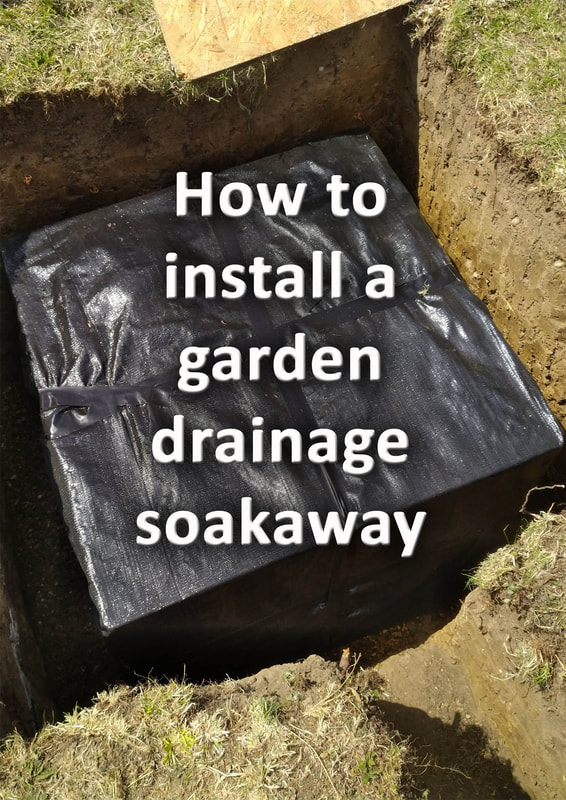
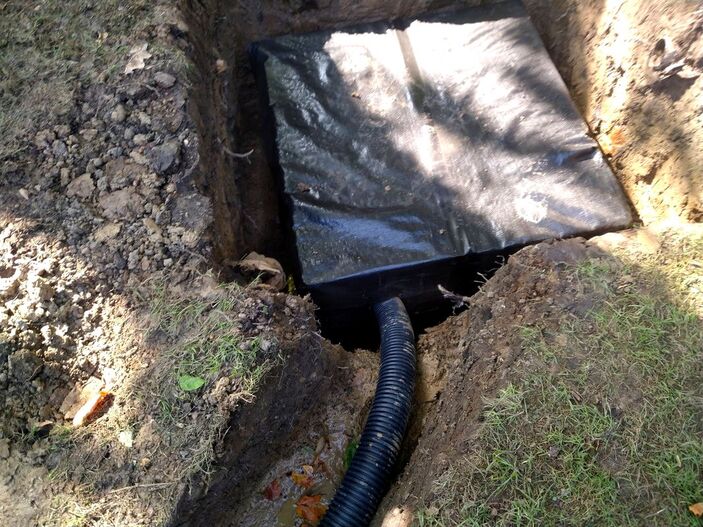
Clip together the drainage crates using the tube fixers and clips provided. Reinforce the cube with strong cable ties to create a securely fixed cube. Step 6
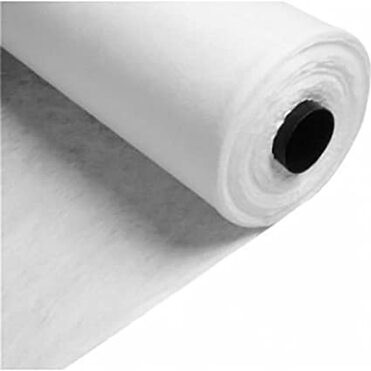
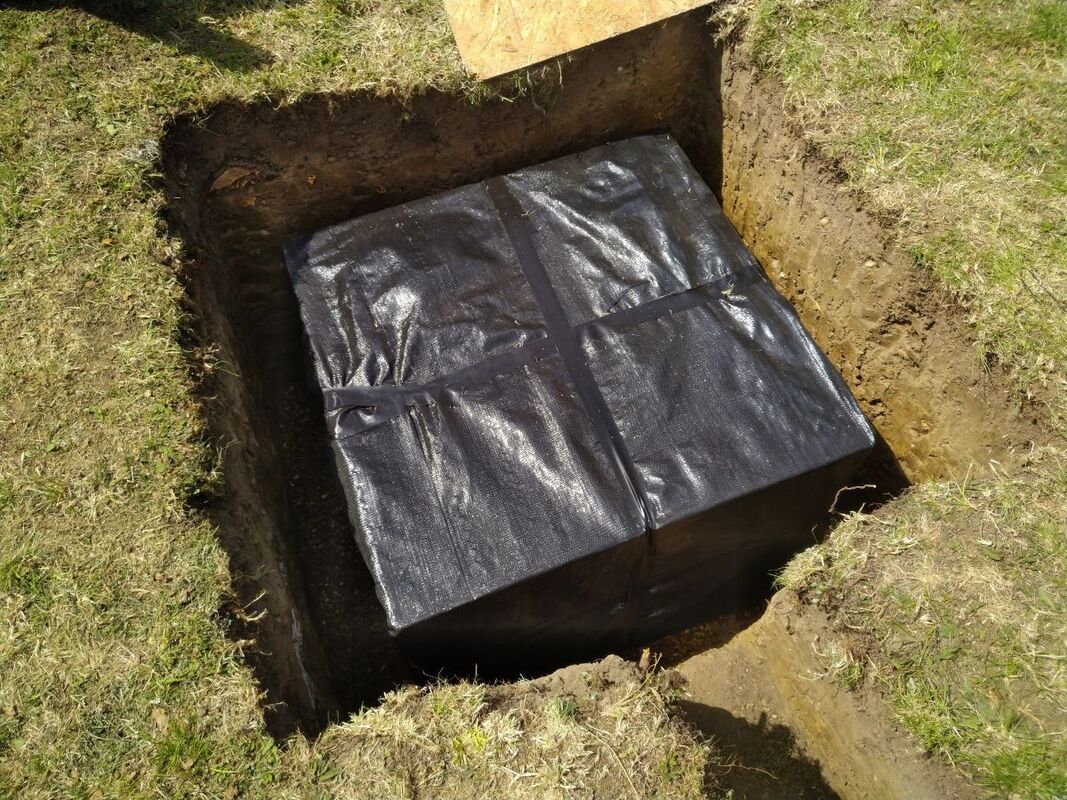
Double wrap the drainage crates in geotextile filtration membrane and seal well with gaffer tape. Step 7
Lower the drainage cube into the excavation making sure it has an even gap all the way round. Step 8
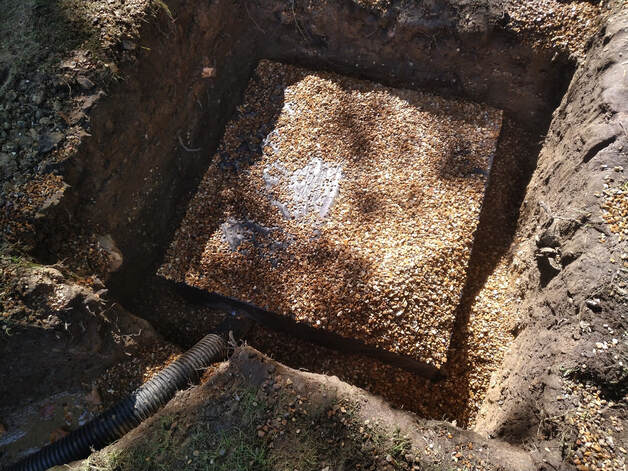
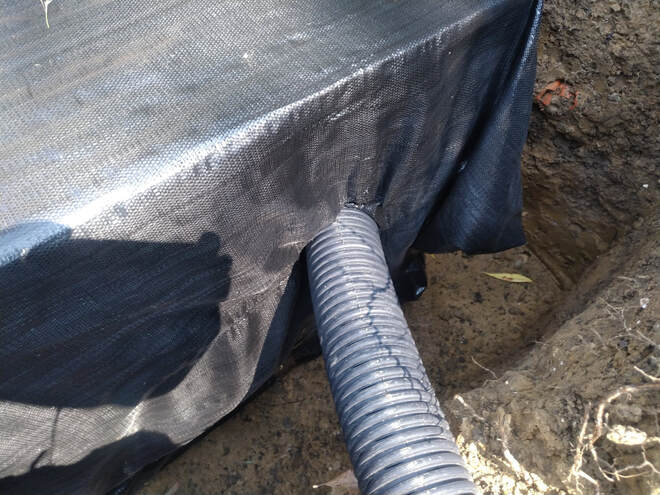
Plumb in any perforated pipes or land drains into the soakaway, crate, cube. Many crates have circular inlets already integrated into them. These can be opened using strong wire snips. Feed all pipe work into the inlets as tightly as possible and seal membrane around the pipes. Step 9
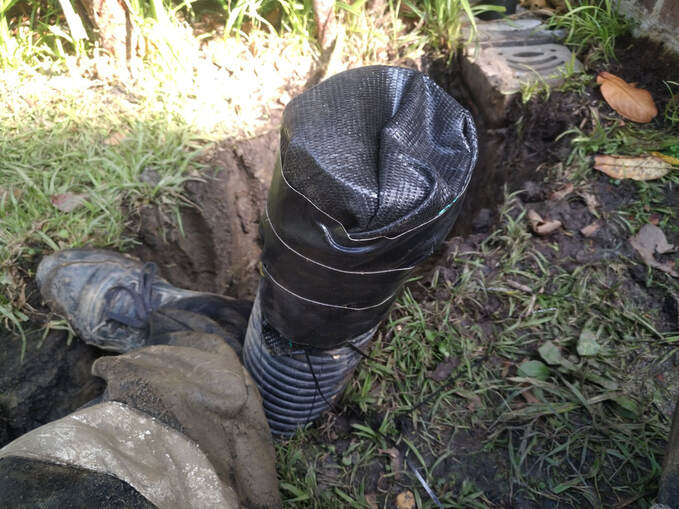
Make sure the ends of any perforated pipes outside the soakaway are sealed with filtration membrane. This is so drainage gravel and silt does not subside into the pipe. You can seal the perforated pipe using heavy duty cable ties, gaffer tape and membrane. Step 10
Backfill the soakaway and drainage channels with the free draining gravel. Make sure the gravel comes no higher than 200mm from the finished level of the ground. The soakaway should be covered by at least 100mm of gravel. This means the top of the drainage cube should be at least 300mm under the ground level. Step 11
The gravel should then be covered with geotextile filtration membrane and backfilled with the topsoil. Make sure the ground is well consolidated underfoot to prevent ground settlement. A layer of humus rich topsoil can be added and graded to complete the project. For paving a 150mm slab of concrete can be laid over the soakaway with reinforcing mesh.
Thank you for reading our article on how to install a garden soakaway. If you found it useful why not share it via the tabs below? This really helps us to write more useful content in the future.
If you are planning on installing a soakaway yourself visit our recommended equipment for drainage projects here. For more information on solving garden drainage problems please visit our in depth resource here. If your soakaway is a part of a greater landscaping project why not visit our landscaping resource page here. Garden drainage services & contractors in BuckinghamshireBuckinghamshire landscape gardeners are experts in garden drainage and provide a number of garden drainage solutions. Our garden drainage services include;
Our garden drainage services cover most of Buckinghamshire including:
'As an Amazon Associate I earn from qualifying purchases'
0 Comments
Leave a Reply. |
The Author
|
Landscaping services across Buckinghamshire, Amersham, Aylesbury & High Wycombe
Hyde Heath, Amersham, Buckinghamshire |
|
