|
This article contains affiliate links
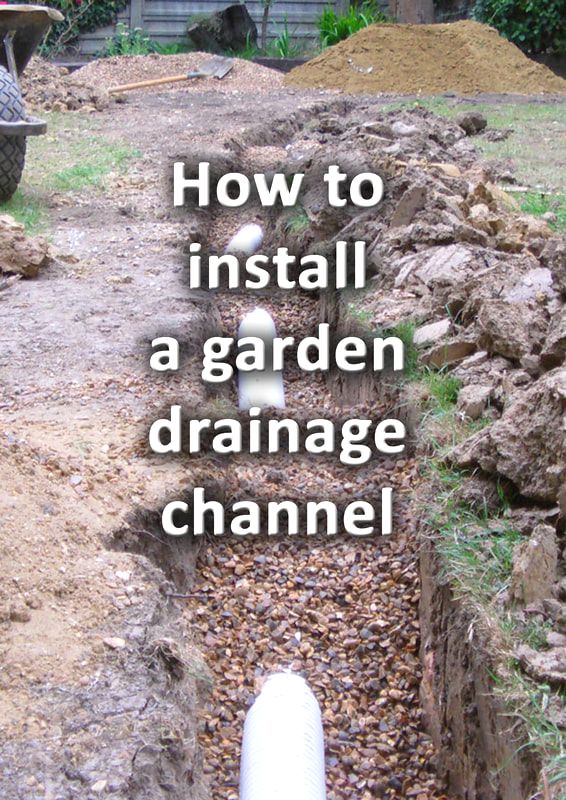
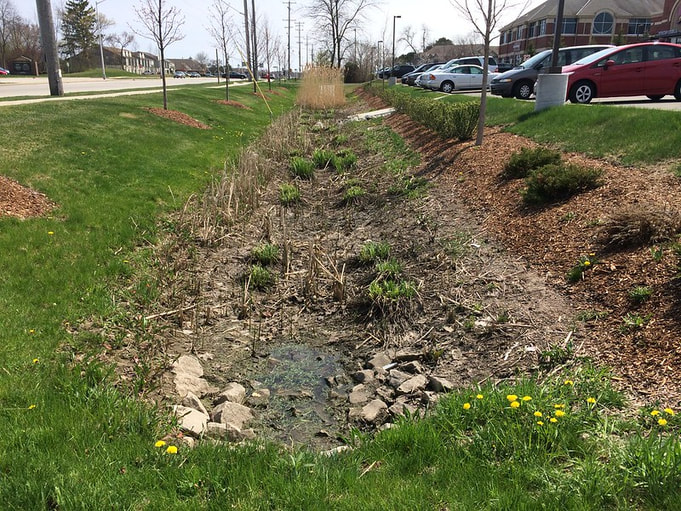
Drainage channels are a narrow trench, gulley or depression which channels water to a specific location. Typically drainage channels allow unwanted water to flow to drainage networks or the landscapes lowest point. This is to prevent flash flooding, damp and standing water from affecting a given area. If you want to know how to make a drainage channel you must identify what kind of channel you need.
This will depend upon the potential volume of water you wish to channel and the type of catchment area.
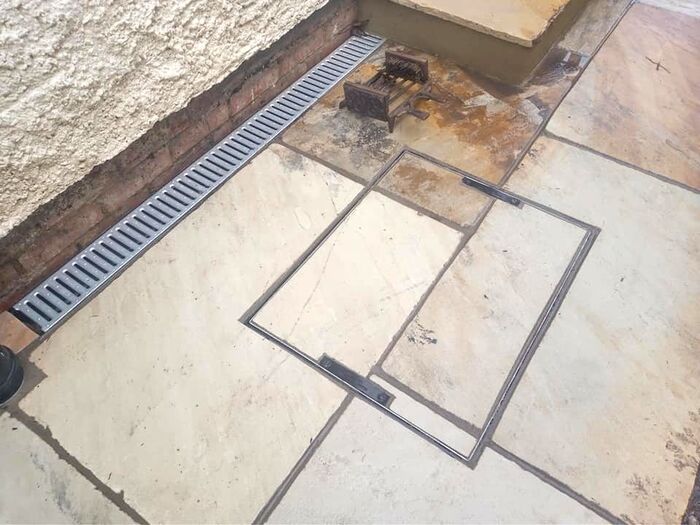
For example if you are draining a patio you will more than likely need a grated drainage channel. In this article we will discuss the drainage considerations and implications surrounding drainage channel installation. We will also describe the four main types of drainage channel and how to install them. Considerations for building drainage channels
Catchment area
The type of drainage channel you install will really depend upon your catchment area. This is the garden area or zone which needs to be drained. This will not only dictate the volume of water runoff but velocity of that runoff. Catchment area surface
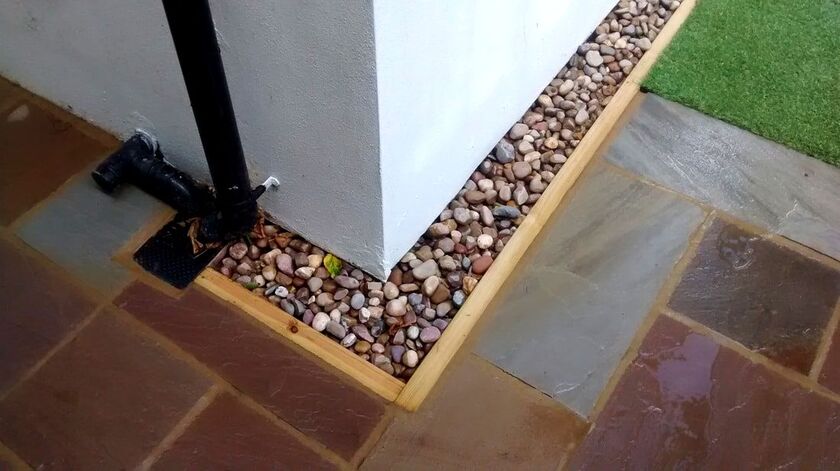
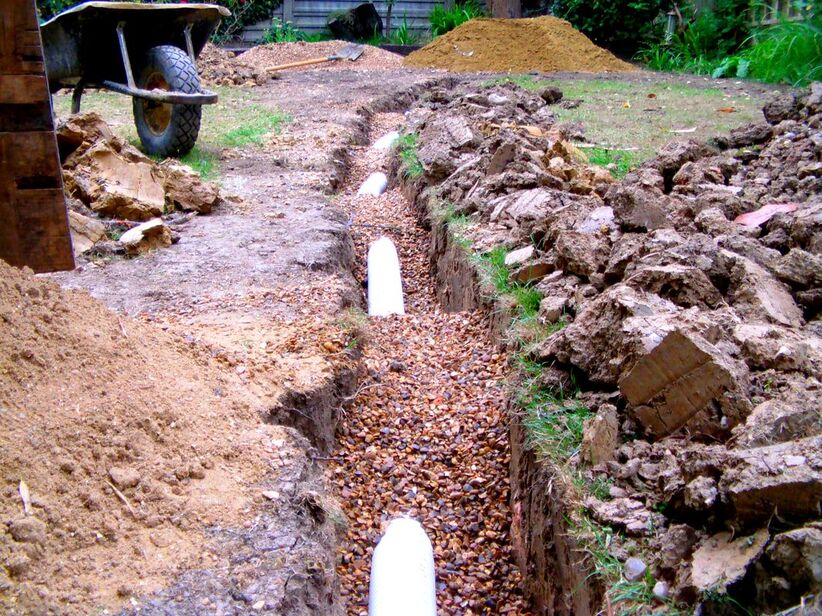
An impervious surface such as a patio will accelerate storm water, surface, runoff. In contrast, if you are draining a lawn, hydraulic discharge will be slower and longer lasting. Therefore each catchment scenario is different. If you are dealing with impervious, hard surfacing drainage channels such as grated gulleys are best. These provide deep channels which do not create hazardous level changes for pedestrian traffic. They are also designed not to decrease the aesthetic appeal of paving and other surfaces. For lawns and flowerbeds French drains or perforated pipe drainage channels are best. Water volume
When considering what garden drainage channel to install, predicted runoff volumes are a noble consideration. You certainly do not want your drainage channel to be overwhelmed in times of heavy rainfall. Therefore it is a good idea to get an idea of your potential run off volume during times of heavy rain. In order for you to do this you will need to work out your catchments surface area. This can be done by multiplying its length by width. The catchment area must then be multiplied by the depth of rainfall during a period of extreme rainfall.
The UK record rainfall total in 24 hours was Storm Desmond at 341.4mm in 2015. However I would say that 100mm is more of a typical, extreme rainfall event.
Therefore if you have a catchment area of 10 metres by 10 metres the calculation would be: 10m x 10m = 100 square metres 100sqm x 0.100mm = 10 cubic metres of water. In such a scenario a drainage channel would have to accommodate 10 cubic metres of water within 24hours. Your proposed drainage channel should be sufficient to accept such volumes in times of heavy rainfall. It is also vital that your destination drain also has the capacity to handle such storm events. This is more relevant if you are relying on soakaways as a destination drain for a channel. Destination drain
All drainage channels have a primary function of channelling water from the catchment to a destination drain. Destination drains could be the local drainage network, a soakaway or even a retention pond. All drainage channels should be planned and installed with the destination drain in mind. If you expect to collect large volumes of water your drain must be able to handle such run off. Grated drainage chambers typically plumb straight into the guttering water network. However sustainable water policies now require you reabsorb storm water back into the landscape. For specific drainage policies in your area contact your local authority. Types of drainage channel
Drainage gulley
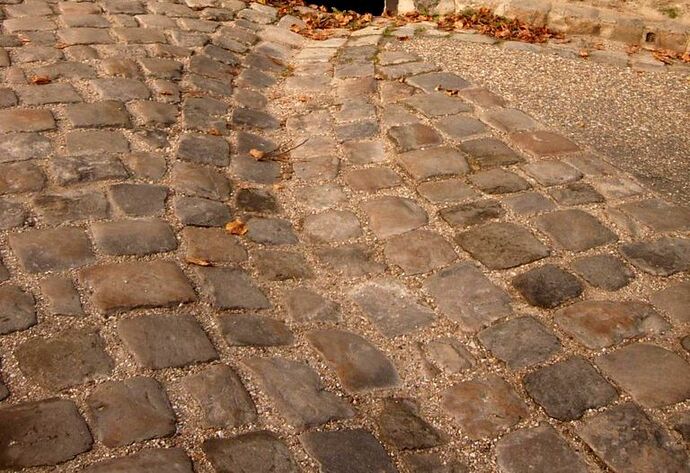
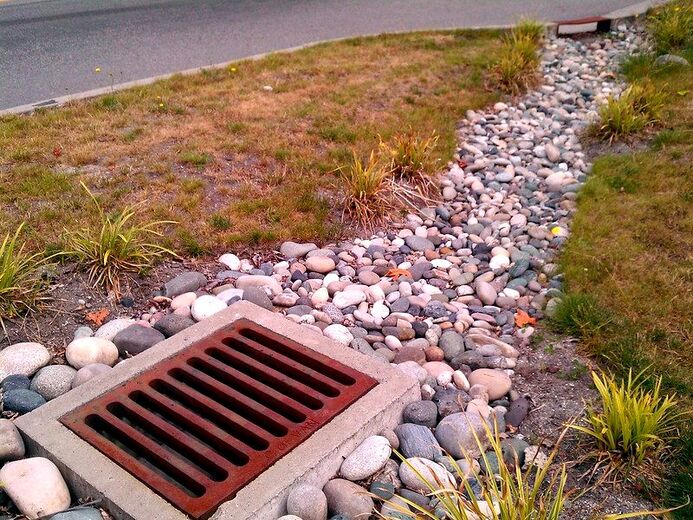
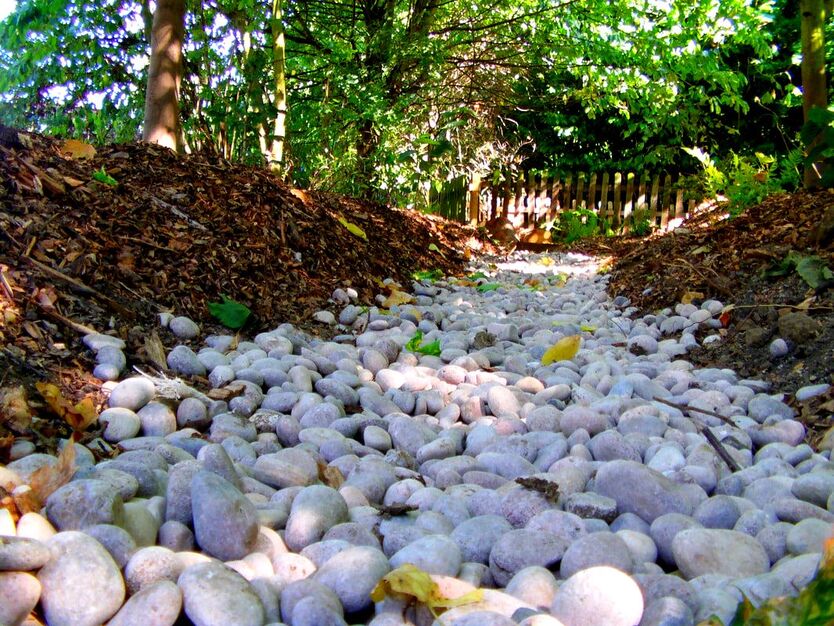
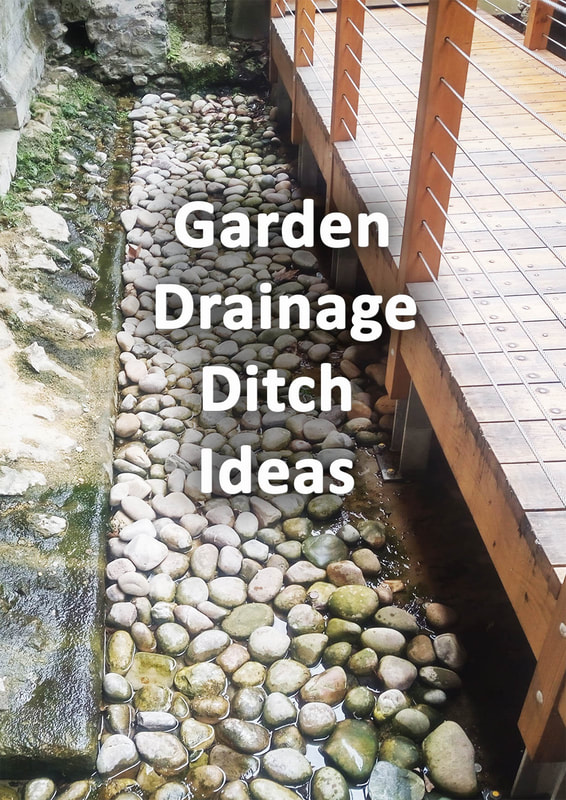
A drainage gulley is traditionally a shallow, semi-circular, depression which collects and directs surface water. These are generally formed into areas of hard standing such as paving and concrete. In their simplest form they are formed with a fillet of concrete formed into a bowl. This can be executed with a pointing trowel or by pressing a wide pipe onto a mortar surface. For added decoration concrete gulley’s can have flat pebbles pushed into the surface. To make a drainage gulley you will need to install a rigid base similar to that of a patio. This is so the concrete does not crack due to ground movement. How to install a drainage gully
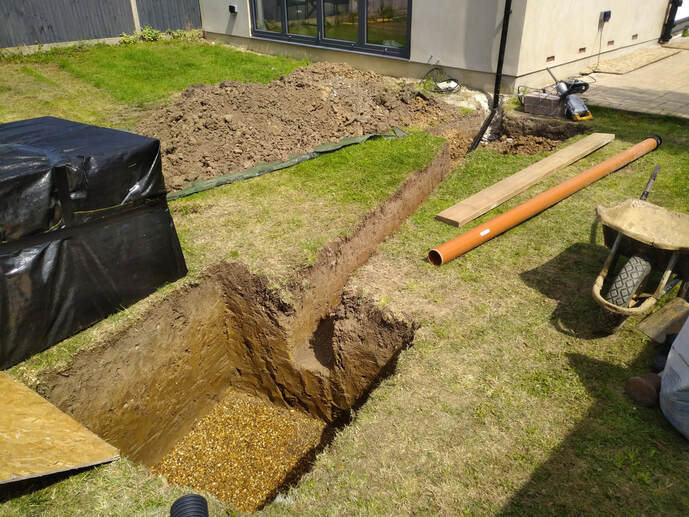
Make sure your gulley route is excavated to a depth of 200mm with no loose soil present.
Peg out your levels so you can engineer a fall so water flows downhill to is destination. Supply and spread a 100mm layer of compactable hardcore such as mot type 1. Supply and lay a 100mm layer of wet concrete mix with impervious, sealant, admixtures. Work the concrete to a consistent depression or semi circular shape to accommodate the flow of water. Drainage grate channel
|
The Author
|
Landscaping services across Buckinghamshire, Amersham, Aylesbury & High Wycombe
Hyde Heath, Amersham, Buckinghamshire |
|
