This article contains affiliate links
Channel drains are known by a few, different names; drainage channels, drainage grills, grates and drainage chambers.
These can also be referred to as Acco chambers which is are popular brand of drainage channel drain. Drainage chambers are typically used to collect excess rain water from hard and impervious surfaces. Here I will explain what channel drains are, when they should be used and how to install them. What is a channel drain chamber with grate?
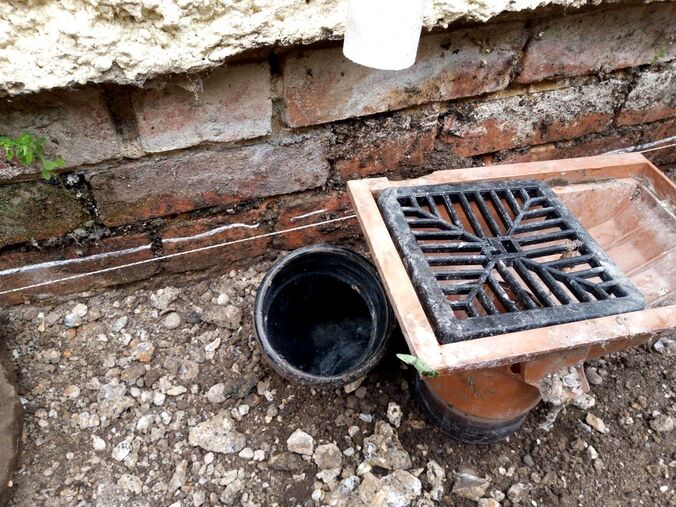
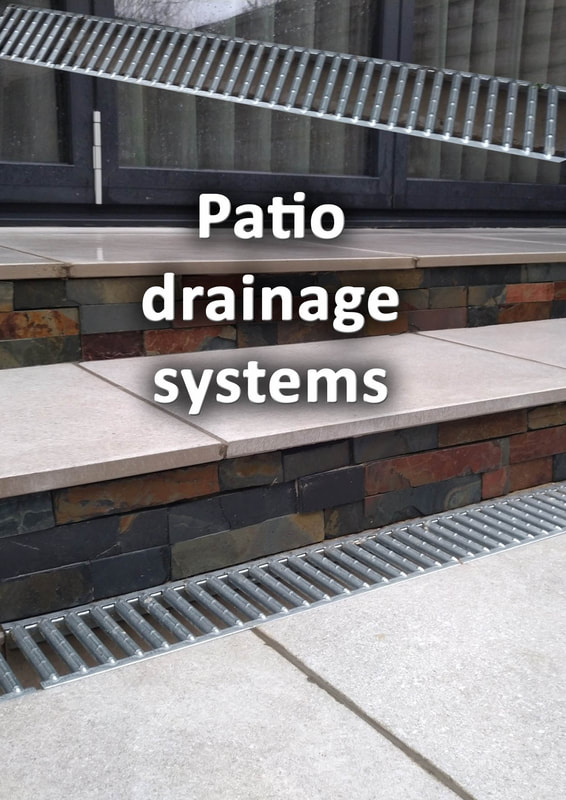
A channel drain with a grate is a pre-formed gulley designed to collect water runoff from a hard surface. The channels have a ridged grate or grill to carry both pedestrian and vehicular traffic. The grills can be removed when in place to clean out and remove any blockages. Channel drains generally come in 1 metre lengths which inter connect for a tight fit. They normally have a width and depth of around 100mm. 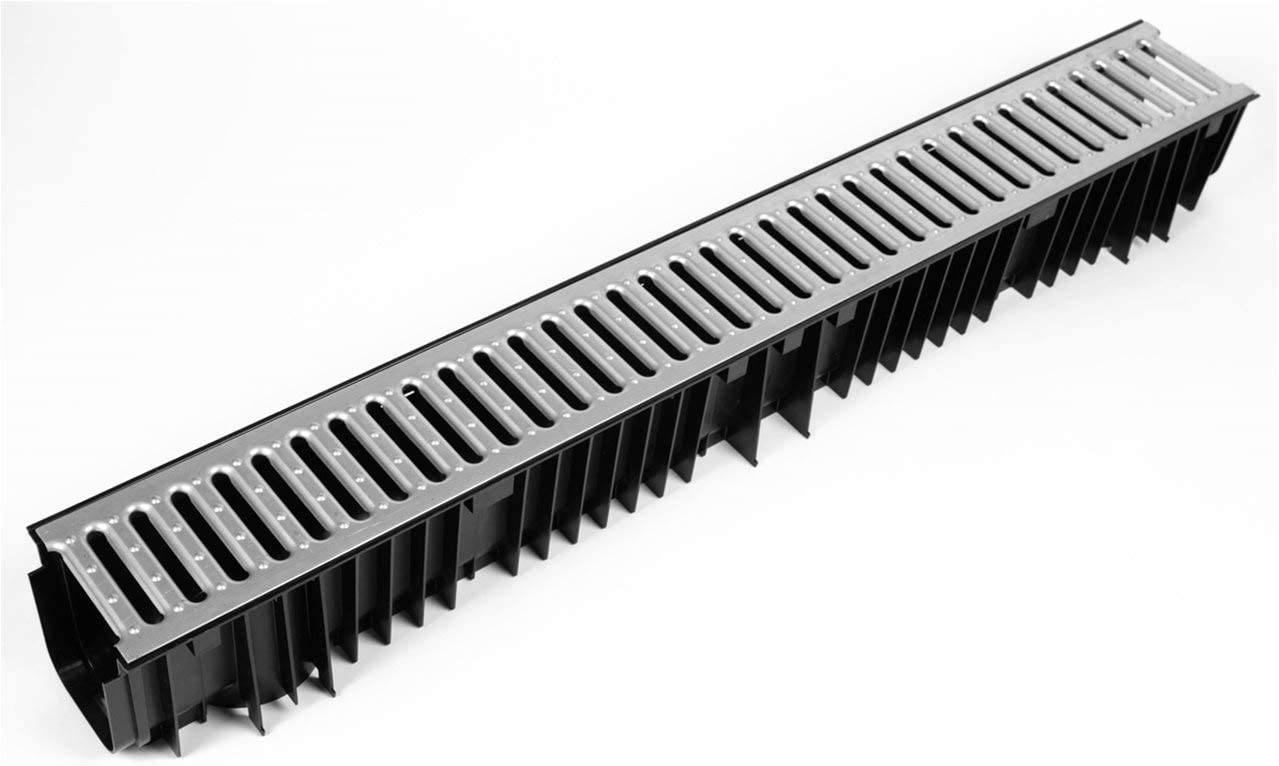
Why should you install a drainage channel with grate?
You should install a drainage channel with a grate if you need to collect and channel away surface water. Channel drains allow you to intercept large quantities of water without having to change surface levels too much. Not only are these drainage chambers effective for water collection they also look good. The grills can implement visual textures to paving and be incorporated into various landscape designs. Stainless steel drainage grates look very effective integrated into contemporary landscaping schemes. 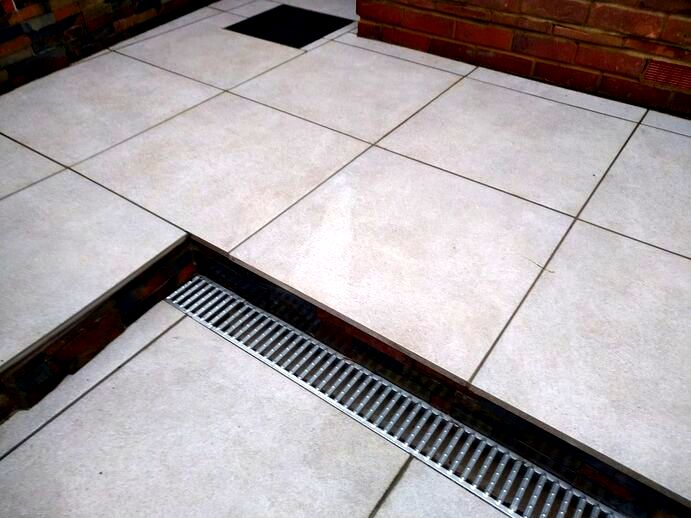
Where should a drainage channel be placed?Grilled drainage channels should be placed in a location where they can collect maximum surface run off. This is generally at the low end of a slope or fall. For example, if you have a slope which runs toward a house the channel should run along the home. This will prevent water from sitting against the building which could potentially cause damp. However channel drains can be located anywhere you want as long as surrounding surfaces fall towards them. 
Having a channel drain system strategy
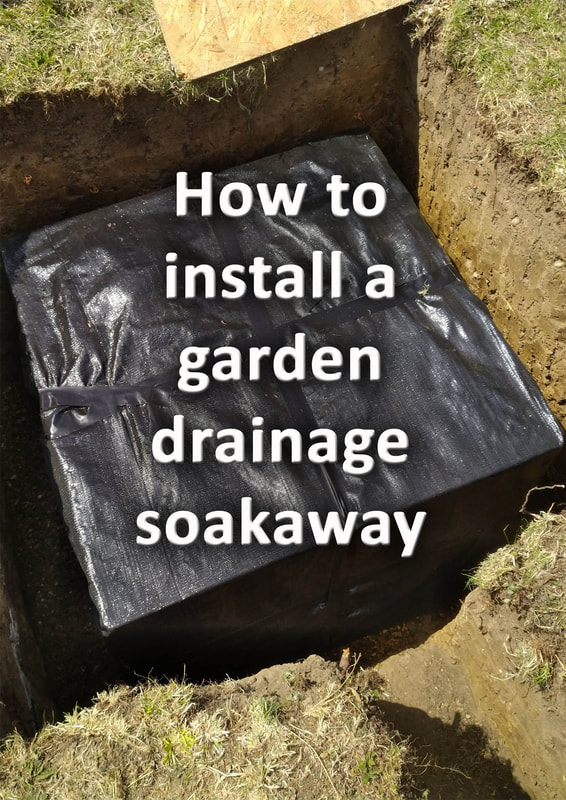
Whenever installing drainage chambers it is important they are a part of a greater drainage strategy. Once you have collected the water you must have a destination for it. This could be a garden drain, storage tank, retention pond, bio-swale or soakaway. Where you channel the water will depend upon your specific site and local rules and regulations. Do you need to slope a channel drain?
Contrary to common belief you do not have to slope a channel drain at all. If you wish you can run them perfectly level as long as you have an outlet at the base of the channel. This is because water always runs to the lowest point. This is particularly useful if the finished surface has to run completely level. However most of the time it is better if you do put a slight fall on the chambers. This channels water where you need it and prevents standing water at the base of the channel. 
Can you install channel drains without concrete?Channels drains really need to be fixed into position securely with no risk of any movement. This is so their channelling function is not hindered in any way. This means channel drains do have to be hunched into position with either concrete or mortar. Cement mixes allow you to create rock, hard, haunches to anchor drainage channels into position. This prevents movement of the chambers which can result in leaking and back falls. Can you put a drainage grate in a lawn?Grated drainage channels are not suitable for collecting water from lawns. This is because the surface levels of a lawn can fluctuate seasonally. As lawns are permeable most water will simply soak into the soil before a chance of reaching the channel. As most surface water in lawns runs under the surface, drainage chambers could actually dam ground water. This could lead to a very boggy lawn along the edge of the channel. 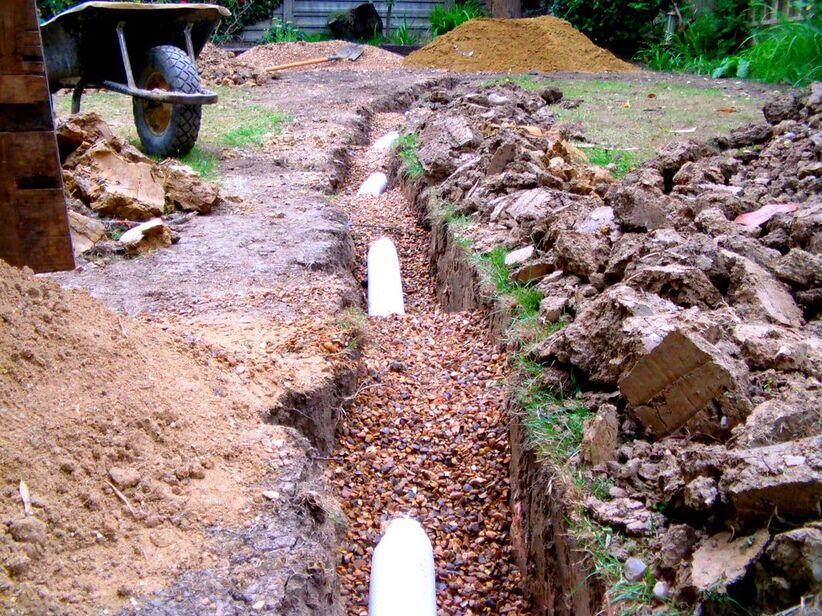
Therefore it is not advised to ever run a channel drain inside a lawn. This is unless the grates run along the edge of paving which borders lawn.
This would be to collect run off from the paving so it does not run onto the grass. This would be advantageous if you already have a lawn which is susceptible to water logging. If you do wish to drain a boggy lawn then a drainage channel with a perforated pipe is best. For more information, visit our lawn drainage article and guide on how to create a drainage channel. What is the best mortar mix for drainage channel?
The best mortar mix for laying drainage chambers is one that is dense and impervious. This is so there is less chance of movement when setting and they are water tight. The best scenario is a solid and pre levelled base of in-situ concrete along the run of the channel. This should be laid to allow for a 30-40mm bedding layer of strong mortar to bed chambers onto. 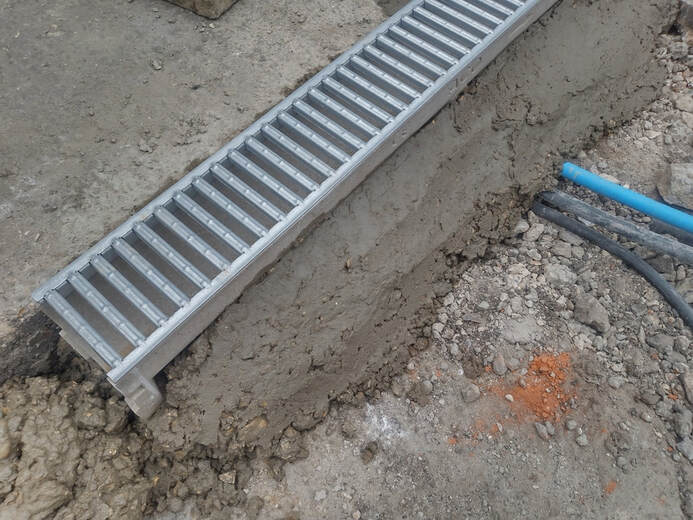
Typically the best mix for this is a 4:1 sharp sand or plastering sand and cement mortar mix. A good quality waterproofing and weather proofing admixture should also be added.
This mortar has small, sand, particles which enable you to seal joins and smooth neat haunches. Alternatively however, you can bed channel drains onto pliable concrete mixes. Where to run a drainage channel with grate
Your drainage chamber will need to run towards some sort of outlet. This can be a sump pipe connected to the base of the channel or into a drain. These can then direct water into their destination location such as a soakaway or land drain. Any outlet destination should be lower than the drainage channels so gravity can help water flow away easily. The ad below contains an affiliate link to Amazon 
How do you connect a channel drain?
Most channel drains have a key grove at each end so multiple sections can be attached in succession. Some types of plastic chambers allow you to connect sections rigidly in one piece. This makes it easy to bed down a few linear metres in one go. One of the biggest challenges when laying channels individually is keeping them flush as you tamp them down. Consequently it is a good idea to bed them down with an overhang at each end. This way mortar does not swell up between the joins and prevent a tight fit. 
How to connect a drainage channel to a drain
Typically the easiest way to connect a drainage chamber is straight into an external drain. Today the most common of these are pea trap drains which roofing gutters plumb into. These are generally 100mm square drains made of plastic. The best way to connect them is by cutting a circular inlet into the side. 
Offer up your drainage channel so the grill is flush with the top of the pea trap. Using a pencil mark the inner circumference of the gulley where it meets the drain.
Now cut out the marked shape carefully to ensure a tight fit. When bedding down the channel drain a strong mortar mix can be carefully worked to seal up any gaps. If the drain is made of clay you may need to cut an inlet with a circular diamond blade. If you are skilled with a 9 inch grinder it is also possible to cut an acceptable inlet. How to connect channel drains to pipes & soakaways
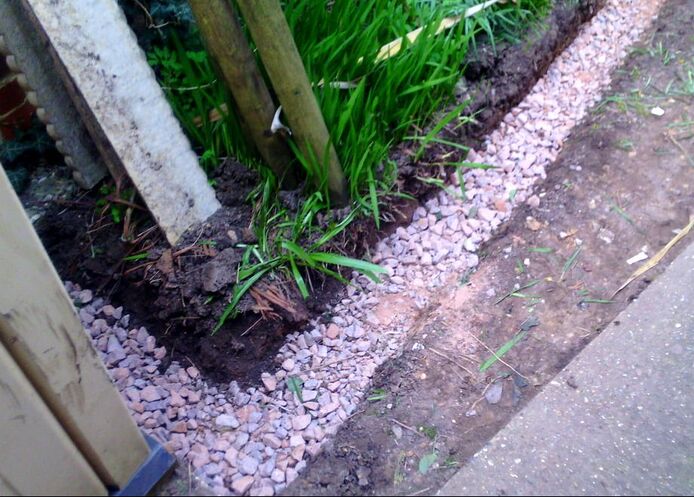
Very often you will need to channel collected water into a drain in a separate location. This means directing channel drain water into pipe work. This is very common if you need it to flow into a soakaway system. The best way to connect a channel drain to a soakaway is by creating a sump outlet. 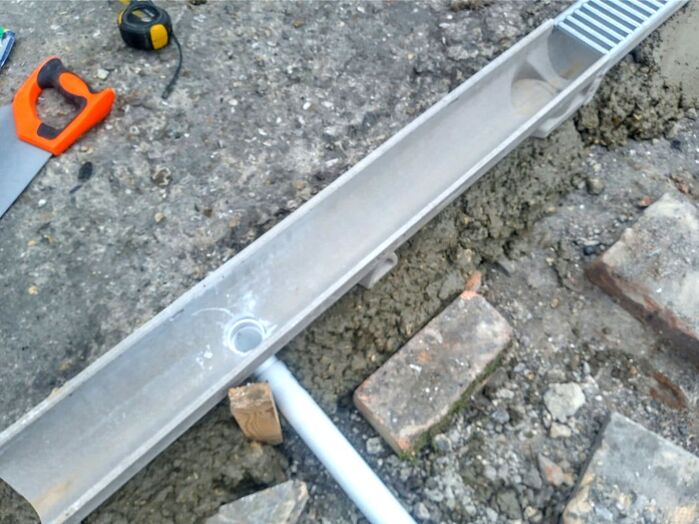
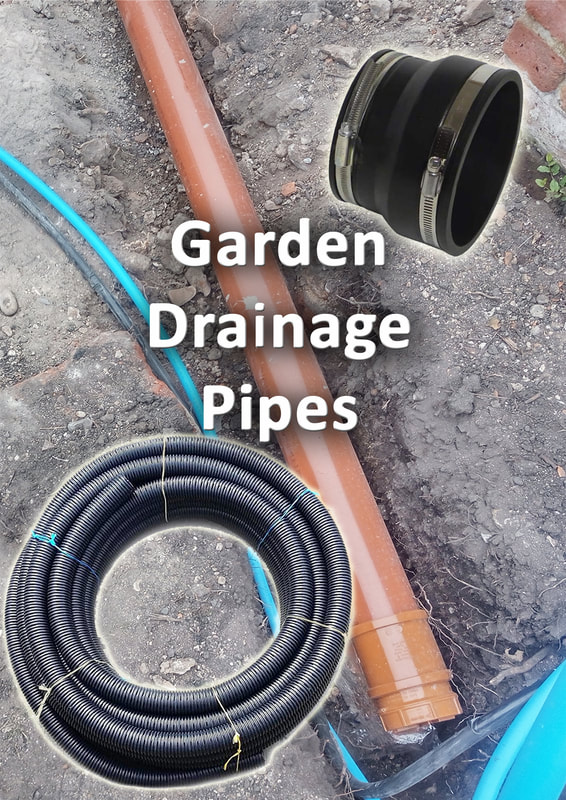
Quite simply this is a pipe outlet at the base of the lowest end of the drainage chamber. This normally takes the form of a 50mm PVC ground pipe elbow connector.
This can then be connected to a 50mm ground pipe which can run under ground to the soakaway. Below we have included images to illustrate this process. 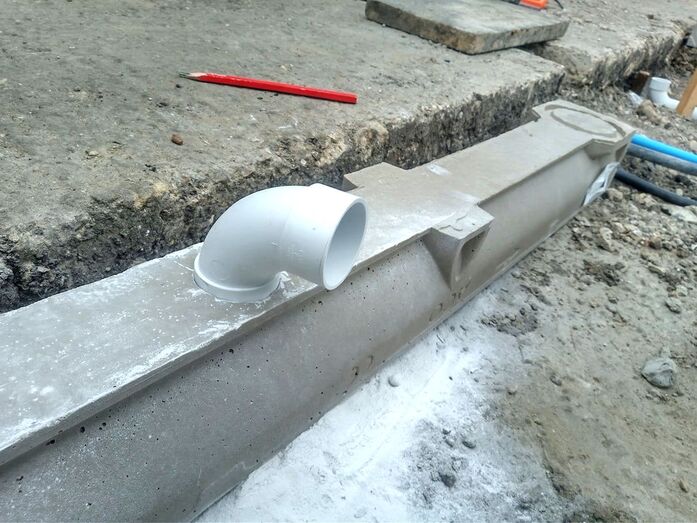
Neat, circular, outlets can be cut out using a50mm diamond blade, drill, attachment. If you cannot locate the exact diameter blade use a smaller one and wiggle it inside the hole.
If your pipe has to cover long distances to the soakaway make sure it flows gently downhill. It’s a good idea to anchor ground pipes with concrete every 2 metres to prevent ruptures. 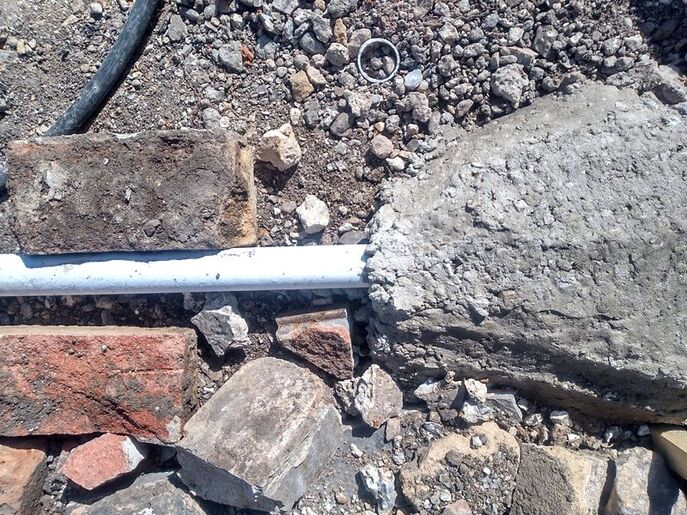
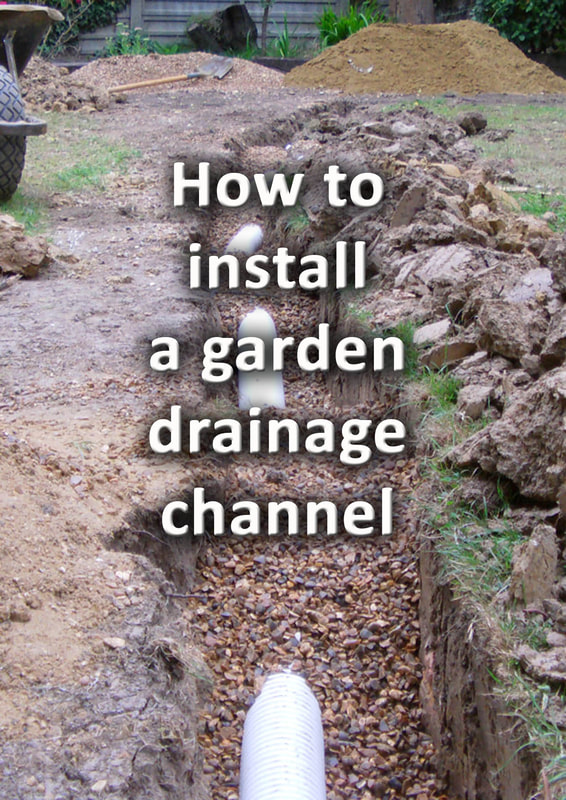
How to install a drainage channel drain step by step
Step 1
Make sure you have planned the best drainage strategy and route for your drainage, channel, grills.
Step 2
Check your proposed, finished, levels before you start to prepare the ground for laying channels. If you are laying along a wall mark out the fall using a string line. This will enable you to measure down and excavate out enough to accommodate both the chamber and a robust base.
Step 3
Excavate out the channel route to allow a reasonable depth for the channels with base work and mortar. This is normally around 185mm, that’s 100mm for the channel, 50mm for the base and 35mm for the bedding mix.
Step 4
Supply and spread a 50mm base, layer, of mot type one to the excavation and compact well. Alternatively you can lay a layer of concrete or bed chambers onto a thick concrete bed.
Step 5
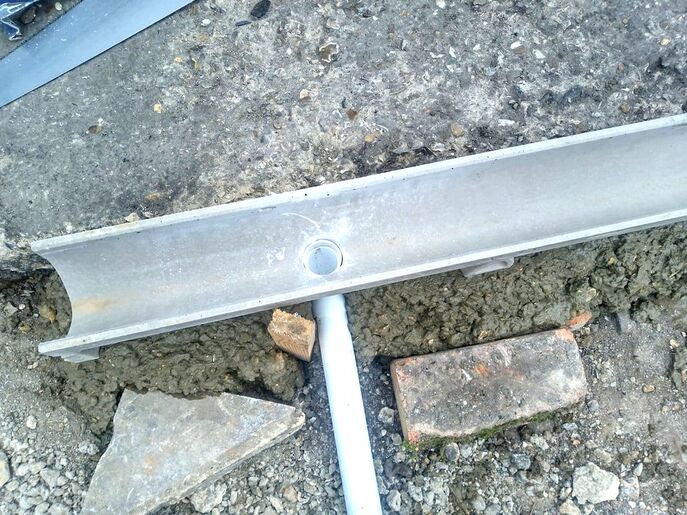
At this point make any provisions for connecting drainage channels to their destination drains. As shown below you may want to set a PVC elbow connector and a pipe run under the channel.

Step 6
Make sure you prepare your channel drain so it accommodates the necessary drainage outlet. Here a circular diamond blade was used to cut an outlet for a 50mm PVC pipe elbow.
Step 7
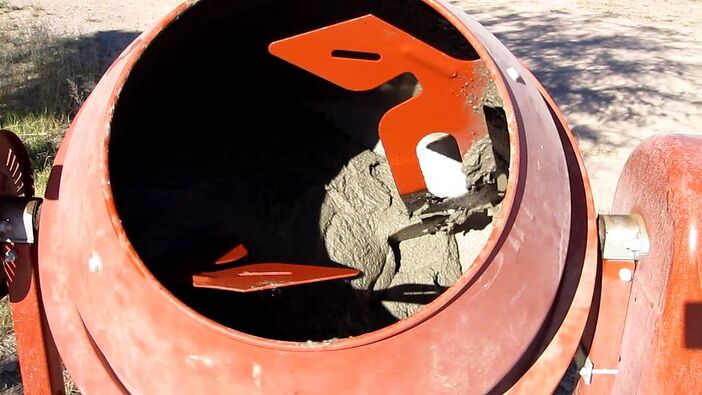
Mix up a 4:1 sharp sand mortar mix with water proofer and mix to a workable consistency.
Step 8
Set up a string line at the perfect route and height for your drainage chambers. Make sure the line is tight so there is no sagging in the middle.
Step 9
Start to bed down your first few channel drains making sure they are as level across the top as possible.

Step 10
When laying, leave an overhang under the channel joint so there is no mortar directly under the join. This will enable you to gently tamp down the chamber with no mortar resistance under the join. You can then to slot them down together effortlessly without mortar swelling up into the chamber.
Step 11
Keep going until you reach the end of the run, Make sure you double check your levels and lines as you work.
Step 12
When the mortar is starting to set, render mortar around the sides to secure channels into position. Make sure you leave enough space from the top to lay paving or other surfaces.


This ad contains Amazon affiliate links
Thank you for reading our article on how to install a drainage channel grate. Below we have linked to other garden drainage articles which you may find informative. If you found this article helpful why not help us to write more useful resources? By sharing via the social icons below you can help us to reach more people! Thank you!
'As an Amazon associate I earn from qualifying purchases'
3 Comments
9/22/2022 07:14:47 pm
That a channel drain with a grate is a pre-formed gulley intended to gather water runoff from a hard surface is very helpful. My son is one year old and starting to walk. I want to put up custom grates to keep my son from sliding into the drain. 12/15/2022 02:41:04 am
I appreciated you pointing out that a drainage channel with a grate can help gather and channel away surface water. My friend is working on a project that involves a steel trench drain system. I should advise him to work with a contractor with vast experience in their field. Leave a Reply. |
The Author
|


Landscaping services across Buckinghamshire, Amersham, Aylesbury & High Wycombe
Hyde Heath, Amersham, Buckinghamshire
|
|