This article contains affiliate links
Paving is one of the most preferred external surfaces as it is low maintenance and looks great. The most typical paving project projects include: patios, driveways and garden paths.
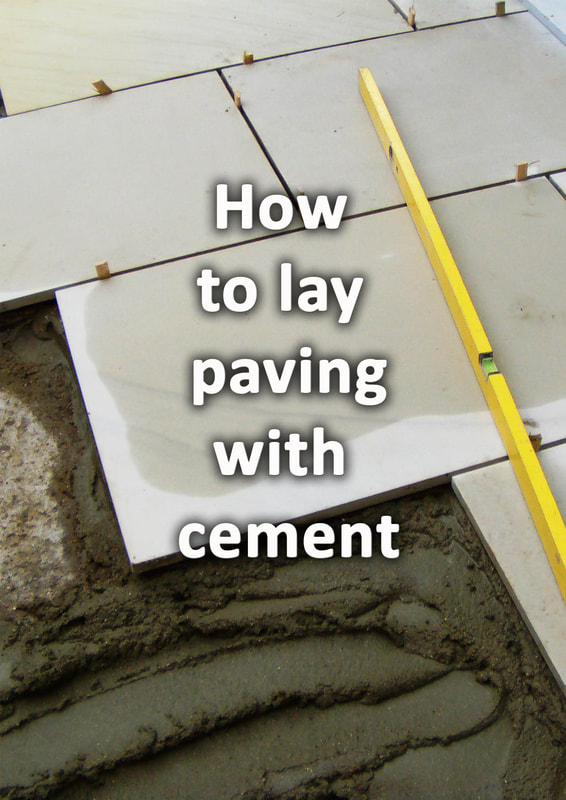
The idea of laying a patio on cement yourself may seem a little daunting, however it is not complicated. As long as you stick to the correct process and take your time it is easy. However be prepared for some hard work and a slower completion than using a professional. If you are prepared for some hard work and patience you will be satisfied with the end result. You will also probably save quite a lot of money in the process. 
If you are considering laying paving on cement there is a process you should stick to. This will make it as easy as possible for you as a beginner. The most difficult part of laying paving on cement is making the slabs surface perfectly flush and level.
This is essential if you do not want puddles and trip hazards. The key to laying slabs on cement correctly and level is in the sub-base preparation. If this is built correctly and your mortar bed is consistent laying the slabs will be easy. However if you get the base levels wrong you are in for a tough time. In this article I will explain how to lay paving on cement step by step. I recommend you print this article out and keep it with you while you work. Mark out your project area
The very first part of building your paving is marking out the project areas perimeter. You will want to mark it out a little wider all the way round to allow for tolerance. Before you commit to an area you can mark out shapes with a hose pipe or marking spray. When you are happy with the final shape, mark out the perimeter with spray marker. 
Where will water drain?
A typical trap for beginner slab layers to fall into is not having a drainage strategy. Every slab you lay will accelerate surface run off much faster than any other surface. Therefore it is common for new patios to create drainage consequences if they are not planned for. If there is a destination you want water to run to you must lay the paving on a gentle gradient. 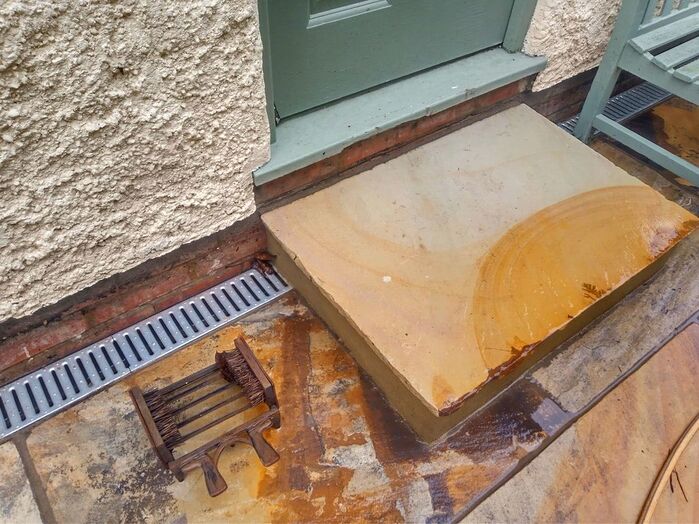
This ‘fall’ must be very slight and not noticeable to the naked eye. Falls can be implemented using a long spirit level and care when laying.
Falls can guide water gently to flower beds, drainage gulley’s or soakaways. Don’t make the mistake of trapping water up against a wall or creating a water feature! Mark out your levels
When you have a clear idea of your finished levels and falls mark them out. The easiest way to do this is if you are laying up against a wall or building. You can mark the paving level onto the wall using chalk or a carpenter’s pencil. If you are laying to falls run a string line between two levels and drive pegs in along the route. This will provide a visual reference of your finished level along the length of the paving. This is very important during the excavation; you do not want to dig down too deep! If you excavate out too much soil you will spend more on skips and sub-base aggregate. Make sure you have a full understanding of your paving levels before starting to excavate. Make sure you have a visual reference of these levels such as timber peg tops. 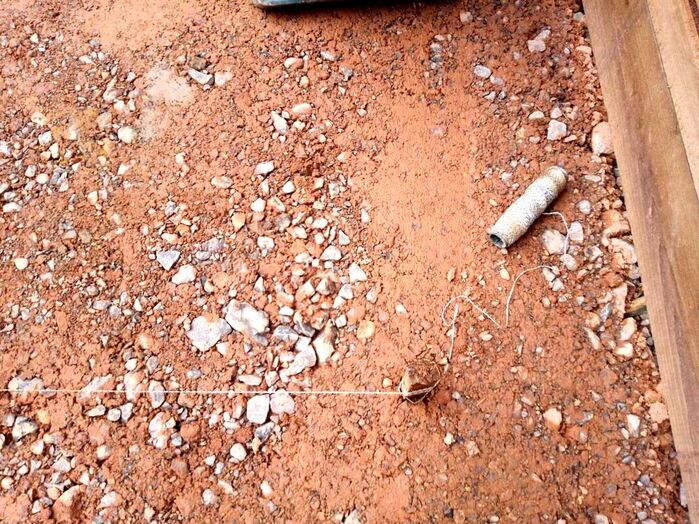
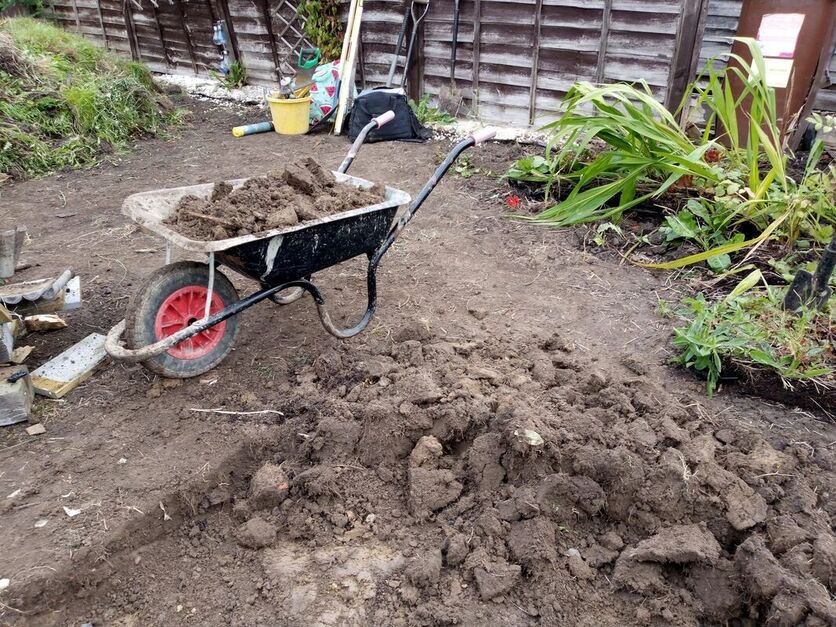
Excavate your paving
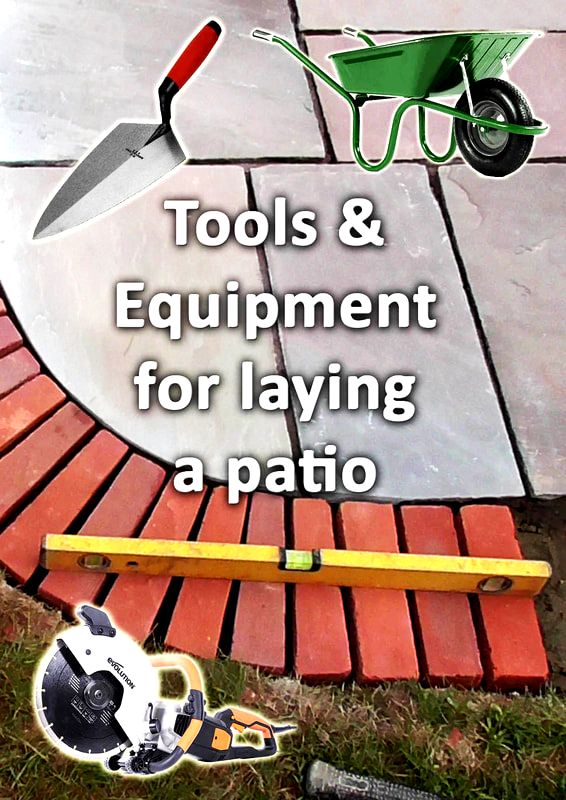
Start to excavate your paving area, you will need to dig down about 6 inches. This allows 4 inches of sub base (100mm) and 2 inches (50mm) for the slab and cement mix. If you are using paving thicker than 20mm excavate that amount out further. The best tools for digging out patios are spades, long handle shovels, digging bars, mattocks and wheelbarrows. For more information of excavating equipment visit our article here. To calculate how much waste you will need to dispose of multiply the surface area by the depth. This is best done in Millimetres making sure the decimal point is in the correct place. For example, A 100 square metre patio excavated at a depth of 150mm would be:
As you excavate make sure the base and sides of the excavation are neat and flat. There should be no loose soil at the base of the excavation.
As you excavate check you’re finished paving levels regularly. This is so you do not dig down too deep! When you have completed your excavation, you should have a consistent basin with square sides and a flat bottom. Many say that digging is an unskilled job, I completely disagree! Digging a patio requires a good understanding of levels, skill, strength and stamina! 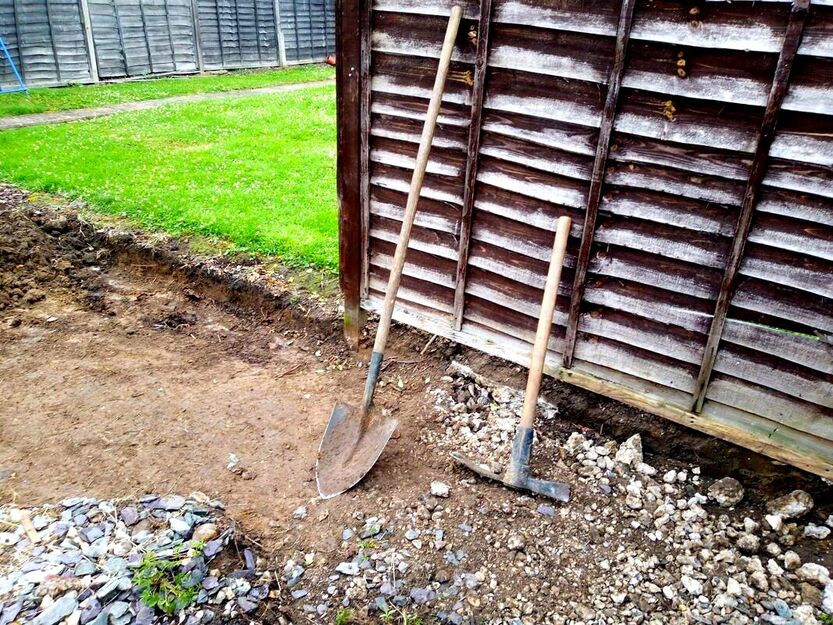
Peg out your sub base level
This part is probably the most important part to get correct! Your aim here is to end up with a series of wooden pegs at a consistent sub base level. This means when the sub-base aggregate is spread it will be levelled to the top of the pegs. This will create a level base for a consistent depth of mortar to reach your desired finished slab level. 
You will need to measure down from your marked ‘proposed paving level’ to your sub base level. This is typically around 20mm for the slab and 40mm for the cement, mortar bed.
Consequently you will be marking a level 60mm below the finished level you worked out previously. Using a long level, a club hammer and multiple pegs, transfer this level across the excavation. You will now end up with a series of sub base level points. Supply and level the sub base
The next step will be to fill up 100mm of the excavation with a compactable, sub-base. material. The best aggregate for this is mot type 1 and readily available from merchants. Supply and spread the aggregate so it ends up about a centimetre above the pegs. Level the sub-base to as even a surface as possible with a landscaping rake. 
Compact the sub-base
Using a vibro-compaction plate or whacker plate, compact the mot type1 well. Make sure the aggregate is watered down well first with a hose. This will help lubricate the aggregate particles and make them compact extra well. Use the whacker on high revs and ensure you cover the whole paving area at least five times. Be sure to compact the edges you cannot reach well with a sledge hammer or tamper. 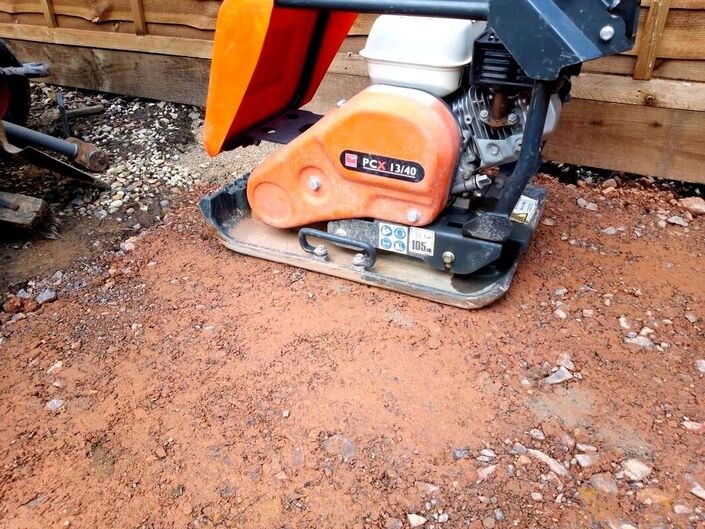
Mix up the mortar
Getting the paving mortar correct is very important for easy laying and durability. You want the cement mix wet enough to stick to the paving but without discharging water. If you are laying impervious paving like porcelain the mix can be a little dryer. If you are laying more absorbent, concrete, paving in dry conditions the mix can be a little wetter. This takes experience but you will work out the best mix for you as you progressively lay. I prefer to mix 3 parts sharp sand to 1 part soft sand to 1 part cement. This is essentially a 1:4 mortar mix. I also like to add a good dribble of mortar plasticiser to the mix. It is always best to hire a cement mixer for this part of the task! Add about half a builders bucket of water to the cement mixer and let it spin. Add half a 25 kilo bag of cement to the mix until it is completely hydrated with no lumps. Gradually shovel in 12 even shovels of sand until it reaches a whippy consistency. 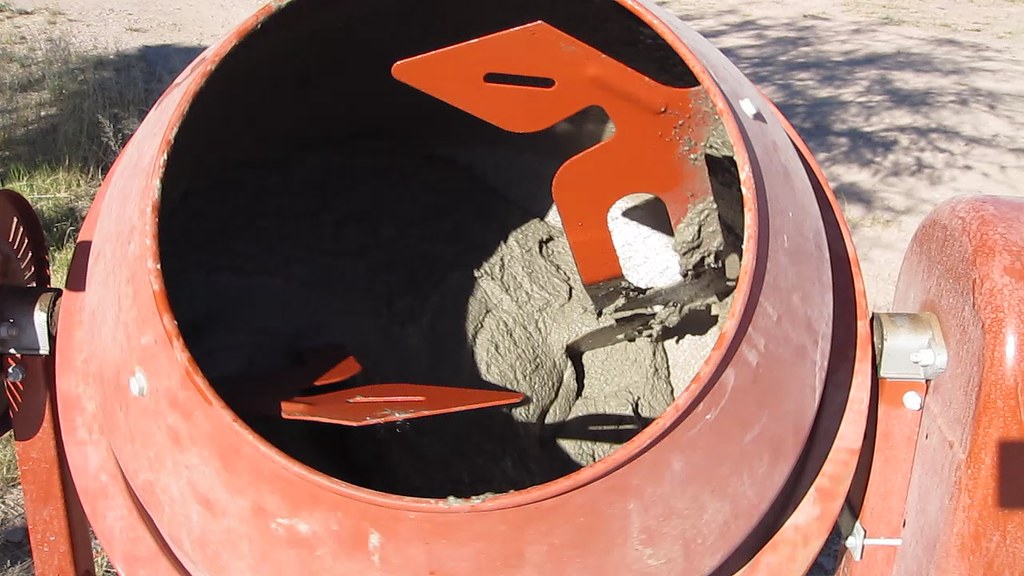
You will have to add water gradually as the mixer fills with sand. Allow the mixer to do its job and mix the mortar to a consistent colour. The mortar should just fall away from the back of the mixer drum with no sticking. If you can heap up the mortar on a trowel without it running off, it’s ready.
Empty the mix very slowly into a builder’s wheelbarrow, the mix should slide out with minimal sticking. Make sure you clean the whole inside of the mixer with a hose after every mix. This can be done with a spray hose attachment. Make sure you do not splash mortar everywhere as this can stain brickwork, fences and paving. Keep the mixing zone clean! Do not walk wet mortar around as you will stain surfaces! You are now ready to lay some paving! Bedding down the paving
The fundamental aim when bedding down paving is to have a minimum of 90% contact between mortar and slab. This means no large voids under the paving or dobbing. Dobbing is where you simply dob pads of mortar to the corners of the paving. This leads to water penetration, rocking and cracking. You really need to aim for a consistent mortar bed under each individual slab. This is obviously more difficult and requires much more skill. However if you have taken the time to prepare a level base it is much easier. To be completely frank it is simply a matter of trial and error. 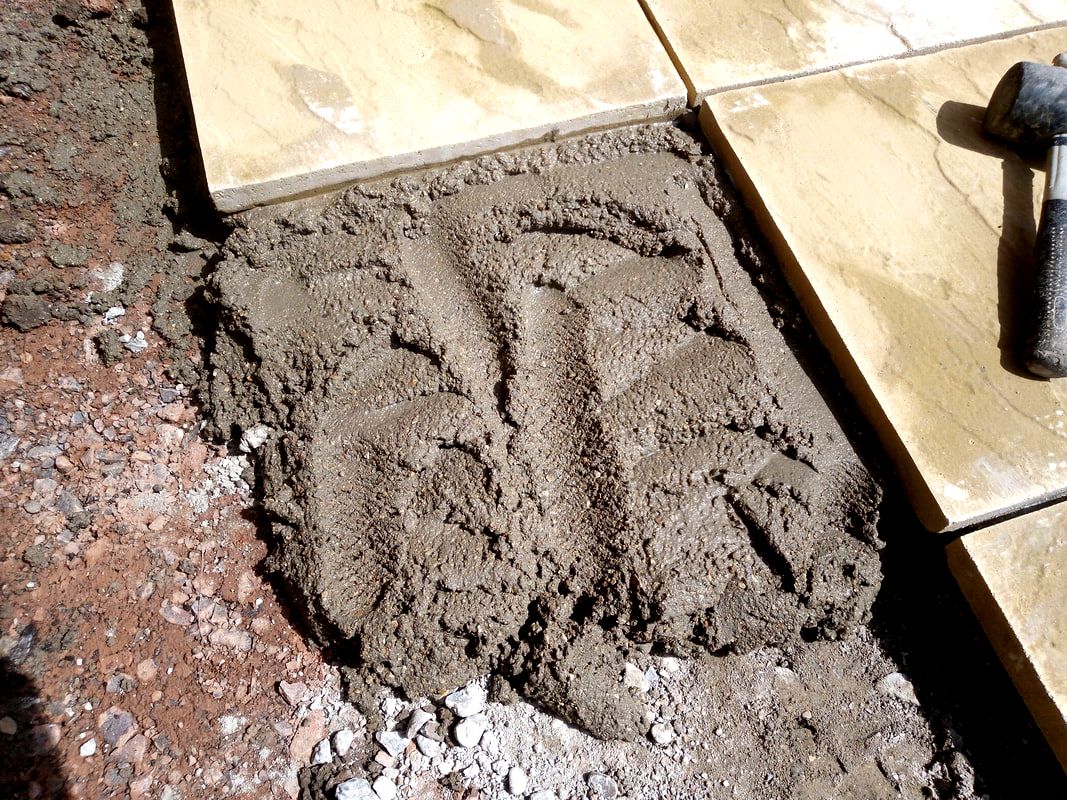
When applying the mortar try to lay an even application onto the sub-base, laying area. Create peaks in the mortar so the paving can slowly sink into position.
As the slab nears the correct level it should need a few taps to settle it into position. This tells you there is good contact with the mortar below. If you have to relay a paving slab a couple of times don’t worry! After 20 years of laying paving I still have to lift one every now and then! The best approach is to aim for perfection and take your time! 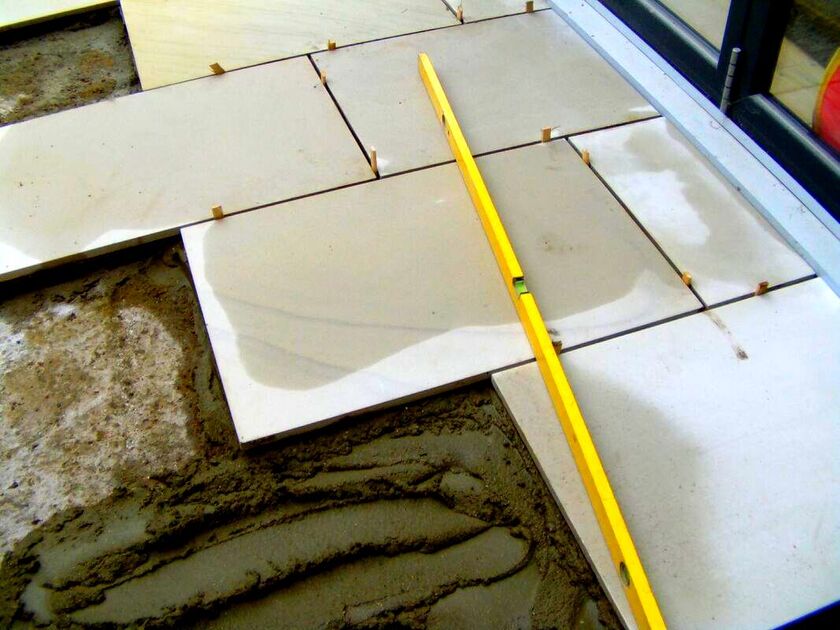
Bedding down the first few pavers correctly is essential! This will dictate the levels and falls of the remaining paving. Be prepared to take your time positioning the first few paving slabs.
Use a long spirit level and straight edge to project out your levels. If need be work to a string line! Keeping your lines straight
As you lay the paving it is important to keep an eye on the lines of your joints. These can easily become skewed or crooked easily. The best way to avoid this is to lay a tight string line across a central joint line. While you are working, walk away from the paving every now and then! From a distance look at the lines of the paving, it is amazing what the eye can pick up on! Just keep an eye on your lines as you go and work to a string line! This way you can ensure perfectly aligned edges and joints. 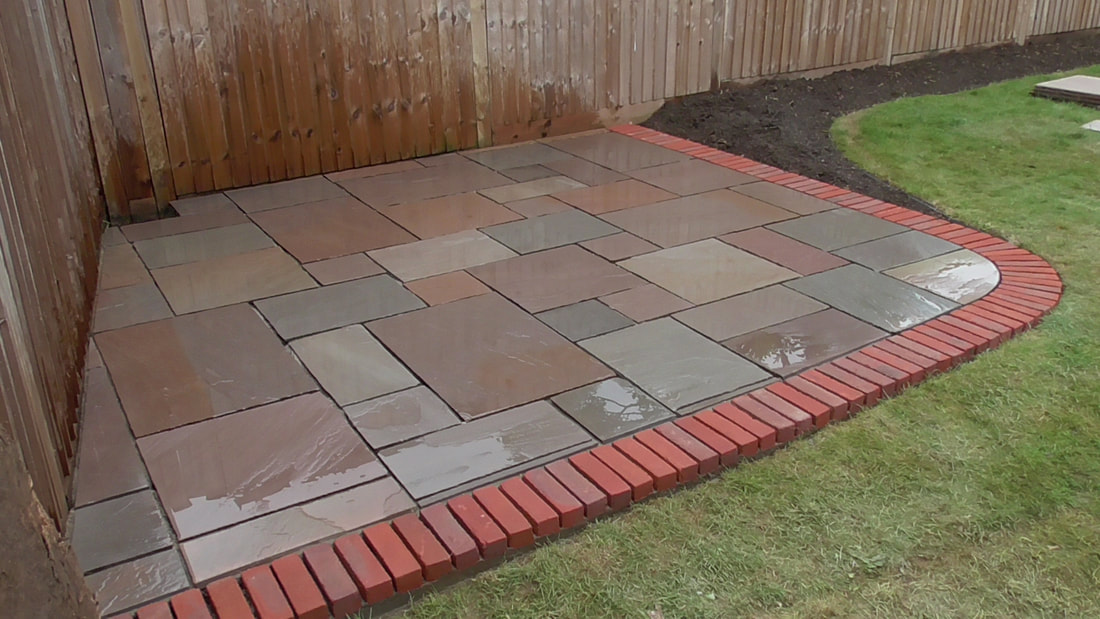
Keep it clean!One of the most important lessons when laying paving on cement is cleanliness. So many new contractors and novices can learn the hard way. Cement will stain paving; it’s as simple as that, no ifs and no buts! Yes impervious materials like porcelain and slate are less likely to stain but they still can. In my opinion you have to have a zero tolerance policy when it comes to cement near paving! 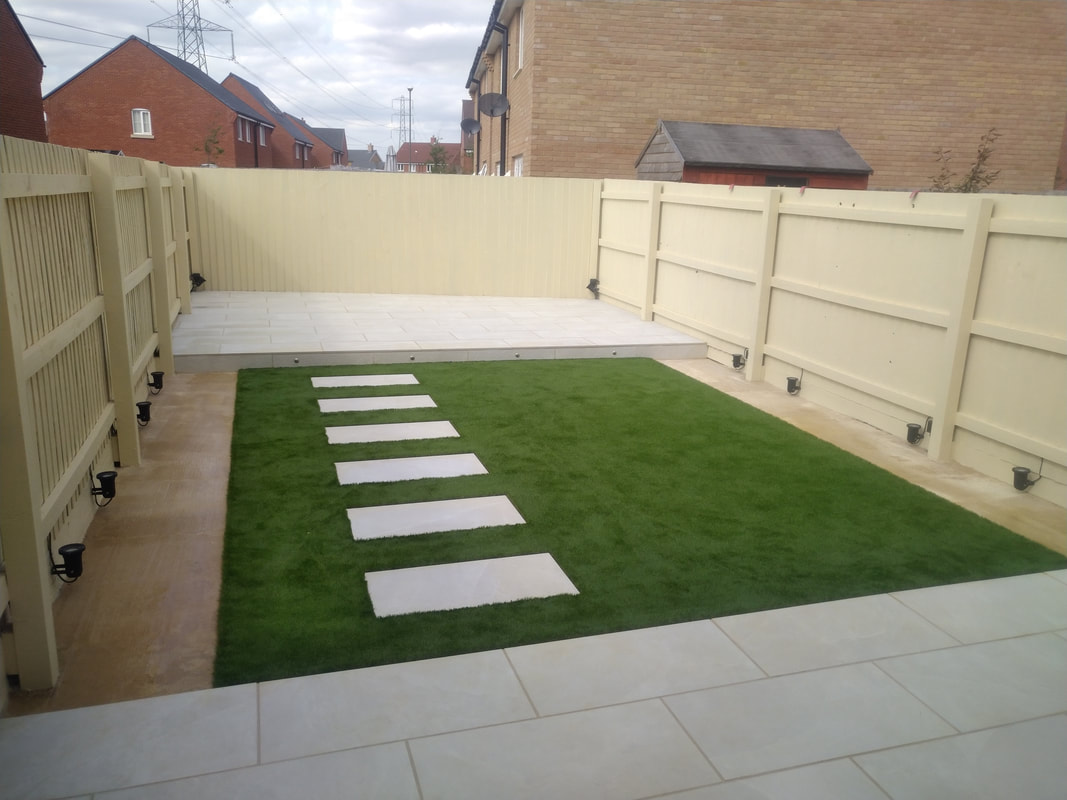
Even in wet weather cement can be walked around a new patio seeping white cloud stains into the surface. When mixing and laying you really need to have a visual map of where all mortar is.
Any spillages or splashes need to be cleaned up straight away. As you lay keep a bucket with water and a hand brush to hand. Be sure to clean off every paving slab as you go! At least this way there is no threat you will have to replace paving. Always keep your site as clean and as orderly as possible. Do you have to joint a patio?
Most of the time yes, you will have to joint a patio and it’s better that you do. Jointing a patio is the best way to ensure a well sealed surface. That is if it is done correctly of course! However there are occasions where you can simply butt up paving slabs tightly and sand the gaps. If you have precision cut paving and no chamfered edges you can close the gaps tight. This is more possible with durable materials that are unlikely to chip such as slate. I personally think paving laid this way can look very desirable creating a continuous surface. 
To lay paving this way you will need a continuous and solid mortar bed to avoid weeds.
However most of the time I would say it is much safer to simply apply a joint. If you want a less noticeable joint then go for a 6mm thickness with a coloured mortar. However I must stress that I have seen whole patios ruined by careless pointing. Consequently if you are new to laying paving with cement you need to read the next paragraph. 
Making a jointing mix
There are many jointing compounds on the market today; some of them better than others. I do generally recommend Easy joint however I am not always happy with the visual texture of these products.
Therefore most of the time I am a traditionalist and stick to my own jointing recipe. I mix 1 part cement to 3 parts Leighton buzzard sand or plastering sand. I mix them dry until the mixture becomes a consistent colour. If I want a specific colour this is where I would add a powdered cement dye. 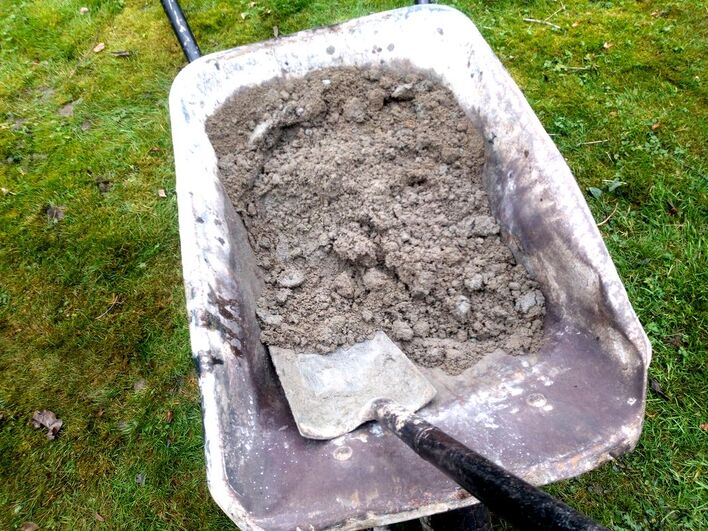
I would then fill half a bucket of water with a dribble of plasticiser and weather sealer. Slowly adding dribbles of the water to the mix I would mix the mortar until slightly damp.
You are looking for a consistency of brown sugar; the mix should not be wet just slightly damp. If you grab some mixture in your hand it should only just form a tight ball. On a separate piece of test paving, scatter some of the mix onto the surface. If any cement stains or runs into the surface it is too wet! There should only be slight damp marks but no cement run whatsoever. 
Jointing the paving
Firstly, make sure you only start the pointing when you have a dry day with no rain forecast. The paving must be bone dry with no excessive dampness in the joints. With a pointing trowel start compacting the mix into the joints until its flush. Make sure you ram the mix in well and especially around the corners of the paving. Try to not have too much of the mix sitting on the paving surface at one time. 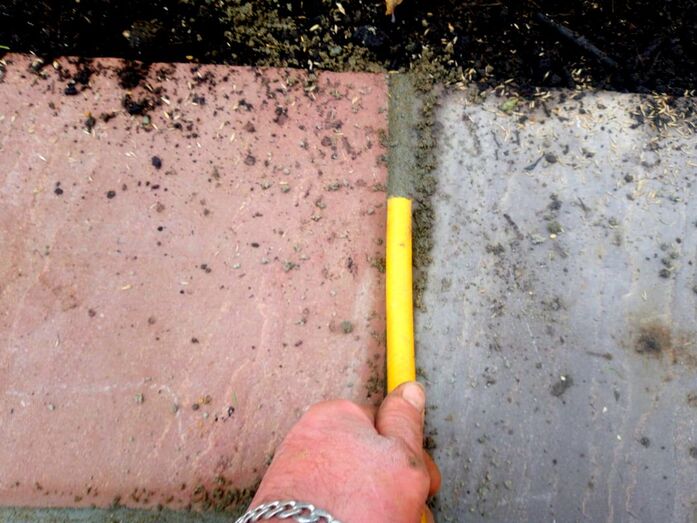
Using a jointing iron, push down and work a sealed finish to the joint. You will notice little nuggets of pointing mix be forced out at either side of the joint. These can be swept along with a very soft brush, a large, dry, painting brush is best! Keep going until the whole paving area is complete. For a more intensive guide on patio pointing and grouting visit our article here. 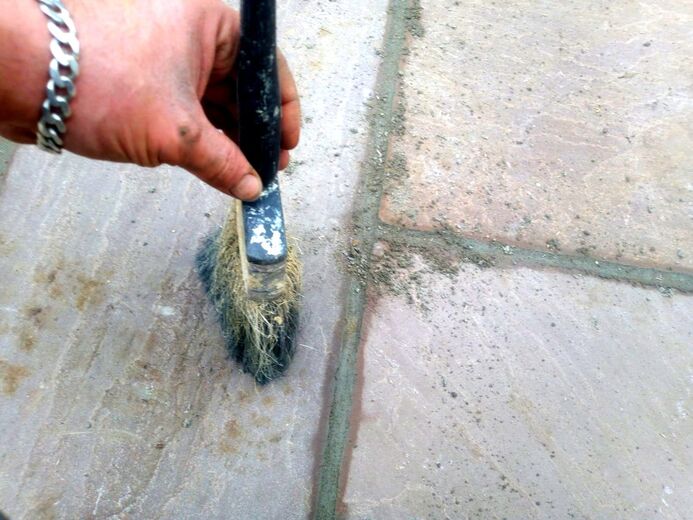
Haunch up voids
When the jointing is complete go around all the edges and make sure there are no voids. Where the paving meets flowerbeds it is good to haunch an angled render to edges. Seal up any voids around or under the completed paving for a good, clean, finish. The final clean up
The final clean up is one of the most important parts of the project. Make sure fresh topsoil is applied to any rough edges and turf is applied to damaged lawn. When the jointing mix is set give the whole paving a good pressure wash. Also make sure all driveways and sideways are clear from delivery debris. It is always best to also pressure wash delivery areas and sideway access paths also. 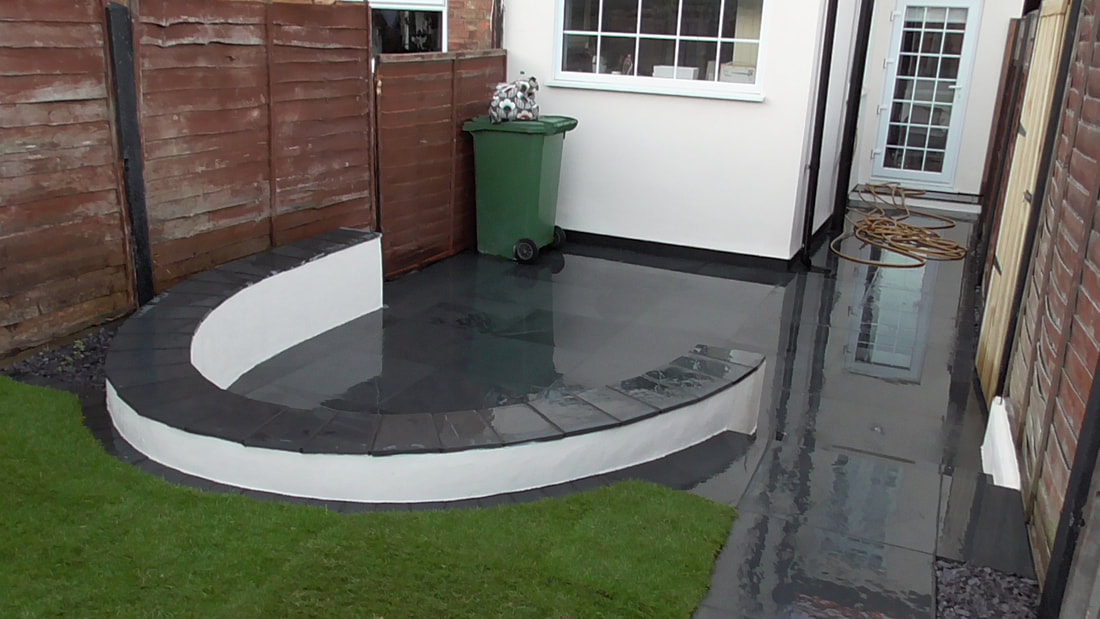
So there you have it! How to lay paving of cement correctly. If you have any specific questions please leave a comment below. If you have decided you wish to hire a professional,email me!
I can visit you for a consultation and provide a formal quotation. However if you are planning on laying the paving yourself, visit our recommended tools pages below. Why not visit simply paving to browse their range of paving products below. A video of me laying paving on cement
'As an Amazon Associate I earn from qualifying purchases'
3 Comments
5/31/2022 06:35:31 am
ks for sharing the article, and more importantly, your personal experience mindfully using our emotions as data about our inner state and knowing when it’s better to de-escalate by taking a tim sdce out are great tools. Appreciate you reading and sharing your story since I can certainly relate and I think others can to 3/24/2023 05:58:59 am
It’s a great source of knowledge; I think it will be helpful for lot of people who are looking for How to lay paving on cement correctly step by step . Thank you very much for sharing this article, this is really helpful for me, thanks again! 4/19/2023 01:33:46 am
I never knew that a proper mixture of cement and concrete would offer a more durable function. My father told me a few nights ago that he was hoping to find a reliable concrete paving service that could fix the look and function of their driveway because of cracks and holes. He asked if I had any idea what would be the best paving approach. I’m thankful for this helpful asphalt article. I'll tell him it will be much better if we consult a trusted concrete paving service as they can provide information about the process. Leave a Reply. |
The Author
|


Landscaping services across Buckinghamshire, Amersham, Aylesbury & High Wycombe
Hyde Heath, Amersham, Buckinghamshire
|
|