This article contains affiliate links
Patio grouting is exposed to every extremity nature can throw at it. Hours of powerful UV rays during summer, excessive frost in winter, as well as varying saturation levels throughout the year.
This can make it vunerable over time to movement, cracking and degradation. As most patio grouting and jointing is cement based it is not naturally suited to narrow and shallow applications. In this article I will explain how to remove and repair patio grouting and pointing. I will describe the grouting mix and method of re-grouting used by the professionals. Why do you have to grout between paving slabs?
Very few paving slabs are made square and uniform enough to be butted up tightly together. Even when paving is suited to such laying the thin joints are susceptible to weed establishment. Unlike block paving, slabs are laid using rigid construction, in other words bedded down onto mortar. This creates a continuous and solid surface which is not tolerant to movement. Hence grouting between paving seals the surface from the weather and protects paving edges. Most paving including natural stone has slight distortions and imperfections. Grouting allows for some tolerance and give when laying paving to a specific pattern or bond. 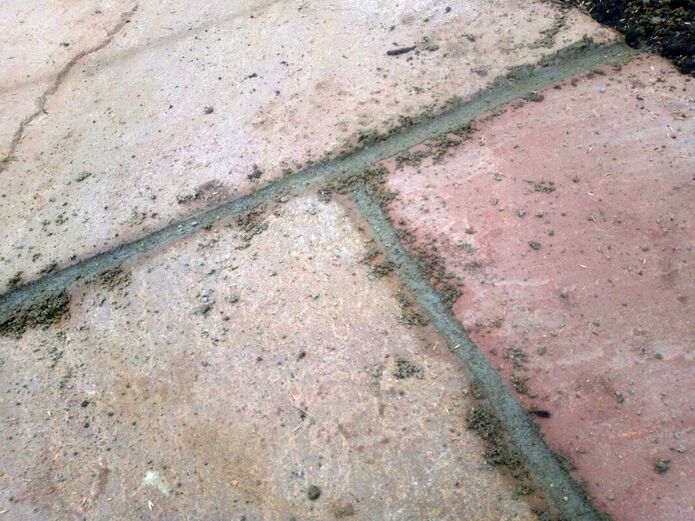
Can you Re-grout over old grout patio?
Not really, Mortar and cement base materials have very little flexible tolerance. This means the more they are applied over distance the more chance they have of cracking. Grouting over old grouting may look acceptable at first but it will soon fail. The only way to re-grout a patio is to chase out the existing grouting and start over. Do you have to remove old grout to grout a patio?
If you do not want your efforts to be completely wasted then yes! Just as you would not build a house on topsoil without a foundation you must remove old grout. If you do not, the new thin application is likely to flake off after a single winter. The only way to ensure grouting will last is to apply a greater volume of mortar as possible. The mix should be forced in deeply so it grips the inside of the joints tightly. 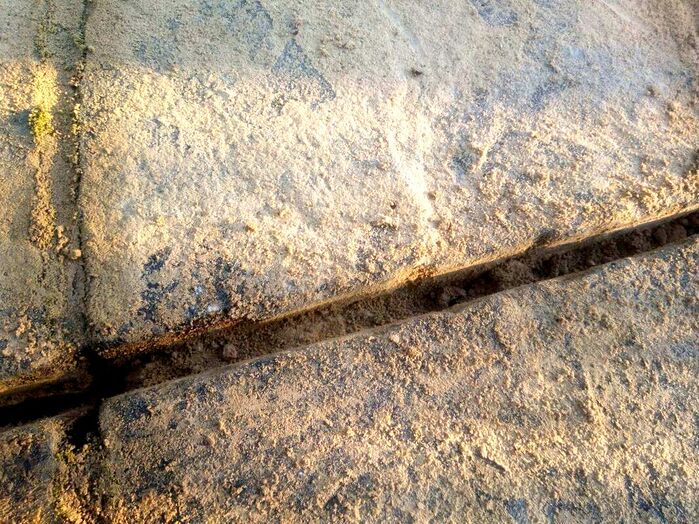
Why is my old patio grout crumbling?
Your old grout is crumbling because, most likely, the mix was too weak or applied incorrectly. As patio jointing and grouting fills narrow gaps it must be strong! I recommend a mix which is 3 parts sand and 1 part cement for grouting. Normally a crumbly mix will be a sandy colour indicating a week mix. Patio grouting should be a light grey colour unless colour dyes have been added. Another problem I see is with the application of grout to patios. 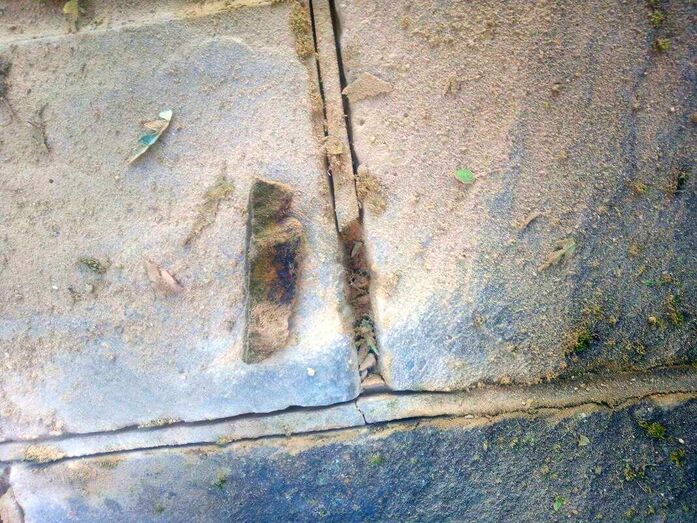
Merely sweeping a dry mix in between paving slabs will lead to failure. Such grouting will not have adequate moisture content or compaction to cure solid.
This will lead to excessive water absorption and weathering by freeze and thaw action. Patio grouting should be well mixed and just damp enough to form a tight ball in your hand. There should be no wet cement discharge from the mortar whatsoever! This is very important as this will stain your paving! Getting your grouting mix correct and applying it correctly is key to preventing a degraded and crumbly mix. How long should patio grout last?
There is no reason a well mixed grout applied properly to a robustly built patio cant last 30 years.
How can I grout a patio without staining?
Grouting patios is an art which involves knowing your materials, assessing conditions and mixing correctly. Grouting and pointing can stain patios badly and ruin thousands of pounds worth of work. I have seen this so many times again and again. Grouting a patio is the most important and crucial part and must be undertaken with care and diligence. To grout a patio without staining make sure the paving and inner joints are dry before you start. Check the weather and make sure there is ‘no risk of rain for at least 16 hours after completed grouting. 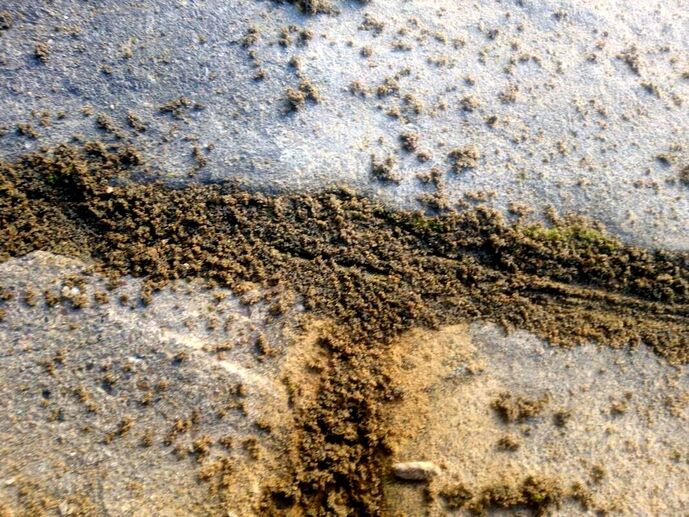
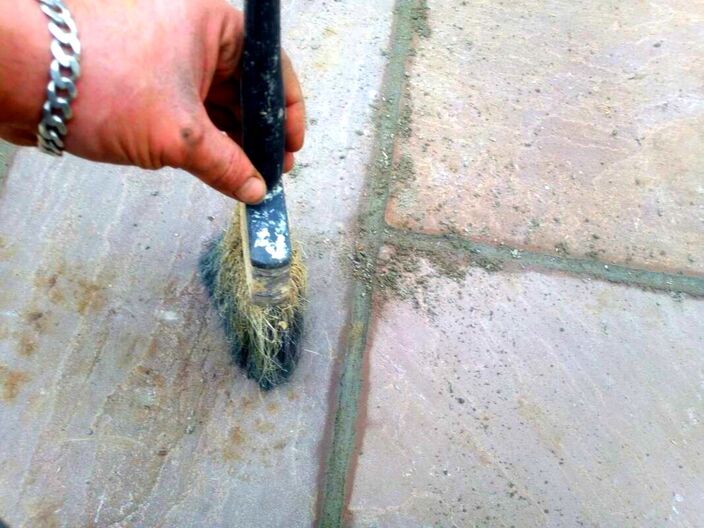
Your mix should be damp enough to compact well and work a finish but no more! If your mix leaches cement coloured moisture it has the potential to stain! More information on how to mix your grouting will be contained in the step by step guide below. Be careful where you are walking! Messy mixing and mortar preparation can result in cement being walked all over a patio. Make sure mixing is contained to separate areas and covered over with plastic! It is also important to gently sweep off excess grout as you work. The best tool for this is a very soft brush like a large paint brush. This will create a good finish and reduce the risk of treading mortar into the paving’s surface. 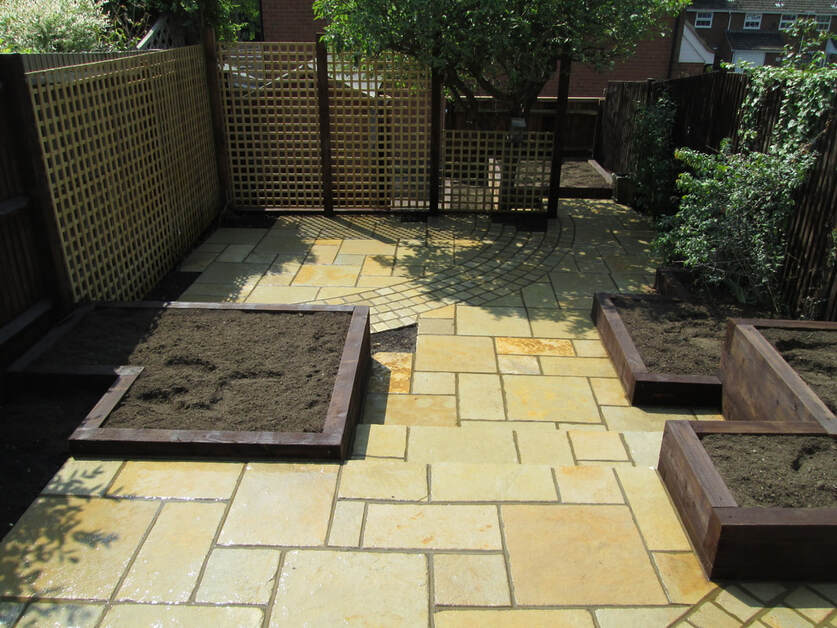
What do you need to repair and replace patio grouting?  
Fine dust mask 10 - pack (Amazon)
 
Barnwell rounded pointing trowel (Amazon)

Footprint jointing iron (Amazon)
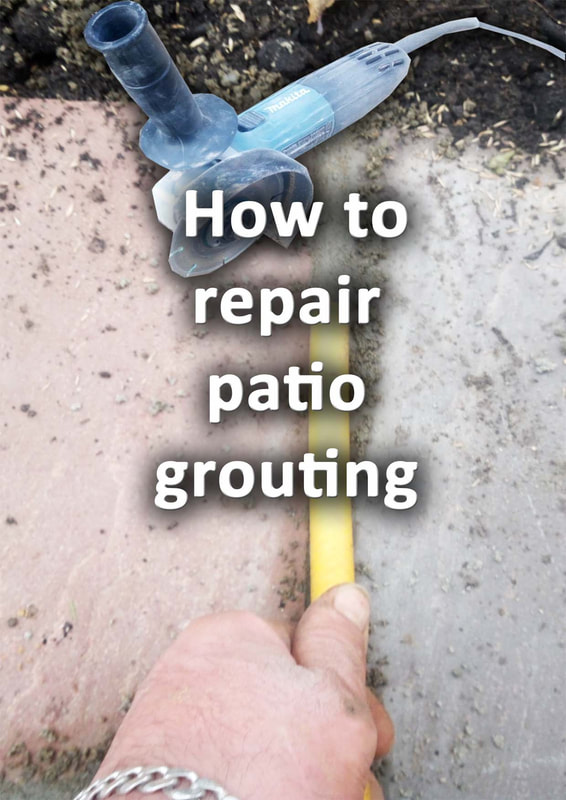
 How to repair and replace patio pointing step by step
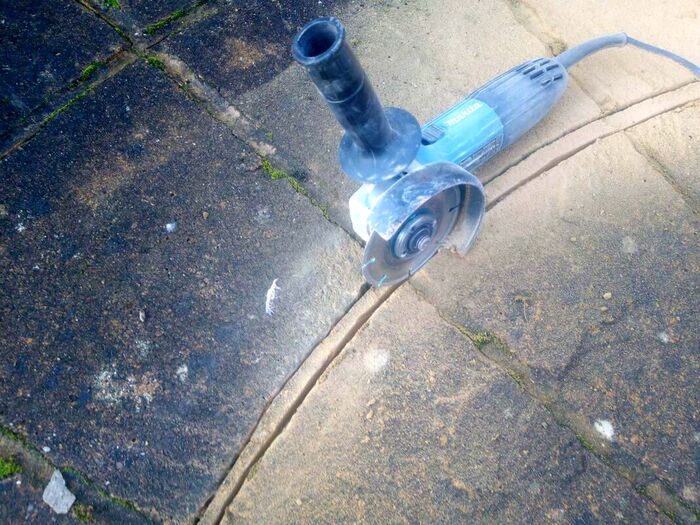
Step 1.
Remove all existing grout which is degraded and cracked. The best way to do this is by cutting out old mortar with a grinder and diamond blade. Stubborn sections of mortar can be tapped out with a hammer and masonry chisel.
Step 2.
Sweep out any dust or residue from the patio and joints with a stiff brush.

Step 3.
Mix 3 parts plastering sand or Leighton Buzzard sand with one part dry cement. You will want to make sure your sand is not too wet so it can mix with the cement thoroughly. Mix the sand and cement dry until it is a consistent, dark grey, colour. For consistent mixes I measure out one full bucket of cement and three full buckets of sand.
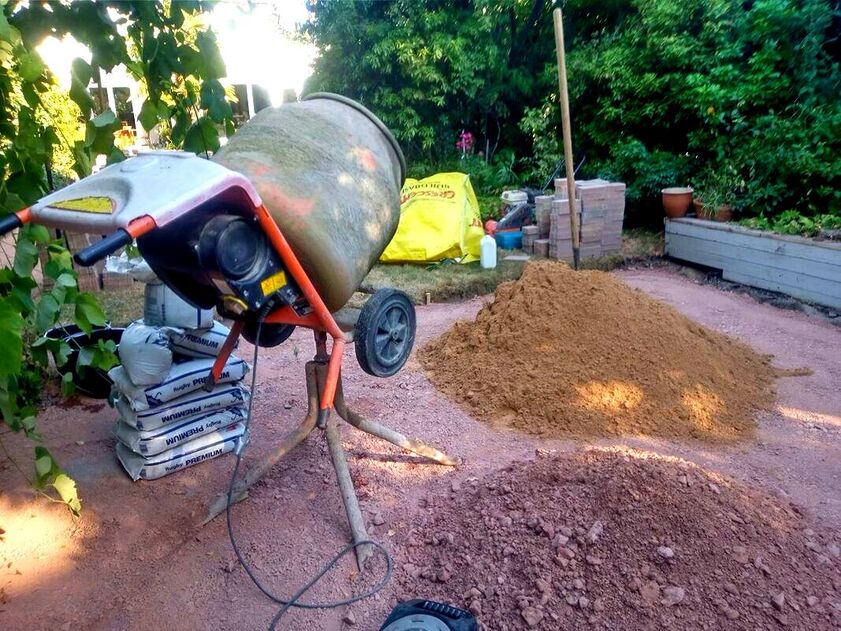
Step 4.
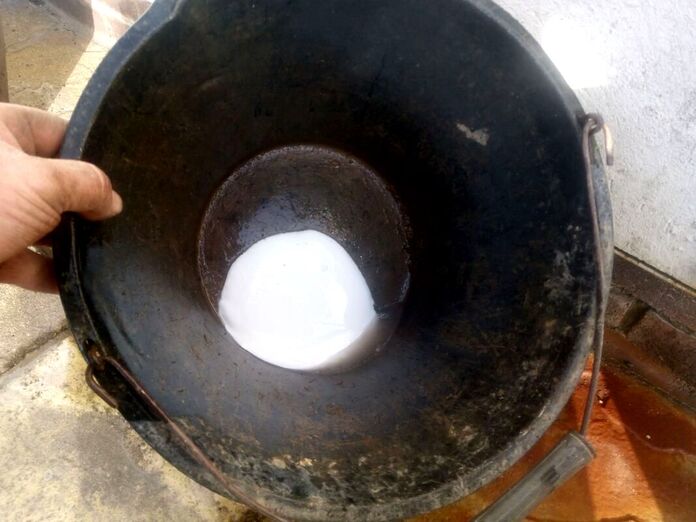
To a builders bucket add about an egg cup of mortar plasticiser and weather proof bonding agent like Sikabond. Then fill the bucket about half full and mix thoroughly.
Step 5.
‘Very slowly’ add a dribble of the water to your cement mix. Remember, the worst thing you can do here is add too much!
You want your mix to be slightly damp ‘NOT’ wet! It should end up with the consistently of brown sugar! Mix slowly and thoroughly until all damp lumps have blended in. Once your mix is consistent let it sit for 15 minutes, this will allow moisture to absorb consistently throughout the mix. Then give it a final turn over and mix before starting to grout the patio. 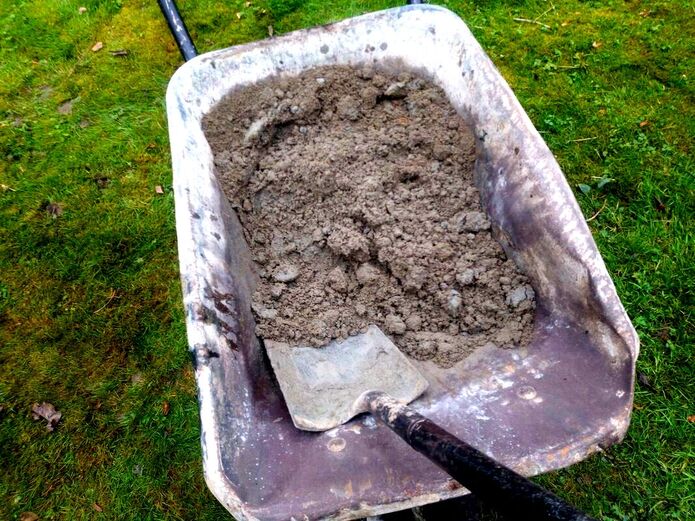
Step 6.
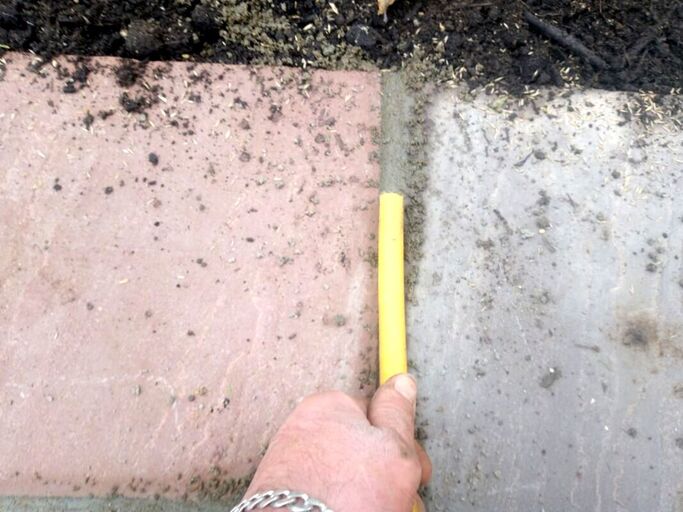
Using a pointing trowel, start ramming the grout mix into the paving joints tightly. Using the trowels edge tap the mortar until it forms a level and compacted fillet in the joint. As you work try to leave as little mortar on the paving surface as possible.

Step 7.
Using a hose pipe or jointing iron press down upon the grout mix to smooth along a neat finish. Try to leave no lines within the grouting and remove any excess grout as you work.
Step 8.
About 15 mins after jointing a neat finish brush off any excess grout from around the joints. Only do this with a very soft brush such as a large paint brush. This will smooth out any harsh edges to the mortar and help flick fine cement off the paving.
Patio grouting products
Sika all weather jointing compound (Amazon)

Wide gap jointing compound (Amazon)
You have now completed your patio grouting! Just make sure there is no rain expected or frosty conditions before you begin. Below I have included some other relevant articles you may find useful.
'As an Amazon Associate I earn from qualifying surfaces'
1 Comment
Richard Denton
7/23/2024 08:14:29 pm
I'm 83 and getting down on my hands and knees is litle too taxing, Your explanation is clear and easy to follow. I'm in Australia (Sydney northern suburb) might you know of a person who could repair my pool paver grout? I can send a photo that'll give a good idea of what is required. Leave a Reply. |
The Author
|


Landscaping services across Buckinghamshire, Amersham, Aylesbury & High Wycombe
Hyde Heath, Amersham, Buckinghamshire
|
|