This article contains affiliate links
Planning a new patio can be an exciting process! Typically patios and landscaping is one of the last alterations people make to their homes.
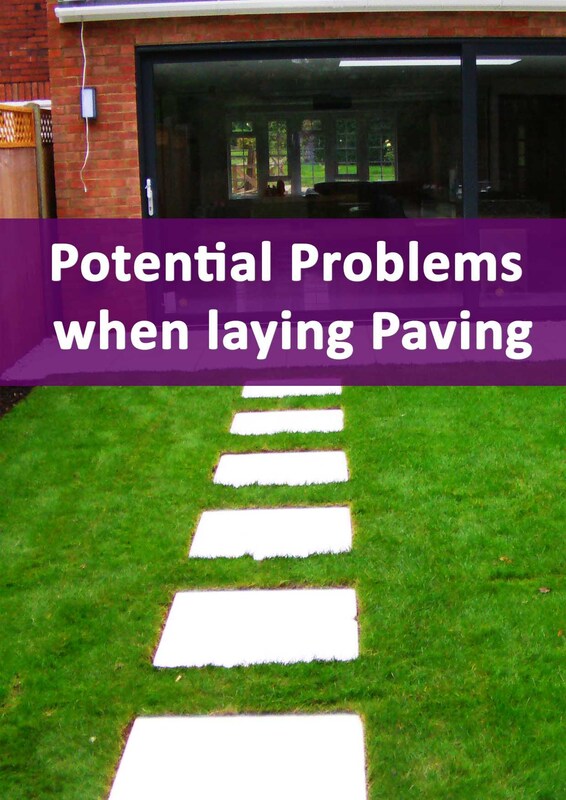
A new patio with a pristine garden is like the cherry on top for any household. Visualising a new patio brings pleasurable expectations warm summer days spent with family and friends. Most of the time however, completed patio projects bring some hindsight of potentially better outcomes. This is because there is always more to building a good patio than meets the eye. Particularly if you have no experience with laying paving there are some potential traps to fall into. In this article I will break down the patio planning and construction process step by step. By doing so I will aim to identify every potential problem you may experience during the process. This should provide you the best possible chance of constructing the perfect patio first time. Ordering enough paving
Firstly, the most common problem I see is clients not ordering enough paving. It is standard procedure to always order 10% more paving than what you need. This will provide contingency for wastage, cutting, breakages and spares. Also bear in mind that many suppliers do not sell by the square metre. This means you may have to buy whole packs to obtain the quantity you want. Consequently you may end up with much more paving than you require. Always make sure you enquire how many square metres a single pack holds. 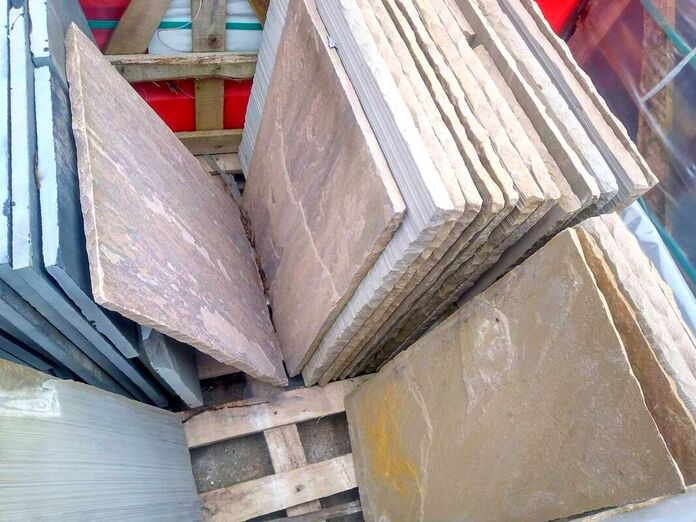
Poor quality paving
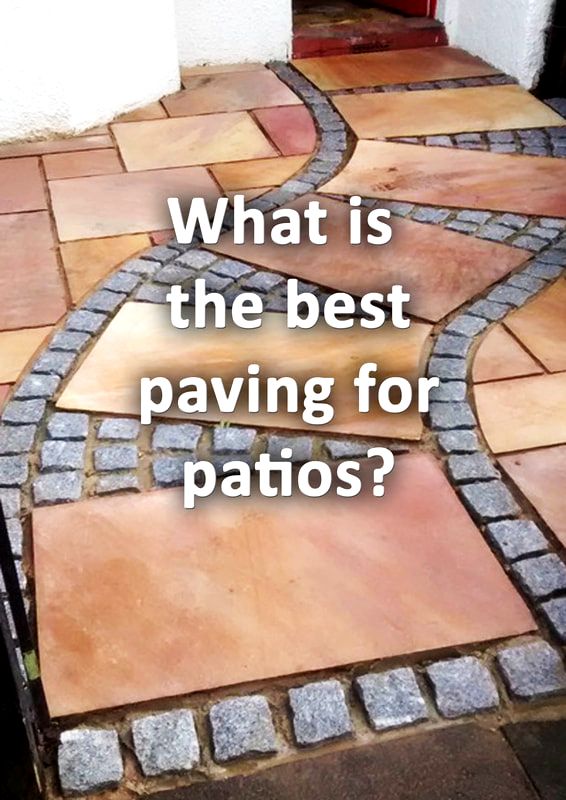
Most paving at the end of the day is either natural stone or manufactured with concrete aggregates. Paving unlike internal materials needs to be strong and robust to handle the extremities of outdoor life. This means it really is not worth risking laying substandard paving just to save a few hundred pounds. 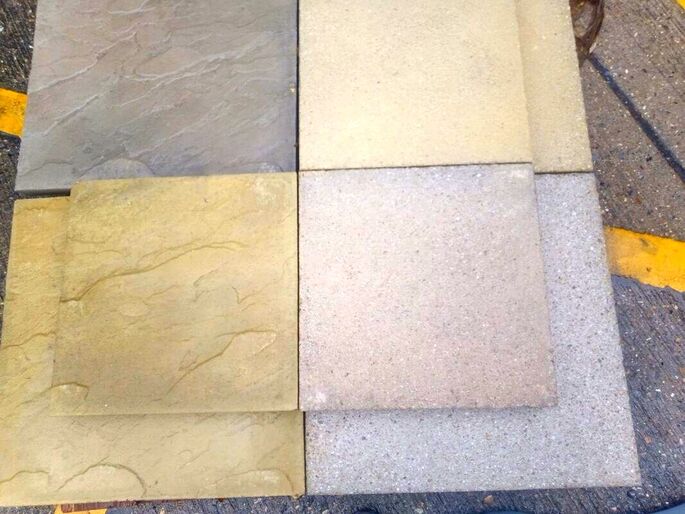
Bear in mind that manufactured concrete paving with colour dyes will start fading after about 15 years.
I always say you are better off going with a non porous type of paving and preferably natural stone. Some of these include granite, slates, dense sandstones and porcelain. As a safety mechanism, buy your paving from a well known brand or prominent online supplier. Choosing colours wisely
A typical trap to fall into is prioritising aesthetics over functionality. In landscaping function should always come before form. A pristine white patio may look good in a magazine but is it practical for your garden? Birds will still poop and stains will still stain even if your paving is sealed. Even most sealed surfaces can still become stained and dirty over time. Using very light coloured paving can also cause a lot of glare in very sunny positions. I always recommend clients challenge their ideas when they choose very light coloured paving. 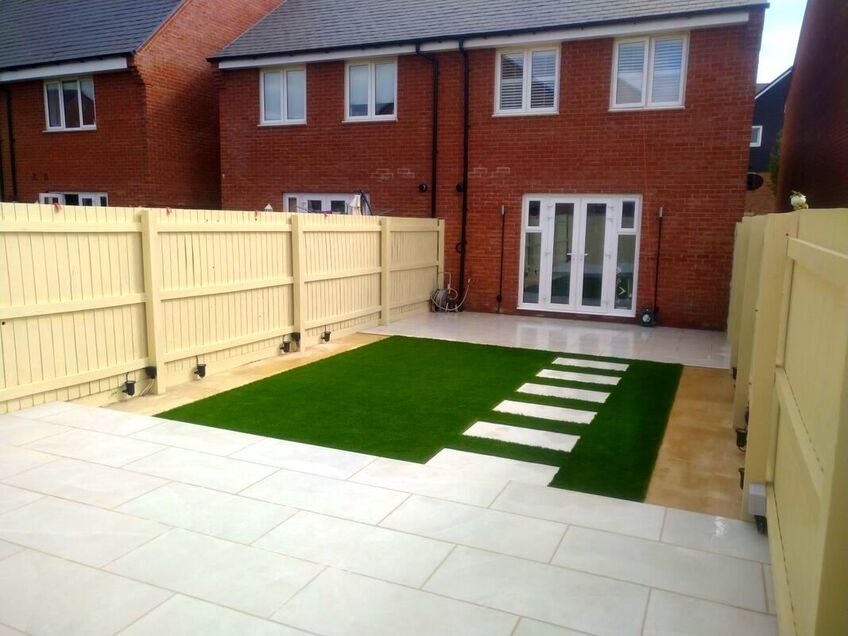
Bad weather
Nothing can turn a new patio project into a chaotic muddy mess like bad weather. This is particularly the case with the excavation phase of the project. However, building in damp conditions is possible but not in times of heavy rain. The time to build a patio is really from spring to early autumn. As well as being generally drier there is little or no risk of frost. Working out your finished level
One of the most crucial stages of planning your new patio is working out your levels. Identifying and pegging out your finished level will prevent you from digging out too much. It will also enable you to successfully order the correct amount of materials you need for your base and mortar. It is very uncommon for a new patio to meet surrounding levels perfectly. 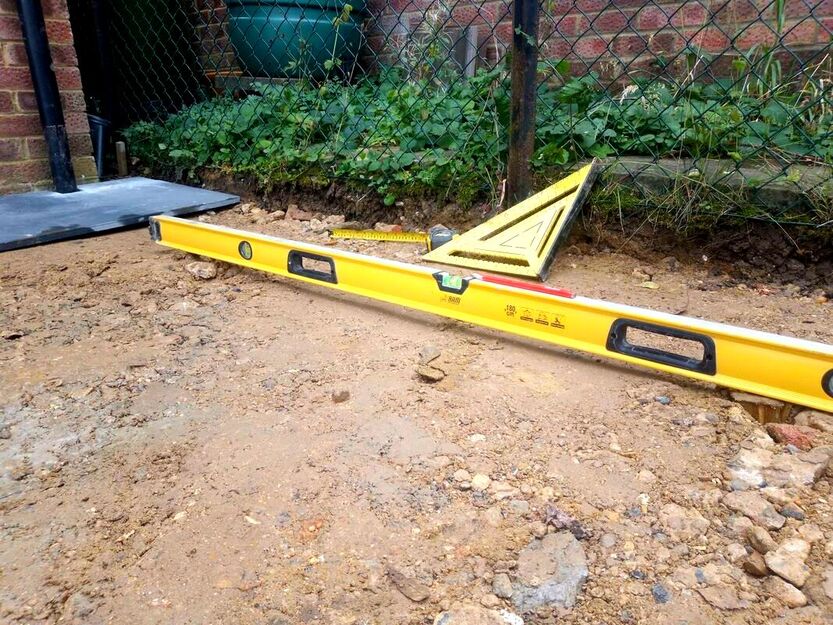
Very often the surrounding ground may end up to low or too high compared to the patio level.
Consequently his means as well as the paving you will also need to install retaining features. This often trips up novice pavers making the project more expensive than they had realised. It is also very common to have to re-level a lawn after a new patio is installed. Excavating your base
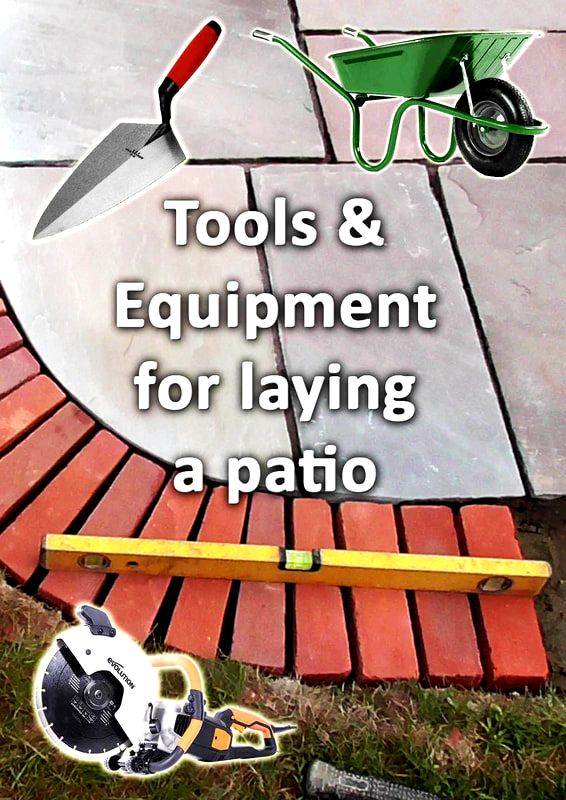
It is important when installing your new patio to excavate the ground correctly. Typically you will need to dig down to a depth of around 150mm. This will allow for a 100mm depth of compactable sub-base, 30mm of mortar which leaves for a paving thickness of 20mm. Your excavation should have a flat and consistent bottom and sides. It is important to leave no loose soil within the excavation as this could lead to sinking. The best way to get rid of soil from a garden is with a skip. To work out how much soil you need to get rid of you will need to times the area by depth. Make sure you get the decimal point in the correct place and realise soil when excavated bulks up by 30%. 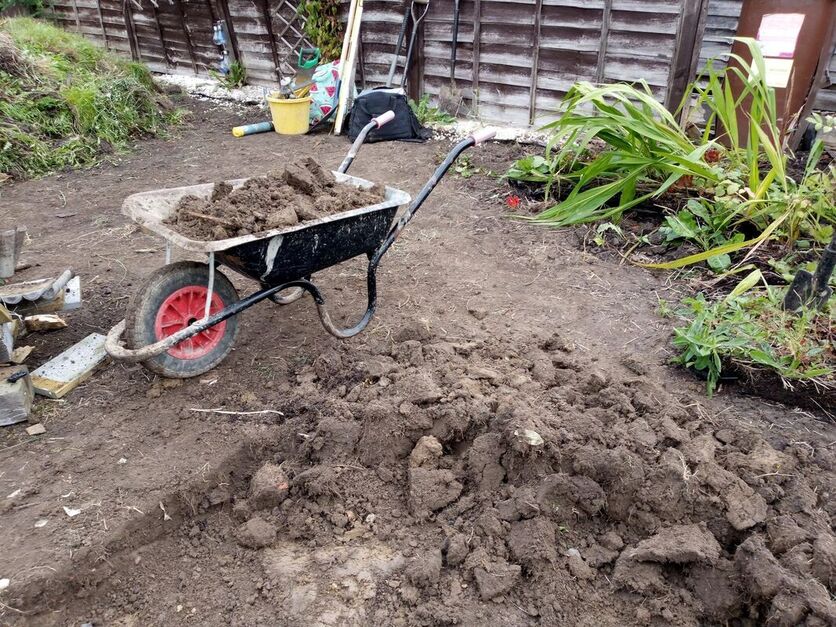
Tree roots
When installing a new patio tree roots do pose a threat to your completed project. As roots grow they can expand and crack paving. This is especially so if surrounding trees are young and have some room to grow. You may wish to consider removing trees and tree roots around your new patio area first. Installing the correct base
A patios base will be the difference between durable longevity and failure. Installing the correct base will provide the perfect foundation on which your paving can be laid. Typically the sub-base will be a minimum of 100mm thick and consist of compactable aggregates with angular particles. The most common of these is Mot type 1 compactable sub base. This is available from all builders’ merchants and can be delivered loose or in bulk bags. Once your sub-base has been well levelled it needs to be compacted with a compactor plate. 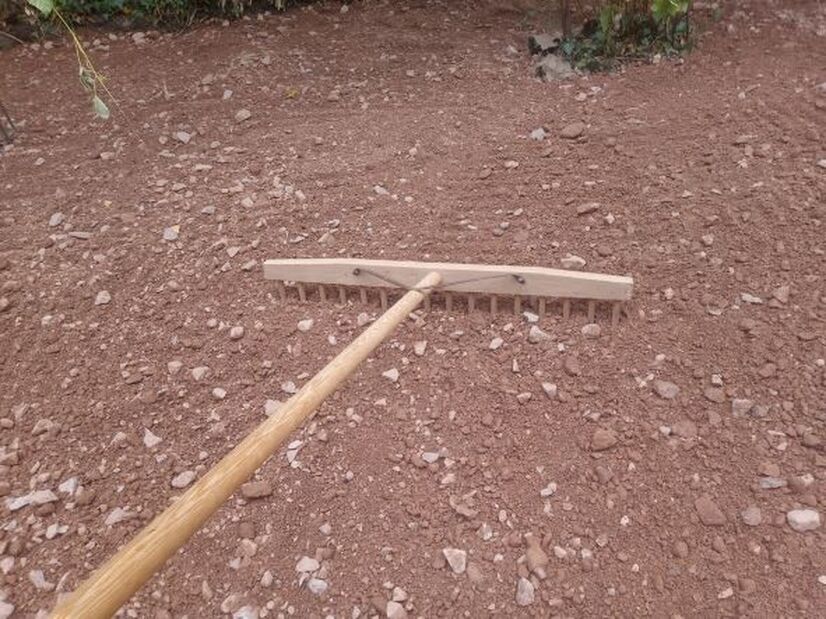
Implementing a drainage strategy
Patio drainage is a much more important element of patio construction than many give it credit for. A drainage strategy is even more crucial if you are paving over virgin soil such as lawn. This is because you will be subtracting from your gardens naturally ability to absorb storm water. This can lead to accelerated levels of surface run off and localised flooding. 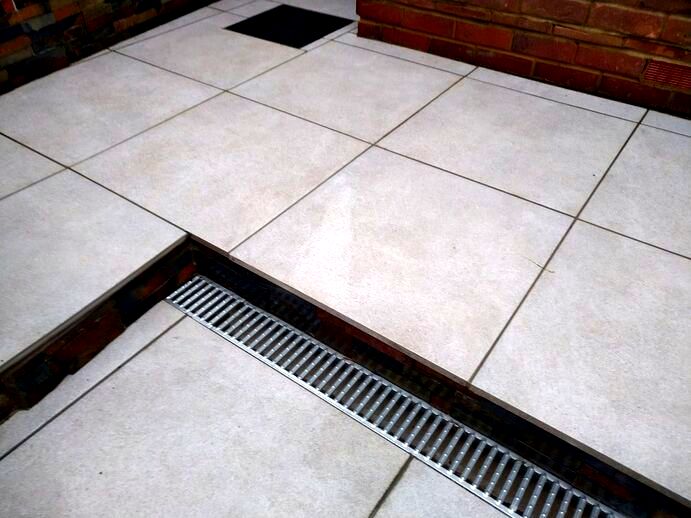
You will also want to ensure that there is no water pooling against your home.
This can lead to damp, mould and structural issues. Consequently it is important you collect water from your patio and direct it into a drainage feature. This will not be the local drainage network but probably a garden soakaway. For more in depth information of patio drainage visit our article here. For step by step garden soakaway installation visit our guide here. Mixing mortar correctly
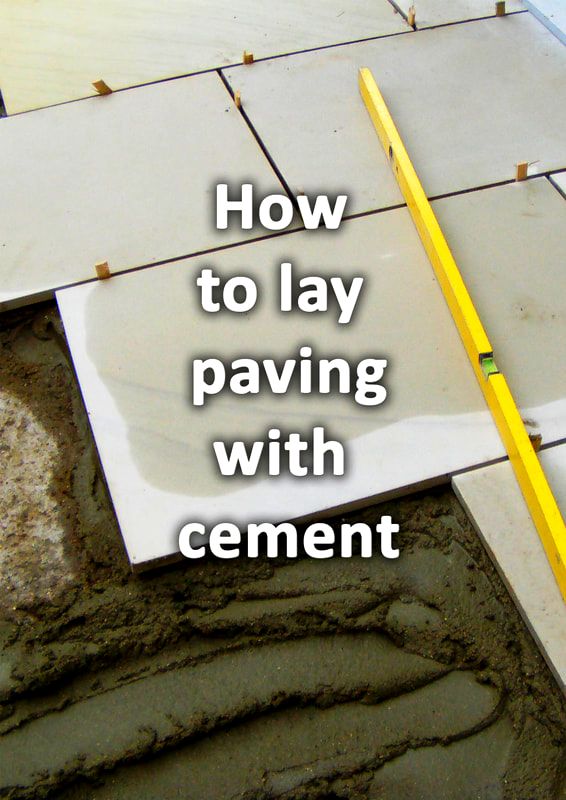
Mixing the correct mortar mix is an extremely important part of laying paving correctly. Not only will correctly mixed mortar be easier to work with it will bond solidly with your pavers. This will prevent the threat of rocking and a hollow feeling underfoot. It still amazes me just how many paving companies use the incorrect mortar mix! Firstly, paving mortar must have a sufficient moisture content to lubricate the sand and cement particles. This enables the mortar to bed down into a densely compacted mortar fillet. 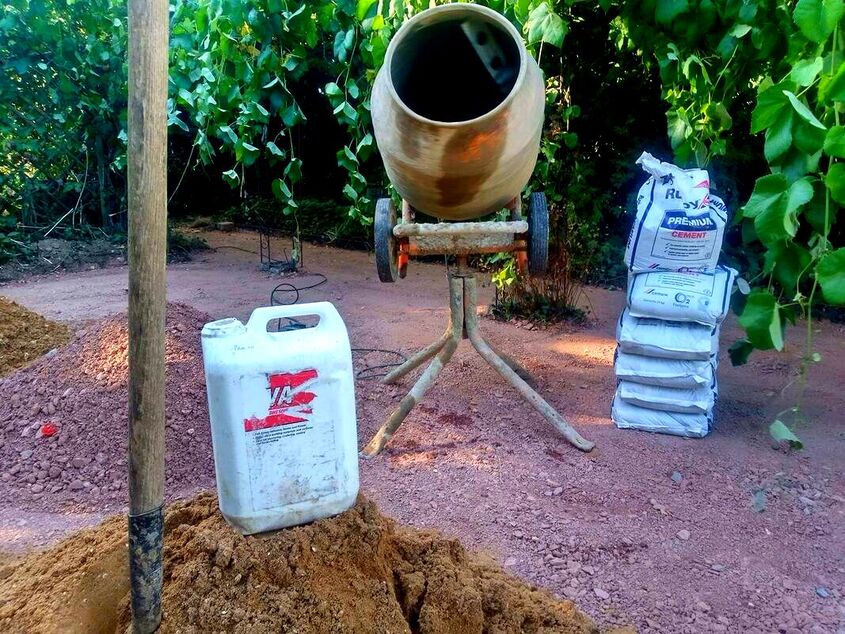
Too often contractors use very powdery and dry mixes to lay paving. This leads to poor bonding and air pockets between the particles.
The result is a hollow feeling underfoot and a less robust bedding layer. The reason this is a common problem is it is much easier and faster to lay paving this way. Always make sure your mortar is wet enough you can cause suction with the back of a trowel. It is this suction seal which will ensure a good, dense and solid bonding with your paving. However, your mix must not be so wet is discharges water! 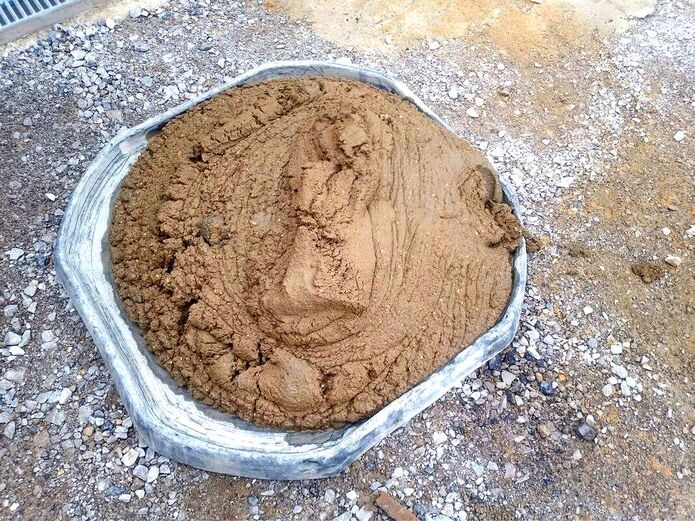
Make sure you add plasticiser to your mortar to improve workability with less water. It is also a good idea to add a waterproof bonding agent such as Sikabond.
It is also important to mix up the correct sand and cement ratios for laying paving. Your mix should really be a ratio of 1 part cement and 4 parts sand. Make sure cement is hydrated within the mixer first before adding any sand. You need to allow the mixer to do its work and mix the mortar thoroughly. A rough guide for mixing paving mortar is half a 25kg bag of cement to 13 shovels of sand. If you are worried about getting the quantities correct, measure out your materials in buckets. Laying your pavingLaying paving is simple in principle but it requires experience and skill to do correctly. The biggest potential problem for a newbie is not levelling your paving correctly. You do not want individual pavers at slightly varying gradients! This is a sure way to end up with puddles and poor drainage. It is important you lay your paving to a tight string line so you keep laying flush over distance. If you install a well levelled and flush sub base this process will be much easier! As you lay, check your levels repetitively with a long spirit level. You must also lay your paving on a continuous mortar bed with no underlying voids. 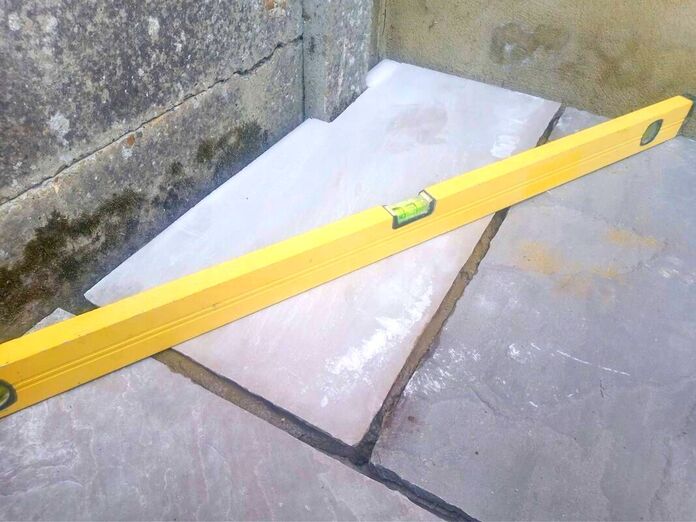
Keeping your paving square
Very often it is difficult for inexperienced pavers to lay their paving square. The best way to do this is to lay along an existing straight feature such as a building. It is a good idea to set up a tight string line first to check buildings are straight. It is amazing what the human eye can notice so laying your paving straight and square is paramount. As you lay, check your joints and lines with a string line or a long straight edge. Cutting
Cutting in a patio correctly requires careful measuring and some skill. If you are new to cutting you will simply have to take your time and learn as you go. Be prepared to waste some paving here and be patient. Make sure you have a fresh diamond blade, eye protection and a dust mask. 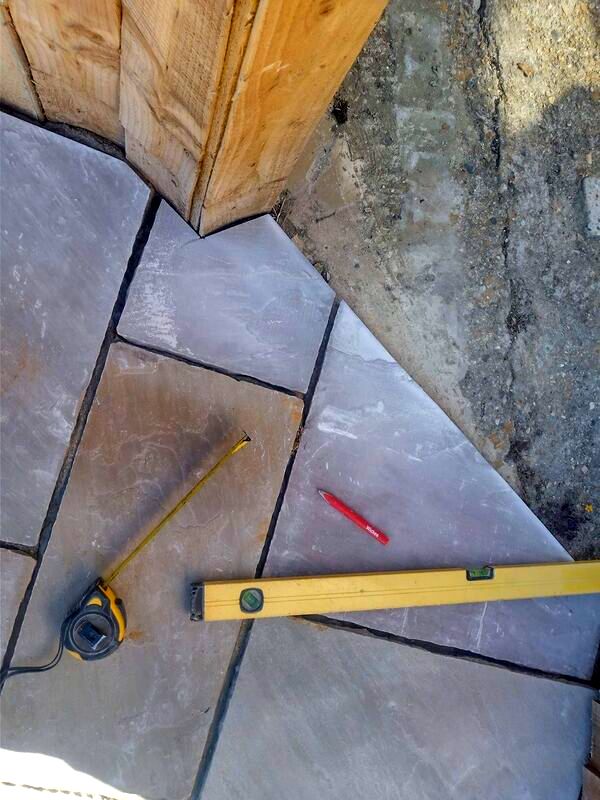
Avoid puddles
As you lay you will have to check your surface levels with a long spirit level. This will enable you to keep a close eye on your levels and falls. Remember that any undulations or divots within your surface will create puddles. To avoid puddles, start with a level base, use a string line and check progress with a spirit level. Grouting the paving correctly
Grouting should be one of the simplest parts of building a patio but usually causes the most problems. The reason for this is there is a fine line between getting it right and staining your paving. Firstly, it is crucial that the weather conditions are correct. There must be not moisture within the joints and there must be no risk of either rain or frost. 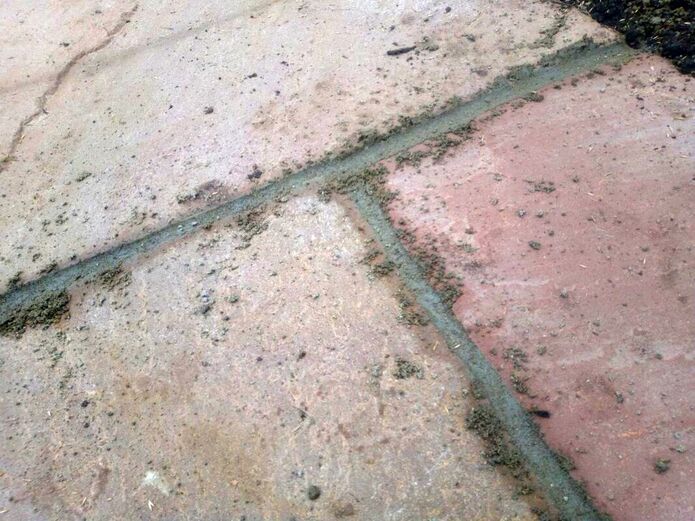
You must also never grout a patio is the surface is wet! This also goes for excessive hot summer sun as this will dry out your grouting before it sets.
You will have to mix 3:1 cement to plastering sand dry until it is well mixed. Then you will need to gradually mix in a little water to get to the correct moisture content. 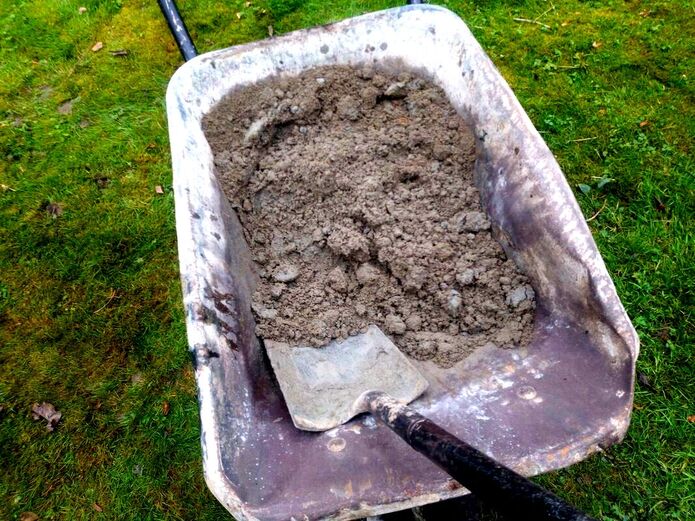
You are aiming for a consistency of brown sugar so you can just form a ball in your hand.
This will be moist enough to work a finish but not wet enough to stain the paving. For a step by step guide on how to grout paving correctly visit our guide here. Alternatively you may wish to consider using a jointing product such as Easy joint. Avoid staining
Staining a patio is something rarely on the radar of most people new to paving. However every year, thousands of pounds worth of paving has to be replaced due to staining. The most common way is through incorrect grouting. Make sure you never grout in wet conditions and follow a good step by step guide correctly. Rogue cement is the easiest way to stain your new paving! 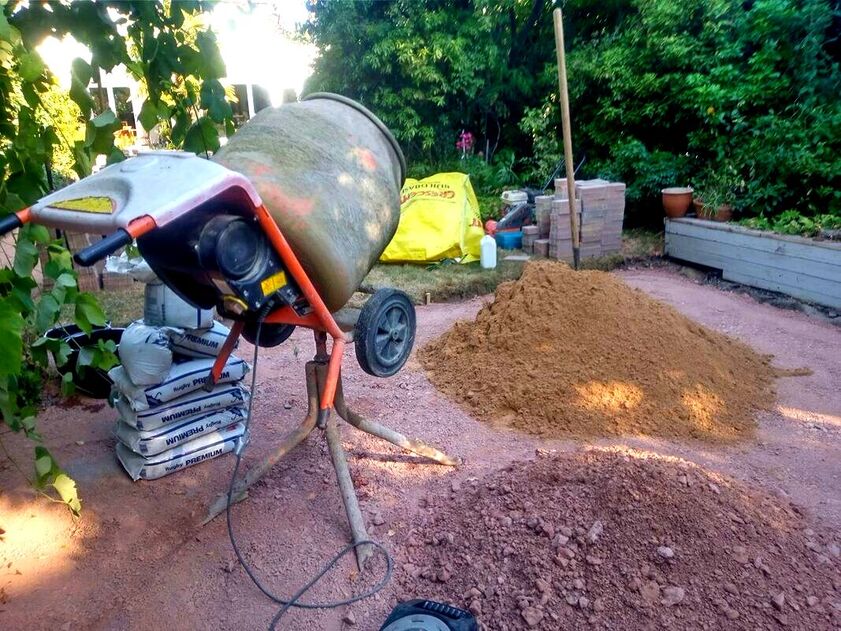
Make sure when you mix your mortar your mixer is not slashing onto your paving.
Furthermore, it is crucial your helpers are not walking cement over the surface of the patio. When I lay paving I always have a clean bucket of water and a hand brush to hand. This way I can clean off any small cement and mortar splashes as they occur. Sealing your paving
If you are new to paving and worried about staining you may wish to pre-seal your paving. This will take a little extra time but will stop your paving from absorbing water and stains. However, even with pre-sealing you should still aim to keep your paving clean! Patio sealants can also be applied when your paving is completed. Sealing will also provide extra protection from the weather and often enhance colours. 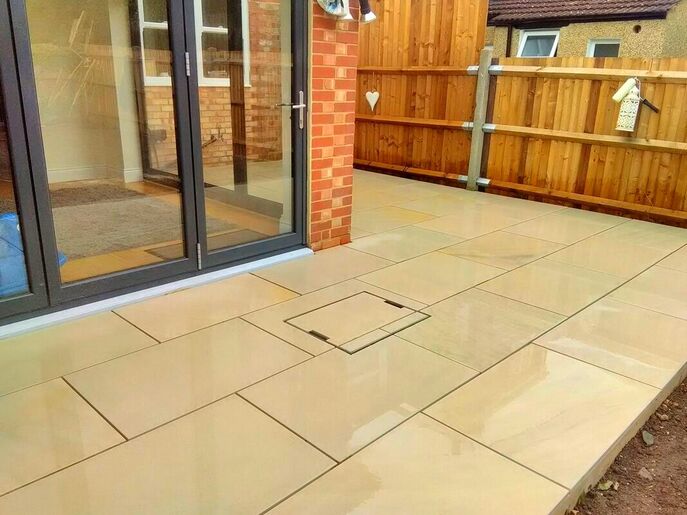
Thank you for reading our article on considerations and potential problems of laying paving. Below I have included some other paving articles you may find relevant and useful.
'As an Amazon Associate I earn from qualifying purchases'
1 Comment
3/25/2023 03:16:26 am
I liked how this post shared that laying paving requires experience and skill. My friend told me that their brick paving needs sealing. I should advise him to hire an expert in residential brick paving sealing to ensure quality work. Leave a Reply. |
The Author
|


Landscaping services across Buckinghamshire, Amersham, Aylesbury & High Wycombe
Hyde Heath, Amersham, Buckinghamshire
|
|