|
This article contains affiliate links
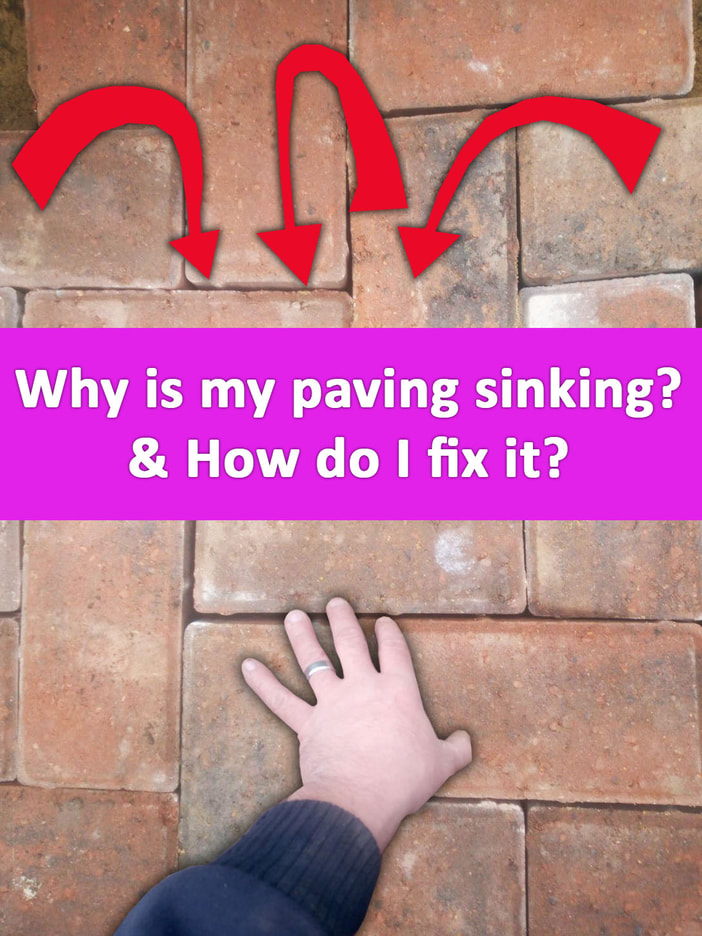
Sinking paving can not only look unsightly it can also be a hazard. Wether your surface is a driveway, patio or pathway there could be many reasons why you’re paving is sinking.
Unfortunately it cannot always be easy to diagnose exactly what is causing your surface to sink. In fact, there are multiple possible reasons why you paving could be sinking. Sinking paving could be down to a single phenomena or a multitude of varying factors causing the problem. In this article I will break down all of the possible reasons why paving is sinking. I will explain the tell tale signs which could lead to a specific cause in each case. I will also explain how to rectify the problem whether your paving is laid upon sand or mortar. Is it normal for paving to sink?
Paving should be built in a way which prevents any substantial movement or sinking. Therefore paving should not have any reason to start sinking. However, there are numerous factors which could lead to paving sinking over time. These will all be listed and described in the sections below. Even if paving has initially been installed correctly some of the factors listed can could cause paving to sink. Why is my paving sinking?
Recent services installation
A common reason for paving sinking is the installation of pipes and services under the surface. When the ground is disturbed under paving it loses its tight level of compaction. This is especially so if underlying subsoil is excavated into. Trenches for pipe work and services regularly need to be excavated deeper than the sub-base of the paving. This leads to large quantities of loose, soil, material being removed.
Soil is extremely difficult to re-compact once it has been excavated and disturbed. The result is a slow sinking of the paving’s surface after such services have been installed.
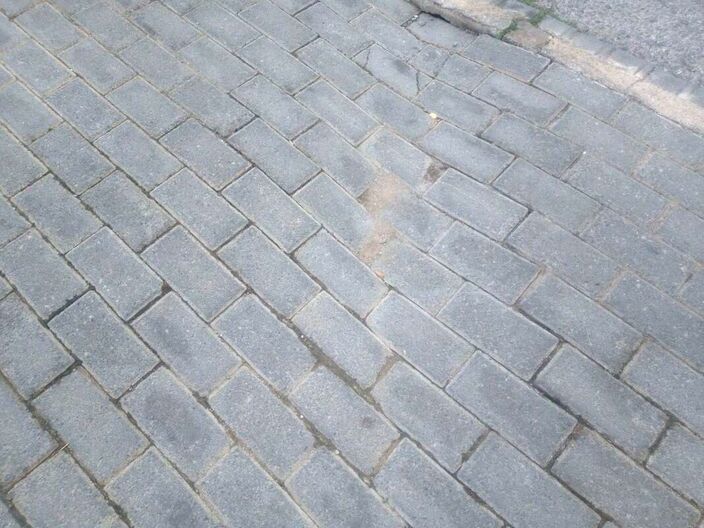
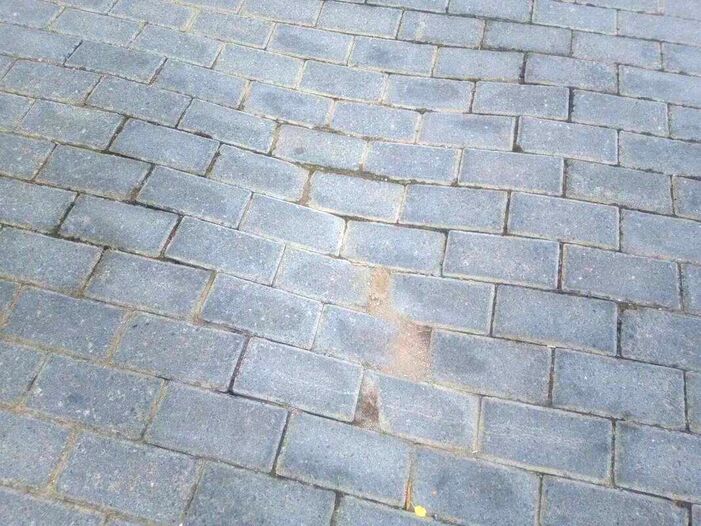
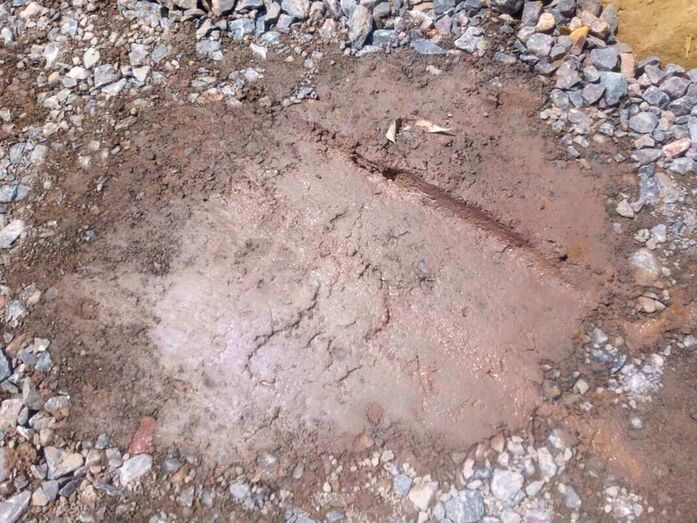
The tell tale signs of service sinking is long and thin areas of sinking leading to and from the property. Suck linear sinking can be seen in the image above. Ground movement
Unfortunately we do not have power over what occurs naturally under the grounds surface. Some localities are simply subject to more subterranean forces than others. This can be more common on regions with undulating levels and particular soil types. If the ground around your property is moving you should also see signs of subsidence elsewhere.
Lawns and other parts of your landscaping will also possibly see signs of ground movement. Furthermore
soils such as clay can contract during dry summers and expand during wet winters. Such movement can lead to cracks and voids opening up under paving leading to sinking. Tree roots
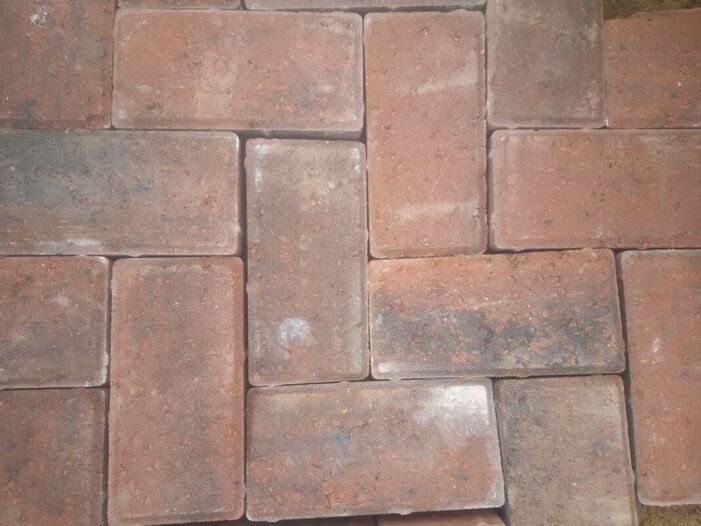
It can be quite surprising how much of an impact tree roots can have upon paving. This is especially so on block paving or pavers laid upon sand. Tree roots can travel very easily and freely through sand seeking out moisture. This can lead to very long roots dissecting your paving bedding layer. As roots grow they can cause severe sinking and undulation to paved surfaces. Tree roots also have the potential to also cause disturbance to paving bedded upon mortar. If you have nearby trees and long ridges in your paving it could be expanding tree roots. Saturated ground
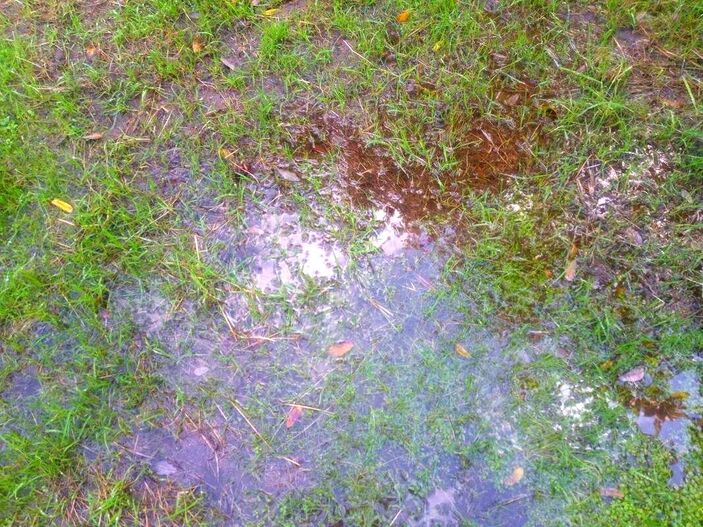
The moisture content of the ground under your paving can also affect the risk of movement and sinking. If the underlying ground becomes too saturated moisture can lubricate subsoil particles and sub-base aggregates. This lubrication can mean your paving is more likely to sink under heavy loads or sudden impacts. Very often as paving gradually sinks water pools locally leading to an exacerbation of the issue. If you have extremely saturated ground, cracks and puddles you may need to install garden drainage and patio drainage before undertaking repairs. Incorrect base
By far one of the most common reasons for sinking paving is an incorrect sub-base. This typically involves not excavating to an adequate depth or spreading the correct amount of compactable aggregate. Very often clients are tempted by a very cheap installation prices only to regret it later. The most costly part of any paving construction is the movement of tones of heavy materials. When a base is installed too shallow or with insufficient base-work it is likely to sink or crack. Make sure you ask your contractor to specify what base they will install under your paving. Make sure you familiarise yourself with the correct specification and request that is priced for. Incorrect construction
Paving which has been laid incorrectly is also a major reason for paving sinking. Even if the base has the correct specification, poor execution and laying practices can lead to sinking. Common problems include laying paving on weak mortar with voids under the pavers. This can lead to pavers becoming cracked and loose.
By far the worst scenario is paving laid upon sand with weak retaining edging. As the edging fails the sand sinks leading to sinking paving.
Make sure the contractors you hire have a good track record and specify how the paving will be installed. Excessive loads
Even though correctly laid paving should take heavy loads excessive loads can lead to failure. This is especially so if one section of paving is exposed to excessive loads in contrast to other sections. If you are planning on subjecting paving to heavy impacts and loads make sure you install a thicker base. If you expect certain areas of paving to be exposed to great stress consider installing a reinforced concrete base under your paving. How to repair sunken block paving
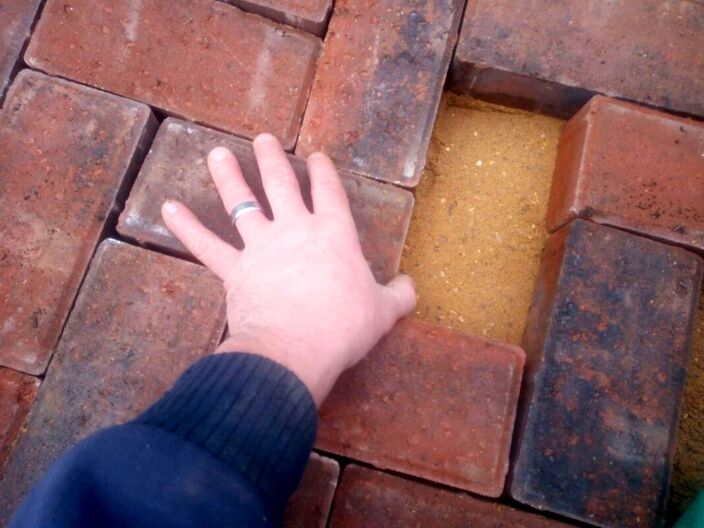
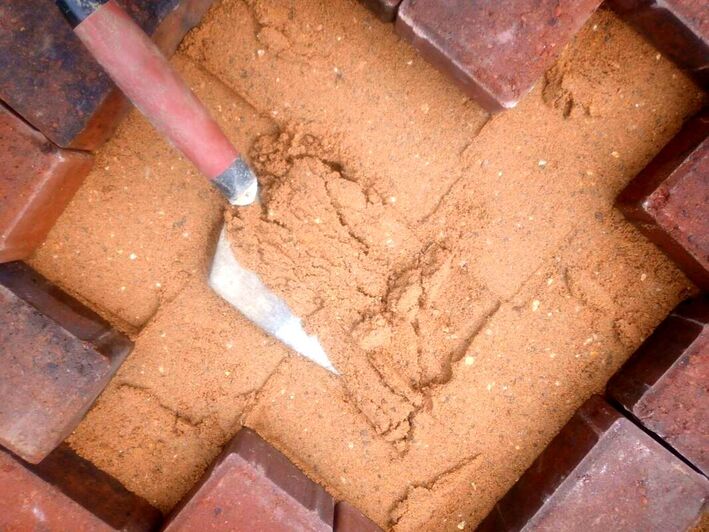
Step 1: Remove the blocksFirstly you will need to lift the block paving out of the affected area. This can be tricky as the sand wedges the blocks together tightly. Try to leaver the sand out between the gaps with an old knife before attempting to lift the blocks. The best way to lift block paving is to wedge two screw drivers or trowels down each side of the blocks. The blocks can then slowly be worked out gradually until they become loose. Step 2: Remove the sand
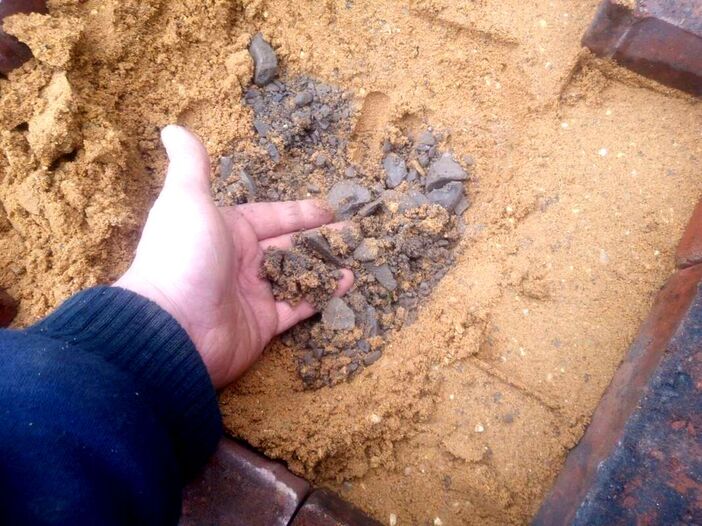
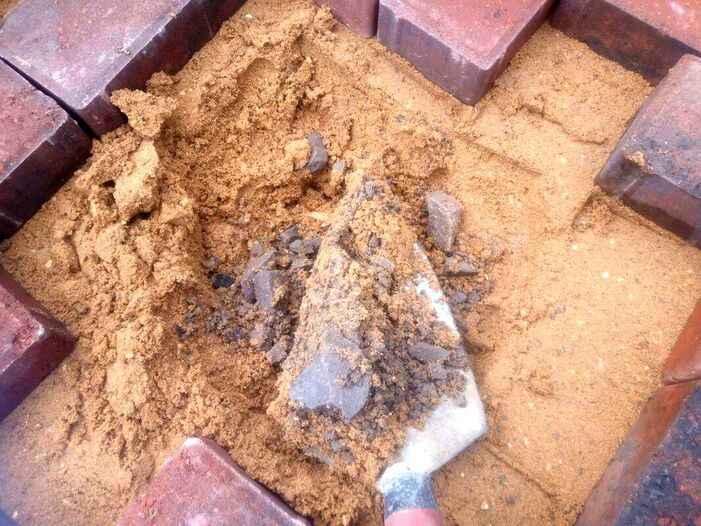
The next step is to remove the compacted bedding layer of sand from under the blocks. Try not to mix up any of the sand with the sub base. If the sand is too contaminated with dirt and sub-base you may want to consider replacing it. The best sand for repairing and basing block paving is sharp sand. Step 3: Examine the base
When the sand has been removed examine the state of the sub-base. Is the base very thin? Is it mixed with soil or are there large roots infiltrating the base? If so you will want to replace the base with a new level and robust one. Step 4: Excavate the sub-base
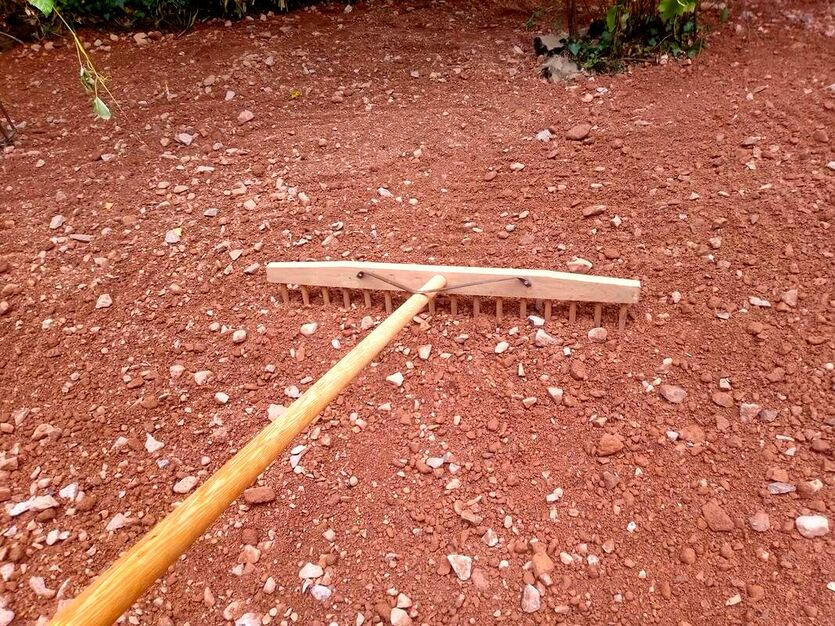
Most of the time you will have excavate out the old sub-base and replace it. This will involve excavating out the old sub-base to a depth of 100mm and disposing of it. Make sure there is no loose material left inside your excavation. Step 5: Install a new sub-base
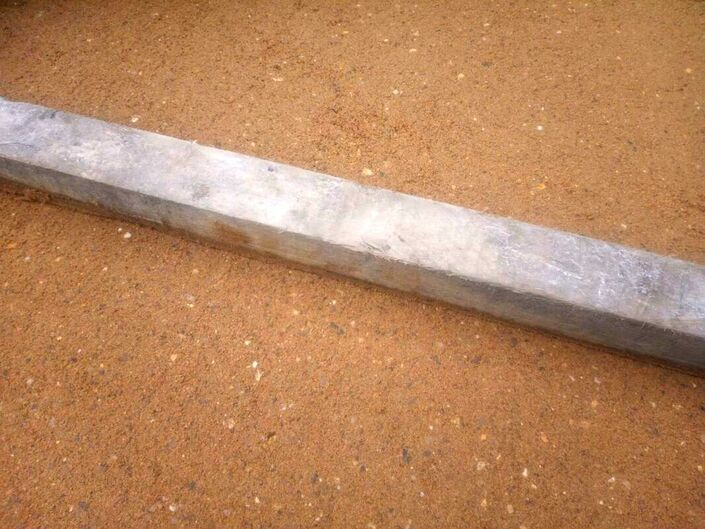
Supply and spread mot type 1 compactable aggregate to a minimum depth of 100mm. Make sure the sub-base is well compacted with a tamper or the head of a sledge hammer. Alternatively you can lay a concrete base to the paved area. Make sure you leave enough thickness for a 40mm bedding layer of sand and the thickness of your block paving. Step 6: Screed the sand levelApply your sharp sand on top of your new levelled sub-base and compact it well. Then, using a straight edge, screed the sand level to the base of the surrounding blocks. This can take some care and skill but will provide you a level base to re-lay your blocks. Screed your sand so your new blocks are about 3mm higher than the surrounding blocks. This means when you compact the blocks at the end they will vibrate down level. Step 7: Lay the blocks
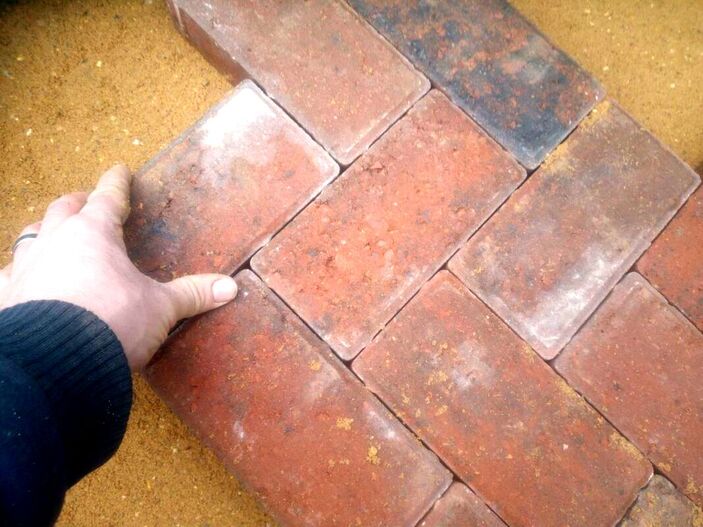
Relay your blocks as tightly as possible onto your new levelled and compacted sand layer. Step 8: Compact the blocks
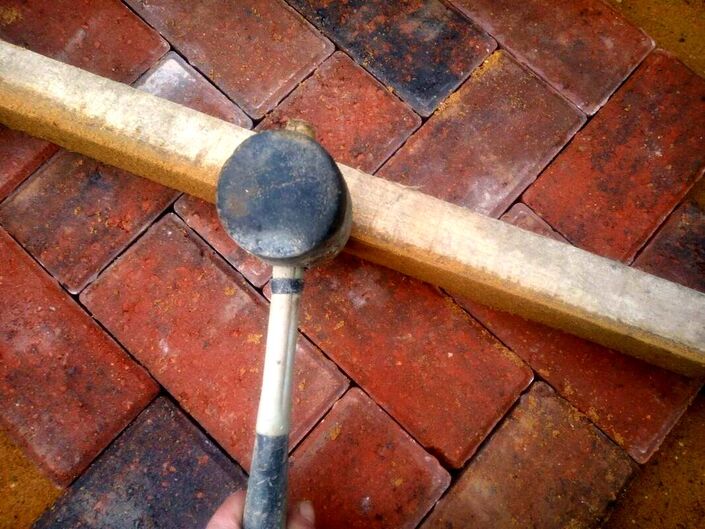
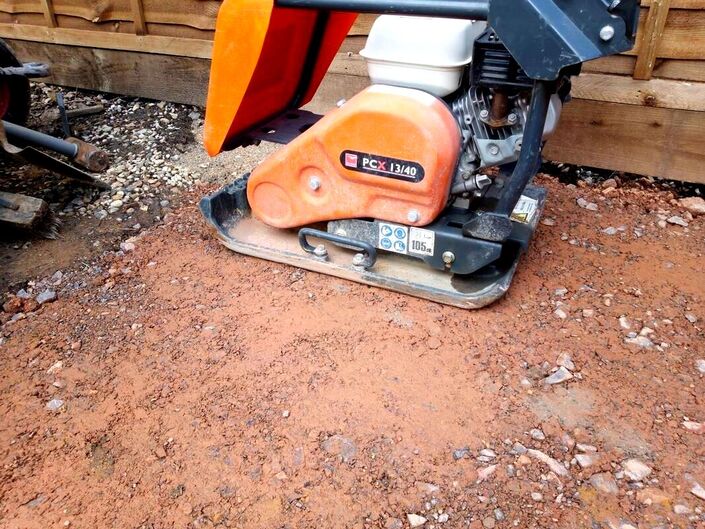
The best way to compact your blocks is with a compactor plate but for small areas you can use a piece of timber and a hammer. Tap your timber over the blocks to bed them down flush and level. Step 9: Sand the blocks
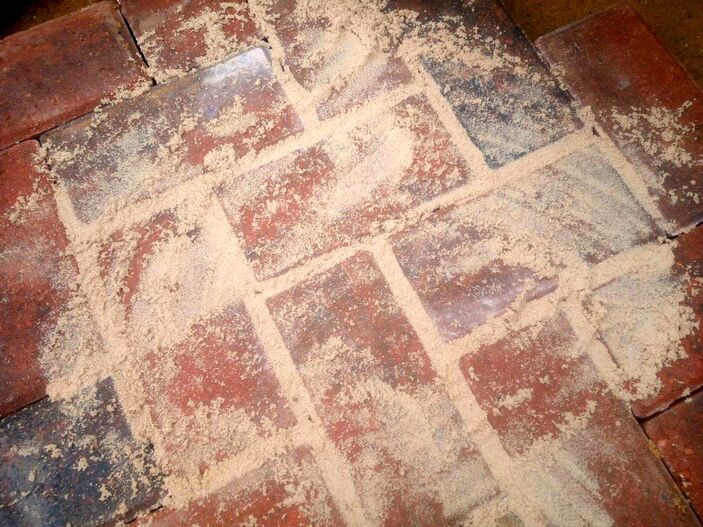
Sand your block paving gaps with kiln dried sand or sand advertised as block paving sand. Make sure you do this on a dry day when every part of the blocks and gaps are dry. It is essential the fine sand trickles tightly between the blocks to lock them into place. How to repair sunken paving slabs.
Step 1: Remove the paving slabs
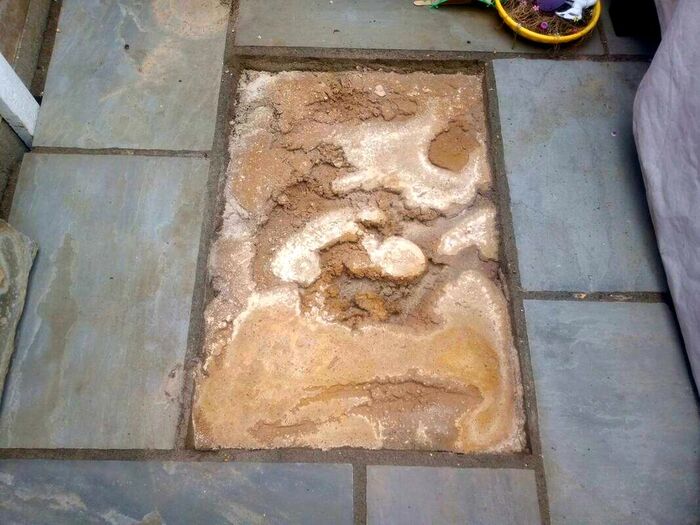
Remove the paving slabs from the sunken area, if some of the pavers are broken you may want to replace them. If some of the paving is particularly stubborn to remove you may need a hammer and bolster or even a hand breaker. Step 2: Remove the bedding layer
Remove the bedding layer from under the paving. If the bedding layer is sand simply scrape it out but if solid mortar you may need to break it out. Step 3: Examine the base
When the sand has been removed examine the state of the sub-base. Is the base very thin? Is it mixed with soil or are there large roots infiltrating the base? If so you will want to replace the base with a new level and robust one. Step 4: Excavate the sub-base
Most of the time you will have excavate out the old sub-base and replace it. This will involve excavating out the old sub-base to a depth of 100mm and disposing of it. Make sure there is no loose material left inside your excavation. Step 5: Install a new sub-base
Supply and spread mot type 1 compactable aggregate to a minimum depth of 100mm. Make sure the sub-base is well compacted with a tamper or the head of a sledge hammer. Alternatively you can lay a concrete base to the slab laying area. Make sure you leave enough thickness for a 40mm mortar layer and the thickness of your paving. Step 6 Work out your levels
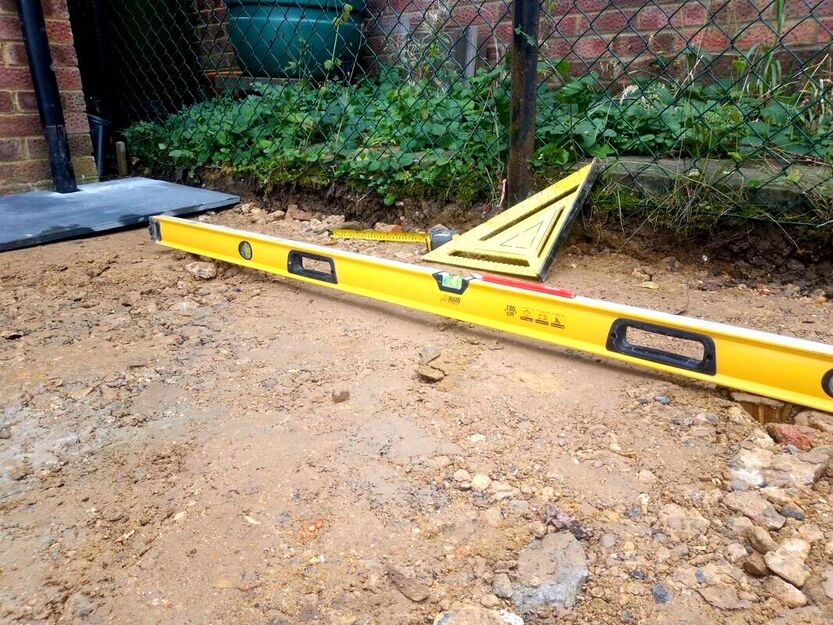
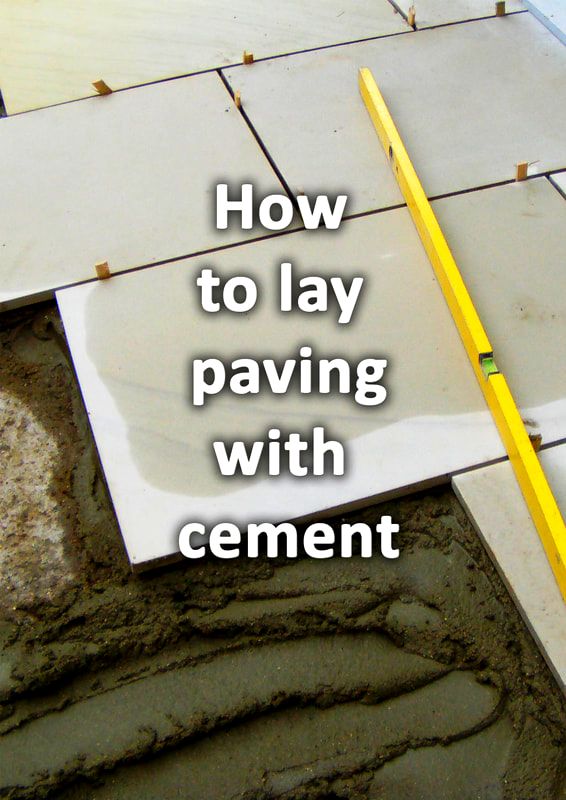
In order to level your sunken paving you will want to lay your paving flush with the surrounding level paving. A good thing to do is set up a tight string line across the surface. This will enable you to work to a new and consistent level. You can also assess the area with a long spirit level so you can lay your new paving level. Step 7: Mix up your mortar
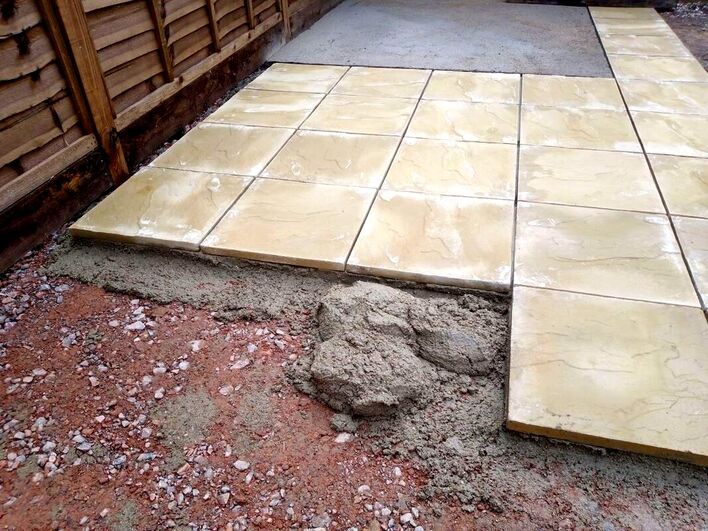
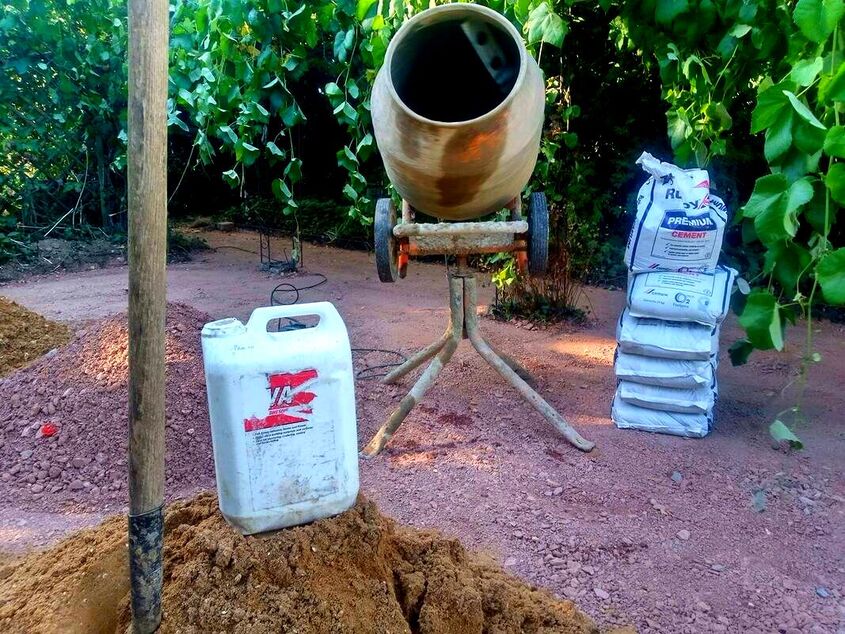
Mix up a 1:4 sharp sand and cement mix dry until it is well mixed. Then slowly add water and plasticiser so it reaches a good workable consistency. You do not want your mortar too wet or too dry! You want it damp enough to create a good vacuum seal with the pavers but not that moisture runs out. You should be able to heap up the wet mortar on a trowel without it running off. Step 8: Bed down your paving
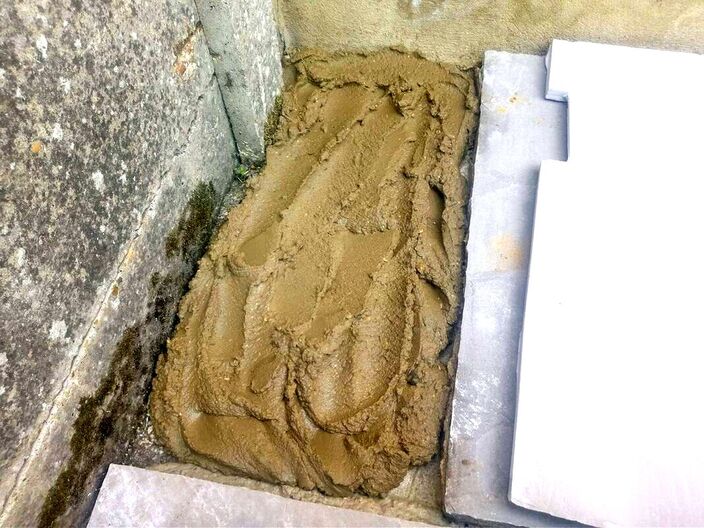
Lay your mortar onto you sub-base gently and evenly. Using a trowel create ripples and peaks in the mortar so you can easily bed down your paving level. You should however try to ensure there is a solid mortar base under your paving with no gaps or voids. Use a string line or spirit level to lay your paving to a new flush and level surface. Step 9: Joint your new paving
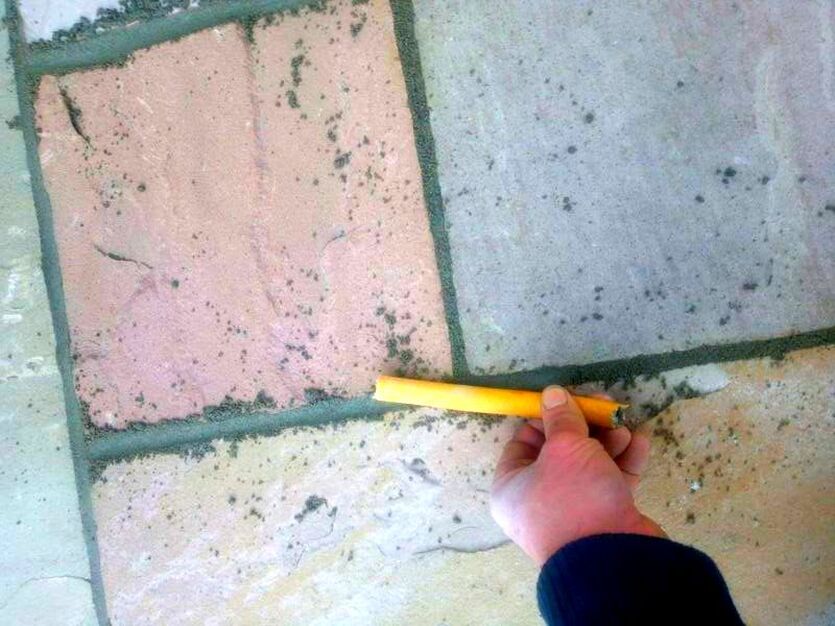
Now all you have to do is joint your paving slabs. This is best done with a 3 parts plastering sand 1 part cement mix. The mix should be reasonably dry but damp enough to form a ball in your hand. Pack the mortar into your joints tightly and then finish with a jointing iron or old hose pipe. For a more in-depth guide on how to joint paving visit our step by step paving grouting article here.
Thank you for reading our article on how to repair sunken paving. Below I will link to some other articles you may find useful.
How to Repair Sinking Patio Pavers | Western Interlock
How to Fix Sinking Pavers (9brothersbuilding.com)
'As an Amazon Associate I earn from qualifying purchases'
0 Comments
Leave a Reply. |
The Author
|
Landscaping services across Buckinghamshire, Amersham, Aylesbury & High Wycombe
Hyde Heath, Amersham, Buckinghamshire |
|
