This article contains affiliate links
Improving the quality of your lawn has long been a pursuit of many. Not only does a lush green look good it provides a versatile and multifunctional surface.
However, improving your lawns quality has never been an exact science. Some gardens have specific circumstances which can hinder the optimal conditions for the perfect grass. However, no matter what condition your existing lawn is in, adding lawn sand is generally a benefit in some form. In this article I will identify the benefits of adding sand to your lawn. I will also discuss the varying circumstances where using sand can improve your lawns condition. I will then summarise the primary scenarios of lawn improvement using lawn sand explaining when and how to implement it 
Should I put sand on my lawn?
If you should put sand onto your lawn or not really depends upon your existing soil type. If you have compacted, sticky soil which does not drain well sand can have many benefits. If you already have well drained, sandy soil, sand is less likely to improve your lawn. The latter would benefit from adding more organic, humus rich material such as compost. However, what sand you apply, how you apply it and in what amounts depends upon your specific goals and circumstances. 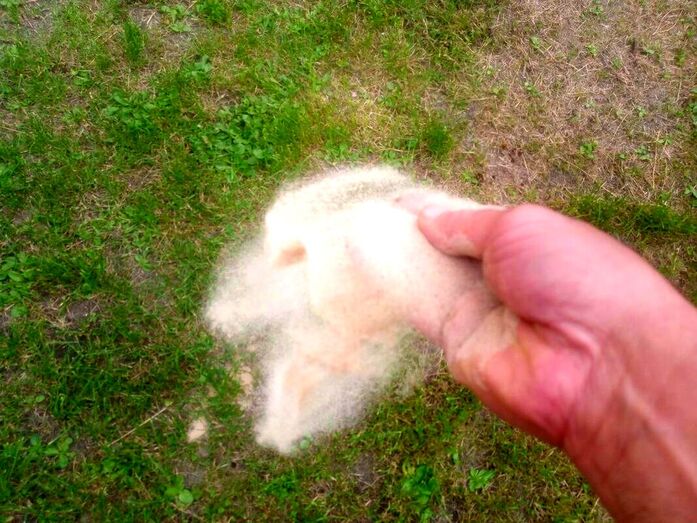
Types of lawn sand treatment
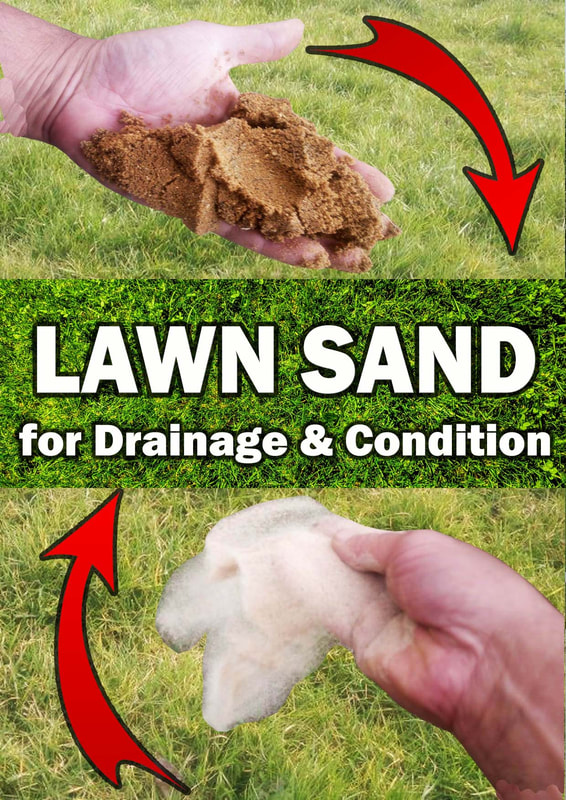
There are two main types of lawn sanding processes; drainage interventions and top dressing. Drainage interventions will typically involve adding sharp sand both within and under your turf. Top dressing however involves spreading sand directly onto the lawns surface. Top dressing lawn sand is normally less coarse than drainage sand with medium sized or more uniform particles. Such dressing can help to irradiate moss, level dips and create an open texture to the lawns surface. Lawn sand for drainage
If you have a very boggy or clay soil you may wish to add sharp sand. This can added to an existing lawn by filling aeration holes created by and aerator. If you are laying a new lawn, sharp sand can be mixed into your soils surface with a tiller. A free drainage layer of around 25mm-35mm of sharp sand can spread under the whole surface of your lawn. This is then covered with around 30mm of good quality topsoil loam. Such sharp sand use within lawn drainage is often incorporated after more substantial drainage works. These include lawn drainage grids, drainage channels and soakaways. 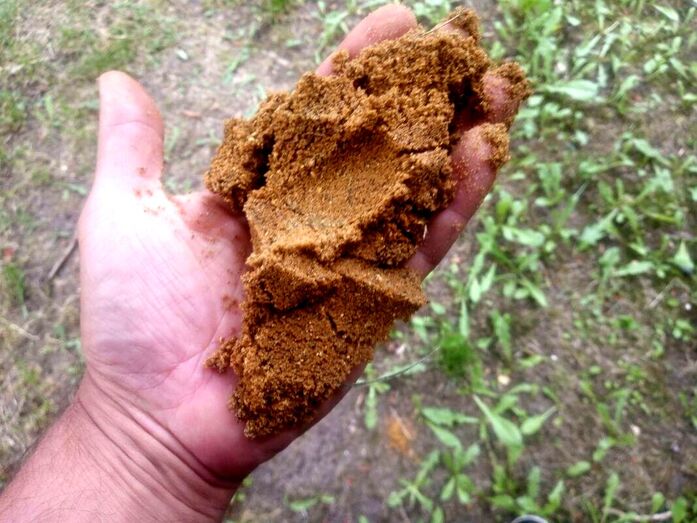
Lawn sand for top dressing
Lawn sand for top dressing is less coarse with medium sized particles and less silt. A good example of this sand is silver sand orplay sand. This evenly graded sand finds it easy to sink into the soils surface creating an open texture. Being less coarse means it is not so abrasive to grass stems and roots when walked upon. As worms naturally mix and aerate soil under your lawn the sand easily blends into the top layer. This leads to less compaction, better aeration, less moss and improved drainage. To fasten up this improvement process top dressing lawn sand is often spread after scarification. Scarifying typically involves intensive raking and slitting of the lawns surface. 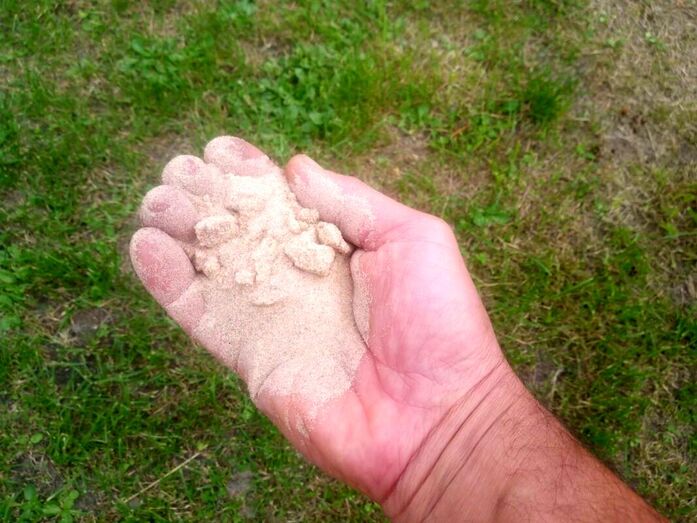
This removes lawn thatch including mosses and dead grass from the surface. At the same time fine blades slit and churn up small holes within the lawns surface.
This provides opportunity to spread top dressing sand and occasionally humus rich loams. Such a mix does not only improve the lawns structure it also feeds grass essential nutrients. A good way to combine top dressing and such feeding is with lawn care sand. Lawn care sand
Lawn care sand is a top dressing grade of sand which improves lawn structure and feeds grass. Its application combined with scarification can lead to better quality lawns. Lawn care top dressing sand products such as Elixir contain ferrous sulphate which kills moss. It also contains Nitrogen and Iron to feed your grass essential nutrients.  Benefits of putting sand on my lawn?
Lawn sand spurs
My people’s goals lie somewhere between the outcomes of topdressing, conditioning and improving a lawns surface drainage. One of the most effective ways of doing this is with Lawn sand spurs. These lawn care foot spikes enable you to casually walk around your lawn inserting hundreds of narrow holes. Simply strap them to your shoes and walk up and down in a tight formation. Lawn care sand can then be brushed into the surface improving drainage and lawn quality.  Levelling your lawn with sand
One of the best ways to improve your lawns appearance is to reach a consistently flush surface. The most typical way of doing this is by relaying a whole new lawn. However, you can also level up existing dips and undulations with sand. This can be achieved by mixing sand and topsoil by spreading it gradually to low spots. This is best done thinly in layers overtime by allowing grass to re-establish itself through each layer. 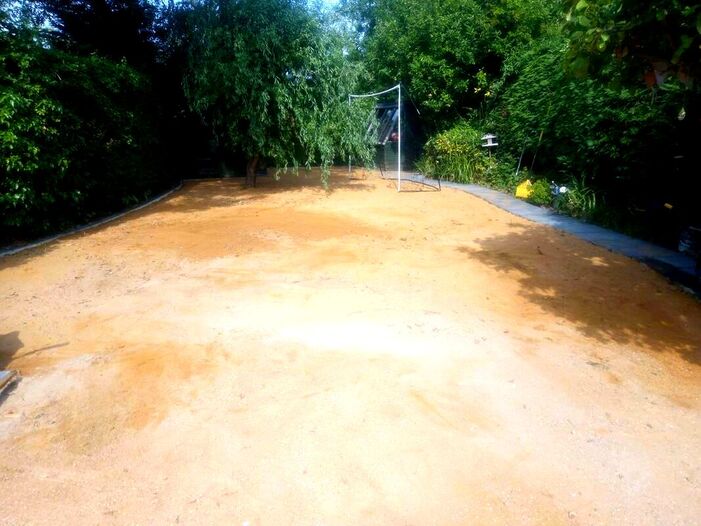
A free draining lawn sand layer under a new lawn
How to make a lawn sand drainage layer step by step
One of the best was to improve your lawns drainage with sand is to incorporate a free drainage layer. This involves laying a new lawn with a 30mm sharp sand layer underneath your new topsoil. As well as forming underlying drainage, this also provides separation between your new topsoil and your underlying soil. This can be extremely advantageous if your existing lawn is on heavy clay. The sharp sand layer prevents clay from mixing with new topsoil keeping your lawn soft and bouncy. Below I show you how to lay a free drainage sand layer to your lawn step by step Step1: Remove existing turf
Strip off your existing grass by removing the top 25mm of the turfs roots. This can be achieved with a turf cutter or a sharp bladed spade. You can sharpen the blade of a blunt metal spade using a diamond disk and an angle grinder (make sure you use safety goggles). Chip off the turf and remove the waste from site. 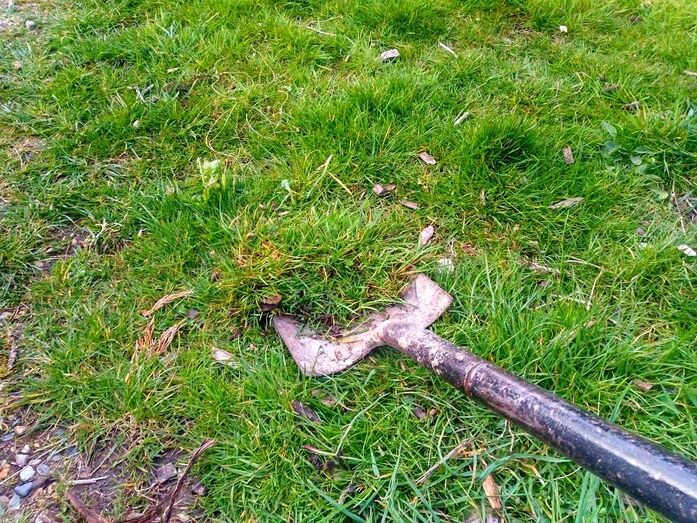
Step 2: Work out your levels
Work out where you want the level of your new lawn to be. You may want to raise your existing lawns level to help improve drainage! You also may wish to reach a more consistently flush and level surface. This will also aid better drainage and look more attractive. A consistent level can be achieved by setting up a tight string line when working your soil. Step 3: Alleviate compacted ground
Dig over your existing soil and alleviate any compaction, this will help to add oxygen and ease compaction. The best way to do this is with a tiller, if your ground is very compacted you may have to hand dig it first. 
Step 4: Break up clods & level
Break up any clods or lumps of soil working the ground to a fine tilth. This is much easier during a warm day and with the assistance of a mechanical tiller. These can be hired from any good hire shop. Step 5: Consolidate
During the breaking up and tilling process the soil will spring up and take on a fluffy texture. Nature will eventually settle the ground back to its lower level. Consequently you should consolidate the surface to bring the round to a firmer footing. It is important to remember the term consolidate not compact! You do not want to compact the soil just firm up its surface. This can be achieved by gently walking over its surface lightly once raking level as you go. This will prevent too much settlement of levels after the lawn is laid. Step 6: Spread your sharp sand
Spread your sharp sand in a consistent layer of around 30mm all over the lawns surface. Using a landscaping rake, grade the sand as level as possible. 
Step 7: Spread your topsoil
In the same way as you levelled your sand, wheelbarrow in your soil and start to levelling it. It is best to dump your soil in half wheelbarrow piles to make it easier to rake. If you are new to levelling soil utilise a long timber straight edge to help screed the soil. 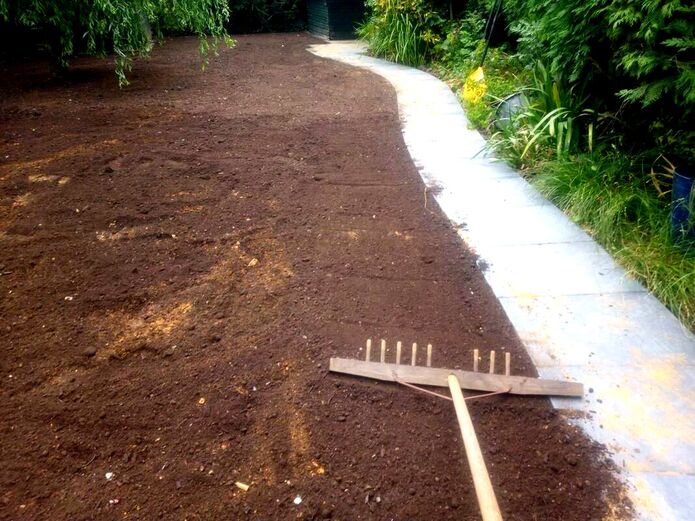
Step 8: Lay your turf
You should ideally lay your turf the day it arrives to prevent it heating up. Lay your turf as tightly and as neatly as possible. Try to bunch it up as close as possible as it can shrink in hot weather as it establishes. 
Step 9: Cut in edges
Cut the edges of your turf as neatly as you can, this is best done with an old wood saw. Try to avoid cutting sections which are very small as they can dry out quickly and perish. 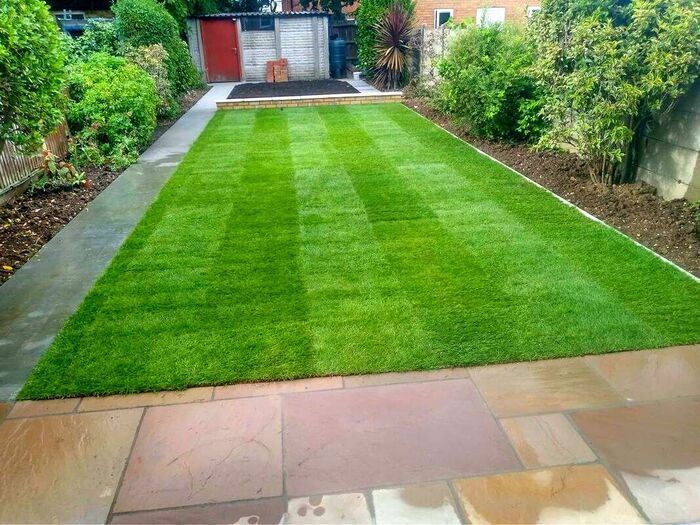
Step10: Water your turf
When you have laid a section make sure you water it in thoroughly! You cannot water it enough at this stage the turf and the underlying topsoil must be saturated. When you are watering gently lift the edge of one turf to make sure it is wet underneath. 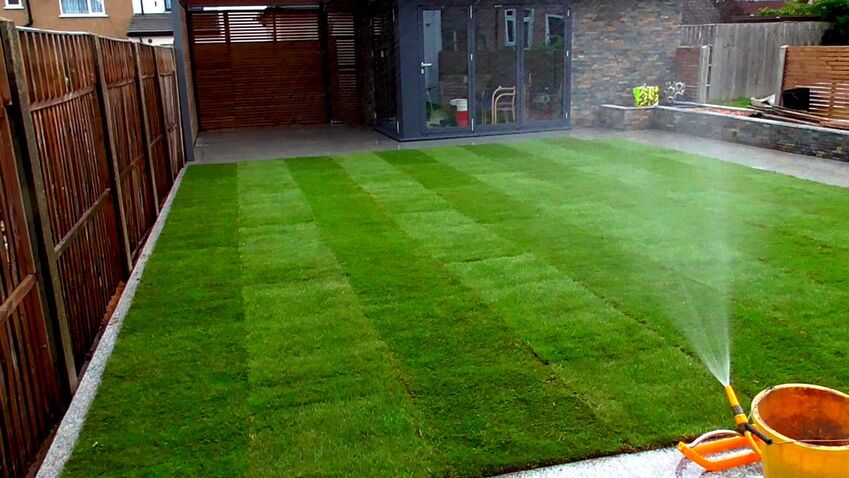
Step 11: Board down
Walk up and down the lawn using long scaffold boards or long, ridged, 6x2 planks. This will help level the lawn further and allow the turf and soil to make good contact. 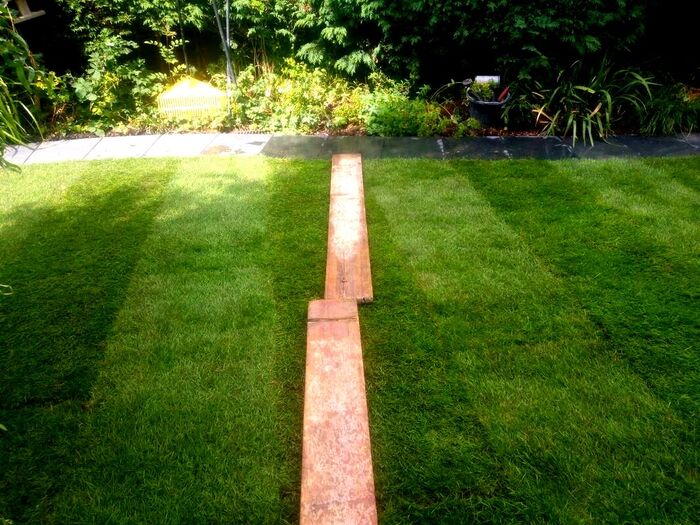
Step 12: Maintenance
Water the new lawn every other day when it is first laid for the first week if the weather is dry. If it is raining substantially over the first 14 days and not too hot it should be ok. Check the edges around the lawn during this time to make sure it doesn’t dry out. Do not walk on the lawn during the first two weeks to help the roots establish. The new lawn can be mowed little and often after three weeks it is growing well. Lawns laid in late autumn may not require cutting until spring. 
Thank you for reading our article on how to improve your lawns appearance and drainage with sand.
Below I will link to some other lawn articles you may find useful. If you have found this article helpful why not share it via the tabs below. Thank you!
'As an Amazon associate I earn from qualifying purchases'
0 Comments
Leave a Reply. |
The Author
|


Landscaping services across Buckinghamshire, Amersham, Aylesbury & High Wycombe
Hyde Heath, Amersham, Buckinghamshire
|
|