|
This article contains affiliate links
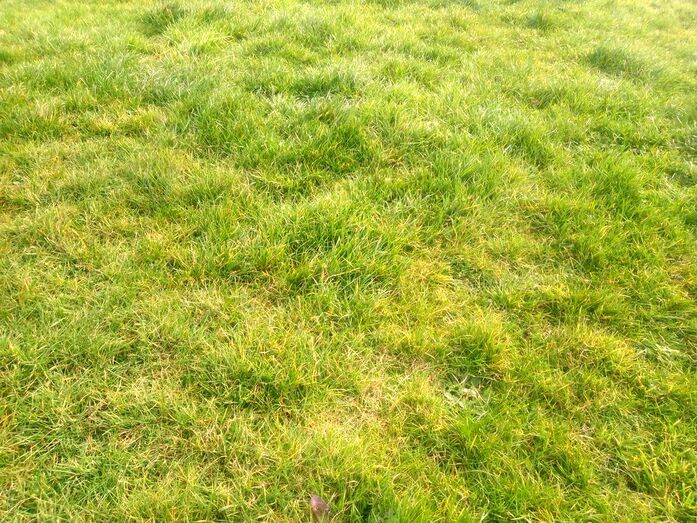
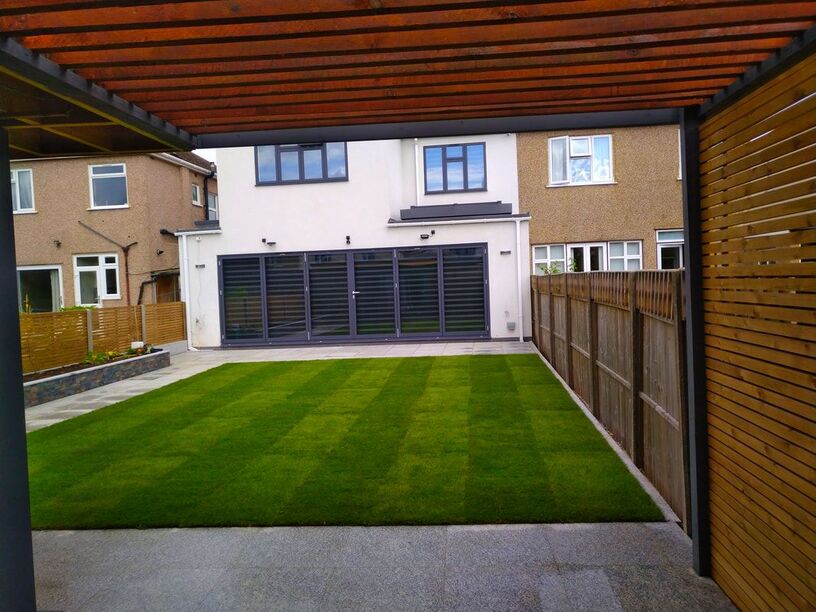
A perfectly level lawn can be a thing of beauty within a gardens landscape. Excellent quality and perfectly level, lawns can even be difficult to differentiate from artificial lawns
However, the reality is, most lawns do not even come close to this condition. There are many reasons why a lawn will become uneven and bumpy over time. The truth is, most lawns never start out perfectly level to begin with. Consequently, in this article I will explain how to get a perfectly level lawn from scratch. Why is my lawn bumpy?
There are a number of reasons why your existing lawn may be bumpy. Some of these are poor drainage, burrowing animals, tree roots, ground movement and ants. If you have ant hills in your lawn why not read our article on how to get rid of ants from your garden. Your lawn may even be the original ground the house was built upon. This means no significant landscaping or levelling would have taken place. How to level a bumpy lawn?
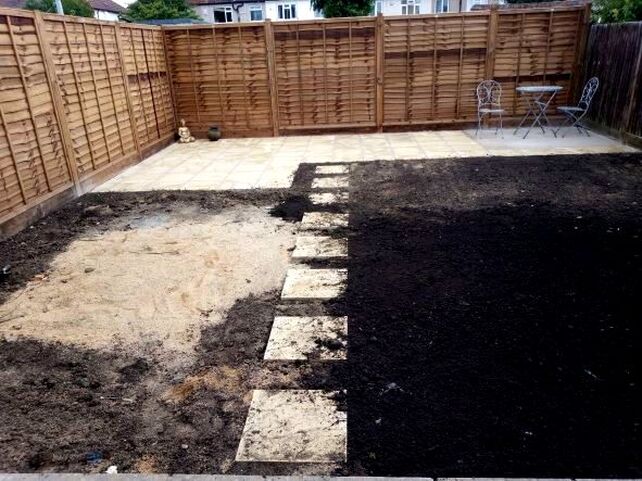
There is no escaping the fact that levelling a bumpy lawn will take some digging. Ideally you will need to chip off existing grass with its roots and dispose of it. The compacted and uneven subsoil should then be levelled. High areas should be broken up and spread into low areas and graded level. When your subsoil is relatively even the ground can be tilled or rotavated. This will alleviate compaction and improve the lawns drainage.
It will also give your soil a fragmented and loose texture making it easier to re-level. However, tilling is not essential or even possible on some, tougher, subsoil’s.
Therefore it is best to supply, spread and level a layer of new, humus, rich, topsoil. This will be very easy to spread perfectly level and provide the best start for a new lawn. How to level a bumpy lawn without new grass?
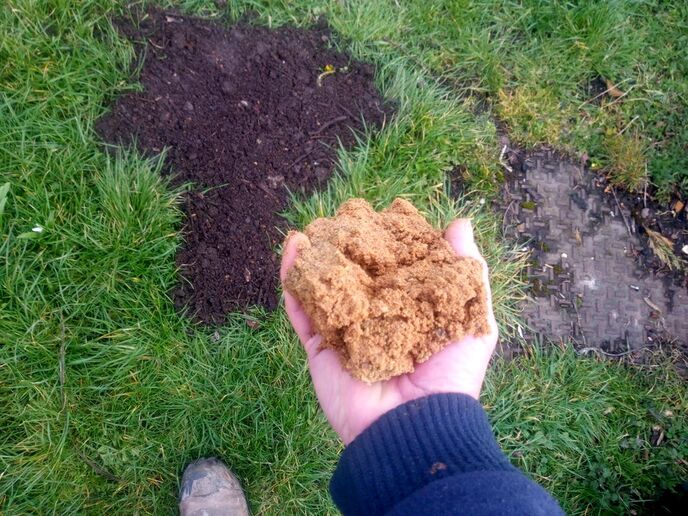
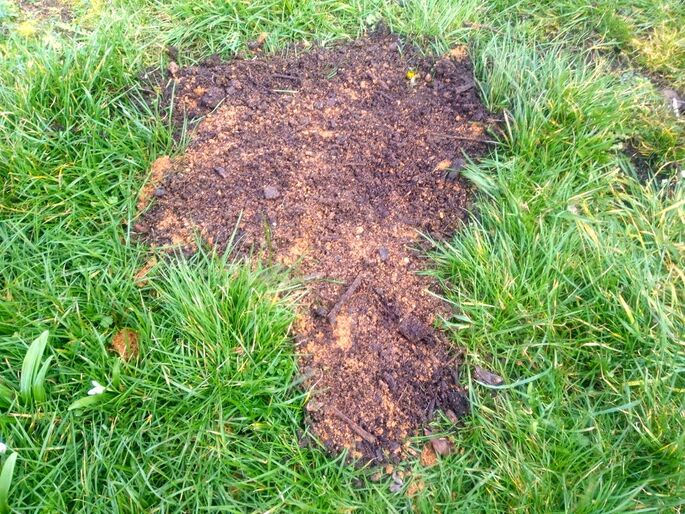
If you do not want to re-level and replace the existing lawn you could try top dressing. Top dressing can be effective to smooth out less extreme bumps and low points. This involves gradually building up low areas over time. A mixture of topsoil and sand is spread gradually in low layers until a new layer of grass establishes. Over time, your lawn can become more even and level. However, it is very difficult to reach a perfectly level lawn using this method.
Very often, dressed areas form miniature domes and bumps within the low spot itself. This can lead to even more rippling within the lawns surface.
Furthermore, spreading fresh topsoil encourages much greener and healthier grass within the low spots. This can lead to a visually patchy lawn which grows at an inconsistent rate. Consequently, I always advise clients if they are serious about levelling their lawn they should replace it. How to get rid of ant hills in my lawnIf your lawns mounds are ant hills it is best to excavate these out completely and remove them from site. Remember you will have to try to remove the queen to destroy the colony. I recommend excavating out a 500mm x 500mm cube of soil from the centre of the mound. This should destroy the ant colony. The ant colonies can then be disposed from site in a skip. This may seem like a lot of work but other methods like boiling water rarely kill the queen.
Queen ants live in protected chambers deeper under the soil. The remaining square pits can then be monitored for ant activity over the coming week.
When there is no longer signs of ants these can be filled and consolidated well with subsoil. How to create a perfectly level lawn from scratch
Step 1
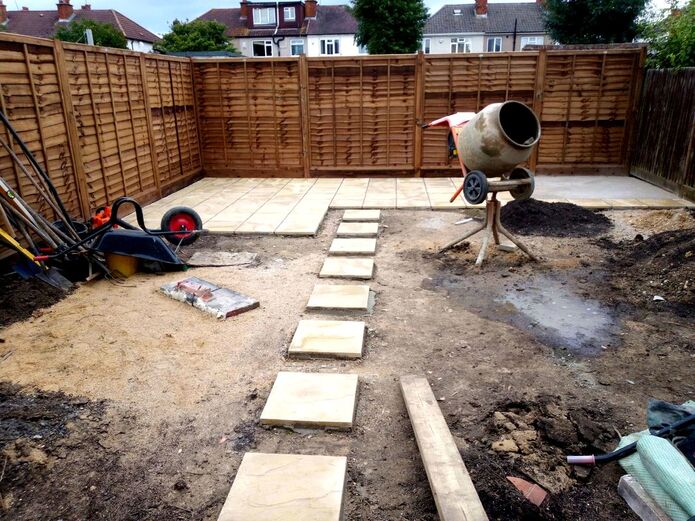
Survey your existing lawn levels to identify which areas are too low and which areas are too high. This can be achieved by ‘assessing existing surrounding level references’. These are normally the base of fences, patio levels and outbuildings.
Step 2
You must then identify your optimum or perfect lawn level. This can be achieved by running a tight string line across your garden from your existing reference levels. This level, once identified, can be marked out by tapping in timber pegs. Ideally the new level of your lawn will meet your surrounding paths, edgings and patios seamlessly. This will result is easy mow over edgings around the perimeter of your lawn.
Step 3
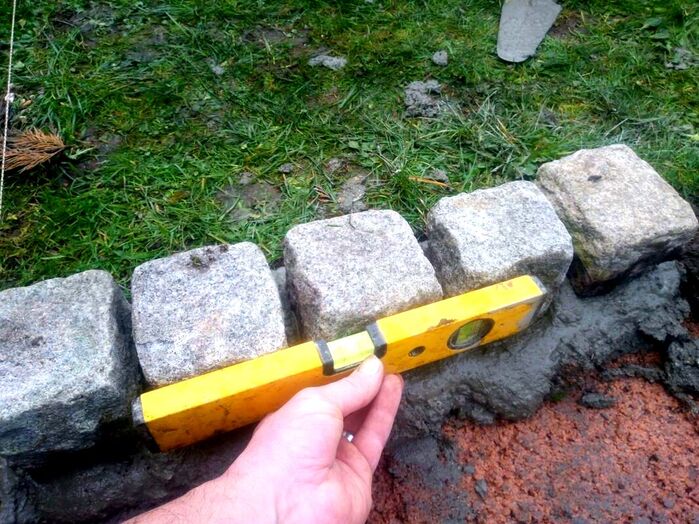
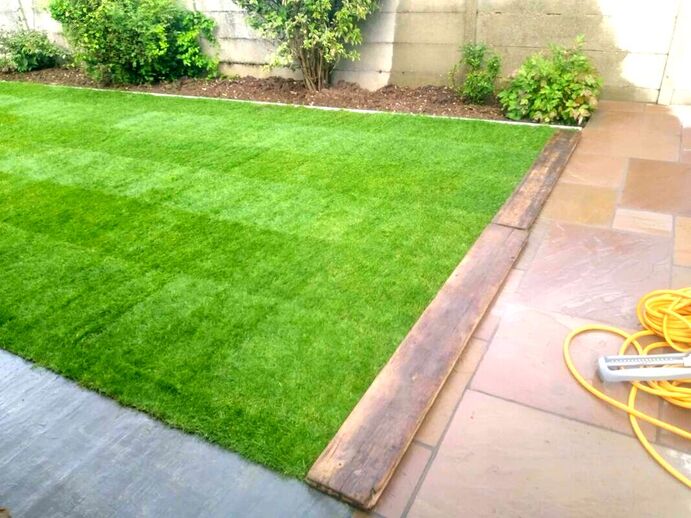
The only way to get a perfectly level lawn is to install perfectly level retaining or mow over edgings. This will enable you to screed the topsoil level perfectly to the top of the edgings. Lawn edgings can be constructed with a range of materials but the best are those which do not degrade. The best retaining edgings for a lawn are made of brick, paving, natural stone sets or blocks. These can be installed perfectly level all the way around your grass. This will allow for a perfectly level lawn and seamless mowing.
Step 4
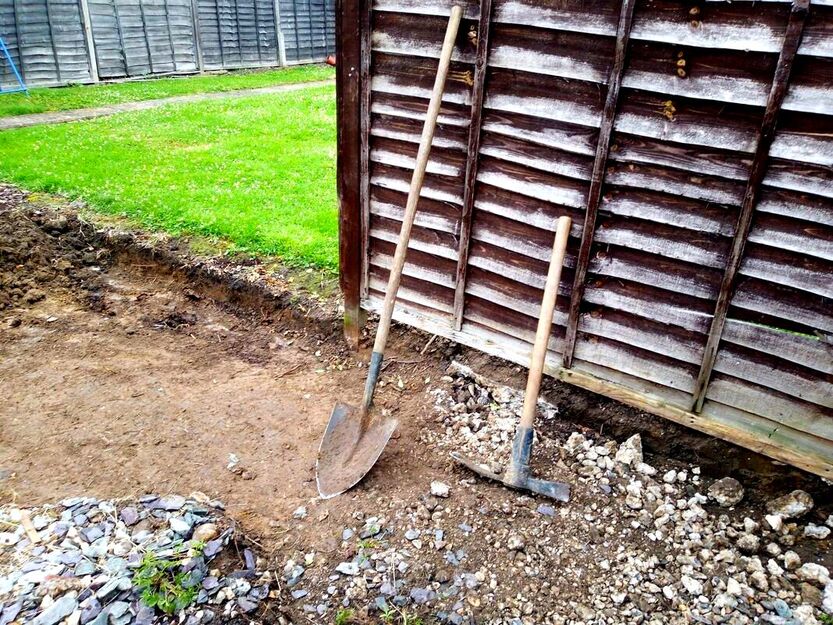
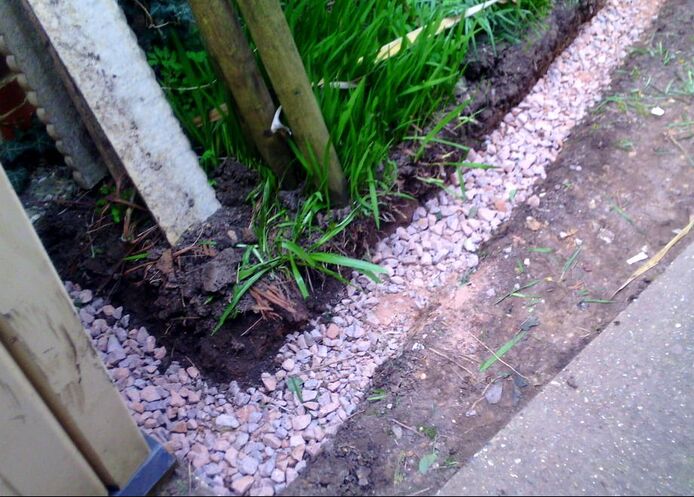
Excavate a channel for your retaining lawn edgings. The channel should be at least wide enough to allow for your lawns edges. For example, if you are installing a brick on edge your excavation will need to be a full brick width thick. Dig out a perfectly square excavation to a depth of 125mm or 5 inches. Make sure all excavated soil is removed with no soft soil left within the excavation.
Step 5
If you are laying masonry edgings like paving or brick you will need to spread a sub-base. Fill the excavation with enough compactable sub-base to allow you to reach your desired height, For example, paving is normally around 20mm thick and bedded onto a 40mm mortar layer. Therefore your 125mm excavation will need 65mm sub-base which will leave 60mm for the paving and mortar.
Step 6
Install your edgings, if you are laying masonry edgings make sure they are laid upon a consistent mortar bed. Also make sure your edgings are well pointed and haunched securely into position. If you are laying timber or metal edging make sure they are secured well at a consistent level. You do not want your edgings to fail under the weight of soil.
Step 7
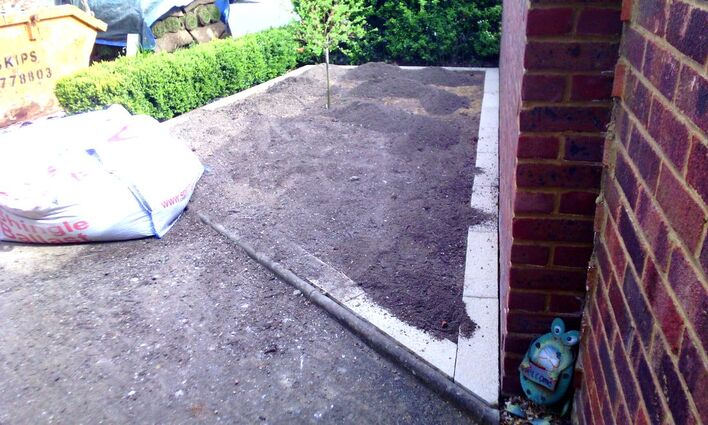
You should now have you perfectly level or consistently flush lawn edging. Now you need to prepare your soil for laying lawn turf. Remove any existing grass or weeds and make sure you remove all roots. If you have any high areas this is now your opportunity to level them out. If you do not have a good eye for levels run a tight string line across your edgings. Break up high areas of soil and spread them into low areas.
Step 8
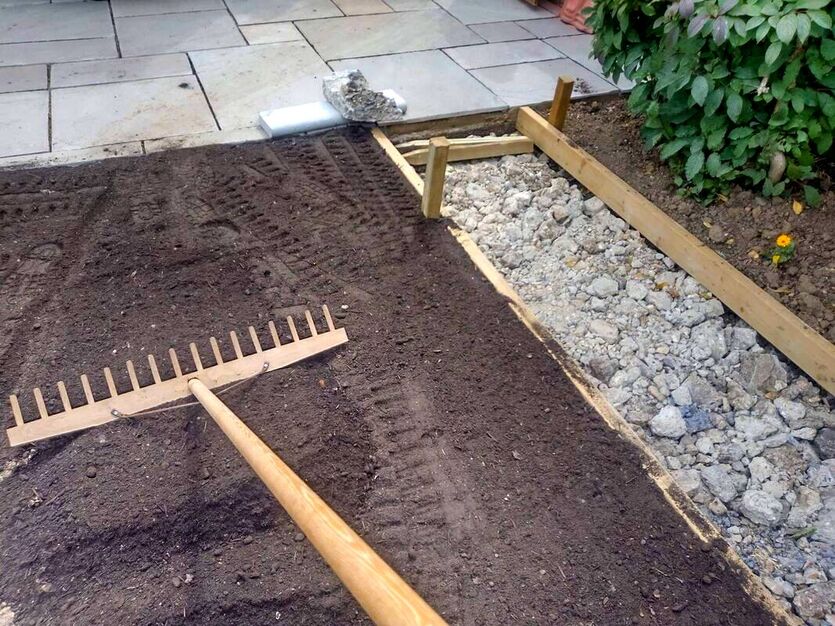
Alleviate any compaction or poor drainage by turning over the existing soil. The easiest way to do this is with a mechanical tiller machine. This will work the soil to a fine texture. If you have particularly claggy and sticky soil like clay add plenty of grit and organic matter. Once your new lawns topsoil layer is loose and crumbly rake it as level as possible within your edgings.
Step 9
During the digging and tilling process you may have noticed your soil is much higher than what it was. This is because you have added plenty of oxygen and air spaces to the topsoil. Eventually this level will sink as the ground settles. You do not want your lawn to eventually sink below the perimeter edgings! Consequently you should consolidate the topsoil by rolling the ground or treading down the soil with your feet.
Step 10
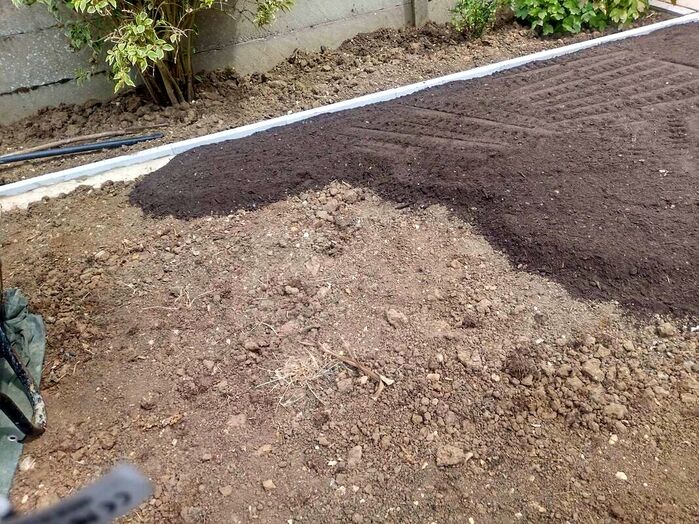
Supply and spread a layer of good quality compost rich topsoil to the new lawn area. Depending upon what level your edgings are at you may need more than usual or very little. I always work my levels to allow for at least 1 cm of rich topsoil to the soils surface.
Step 11
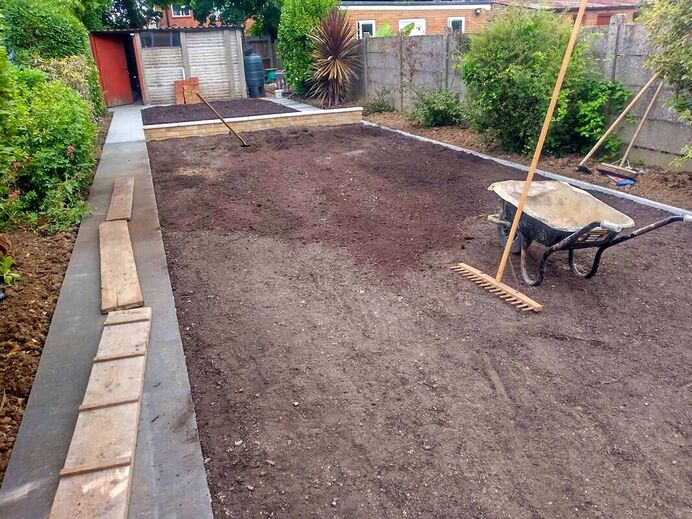
Level your soil so it is perfectly flush and level to the top of your edgings. Typically this is accomplished using a landscaping rake by professional landscapers. However, you may find this challenging if you have never levelled soil before. If your lawn is a conventional size you can screed it with a straight edge. Using a long and straight piece of timber you can scrape the soil level by resting it upon your edgings. Using a sawing action you can achieve a perfect level base for your turf. There is knack to levelling topsoil but with some patience and perseverance its completely achievable!
Step 12
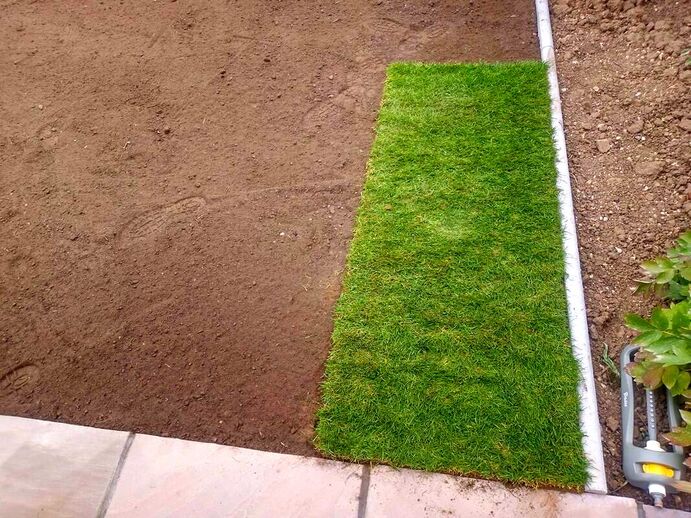
Roll out your lawn turf starting along a straight edge. Make sure you use timber boards to walk across the project to spread your weight and not create ruts. Stagger the turf rolls like brickwork so it knits together tightly. Make sure you bunch up the turf as much as possible while still laying it level. This is because turf shrinks as it dries out. When you have laid a section, put boards over the grass and walk it flat. This ‘boarding in’ process makes sure the turf has made good contact with the soil beneath.
Step 13
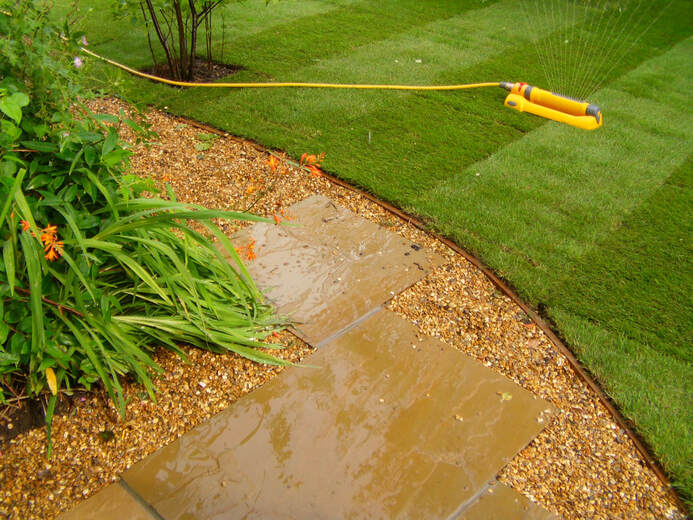
Water your newly laid lawn with a sprinkler very well! Do not underestimate how much water it will need especially during warm weather. A test is to gently lift a corner of the turf to see if it’s saturated. You want to make sure both the turf and the soil beneath have become completely absorbed.
Step 14
Give your new, perfectly level lawn and final board in and leave it to establish. If you are expecting hot and dry weather keep an eye on the turf for the next couple of weeks. Make sure it is well watered and looked after during this establishment period. After two weeks your lawn should be established enough to take care of its self and to be walked upon.
Thank you for reading our article on how to create a perfectly level lawn. If you require the installation of a new and level lawn please do not hesitate tocontact us. We provide lawn and garden edging installation services. We also provide lawn drainage as well as other conventional landscaping services such as paving, fencing and garden makeovers.
'As an Amazon associate I earn from qualifying purchases'
0 Comments
Leave a Reply. |
The Author
|
Landscaping services across Buckinghamshire, Amersham, Aylesbury & High Wycombe
Hyde Heath, Amersham, Buckinghamshire |
|

