|
This article contains affiliate links
There are multiple scenarios where you may wish to build a garden wall. You may need a robust wall to retain soil or you simply may wish to create a feature.
Whatever your reason for installing a wall in your yard, it is very typical to choose concrete as the primary material. In this article I will explain some of the benefits of building outdoor walls with concrete. I will also show you how to build a garden wall using concrete blocks step by step. Benefits of using concrete for garden walls
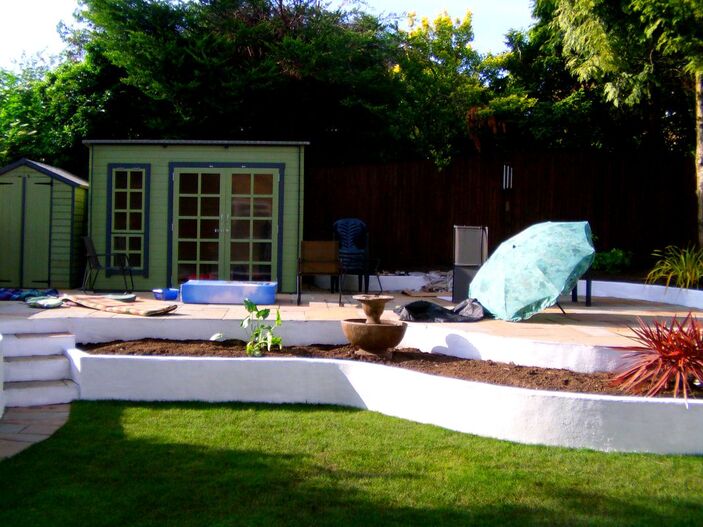
Concrete is an extremely dense and durable material with a high compressive strength. This makes it perfect for creating strong bases and retaining structures. Concrete blocks can be laid to create any shape or form, you can also create concrete walls using wet concrete. In such a case you will need to construct some formwork or shuttering to retain and shape the concrete. Such versatile construction means concrete can be formed to fit every scenario. This makes it extremely popular for creating unconventional forms such as curves. Concrete walls are extremely fast to create and cost effective. Once concrete has cured you then have a blank canvas to decorate it how you wish. Concrete garden walls can be rendered, painted, tiled or clad. How deep should foundations be for a retaining wall?
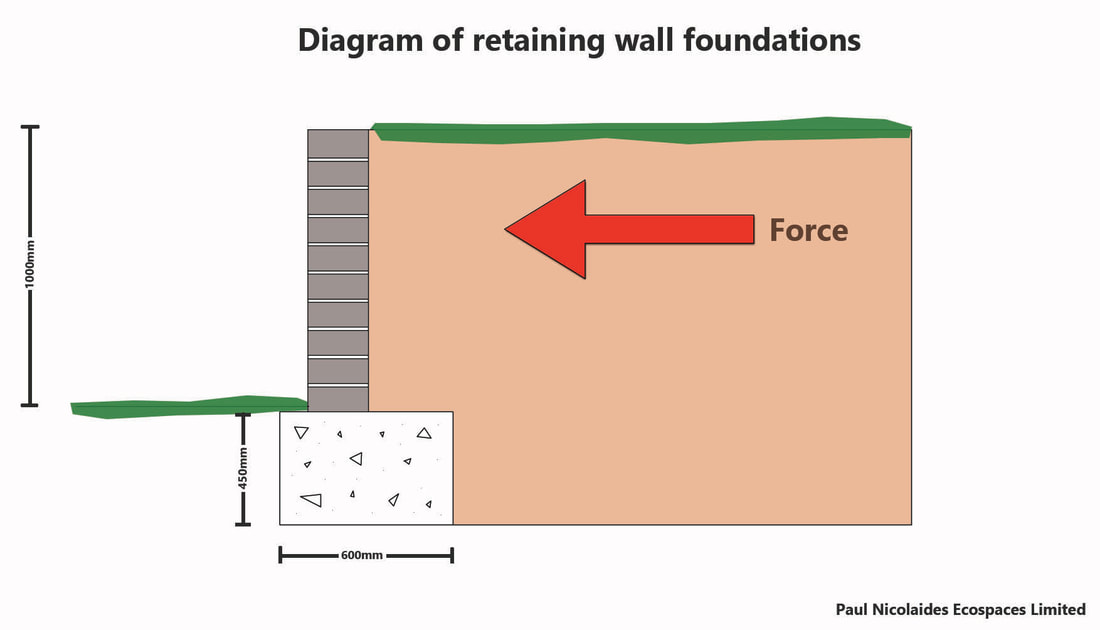
The depth of your walls foundations will depend upon a few factors. The most important are the height and width of the wall.
A greater mass of concrete will require a more robust foundation. Generally, I always prefer to have a minimum depth of at least 400mm depth for garden wall foundations. If your wall is 200mm thick and over 800mm high then 600mm depth is a better depth. This will also depend upon how stable your sites sub-soil is and how saturated it becomes in winter. In terms of the foundation width you will want it to be at least three times the width of the wall itself. For retaining walls holding back volumes of soil it is best to have a broad foundation. This will allow the retained load to push down upon the foundation further strengthening the wall. What is the best concrete mix for a garden wall?
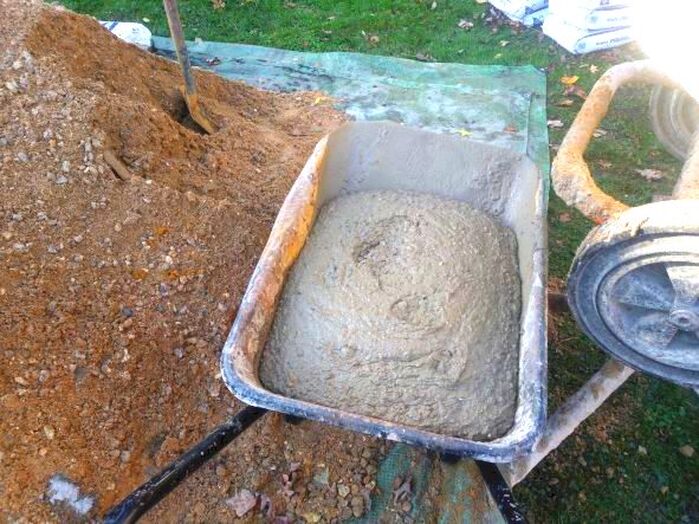
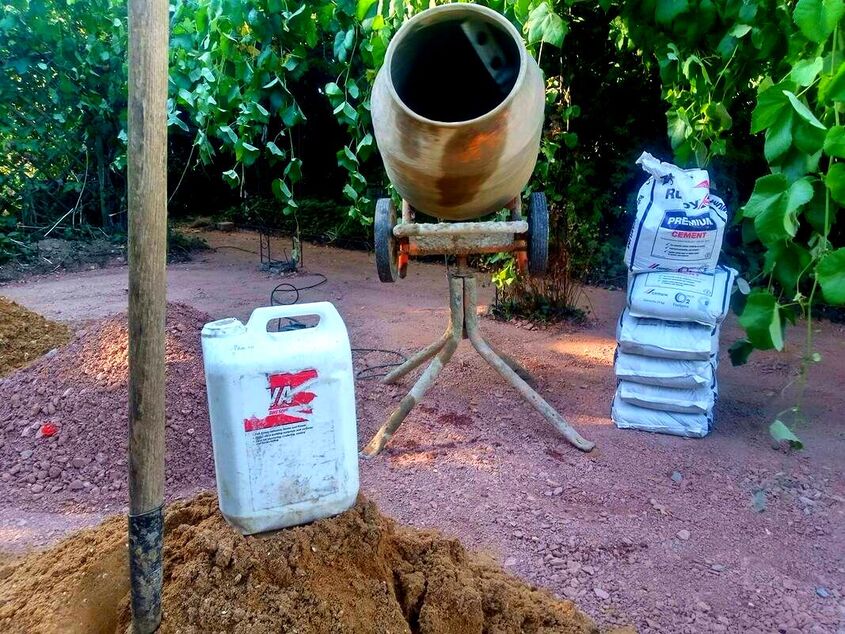
You will need to mix up 1 part cement to 5 parts ballast in a cement mixer with water. Make sure the concrete is well mixed and reaches the consistency of porridge. How to build a garden wall with concrete blocks
Step 1: Mark out your walls position
Mark out where you want your wall to be located. Not only will you need to mark out for the wall itself but also the foundation. Mark out your walls foundation with marker paint so you know where to excavate. Step 2: Excavate your foundation
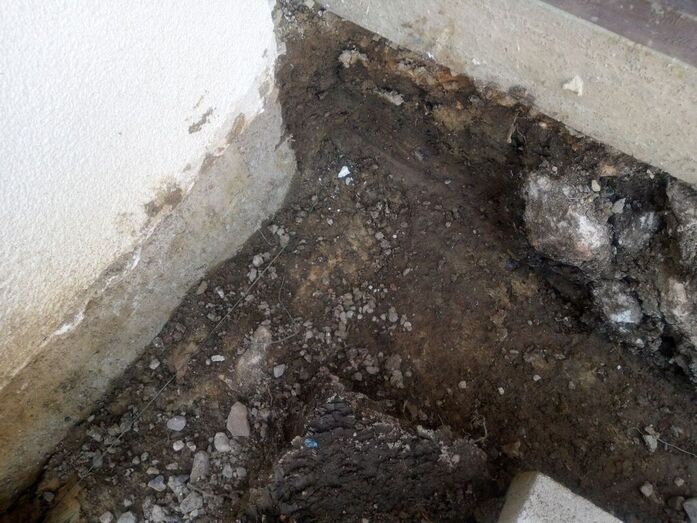
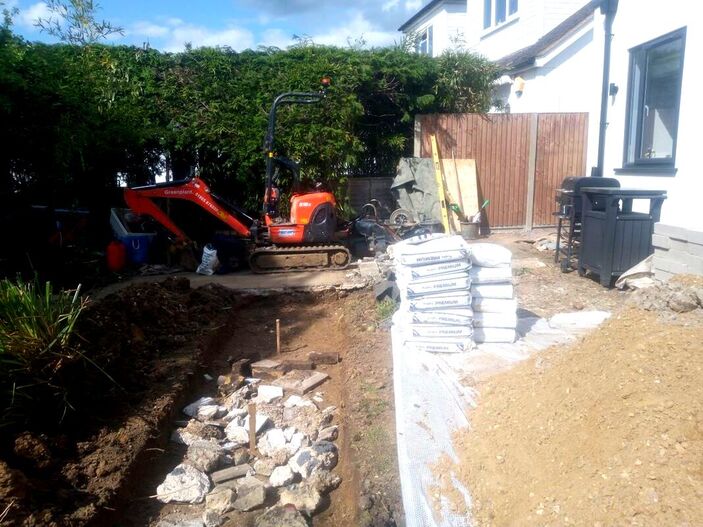
Excavate for your walls foundation, you are best excavating to a minimum depth of 400mm for a small wall. You will have to excavate out much more for taller and thicker concrete garden walls. Try to make your foundations at least three times the width of the wall itself and make sure there is no soft or loose earth left inside the trench Step 3: Mix and pour the concrete foundation
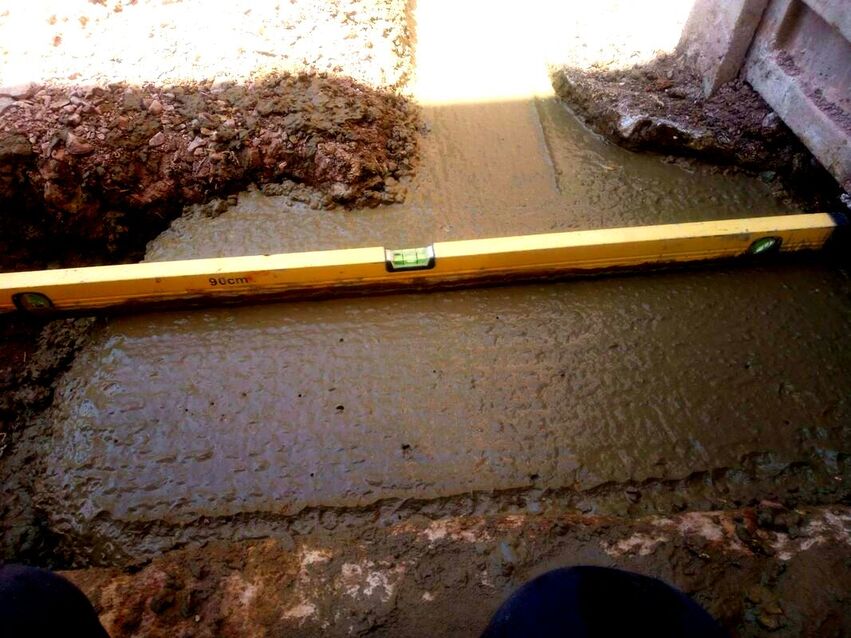
Mix one part cement to five parts ballast with water inside a cement mixer until it reaches the consistency of porridge. Pour your wet concrete into your excavation and tamp it smooth to your desired level. Remember, gravity will naturally want to pull your concrete level! However, use a trowel and spirit level to move your mix around and work it until perfectly level. The best job you do of levelling your foundation will make laying your blocks level much easier. Step 4: Set up your working area
Set up a working area where you have all your materials and tools for laying blocks to hand. Try to set up your mortar mixing area away from your block work. This will prevent your wall becoming splashed with mortar stains. Step 5: Set out your blocks
Set out your blocks in equal stacks around your working area so you have them to hand when building. Try to keep your blocks back from the wall slightly to create a working corridor. This will enable you to get a wheelbarrow of mortar along your wall as you lay. Step 6: Mix up your mortar
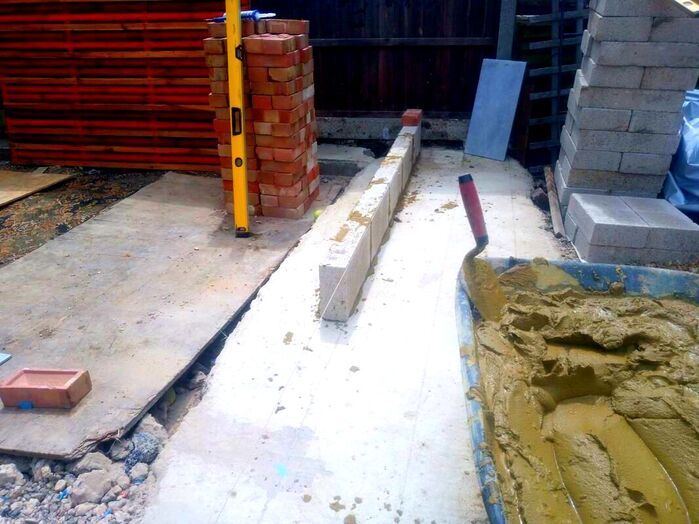
Mix up 1 part cement to 5 parts soft or building sand with water and a little plasticiser. Mix well until you have a consistent and workable mortar that is not to stiff but not too runny. When your mix is ready load it into a wheelbarrow. Step 7: Lay your first blocks
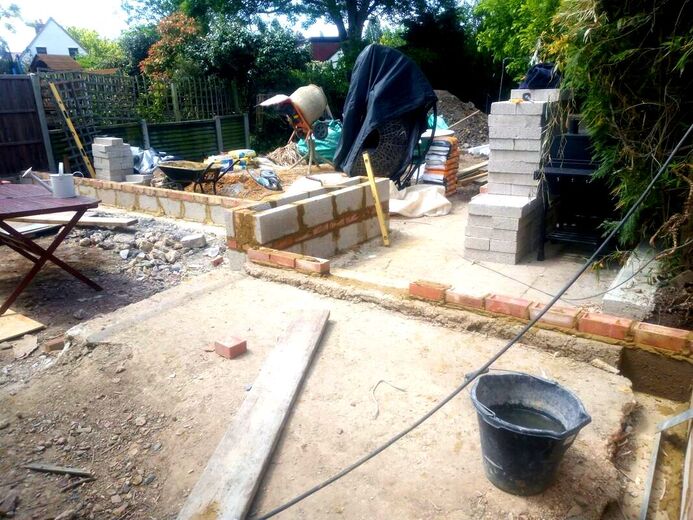
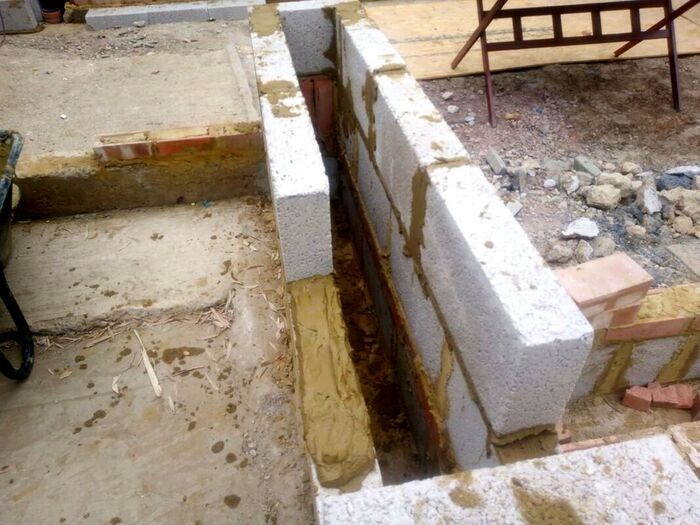
Mark the line of your wall onto your concrete and start laying your blocks. Lay a long fillet of mortar along your line as consistently as you can with little bedding ripples. Concrete blocks are much heavier than bricks so bed them onto the mortar slowly. One of the best ways to lay a straight and level run is to set up a string line. Step 8: Keep your corners plumb
An efficient way to lay concrete blocks straight is build up your corners first. Build them up as high as your garden wall is and make sure they are vertically level or ‘plumb’. Place your spirit level vertically onto your wall and make sure your bubble falls within the two lines. Step 9: Keep your lines straight
When your corners are built up level and plumb, run a tight string line from the top of blocks at each end. Now all you have to do is tap the top of your blocks flush with your string. This will enable your wall to remain straight and plumb, all the way up. Step 10: Core out any drainage holes
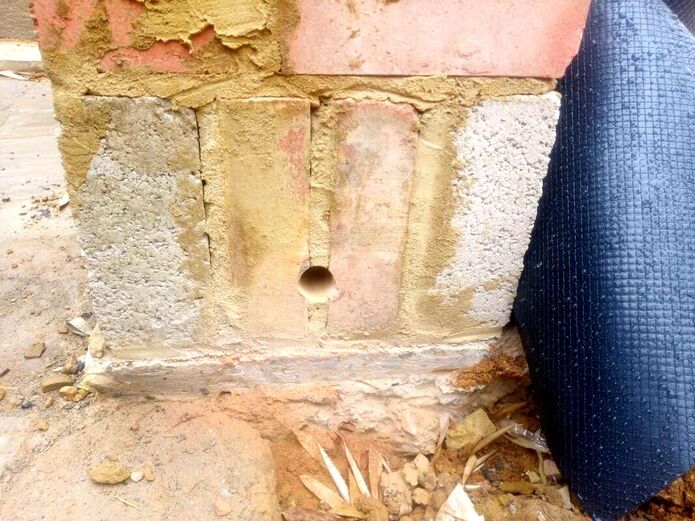
If your wall is retaining any ground levels or soil make sure to core out some drainage holes. This can be done using a circular diamond cutting drill attachment. Core out your holes with a minimum diameter of 30mm, place your holes at the bottom of the wall. To prevent drainage holes from clogging, place a fine wire mesh with filtration fabric at the rear of the hole. Step 11: Waterproof if necessary
If your concrete garden wall is retaining soil it is a good idea to waterproof it on the soil side. This can be achieved with bituminous paint or a damp proof membrane. Step 12: Lay cappings or copings
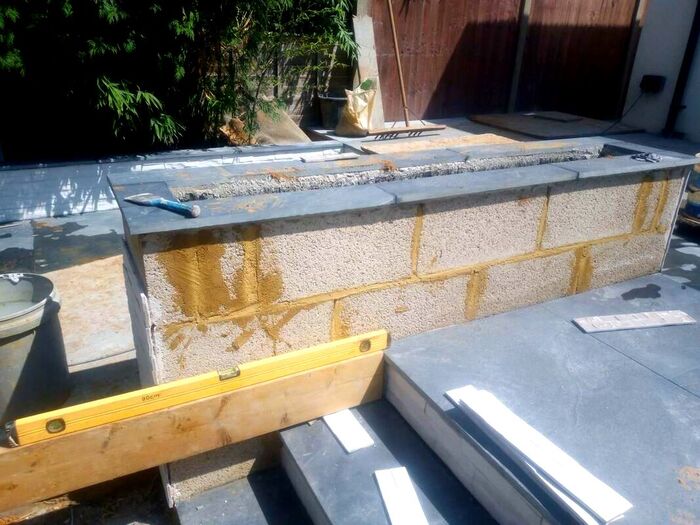
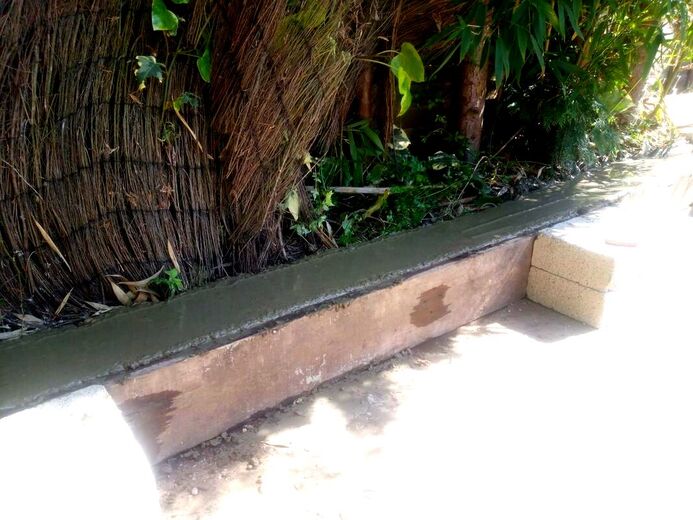
Most concrete garden walls will require some sort of coping or capping. This is to protect the top of the wall from weathering and finish it aesthetically. Lay your copings or cappings on a strong mortar bed with an overlap over the wall. Visit our article on how to make copings from paving here. Step 13: Clad your blockwork
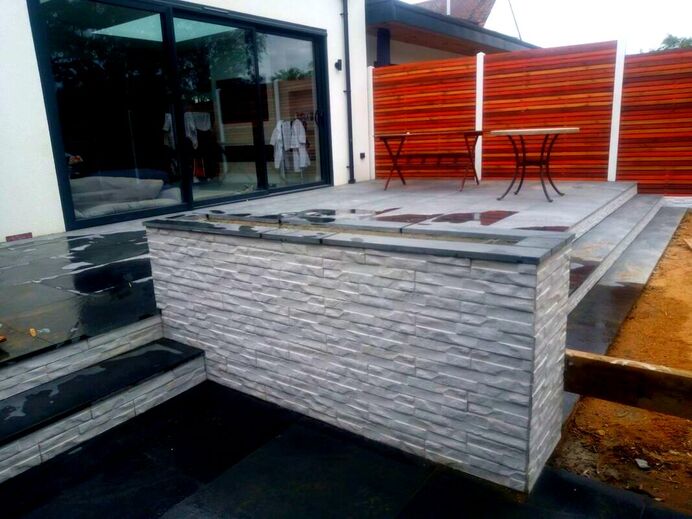
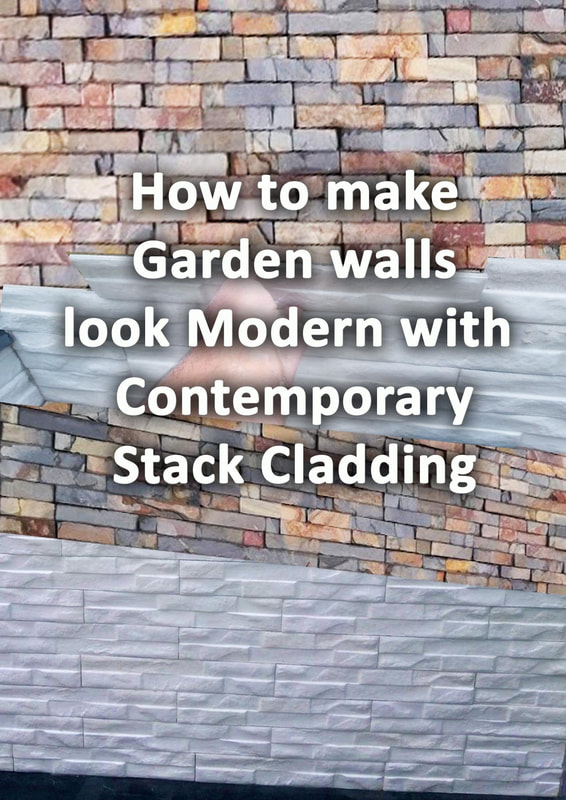
There are numerous ways of surfacing your bare concrete wall when it is completed. Some of the most popular ways include rendering, painting, tiling and cladding. In my example below I used contemporary style, porcelain, stack cladding. How to build a garden concrete wall using shuttering
Step 1: Mark out your walls position
Mark out where you want your wall to be located. Not only will you need to mark out for the wall itself but also the foundation. Mark out your walls foundation with marker paint so you know where to excavate. Step 2: Excavate your foundation
Excavate for your walls foundation, you are best excavating to a minimum depth of 400mm for a small wall. You will have to excavate out much more for taller and thicker concrete garden walls. Try to make your foundations at least three times the width of the wall itself. Step 3: Mix and pour the concrete foundation
Mix one part cement to five parts ballast with water inside a cement mixer until it reaches the consistency of porridge. Pour your wet concrete into your excavation and tamp it smooth to your desired level. Remember, gravity will naturally want to pull your concrete level! However, use a trowel and spirit level to move your mix around and work it perfectly level. The better job you do of levelling your foundation will make your laying your blocks level so much easier. Step 4: Set up your walls shuttering
Set up your in-situ concrete wall formwork and shuttering. This can be undertaken using rigid timber boards for straight walls and flexible boards for curves. Curved walls are normally formed using thin but durable shuttering ply and ridged timber pegs. Step 4: Set up your working area
Set up a working area where you have all your materials and tools for laying blocks to hand. Try to set up your mortar mixing area away from your block work. This will prevent your wall becoming splashed with mortar stains. Step 5: Mix up your concrete
Mix one part cement to five parts ballast with water inside a cement mixer until it reaches the consistency of porridge. You can make concrete a little bit runnier and stronger if it is filling up shuttering. This encourages air bubbles to rise up to the top of the wall and escape from the edges. Step 6: Apply shuttering grease
Apply shuttering grease or strike release oil to the inside of your shuttering before you pour your concrete. This creates a waterproof barrier between the concrete and the formwork. This prevents the risk of concrete fracturing when the shuttering is removed. Step 7: Lay reinforcing bars
If your concrete wall is spanning for a long and continuous length, you may wish to add some reinforcing. This is because concrete has very low flexible strength, consequently long and narrow lengths could crack in time. Metal reinforcing bars and mesh can be incorporated into the central portion of your concrete. This will add a slight flexibility to the structure and help prevent cracking. Step 8: pour your concrete
Pour your concrete into the shuttering and spread it around to reach a level layer. Step 9: Work out air bubbles
As you pour in your wet concrete work, the mix with a rake to help work out air bubbles. Plunge your rake in and out of the concrete to help the bubbles to rise and settle the aggregates. Step 10: Tamp concrete level
Using a straight edge or long spirit level, tamp the top of your concrete level. If you have made your concrete a little more on the runny side this will be much easier. Step 11: Core out any drainage holes
If your wall is retaining any ground levels or soil make sure to core out some drainage holes. This can be done using a circular diamond cutting drill attachment. Core out your holes with a minimum diameter of 30mm, place your holes at the bottom of the wall. To prevent drainage holes from clogging, place a fine wire mesh with filtration fabric at the rear of the hole. Step 12: Waterproof if necessary
If your concrete garden wall is retaining soil it is a good idea to waterproof it on the soil side. This can be achieved with bituminous paint or a damp proof membrane. Step 13: Lay cappings or copings
Most concrete garden walls will require some sort of coping or capping. This is to protect the top of the wall from weathering and finish it aesthetically. Lay your copings or cappings on a strong mortar bed with an overlap over the wall. Step 14: Clad your concrete
|
The Author
|
Landscaping services across Buckinghamshire, Amersham, Aylesbury & High Wycombe
Hyde Heath, Amersham, Buckinghamshire |
|
