|
This article contains affiliate links
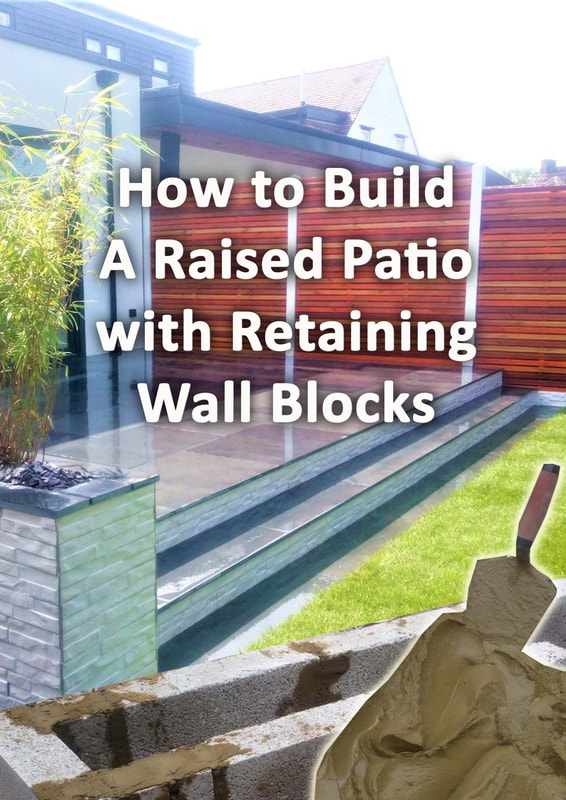
Building a raised patio is a great way to provide elevation to an outdoor seating area. This can create a higher spatial hierarchy hosting commanding views over your garden.
Raised patios can provide a more transitional level from indoors to the outdoors. This enables your patio to become a part of the home during the warmer summer months. Raised patios require more planning and construction than ground level patios. Raised, retaining walls and steps will all require robust foundations and base work. Here, I will address common questions and considerations of building raised patios. I will then describe how to build a raised patio with blocks or bricks step by step. Benefits of raised patiosRaised patios can provide level seating platforms which harmoniously integrate the garden and home. These transitional surfaces can host the perfect, elevated, seating area to relax and enjoy nature. Raised seating areas can also provide a slightly better perspective and commanding view over your outside space. Such seating areas are even more advantageous in undulating and sloping gardens. They can provide stability and useable space to otherwise treacherous terrain. How do I raise the height of my patio?
If you want to raise your existing patio you will need to install a perimeter foundation, retaining walls and fill the centre with well compacted hardcore. This will provide a solid structure for your new patio to be laid on top. You will typically need to excavate many tones of soil from site. It will also require many more tones of concrete, block work and compactable sub-base. Is a raised patio expensive?
A raised patio is much more expensive than a ground level patio. How much more will depend upon the surface area of the paving and how high the retaining structure is. The higher the patio the larger the foundations and thicker the walls must be. Higher patios will also require more compactable aggregates and the cost of labour to shift them. The average raised patio, about 300mm high with steps costs around double that of a ground level patio. This is due to the installation of robust foundations, brickwork, rendering and filling. How deep should foundation walls be for raised patio?
It is difficult to pinpoint the perfect depth for raised patio wall foundations. There are many different considerations including soil type and annual ground moisture saturation levels. However, I always prefer to excavate a little deeper than you think especially if the ground is soft. For your average raised patio I prefer to excavate a minimum depth of 400mm. How wide should foundations be for a raised patio?
The foundations should be at least 3 times the width of the retaining wall you are building. However, retaining walls of any type should have a wider foundation which runs back under the retaining load. This is called a 'cantilever foundation' where the retained load adds extra stability to the retaining wall. You may want your raised patio to have long steps running the length of the patio. This will provide you the opportunity to lay a large and broad cantilever foundation along the whole length. The mass of walls and the broad foundation will act as an anchor of stability for the whole structure.
Broad and deep foundation for retaining walls and steps
How thick should retaining walls be for raised patio?
Any retaining wall holding back compacted material must have a suitable thickness. For most raised patios you should aim for 210mm thickness. This is two bricks thick or the thickness of a concrete block on its side. If you are building quite high (above 800mm) I would recommend making this thicker still (300 - 400mm). You can lay a cavity between blocks or bricks and fill with wet concrete as you build higher. However as you get to the top 600 - 800mm you can go back to 201mm thickness. This may seem a little excessive to some, however in landscaping everything must be built to last. Do you have to dig out for a raised patio?
This is a very common question and unfortunately the answer is yes. Just because the patios base is not physically sitting under ground doesn’t mean the soil should not be removed. You will still need to remove the soft topsoil layer to the ground. This darker soil has a higher quantity of lighter organic matter within its particles. This means it is less stable and liable to displace under excessive loads. Seasonal fluctuations in ground moisture can lubricate these soil particles leading to excess movement.
This can lead to your raised patio moving and cracking eventually failing. It may seem counter intuitive to dig down for a raised patio but it is the correct way.
There are some exceptions, for example, if you are building over a robust concrete slab with no cracks. However, for most situations you should excavate at least a 150mm depth of topsoil. What is the best base for a raised patio?
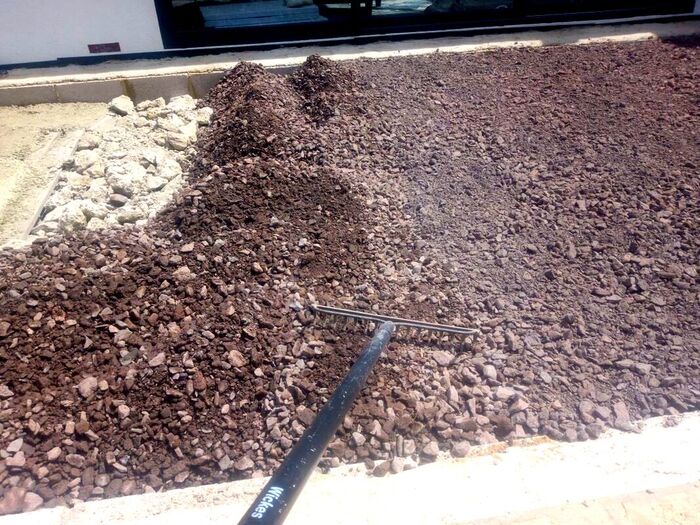
You should use a traditional, compactable aggregate such mot type 1. This is a suitable base for a raised patio. If your retaining structure however is quite high you should apply your aggregate in layers. You should compact your layers of sub-base every 100mm with heavy compaction plate. This will make sure your build up layers do not sink over time. I prefer to lay a 100mm layer of wet concrete to the top of raised patio sub-bases. This provides extra stability and an equal weight disruption onto the ground below.
Levelling mot type 1
What do you fill a raised patio with?
You can only fill up raised patios with hard masonry materials like brick, stone and concrete. However, you should not allow too many air gaps between the hardcore! In times of high ground saturation, this can lead to water and silt rising up into your sub-base. Eventually this can cause displacement and cracking. It is best to break up larger masonry into thin layers and spread mot type one over the top. This enables all hardcore gaps to be tightly filled and then compacted. Can I raise a patio to my sliding doors level?
It is very typical for homeowners to want their raised patios to meet the same level as the home. This is to create a seamless and uninterrupted transition from inside to outside. The rising popularity in wide and open, sliding, patio doors has further popularised this idea. The problem with this is, UK building regulations require external surfaces to be 150mm below the DPC level. This ‘damp proof course’ is a waterproof membrane within walls to stop damp rising up from saturated ground. This ‘damp proof layer’ is typically situated just under the level of back doors.
This makes it very troublesome to raise a patio to the same level as the home.
Building higher than the recommended 150mm is sometimes tolerated if you create a channel between surfaces. However this typically ruins the visual effect one is trying to achieve. There are many instances where homeowners simply ignore this regulation. If you do, bear in mind when you sell your home, the surveyor could flag it. This could mean a home devaluation or an expensive recommendation to remedy the works. The 150mm distance between paving and the DPC is to prevent splash back from heavy rain saturating walls.
It is also justified in the case of garden flooding events. Therefore, if you do ignore this rule make sure your walls are well waterproofed.
This can be achieved with robust masonry sealants, External weather shield paints or resin wall coatings. You will want to make sure the patio level fall decisively away from the building. You may also wish to install some sort of rain proof lean to, pergola to provide shelter. However, only you can decide if a simple step up to the home is really worth any extra stress or expense. Does a raised patio need drainage?
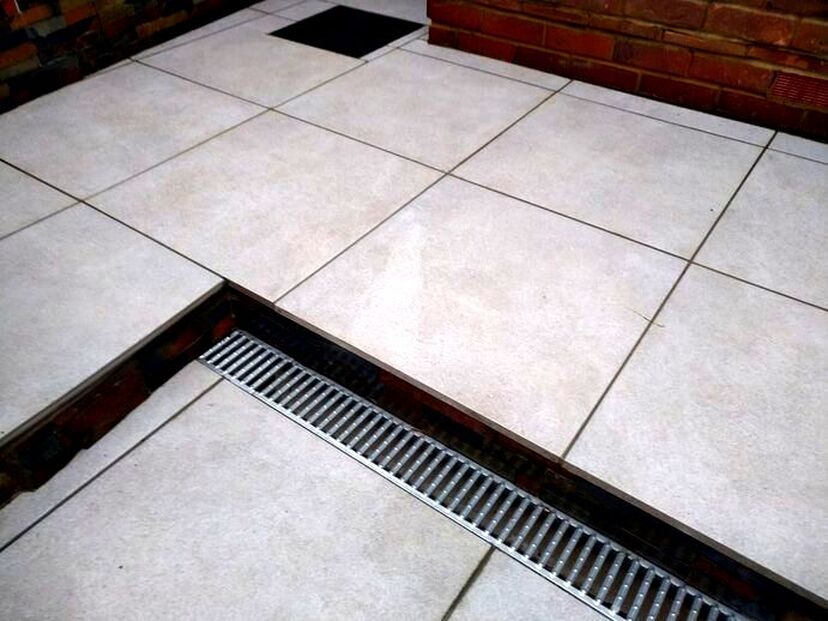
A raised patio will need no more particular special treatment in regard to drainage as a regular patio. Any new hard surface where there was once soil will cause excess surface run off. This could lead to boggy gardens or in extreme cases, flooding. Consequently any new patio including raised patios will require a drainage strategy. This could be collection chambers channelling water into a soak away or wetland habitat. Why not visit our in-depth article on patio drainage for a full briefing on the topic. This will give you a good idea of what patio drainage option will work best for you. How to build a raised patio step by step
Shopping list for a raised patioSkips Compactable sub-base Mot-Type 1 Bricks or blocks Ballast Sharp sand Soft sand Cement Paving Rendering sand Cladding + External adhesive Tools for building a raised patio
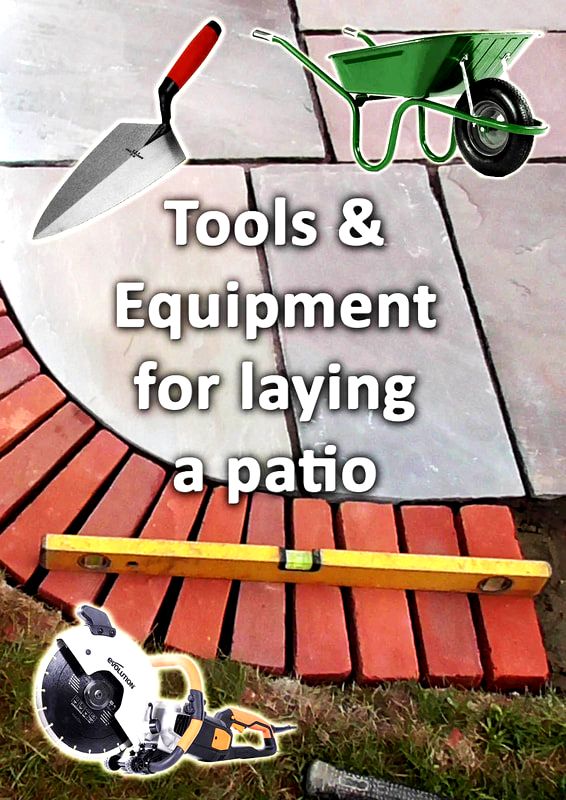
Spade Long handled shovel Wheelbarrow Loading ramp Landscaping rake Cement mixer Bricklaying trowel Pointing trowel Rendering trowel Tiling trowel Rubber mallet Long spirit level String line Set square Stiff brush Soft brush Large sponge Jointing iron Building a raised patio with bricks or blocks
Step 1: Set out your patio
Before you start any construction work on your raised patio you should do some planning. If you are using paving slabs think about where your cuts will go! Could you build it accurately enough so you only use full pavers with no cuts? Will there be any steps and where will they go? Mark out your new patio with spray paint to get a feel for its shape and scale. Step 2: work out your levels
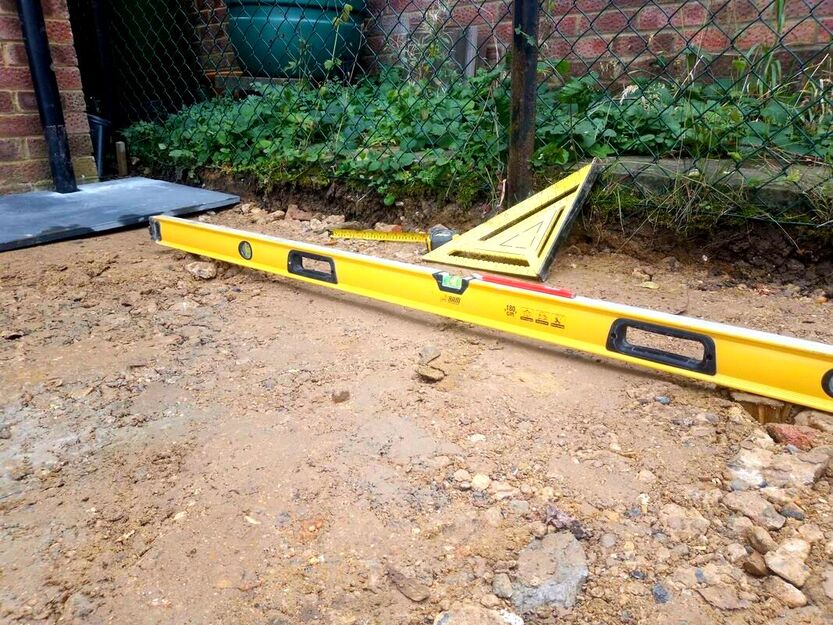
Levels are even more important for a raised patio than a ground level patio. This is because most of the time you will need to build steps. Comfortable steps are typically about 150mm high (6 inches). Therefore it is best to plan your finished patio level at a multiple of this distance. This will allow you to have equal sized steps from your patio to ground level. If your patio is next to your home it is good to mark your finished levels on the building. This will provide you a visual guide as you build. Step 3: Excavate your patio area
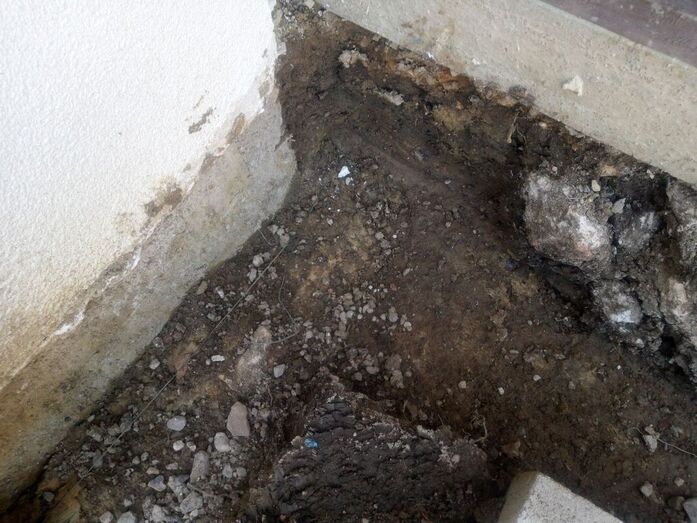
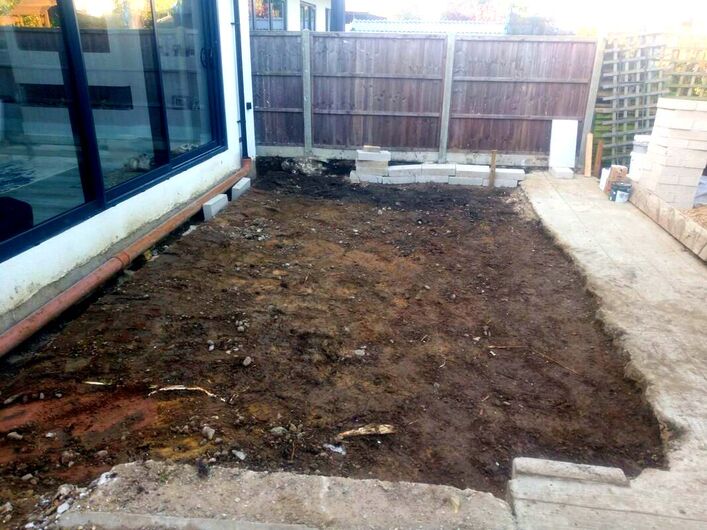
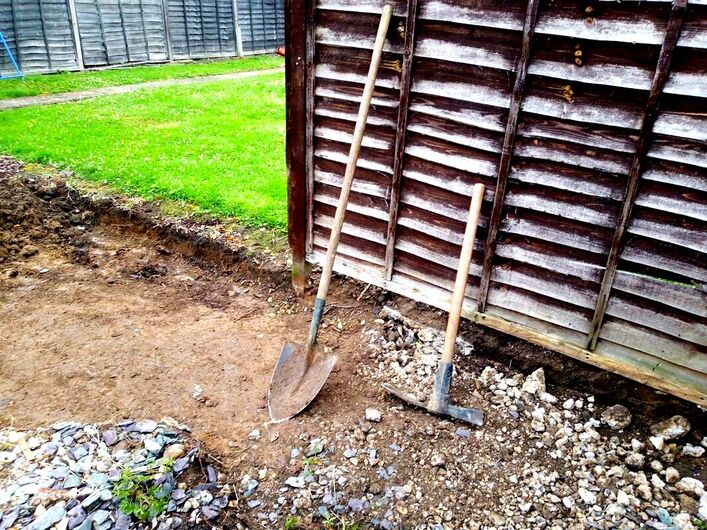
Excavate the footprint of your raised patio to get rid of the soft, topsoil layer. You will need to remove at least 150mm, if you cannot re-use the topsoil wheel it into a skip. Make you excavation as neat and square as you can with no loose soil left inside. Step 4: Excavate your retaining wall foundations
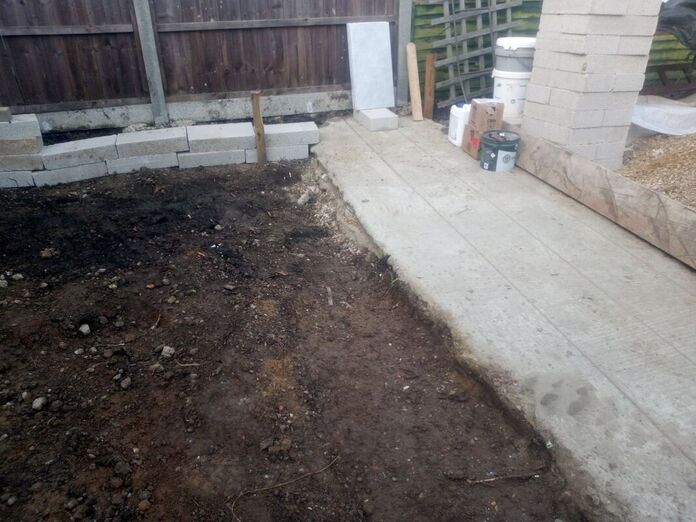
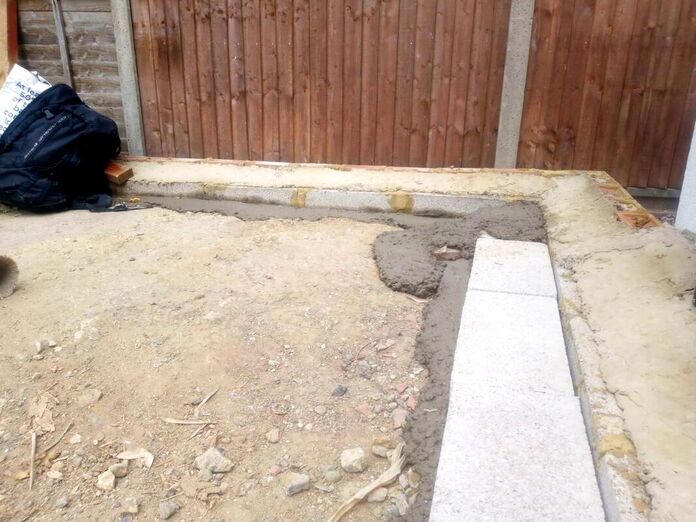
Excavate your wall foundations around a minimum of 400mm from the existing ground level. If you make your foundations much wider you can reduce the depth somewhat. For raised patios it is best to have cantilever foundations for the retaining walls. This is a wide foundation which stretches back under the retaining load. Such construction utilises the mass of the structure for greater stability and strength. Again make your excavation neat, square with a flat bottom and no loose material. Step 5: Load your skips with excavated soil
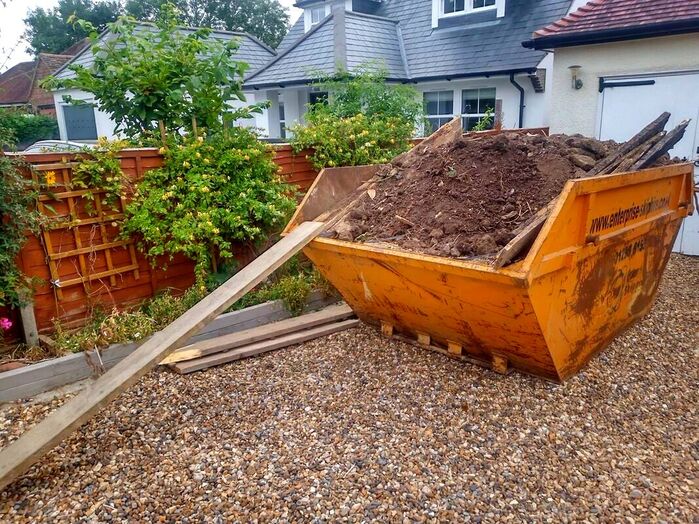
It can be very surprising just how much soil comes out of the ground during such excavations. Bear in mind that soil bulks up by 30% when it is excavated. Try to factor this in when working out your calculations. It is very likely you will require more than one skip for an average raised patio. Using a wheelbarrow and a loading ramp, fill your skip with the excavated soil. If you are a beginner this may seem daunting! Visit our step by step guide on how to fill a skip with soil here. Step 6: Set up your cement mixer
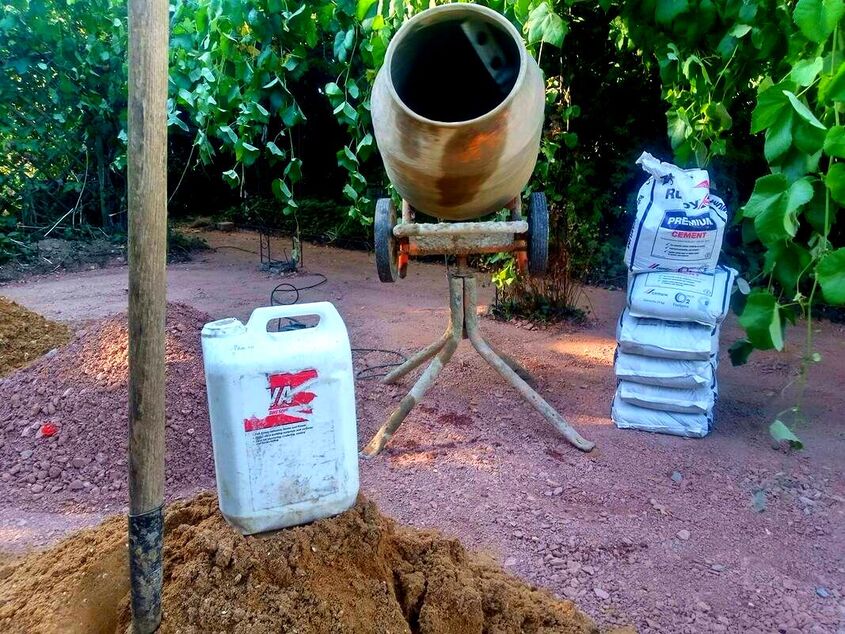
Before you start construction work it is a good idea to set up a mixing area. Try to keep your mixing area a little further away from the patio to prevent cement splashes! Create a working area with your cement and ballast ready to start mixing. Step 7: Mix up your concrete
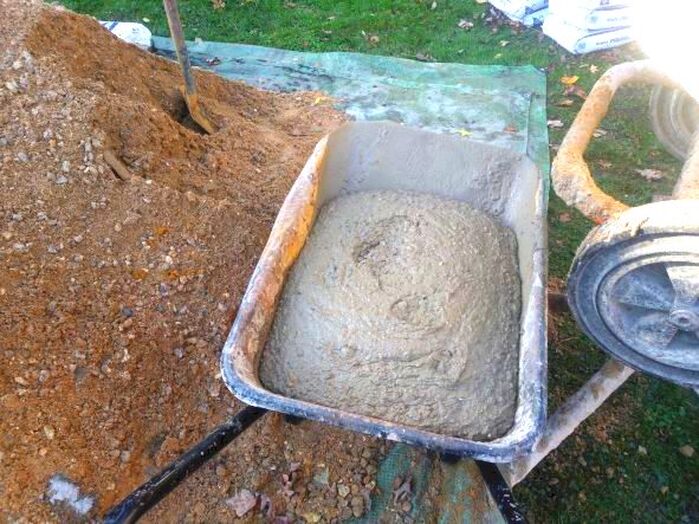
Start mixing your concrete! Turn on your mixer and put around two thirds of a bucket of water into the drum. Add half a bag of cement and let it spin until it is well hydrated. Gradually, shovel in around 13 shovels of ballast until it reaches the consistency of porridge. You are aiming for a 1:5 cement to ballast ratio. How many shovels will depend on your shovel and your shovel loads. Step 8: Level your concrete
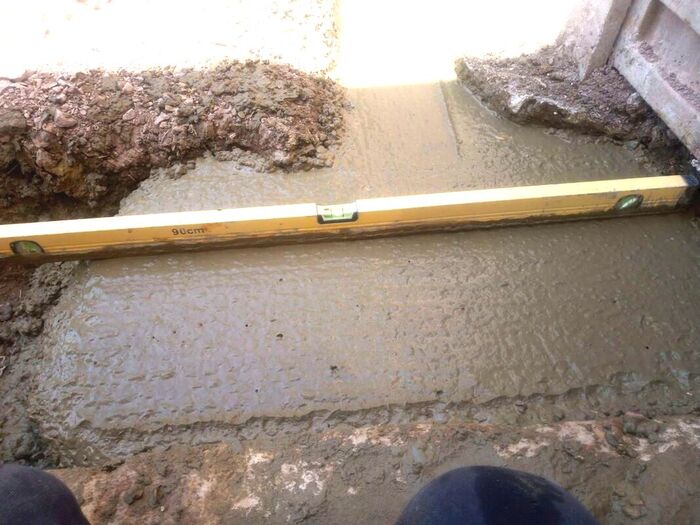
Pour your concrete into your foundation excavation and tamp level with a long spirit level. A good way to guarantee a perfect level is to hammer in long pegs along the excavation. This will allow you to level to the top of the pegs as you go. Work the concrete until you reach a smooth and level surface. Step 9: Set out your blocks
When your concrete is set the next day, stack your blocks or bricks strategically around the foundation. Keep the blocks stacked back from the concrete to allow access for a wheelbarrow full of mortar. Step 10: mix up your mortar
Mix up one part cement to five parts soft sand and mix to a brick laying mortars consistency. Make sure you add some plasticiser for easy workability. Step 11: Lay your blocks
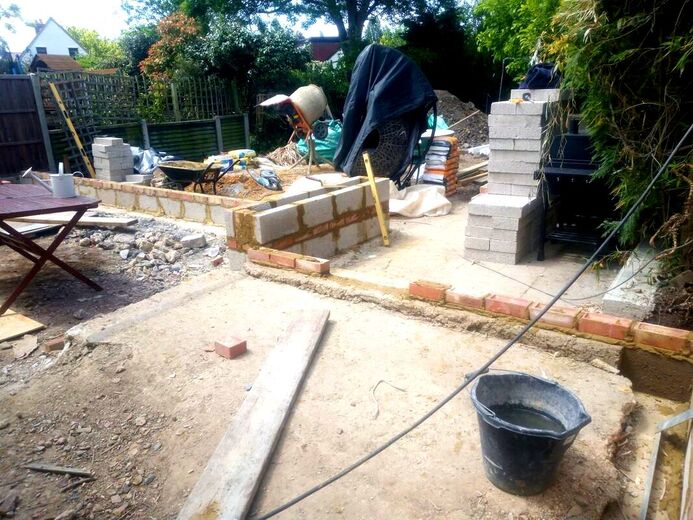
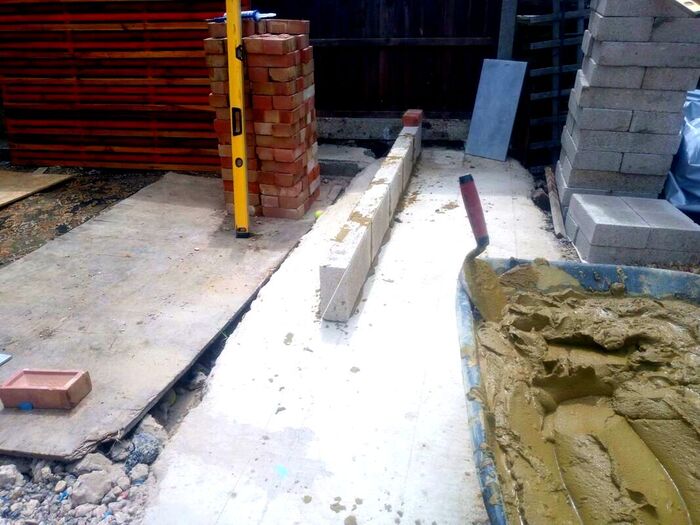
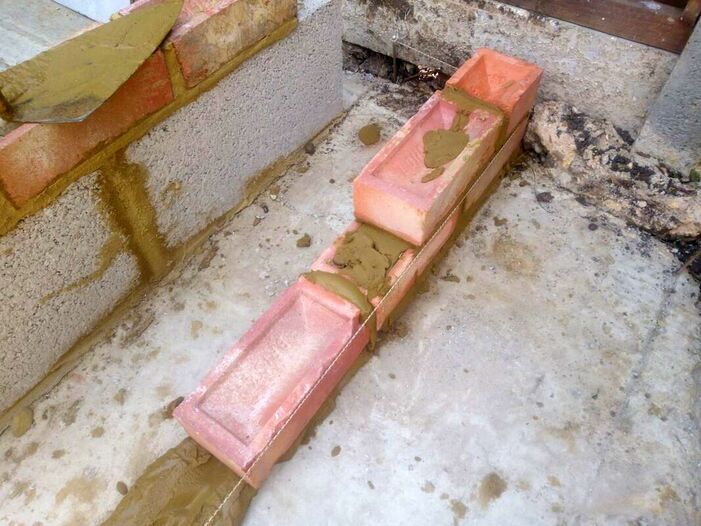
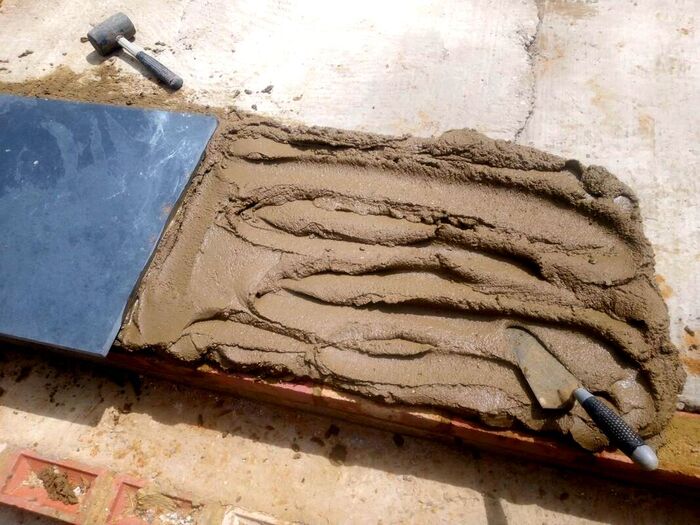
Lay fillets of mortar along the foundation with peaks and valleys to bed down your blocks or bricks. Try to put down enough mortar so you bed down a 10mm joint, this is standard for brickwork. Build up your corners first so your corners are vertically level or plumb. Then set up a tight string line from the top of each corner block across one patio edge. This will allow you to build your retaining walls perfectly straight and level. Step 12: Strengthen retaining walls
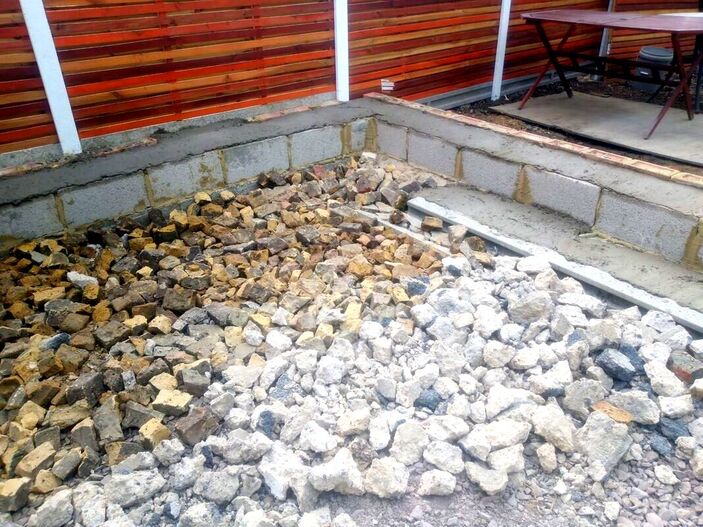
If you want to make sure your walls are extra strong, lay a cavity and fill it with concrete. Alternatively, you set up shuttering and fill the back of your walls with wet concrete. It can also be effective to create triangular concrete haunching inside your raised structure. This will help your hardcore and sub-base aggregates to compact tightly inward. Step 13: Filling your raised patio
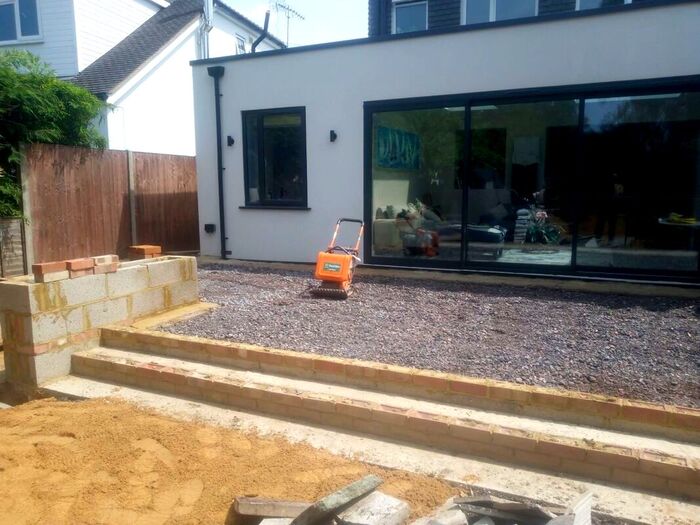
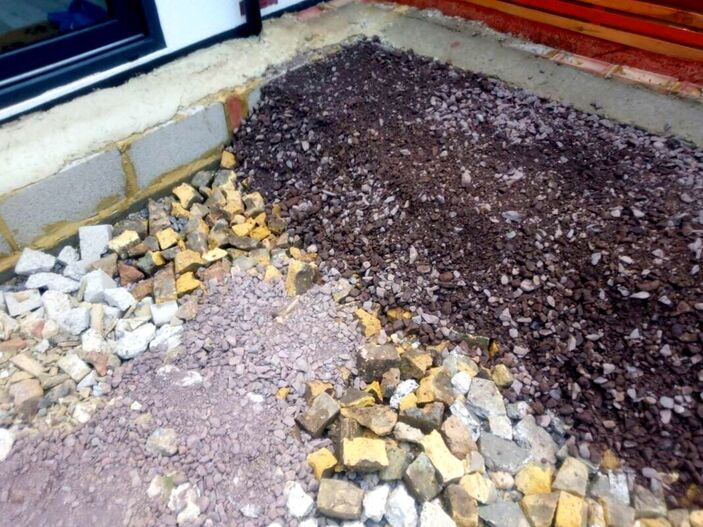
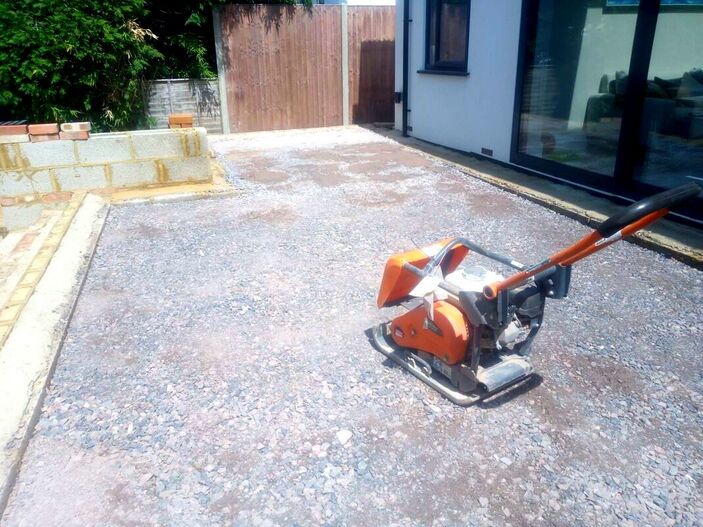
Fill your raised patio area with old concrete or other waste masonry materials. You must however, make sure that large pieces of hardcore are well broken up or buried within wet concrete. Spread out larger pieces of hardcore and cover them in smaller aggregates such as type 1. Make sure you spread your sub-base and compact it well every 100mm. This can be achieved with a heavy vibro-compaction plate. Step 14: Compacting your sub-base
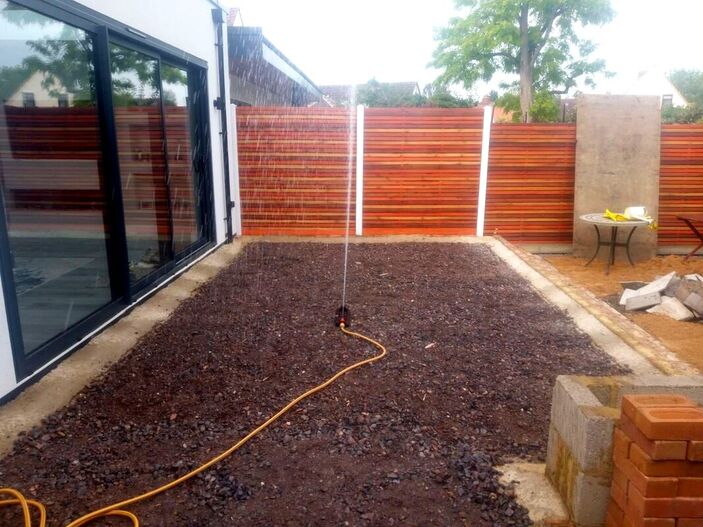
Make sure you spread your sub-base and compact it thoroughly every 100mm. This can be achieved with heavy vibro-compaction plates which are readily available from hire shops. Make sure you hose down your sub-base or leave a sprinkler on the area for at least half an hour.
This will help to lubricate the aggregates particles making them compact tightly and become hard as rock.
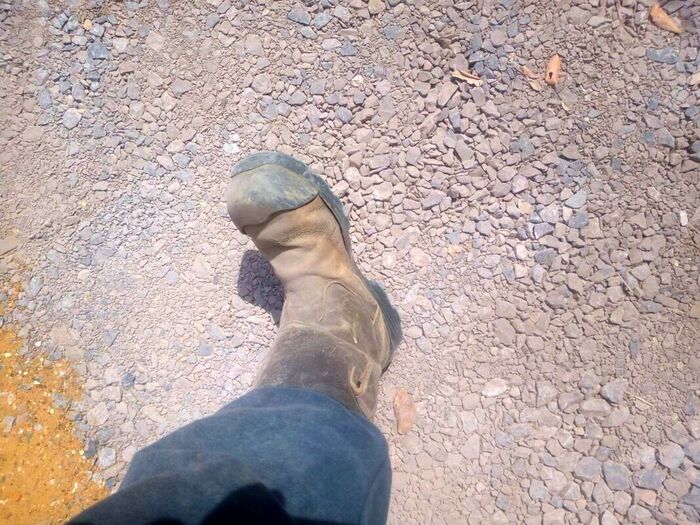
When your Mot type 1 is compacted it should feel hard underfoot, press your heel into the surface to make sure its well compacted.
Step 15: Capping with concrete
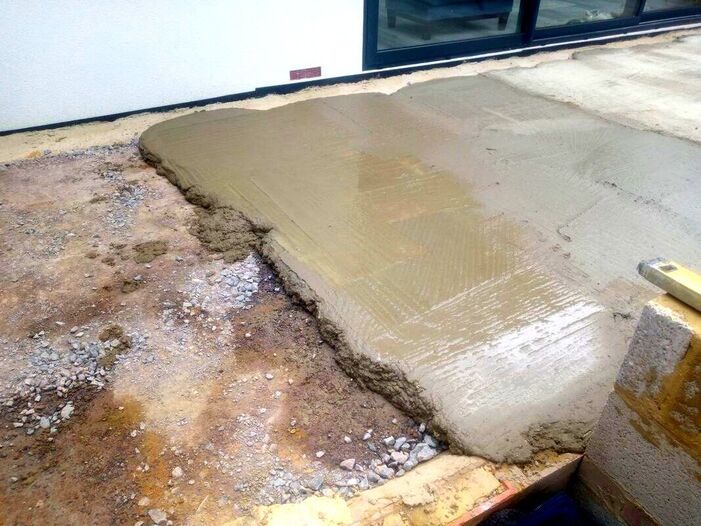
If you want to make your raised patio absolutely bullet proof and guaranteed to last, cap it with concrete. Level your sub-base to around 100mm below the brickwork and lay a 100-150mm layer of concrete. Mix up a wet concrete mix and tamp it to a consistently flush level. This will also make your patio slab laying much easier! Step 16: Laying your paving
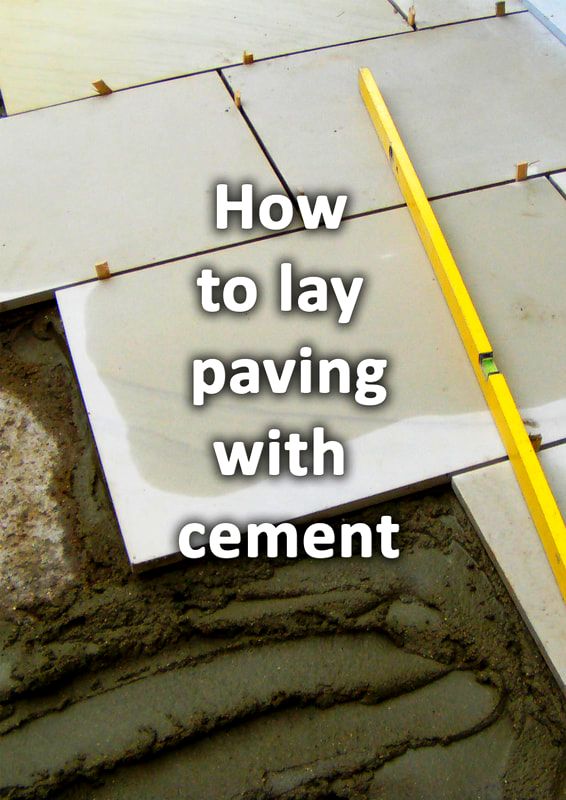
Set out your paving to help figure out where is the best place to start laying. Typically it is best to start from the front edge of your raised patio laying back towards the home. This way you can leave more unsightly cut edges facing the building. Try to let your paving overhang your block or brickwork by around 10mm. This will prevent rain running down the face of steps which could lead to water stains. If you are applying render or cladding to the steps leave even more of an overhang. Laying paving with cement mortar is quite an in depth and specific skill. Therefore if you are a beginner I recommend our resource on how to lay paving correctly here. Step 17: grouting a raised patioMix up a 1:3 plastering sand and cement grouting mix to point your raised patio. Mix the grout until it is just damp enough to form a ball in your hand. This way you will be able to get a good finish without staining your paving. It is best to grout when there is no moisture within the joints or the surface of the paving. You will also need to grout on a day when there is no rain in the forecast for 16 hours after completion. If you are unsure why notvisit our step by step guide on how to grout a patio here. Step 18: Cladding walls and steps
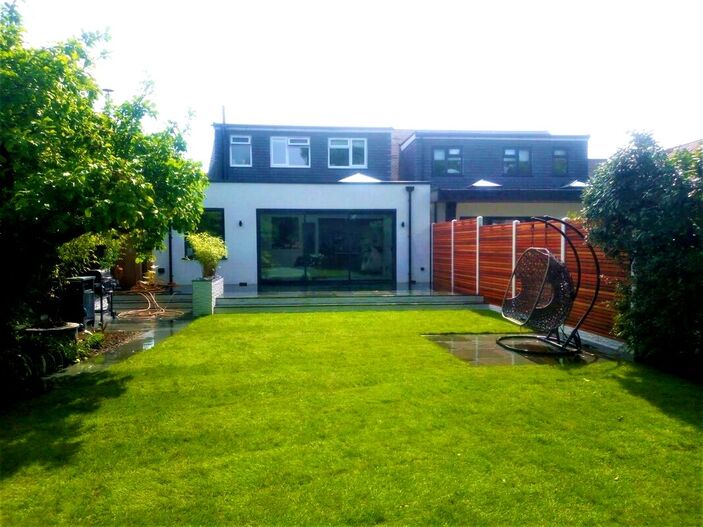
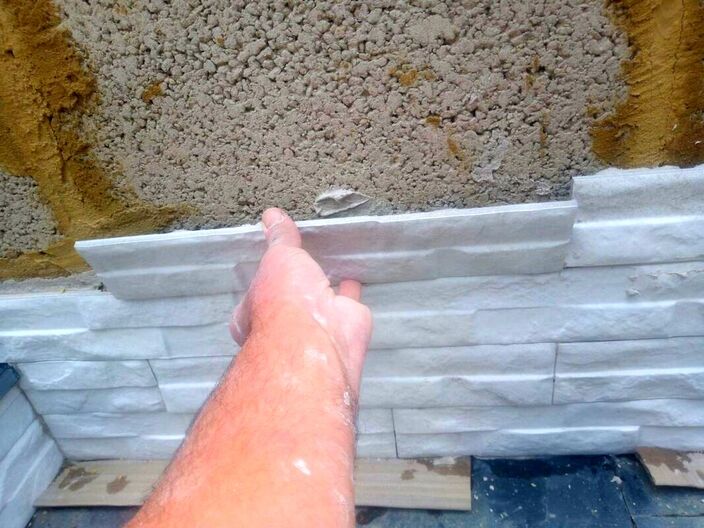
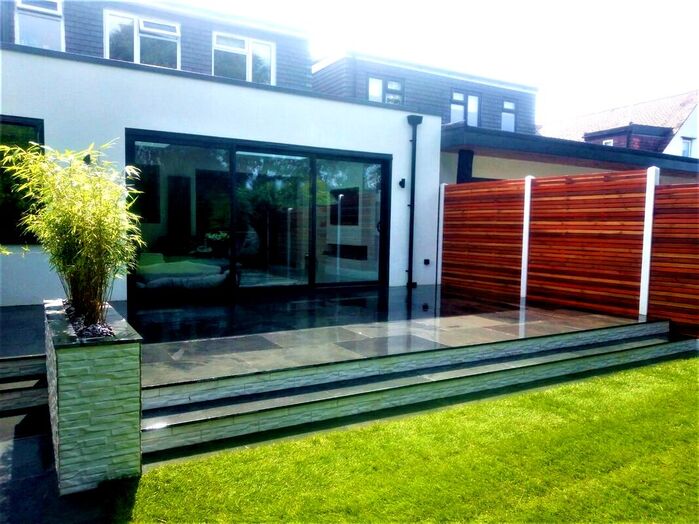
If you are going for a modern style raised patio you may have built it with concrete blocks. If so this means you can finish your verticals with either rendering or cladding. Smooth, rendered, finishes can be painted or like in our example below clad with cladding. On this raised patio I laid contemporary style, porcelain stack cladding. It provides an amazing, visual texture and a real touch of elegance. If you like the idea of laying this cladding to your project, follow our step by step guide here. Step 19: Making good to edges
Once your raised patio is completed, you can touch up areas that were affected by the works. Fluff up flower beds and add some fresh compost or mulch. You may also have to repair the edges of lawns which have become damaged or too compacted. Step 20: Enjoying your raised patio
Now you have created your masterpiece why not invite your friends over to christen it? There is nothing better than sitting back with friends and admiring the fruits of your hard labour. Enjoy!
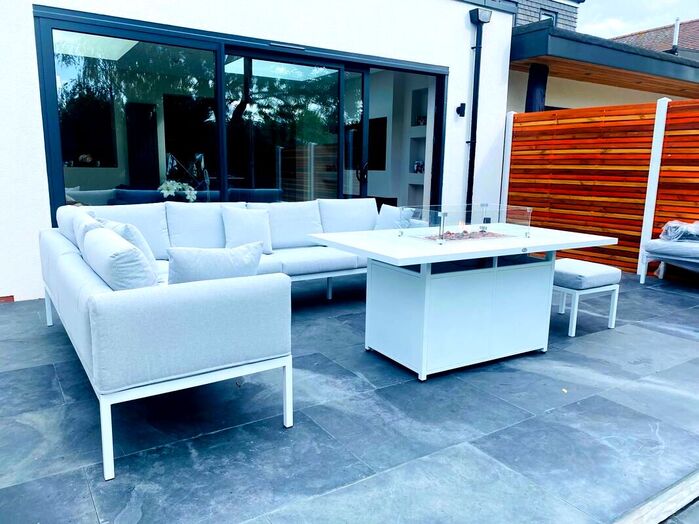
Raised patio with outdoor patio set with coffee table and fire pit
Raised patio, house view, with outdoor patio set with coffee table and fire pit
Thank you for reading out article on how to build a raised patio with retaining wall blocks! If you would like us to plan and build your raised patio please contact me here.
If you have any questions regarding building your raised patio project please email me! Furthermore if you found this article useful why not help us and share it via the tabs below? Thank you!
'As an Amazon associate I earn from qualifying purchases'
0 Comments
Leave a Reply. |
The Author
|
Landscaping services across Buckinghamshire, Amersham, Aylesbury & High Wycombe
Hyde Heath, Amersham, Buckinghamshire |
|
