|
This article contains affiliate links
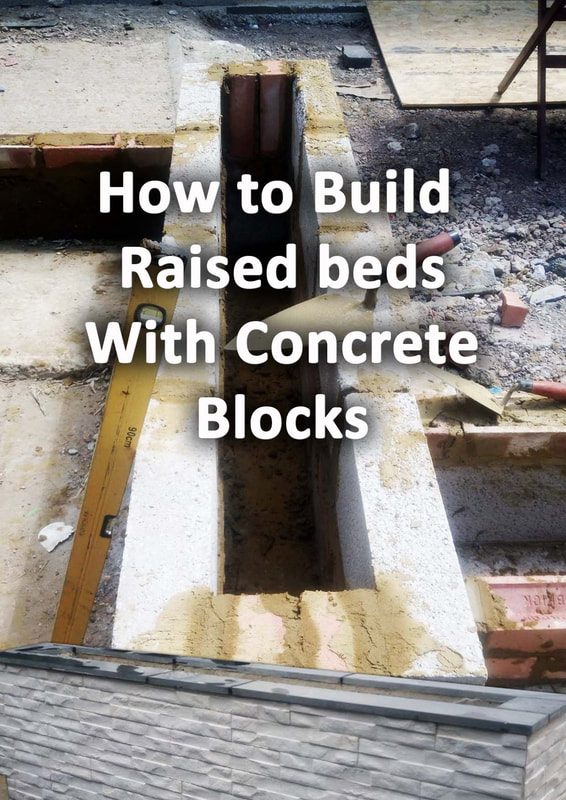
Concrete blocks are a great way to build strong and permanent planters which can last the test of time.
Not only are they fast to lay, they are also relatively affordable in comparison to other masonry materials. If you are planning on installing raised garden beds concrete blocks are an excellent choice. In this article I answer some common questions in regard to building planters with concrete blocks. At the end find a step by step guide on how to clad your bed with contemporary stack cladding. I will also explain how to build raised beds with concrete blocks step by step. Are concrete blocks good for raised beds?
Concrete is one of the best materials for building raised beds! One of the most common methods of building raised garden beds today is with timber. However, the problem with even waterproofed timber is it will eventually degrade. Raised beds built with bricks however are often very laboured intensive and expensive. This leaves concrete blocks as the best long term solution for raised planters. Concrete block can also be finished in a broad variety of styles including rendered, painted, tiled and clad. This allows them to easily match any garden design style or theme. Benefits of using concrete blocks for raised beds
How deep should foundations be for concrete raised beds?
The depth of the foundation will depend upon your soil type, and width and height of your walls. As a general rule I like to over engineer these things to guarantee stability. You will need to excavate down to the hard subsoil. For a bed only one block high 250mm may be fine but for a larger bed a few blocks high aim for 500mm. Try to make your foundations not just deep but broad for extra stability. It is not just the depth but the mass ratio of concrete to retaining walls which is also important. How thick should concrete blocks be for raised beds?
I would say the maximum height for a raised bed of a single block thickness (100mm thick) is 500mm. If you build any higher than 500mm the mass of soil could overwhelm the structure. Therefore it is also important to consider the width of the bed as well as just the height. If you are building concrete raised beds higher than 500mm (two blocks) go for double thickness or 200mm thick. Do you need to line a raised concrete bed?
You have to line inside your concrete raised bed if you want to finish it aesthetically. In other words, if you are rendering, painting, tiling or cladding the concrete you should waterproof the inside. If not, you may find continuous saturation will lead to a compromised aesthetics. Paint may flake off and freeze and thaw action could pop render and cladding. However, if your raised bed is a very rough affair it is not essential to line or waterproof. Bear in mind, waterproofing will prolong the life of your concrete raised bed further. What do you put at the bottom of a raised bed?
There is nothing specific you ‘have’ to put at the bottom of a raised bed. I would say you are always best having no barrier between the bed and the underlying soil. This will create a much less volatile environment in terms of soil moisture and temperature. It will also allow your beds soil to interact with local and surrounding soil life. This will lead to healthier plants. You can also add a layer of free draining, drainage gravel to the bottom of your raised bed. This will help assist drainage a lower the chances of your drainage holes becoming blocked. Just make sure you lay a filtration membrane over the top of the gravel. Do concrete raised beds need drainage holes?
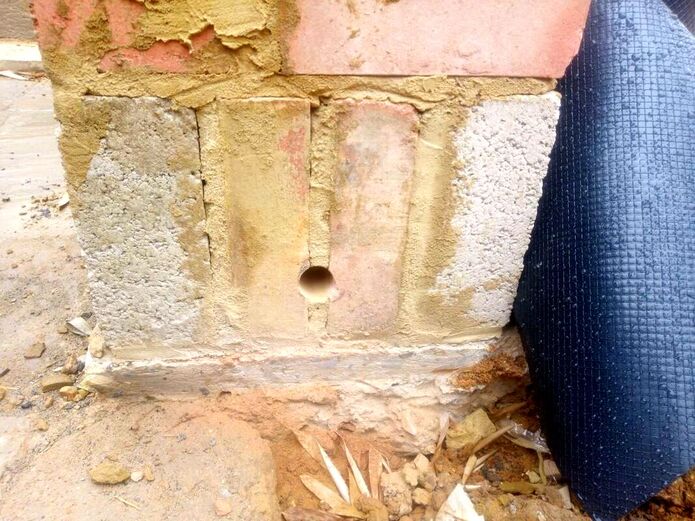
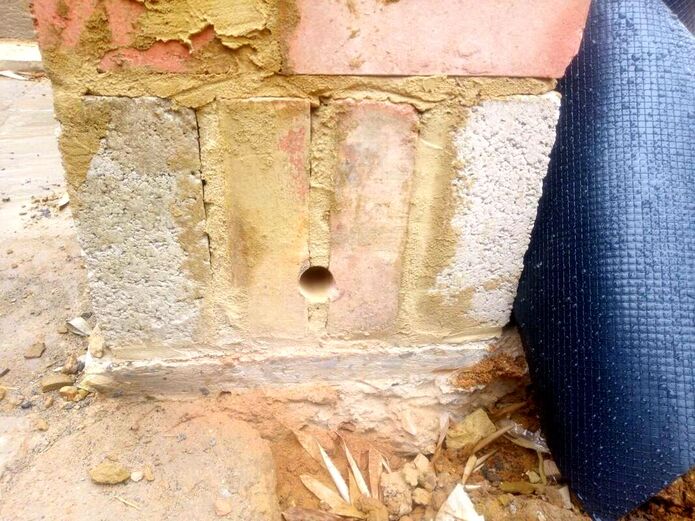
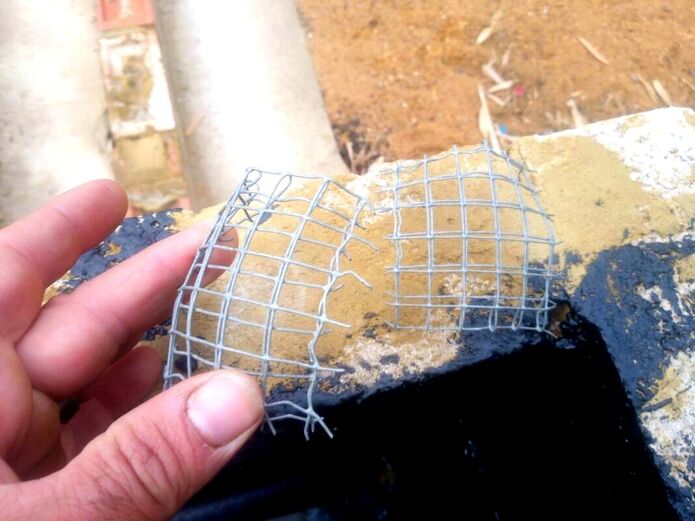
Concrete raised beds do need drainage holes or 'weep holes'. These will allow excess water to drain away which will reduce the weight of your soil. It will also prevent your soil becoming devoid of oxygen and stagnant. Your holes should really be at least 30mm in diameter and be spaced at least every couple of meters. You will need to incorporate a basic filtration system behind the weep holes. This can simply be some tightly woven wire mesh and landscape filtration fabric. The system will prevent drainage holes from becoming blocked after a few years. We will show you how to do this in our step by step guide below. Tools for building raised beds with concrete blocks
Concrete block raised bed shopping list
How to build a garden concrete raised bed step by stepStep 1: Site selection
Select a location for your new raised beds, think about how large you want them to be. You may also wish to consider how to finish their external surfaces. With concrete raised beds you have many options including rendering, cladding, tiling and paint. Mark out where your raised beds are to situated, you will also have to mark out for your concrete foundations. Typically these need to at least three times the width of your retaining walls. Step 2: Excavating your foundations
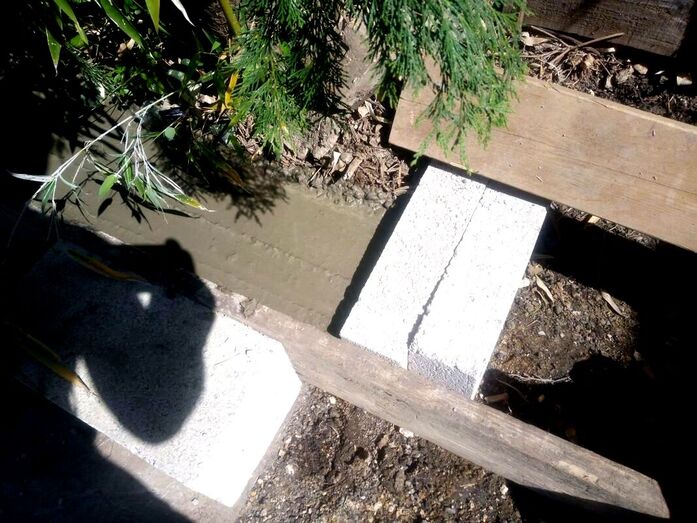
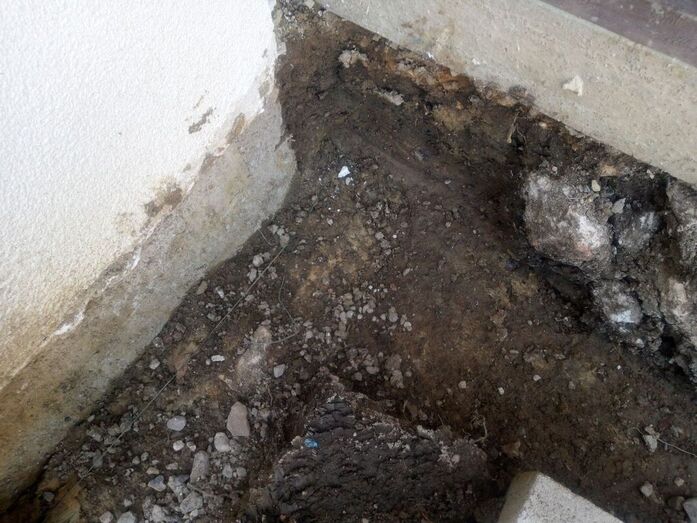
Excavate for your foundations, the depth you go will depend upon how tall and broad your beds will be. The average raised bed built with concrete blocks should have a minimum depth of 300mm and minimum width of 300mm. Step 3: Concreting your foundations
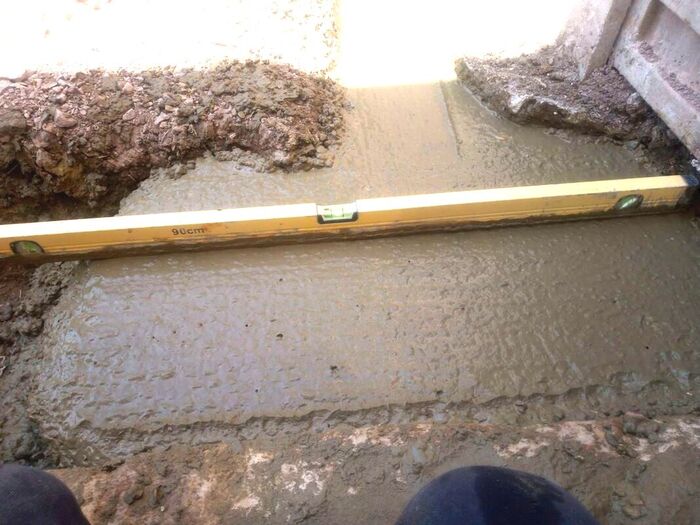
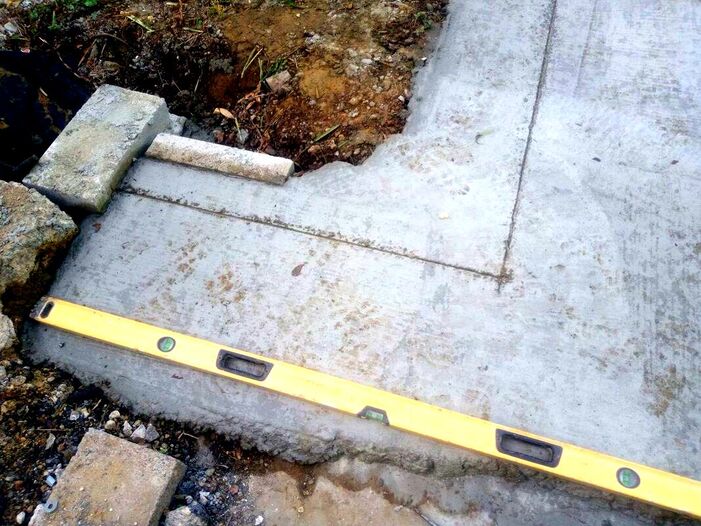
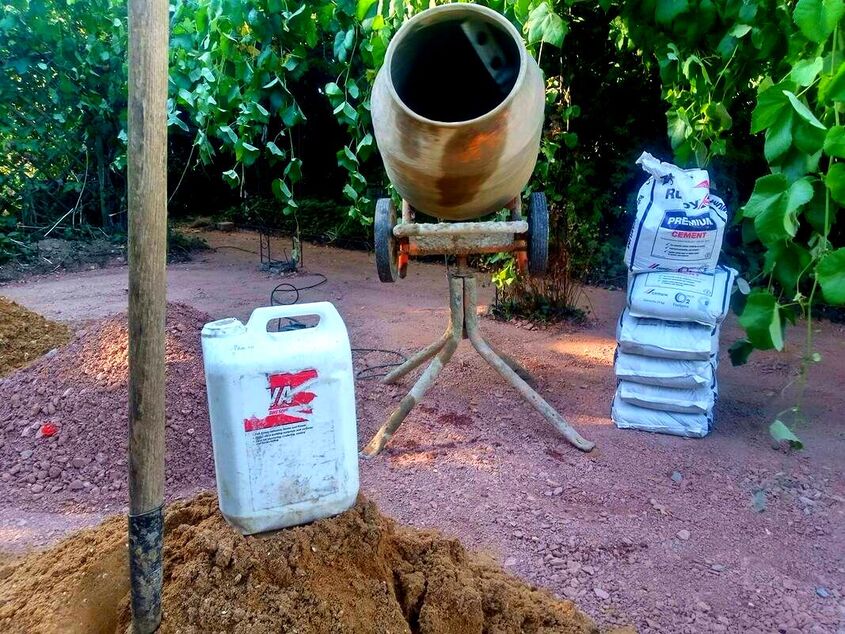
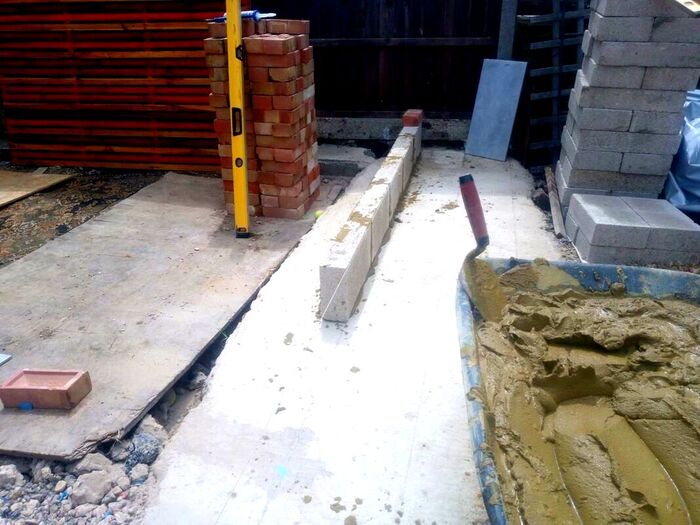
Mix up your concrete using a cement mixer at a ratio of 5 parts ballast to 1 part cement. Mix until your concrete has the consistency of porridge then pour it into your trench. It is often effective to peg out your finished height inside the trench. This way you can level your concrete to the top of the pegs as you go. Work your concrete to the top of the pegs and tamp it to a consistent level. This can be achieved using a straight piece of timber or a spirit level. Step 4: Marking out your block work
Once your foundation has set after 24 hours, mark out the position of your walls. This can be done using a set square, spirit level and bolster. This will provide you a visual reference to build to when you start laying your blocks. Step 5: Setting up your laying area
For efficient block laying it is good to set up your laying area well. You will want to stack up your blocks methodically around your working area. Also make sure you have undisrupted access around your raised bed. This will allow you to work easily with no obstructions. Step 6: Knocking up your block mortar
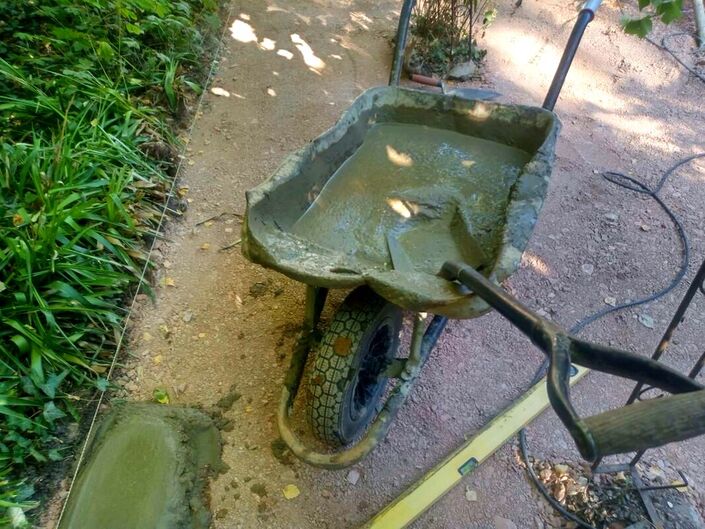
Mix up 1 part cement to 5 parts soft sand in a cement mixer with water. Add some plasticiser for extra workability and mix well until it reaches a brick laying mortars consistency. Empty your bricklaying mortar into a wheelbarrow so you are ready to lay blocks. Step 7: Laying your first blocks
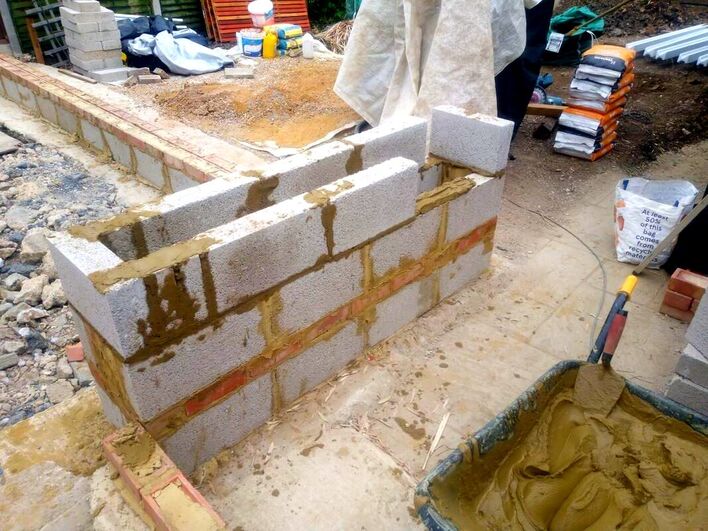
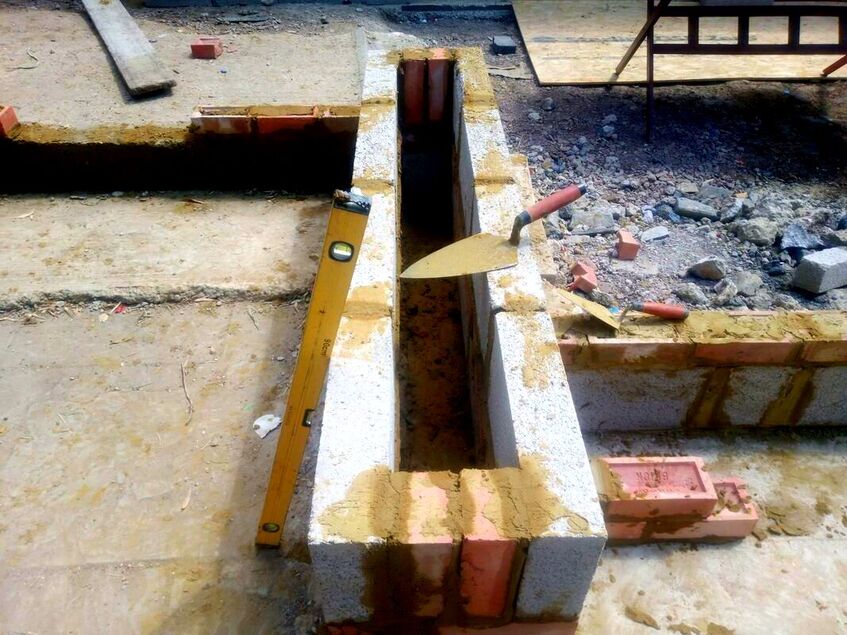
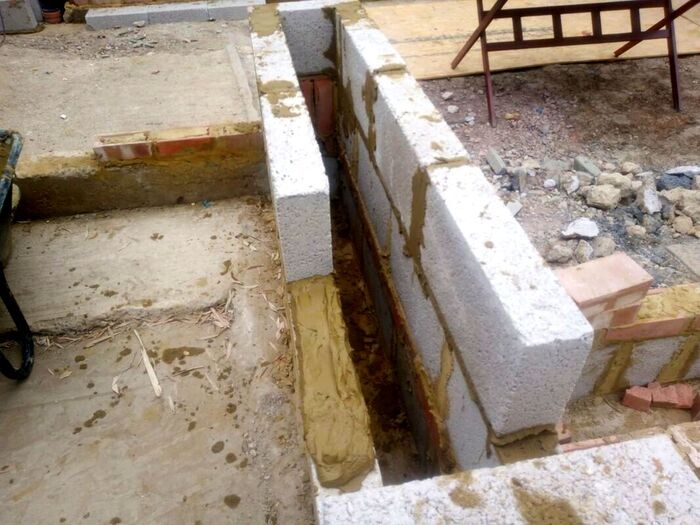
When laying bricks or blocks it is better to build up your corners first vertically level or ‘plumb’. You can then stretch a tight string line across the top of opposite corners to lay blocks to. This will allow you lay blocks straight and level easily. Lay a fillet of mortar onto your foundation along your guide line. Create little peaks and valleys in the mortar so you can easily bed down your blocks. You are aiming for a joint of around 10mm. Keep your mortar thickness consistent as you lay levelling your blocks with a spirit level as you go. Step 8: Keep your lines straight
As you lay, keep an eye on the line you are laying to making sure it is straight. This can be done with a long spirit level or straight edge. The process is much easier if you have set up a tight string line. Step 9: Keep your corners plumb
As you build higher, make sure your edges and corners are levelled vertically. Place your level vertically flush up the wall and make sure the bubble falls within the two lines. This is known as keeping your verticals plumb. Step 10: Curing
Once you have laid your blocks you will need to let them set for 24 hours to go hard. Step 11: Coring out drainage holes
Your concrete raised bed will require some drainage holes for excess water to escape. These can be cored out of the concrete using a circular diamond blade drill attachment. Try to make your drainage holes a diameter of at least 30mm. Step 12: Adding drainage filtration
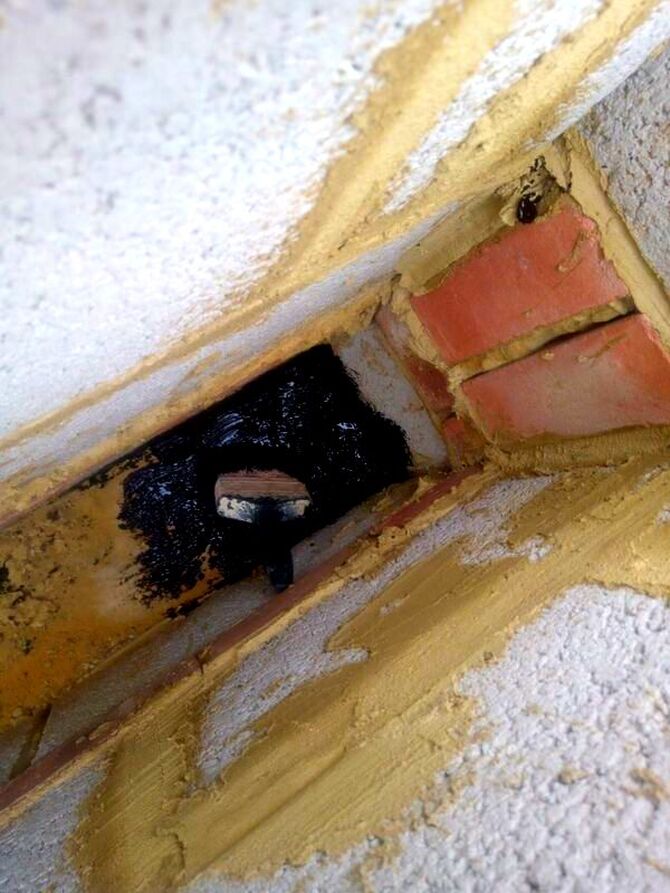
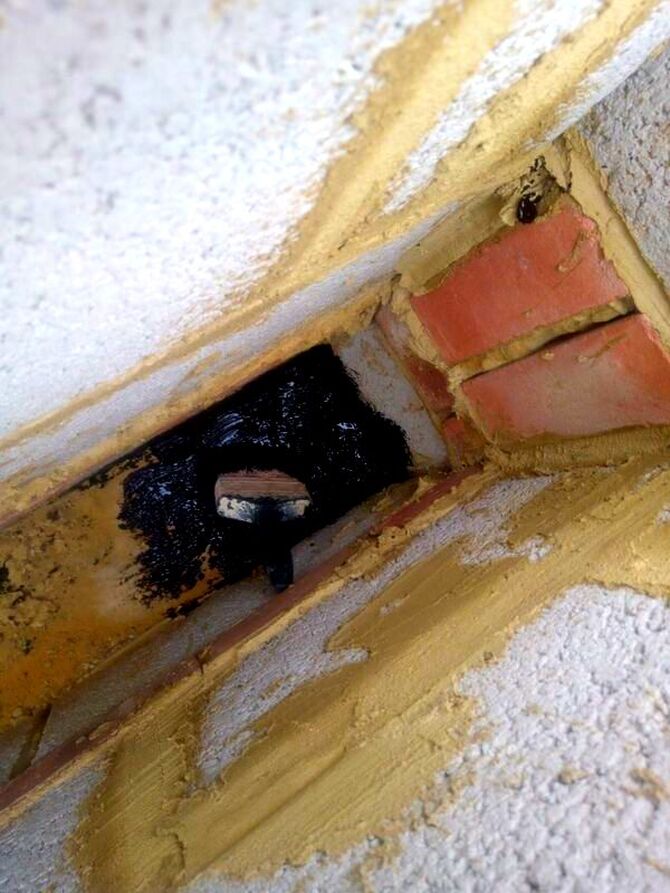
Your drainage holes will need a filtration feature around them to stop soil and silt clogging them up. You can do this with a rigid wire mesh backed with filtration membrane. Cut the mesh into squares and curve it in your palm. Then offer it up to the back of the drainage hole backed with filtration membrane. For extra drainage you can add a layer of free draining gravel to the base of your bed. You will also need to cap the gravel with a filtration membrane to prevent soil mixing with gravel. Step 13: Laying copings on your raised bed
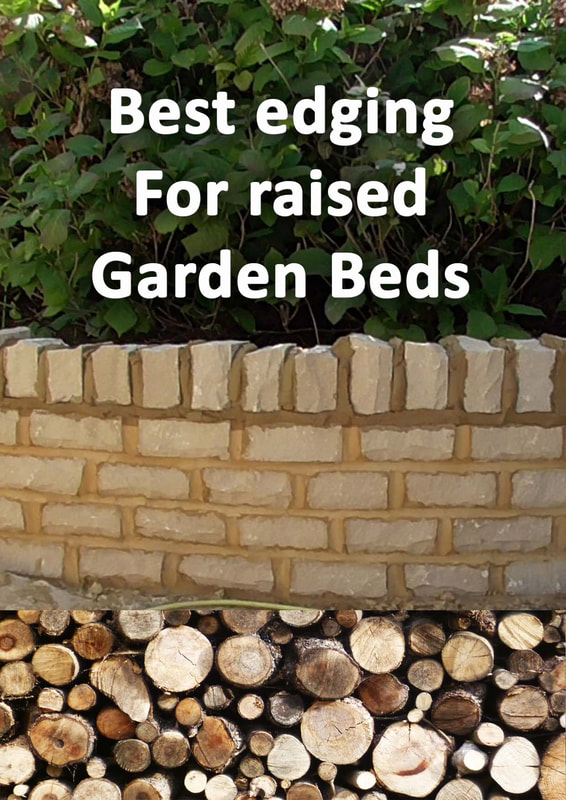
Raised beds built with concrete blocks benefit from laying coping stones on top. These look more desirable than bare block and help to protect blockwork from moisture and weathering. Why not check out our step by step guide on how to make coping stones with paving. Step 14: Waterproofing your raised bed
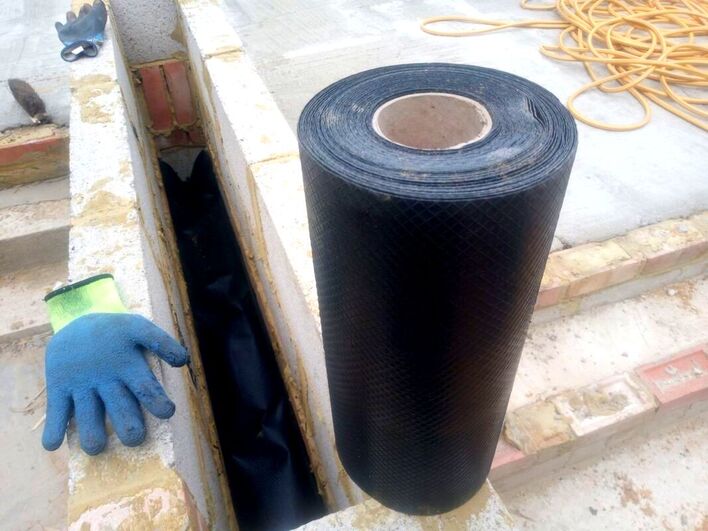
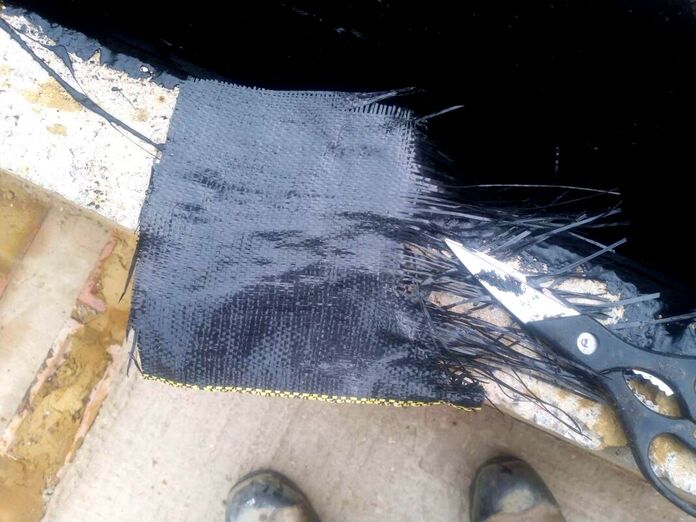
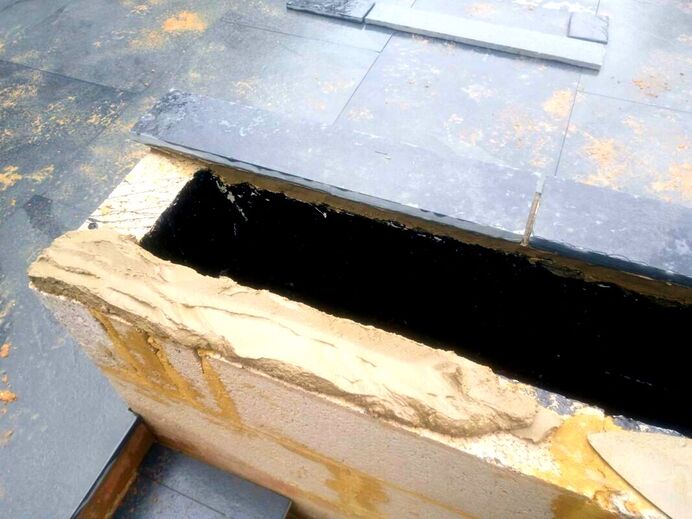
As your raised bed will be filled with damp soil all year round it is a good idea to waterproof it. This will prevent your wall becoming too saturated throughout the season. Excess moisture saturation can lead to eventual weathering from freeze and thaw action. You can line your bed with damp proof membrane or bituminous paint like in the example below. Step 15: Cladding your raised bed
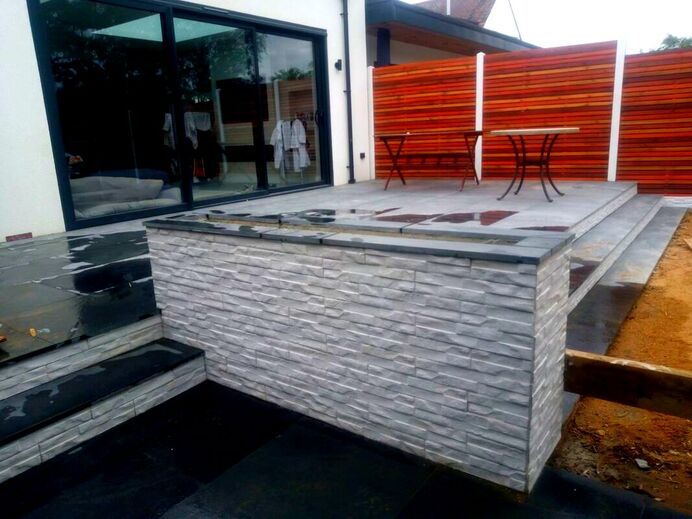
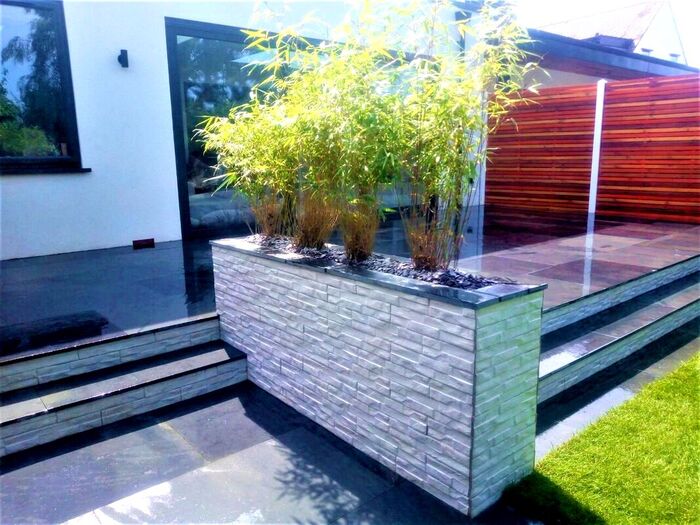
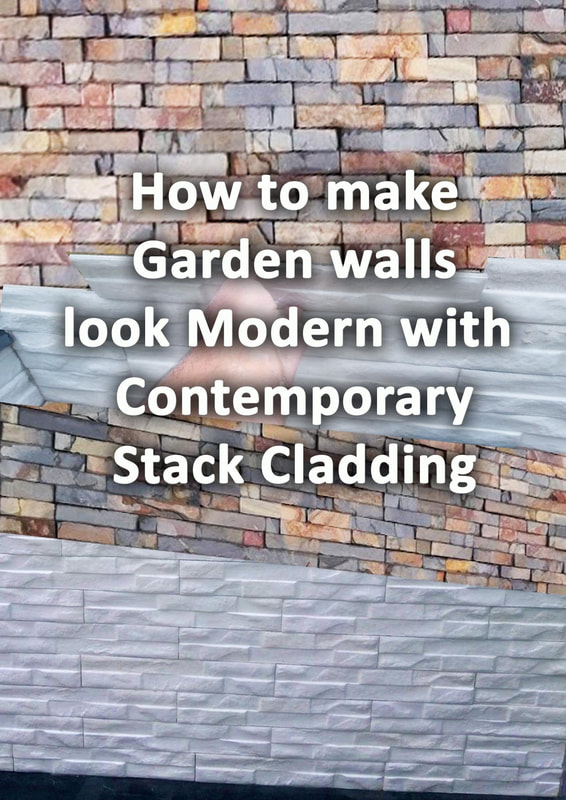
The great thing about concrete raised beds is they can be decorated in a number of different ways. You can use paint, render, tiles or cladding. With this raised bed we used a type of cladding called porcelain rock stack cladding. Step 16: Filling your raised bed
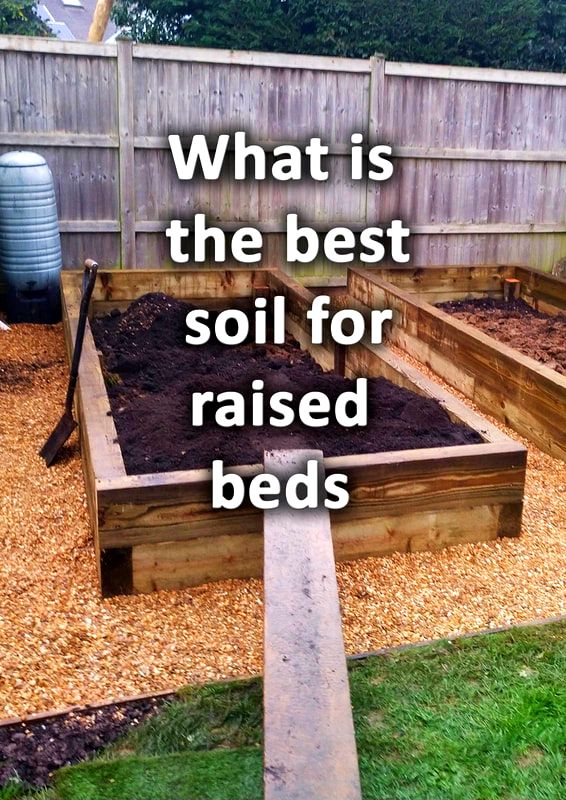
Now you have finished building your raised bed you can fill it with soil. Many landscape retailers supply topsoil mixes suitable for filling raised beds. These normally consist of a topsoil and compost blend. Step 17: Planting your raised bed
Decide what plants you would like in your raised bed and plant them. Your new bed may be a little dry so make sure you give them a good watering in. In our raised bed we planted Chinese fountain bamboo which has soft feathery foliage. Step 18: Irrigating your raised bed
If your raised bed is very high you may find that it can become dry during the summer months. If so make sure you keep your raised beds well watered or install an irrigation system.
Thank you for reading our article on how to build a raised bed with concrete blocks. If you would like us to install a raised bed in your garden contact us here. Below I have linked to some other articles you may find useful.
'As an Amazon associate I earn from qualifying purchases'
1 Comment
Deborah
2/16/2024 06:03:25 am
Thank you so much for this post - found it very informative and clear!
Reply
Leave a Reply. |
The Author
|
Landscaping services across Buckinghamshire, Amersham, Aylesbury & High Wycombe
Hyde Heath, Amersham, Buckinghamshire |
|
