|
This article contains affiliate links
If you want to make your garden or outdoor walls look contemporary, you have come to the right place.
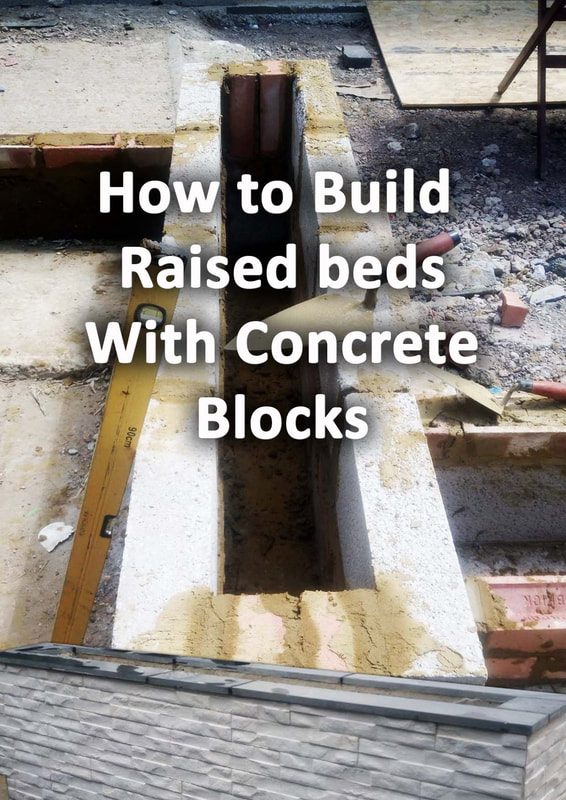
Many resources online list multiple quirky ways to create modern garden walls but few look that effective. Consequently here, I draw your attention to the very best way to make outdoor look modern, stack cladding! This cool and contemporary cladding is not just a way of masking walls cleanly, no! Modern garden stack cladding can actually make your outdoor or garden walls become a central feature. Contemporary stack cladding can be used to cover sheds, outbuildings, raised beds and even boundaries. As images from our projects display in this article, stack cladding really is the best modern outdoor wall solution. Benefits of cladding outdoor walls
Cladding can really be a fast and effective way to make walls look modern. Furthermore, unlike traditional brick and rendering stack cladding is less likely to stain.
Stack cladding especially creates interesting visual textures and tiny shadows which are more exciting to the eye. This makes stack cladding one of the most effective solutions for contemporary garden or outdoor walls.
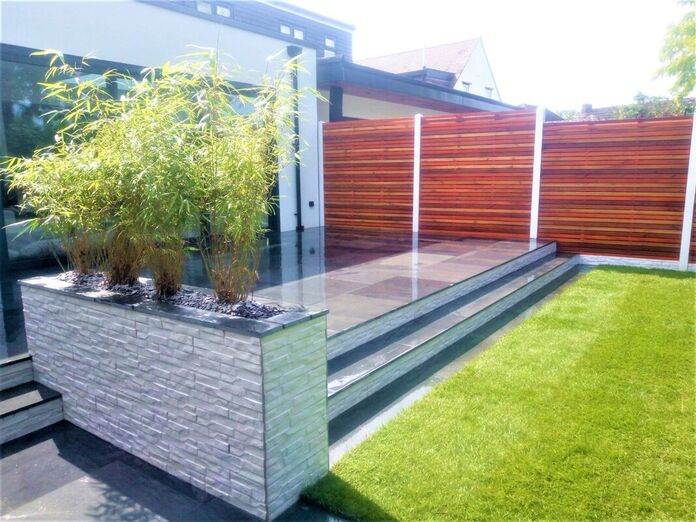
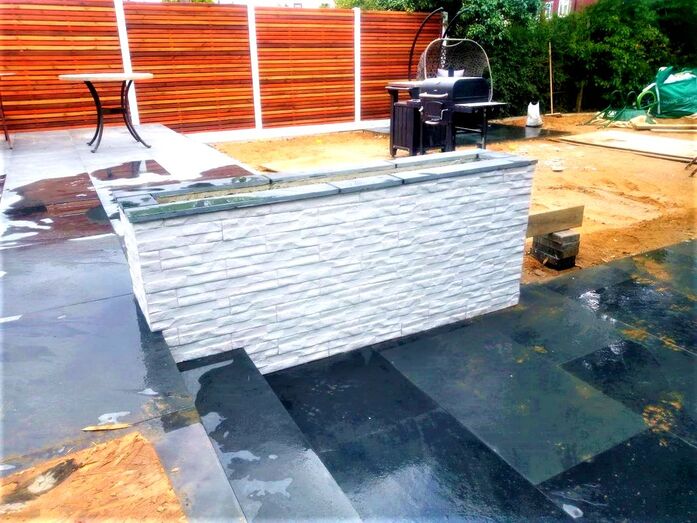
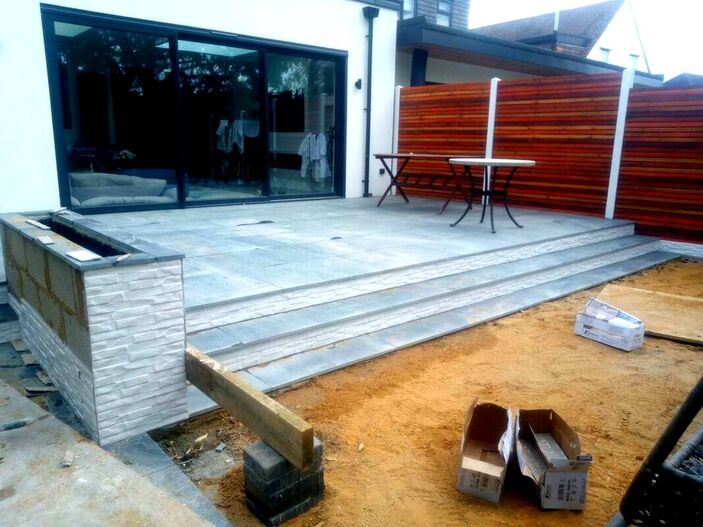
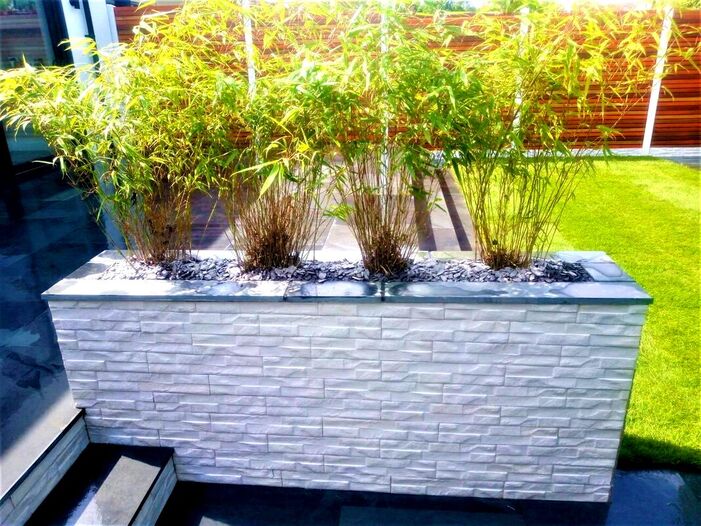
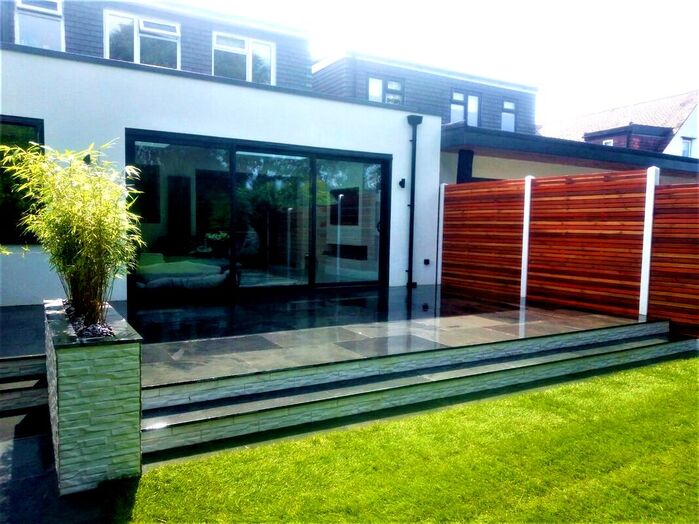
Porcelain Rock Stack cladding in one of our contemporary gardens
Is stack cladding expensive?
Depending on what type you buy stack cladding costs between £50 and £100 a square metre. Your labour costs will depend on how many cuts and awkward spaces need to be accommodated. A large square wall is much easier and faster to clad than around steps. As an average, allow about £50 for adhesive and labour. Therefore, allow for an average cost of around £125 per square meter including materials and labour.
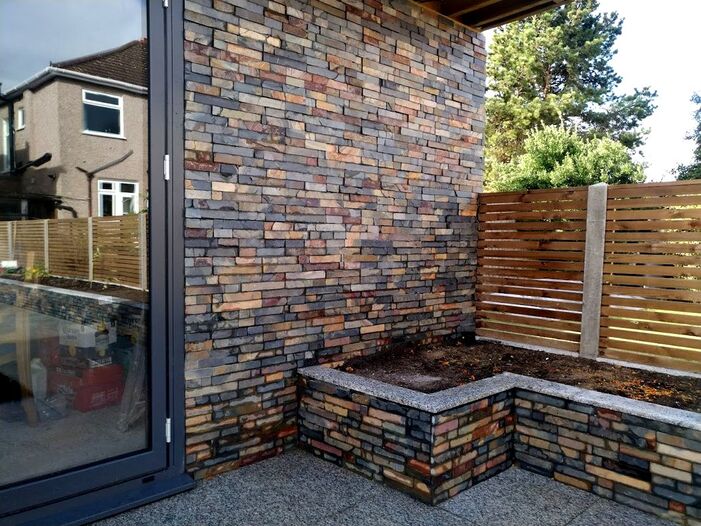
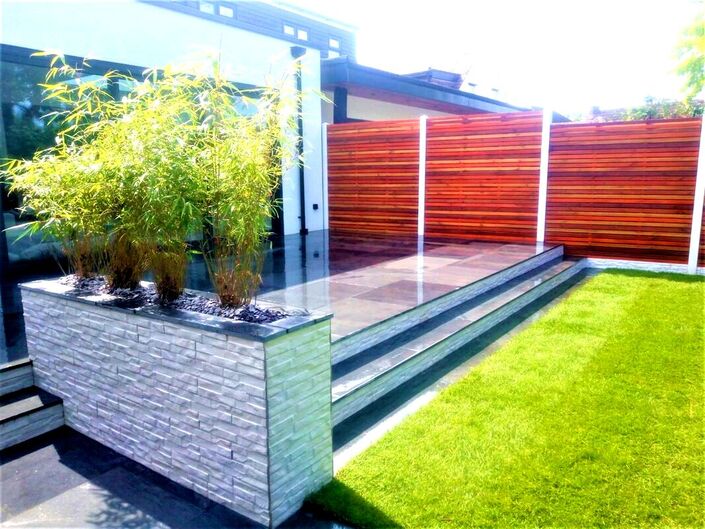
Slate Stack cladding in one of our contemporary gardens
Best ways to make garden walls look modern
When considering ways to make garden and outdoor walls look modern there are three main strategies. I believe the only real effective methods are painting, large tiles or stack cladding.
Paint
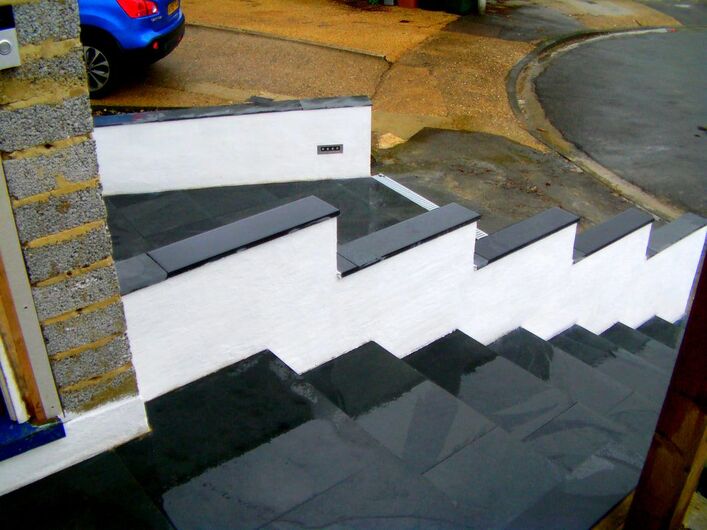
Depending upon what style you wish to create painting provides a few options. The most refined option is to render brick and concrete walls before the paint. This will create a moth and contemporary feel. However, painting straight over brickwork can also create a more rustic modern effect. Large tiles
Conventional tiles for bathrooms and kitchens are of a smaller size and do not look as effective outdoors. If you want to make garden walls look contemporary with tiles consider larger units. Natural stone such as rustic slate is a good choice for modern garden designs.
Stack claddingStack cladding now comes in a range of products including a range of textures and materials. For smaller scale features like raised beds narrower stacks can be more effective. For larger, expansive walls thicker grades will provide a better visual texture. How to tile outdoor walls with stack cladding step by step
Shopping list
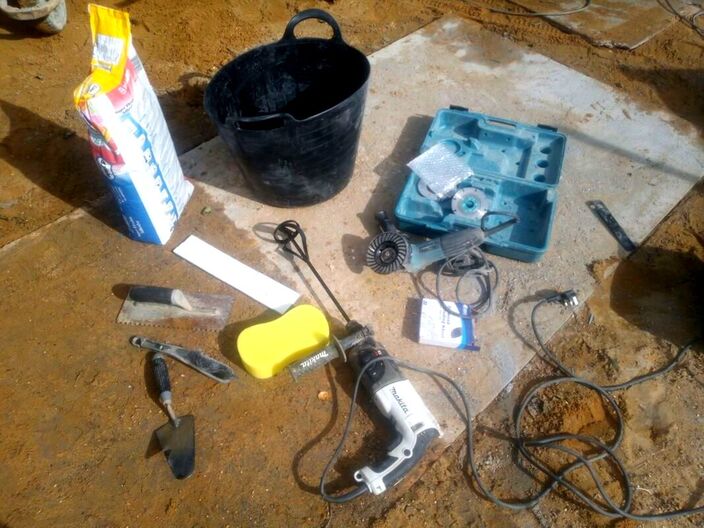
Tools needed for outdoor cladding
How to lay stack cladding outdoors in 10 stepsStep 1: Wall preparation
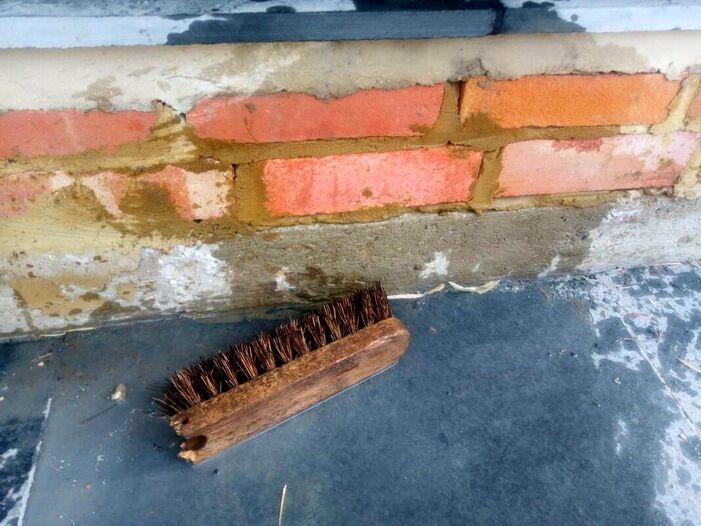
Make sure your walls are in a good condition with no crumbly bricks or mortar. The walls should also be dry with a reasonable surface texture for adhesive to key into. Make sure your walls are free of dust and debris; give them a go over with a stiff brush. It is even better to give the wall a pressure wash a couple of days before. Step 2: Setting out your cladding
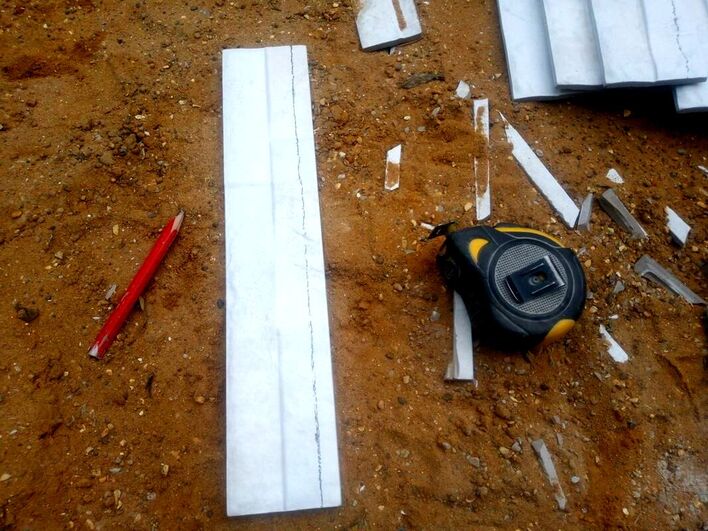
Before you start cladding it can be effective to set out some cladding against the wall first. This will enable you to identify the size of cuts you will need. These can be pre-cut before you lay to make the laying process much faster. Step 3: Setting up your work space
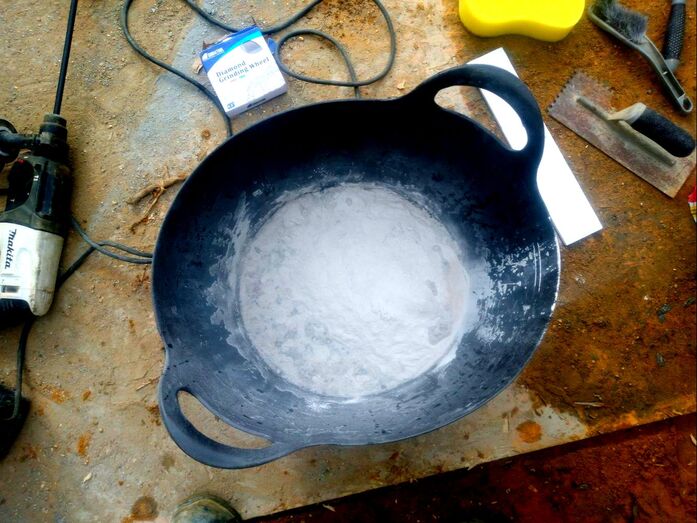
It is always important to have everything to hand when you are laying cladding. Tile adhesives, once applied can start to go off if left upon the wall for too long. Therefore you should set up an efficient work area with everything to hand. Try to set up mixing zones a little further from laying areas, this prevents unwanted splattering when mixing adhesive. Step 4: Planning your mixing
It is important to thoroughly read the specific instructions for your adhesive before you begin. There are many different external grade adhesives on the market today. Some of these include more flexible and faster setting types. All of these have varying work times and water mixing ratios. Make sure you have a laying plan before you start mixing. I personally always mix up a small ratio first and lay a test area. This will enable you to gauge how fast laying will be and how much adhesive to mix. Step 5: Mixing your adhesive
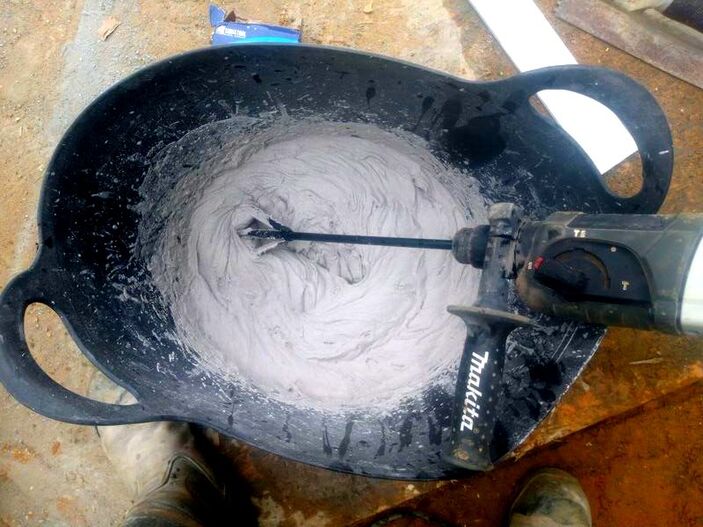
Fix your mixing paddle to your power drill, have your mixing tub, water and adhesive to hand. Empty the correct amount of adhesive into your water and start to whisk in a circular motion. Whisk well for two to three minutes until there is no lumps! Step 6: Apply your adhesive
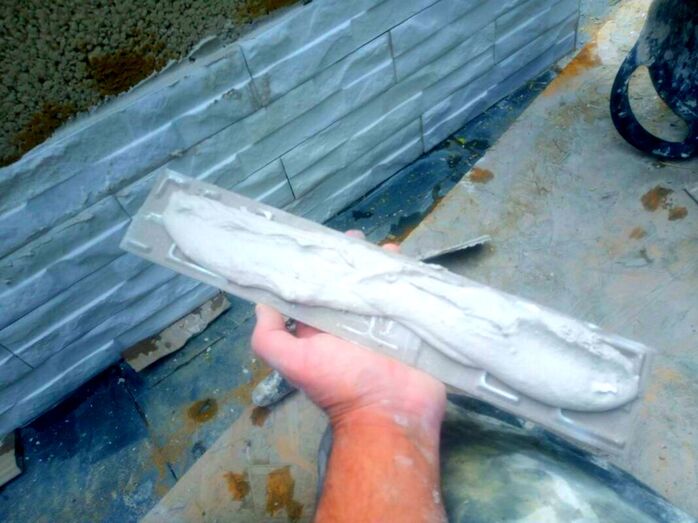
Apply your adhesive to the wall with your tiling trowel, if your cladding units are large you can paste them individually. Step 7: Laying your cladding
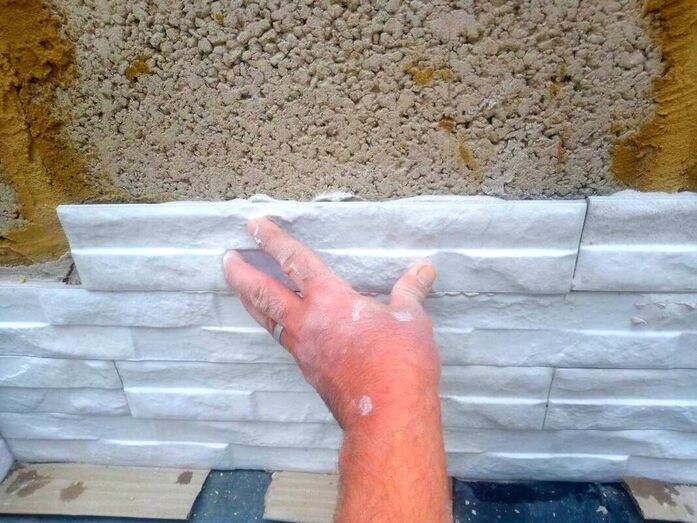
Push your units onto the wall with a gentle rocking motion to ensure thorough bonding. Lay your units as tightly as possible to prevent gaps. Some natural stone stack cladding can vary slightly in width. This means you may want to level the tops of your rows as you lay. Cladding with thinner sides can be propped up with thin nails Step 8: Cutting in your cladding
Some stack cladding is easier to cut neatly than others. Slate stack cladding can be a little tricky to cut into small sections as it fragments easily. You will need to rest the cladding onto a surface which absorbs vibration to prevent fracturing. Some cladding cuts well with 4 inch grinders and some cut better with 9 inch grinding discs. You may want to ask the specific supplier for specific cutting preferences. Measure and cut your stack cladding so they fit as tightly as possible. Step 9: Applying external grouts
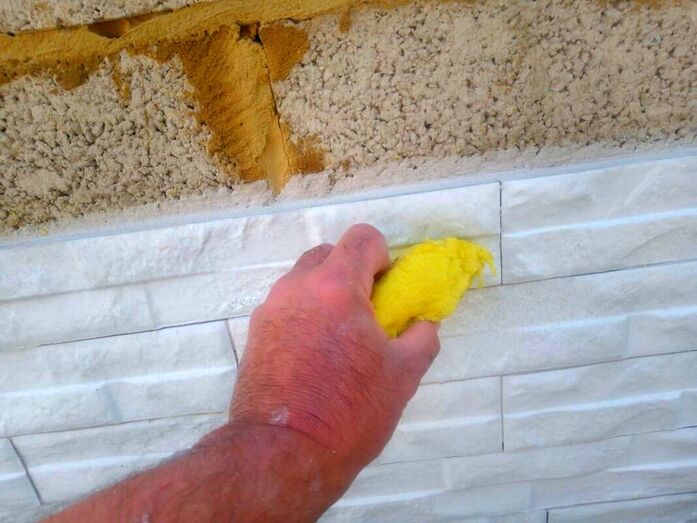
When your cladding has gone of hard the next day, apply external grout to any larger gaps or cuts. The colour of the grout you use will obviously depend upon the colour of your cladding. Due to the tight positioning of stack cladding you will not need much grout if any at all. Therefore, a small ready mixed external grade grout is best. Apply the grout to any gaps and remove any excess with a damp sponge. Step 10: Cleaning the area
When you have completed your stack cladding, clean up the immediate area and put your tools away. You can now admire your masterpiece!
Thank you for reading out article on how to make garden walls look modern with stack cladding! If you require a stack cladding installer why not contact us.
Below I will include some images of a landscaping project where we used stack cladding.
'As an Amazon Associate I earn from qualifying purchases'
0 Comments
Leave a Reply. |
The Author
|
Landscaping services across Buckinghamshire, Amersham, Aylesbury & High Wycombe
Hyde Heath, Amersham, Buckinghamshire |
|
