|
This article contains affiliate links
Contemporary slatted fences have become an increasingly popular way to add some design flair to gardens.
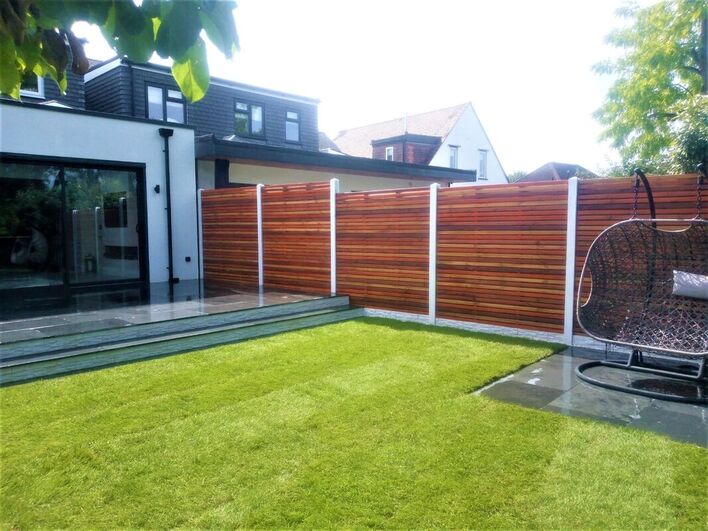
The horizontal slats have a clean and orderly look which produces a very minimalist feel. Garden boundaries and fences have always been a challenge when creating an aesthetic garden design. Typical rough and randomly finished timber panels can look boring and chaotic especially as they age. Consequently, modern slatted fences can really add a dramatic change to your contemporary landscaping project.
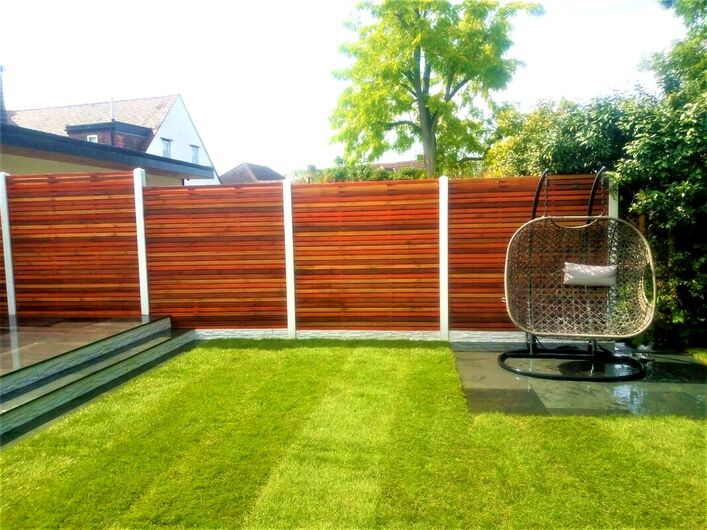
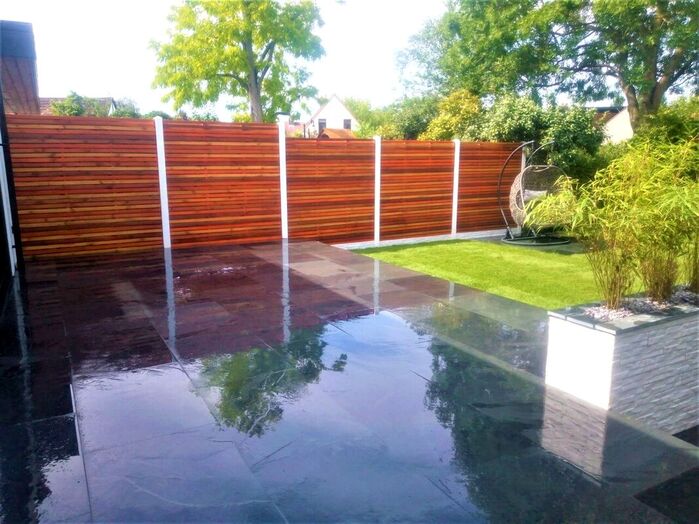
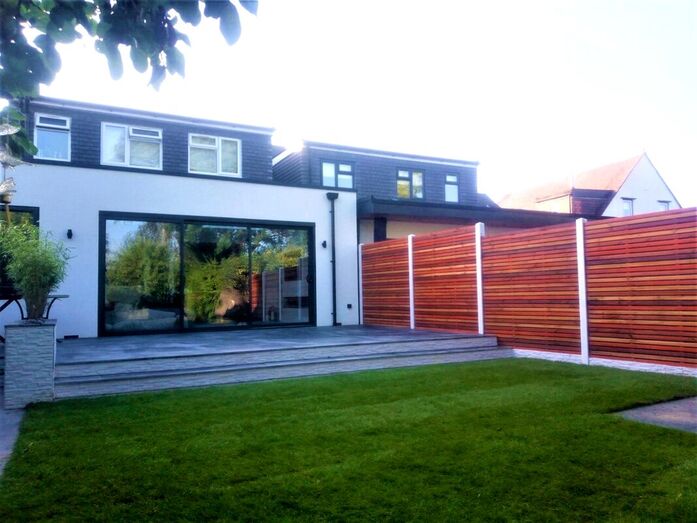
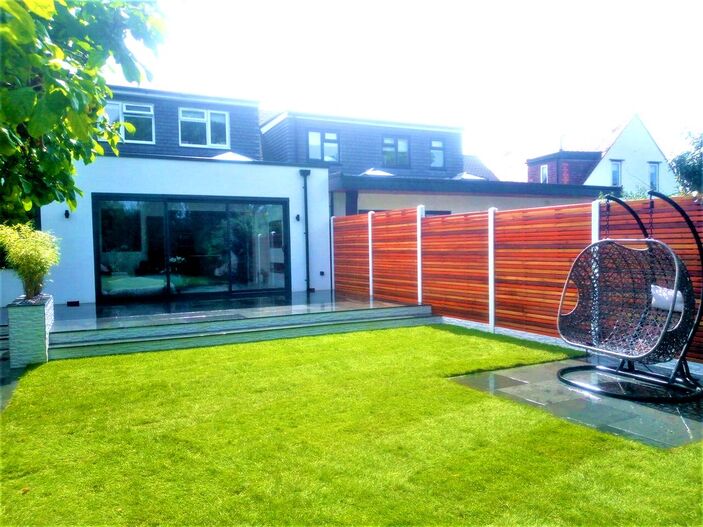
One of our contemporary gardens with a modern slatted fence
In this article I will explain how to install your very own modern slatted fence for maximum impact.
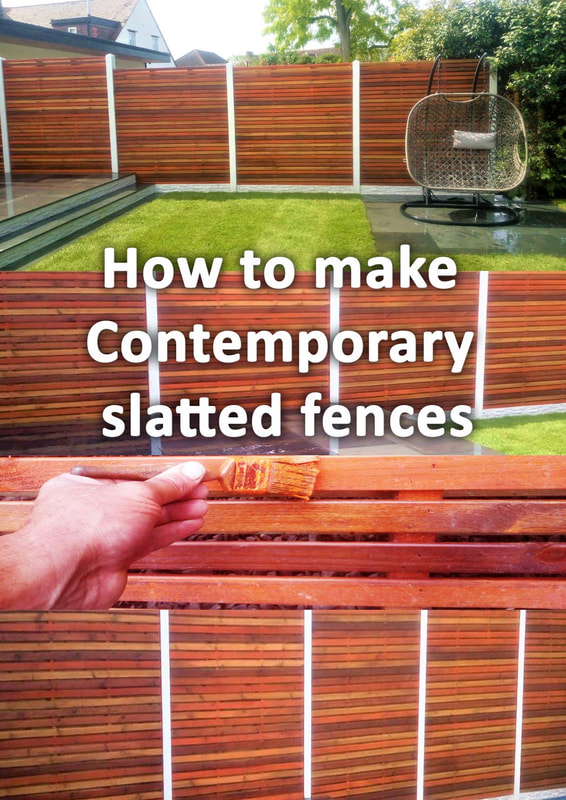
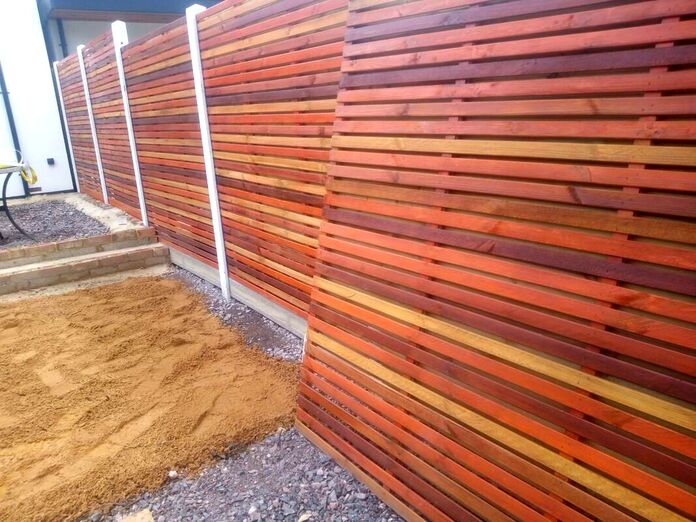
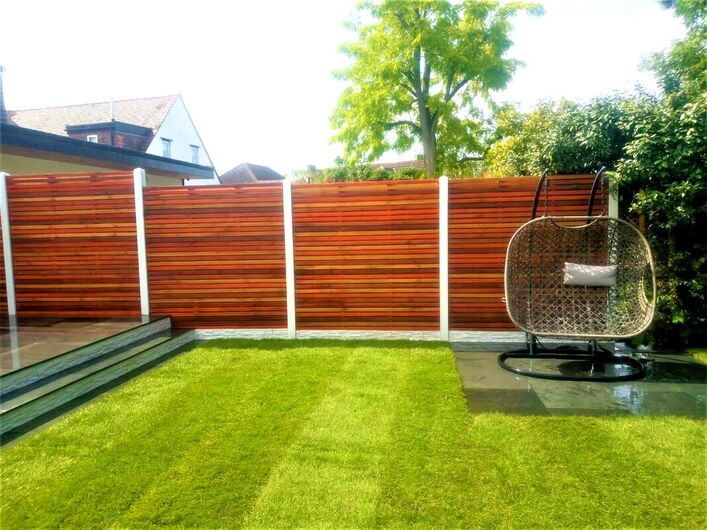
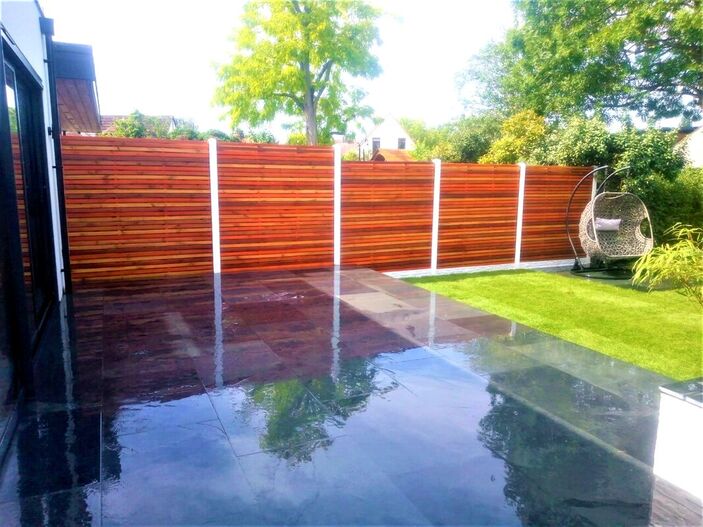
I will also explain how to make soft wood slats look like more desirable Balau or Cedar hardwood. As seen in the graphic above, the dark red and orange tones bring some real excitement to contemporary fences. Keep reading to the end to know how to create these modern slatted panels step by step. How to make my fence panels look more attractive or modern?
The reason typical fences don’t suit modern gardens is they have a very traditional look and finish. To make your fence panels look modern they will need much cleaner lines. This is why horizontal, slatted fences are so popular. Their consistent slats and thin shadows really provide a visual cleanness and order to the design. However, if you do not have the budget for a whole new fence here are some suggestions:
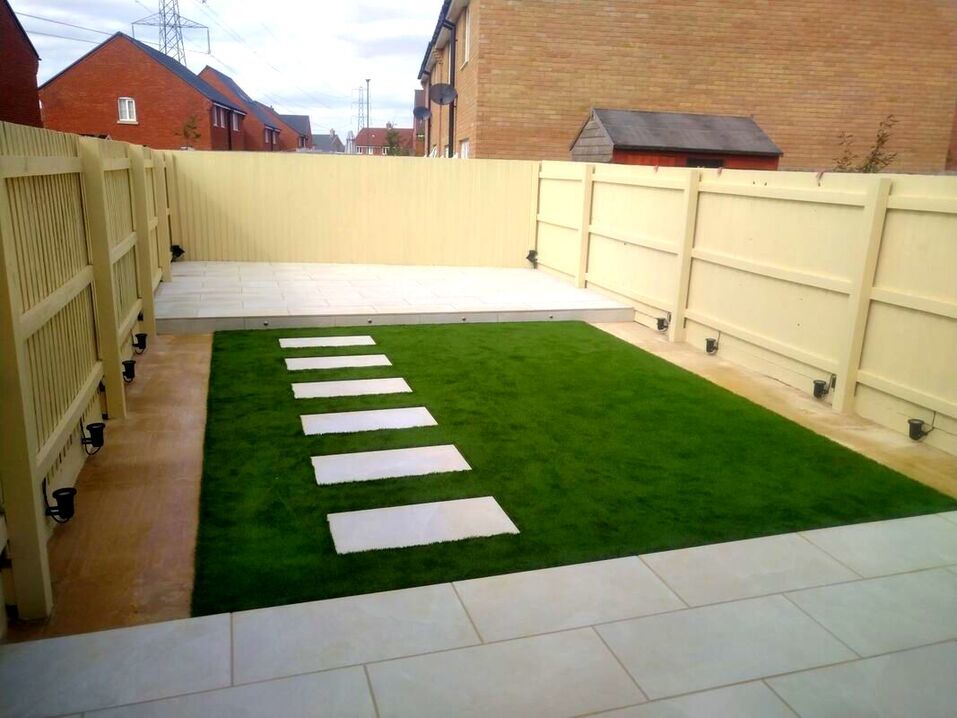
One of our modern gardens with cream painted fences
How do you make a contemporary slatted fence?DIY contemporary fencesThere are two main ways of making a contemporary slatted fences. The first is to build the whole fence in situ yourself. This will involve concreting in timber posts and fixing individual slats between them. This is a very cost effective method particularly if you cut down recycled timber. However what you save in money you will certainly not make up for in time, this can be a very a very fiddly and timely process. You can also purchase hardwood slats which are expensive but are very effective at creating very beautiful fences. Ready made panels
One of the most efficient ways of installing a contemporary slatted fence is to buy readymade panels. The most common are soft wood double sided slated panels. Although these are expensive they cut out a lot of time and fiddly work. The panels can be painted or stained your colour of choice. Keep reading to see our suggestion on making these panels look like hardwood below. What kind of wood should I use for a slatted fence?
The best wood for slatted fences is hardwoods like Cedar Teak and Balau. Not only do their natural colours look amazing they are also more durable than softwoods. You will however, need a healthy budget if you want to fence your whole boundary this way. In our case study below we recommend installing slatted fences around a feature such as a patio. What is the gap between slatted fences?
The gap between slats is really up to you, however you do not want them either too large or too small. I would say a gap of between 6 -12 mm is enough to form a good shadow without making the fence too open. If you are making your panels double sided you can make your gaps a little wider. Should slats touch the ground or soil?
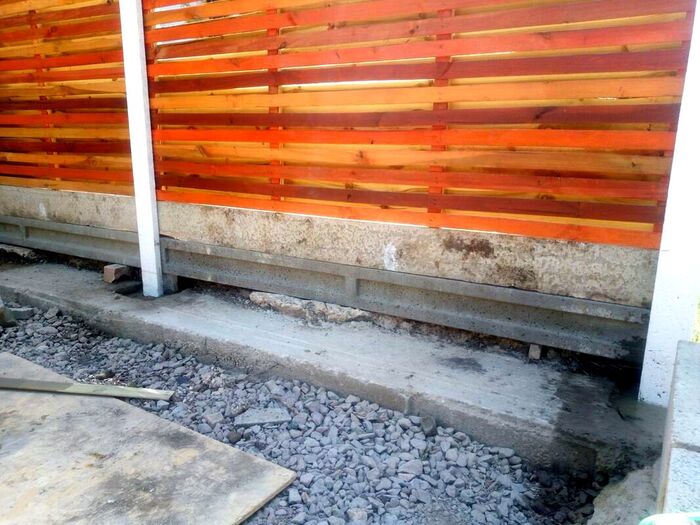
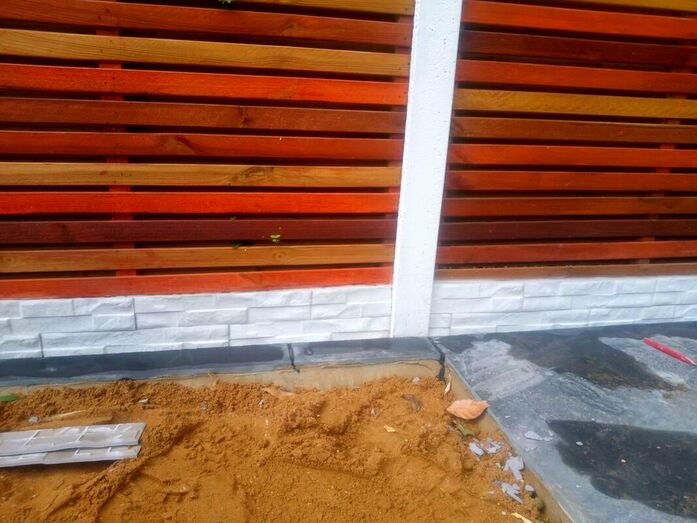
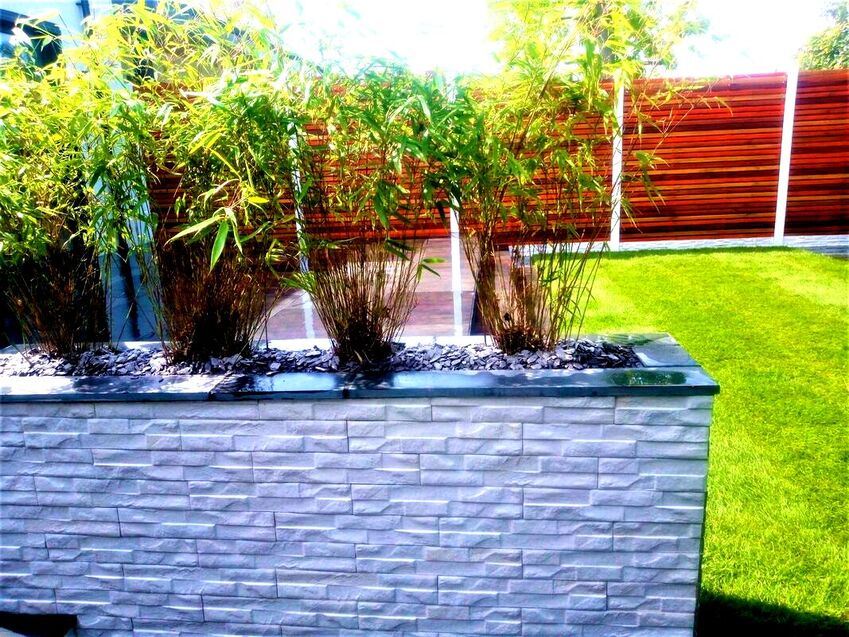
Like all other fences slatted fences should not really touch the soil. This is because exposure to topsoil and damp conditions will lead to rot. Algae and microorganisms can also discolour the lower slats on your fence. Why not base your slatted fences with either timber or concrete gravel boards? Like in our case study below these can be clad with contemporary stack style cladding. If your slats are resting upon a patio you can allow a much narrower gap. How should you fix a slatted fence?
How you fix your slatted fence is up to you but bear in mind, visible fixings will be visually less desirable! Screws have a tendency to split the end of slats and the screw heads look rather ugly. Therefore nails and staples are probably the best option for fixing slats. How do I make horizontal slatted fences look like hardwood?
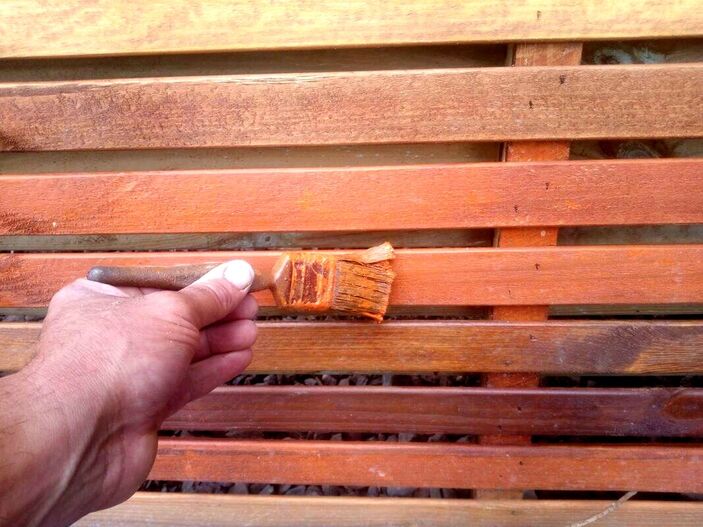
If your slats are hardwood their colours can be enhanced by using a good quality decking oil. Oils such as Osma oils are some of the best products on the market. However if your slats are softwood you can use varying softwoods with different tones for contrast. The best way is to let your artistic juices flow and stain your soft wood fence slats. In my guide below I will show you how to make your softwood slatted panels look like tropical hardwood. Contemporary slatted fence shopping list
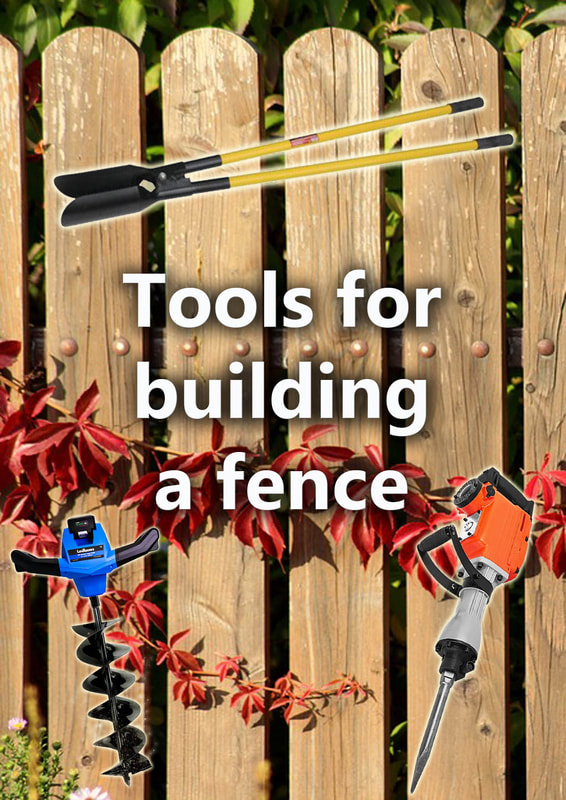
Contemporary slatted fence tools list
How to make the best contemporary fence step by stepStep 1: Plan your layout
Before starting your fence plan out its layout, this is typically done by setting up a string line. This will enable you to locate and remove obstacles before construction begins. Measure the length of your fence run to work out how many materials you need. Step 2: Work out levels
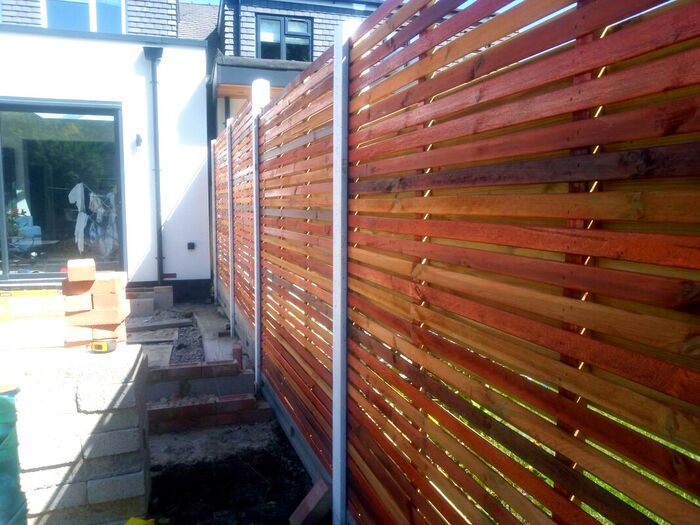
Very rarely are garden boundaries perfectly level, however fences typically are. Therefore if you are on a considerable slope you may need to step up or step down your fence. This can be seen with our contemporary slatted fence case study image below. Step 3: remove obstacles
Before you start work it is a good idea to remove any old fencing or obstacles such as shrubs. Make sure you allow for getting rid of waste in your costing. Step 4: Paint your posts
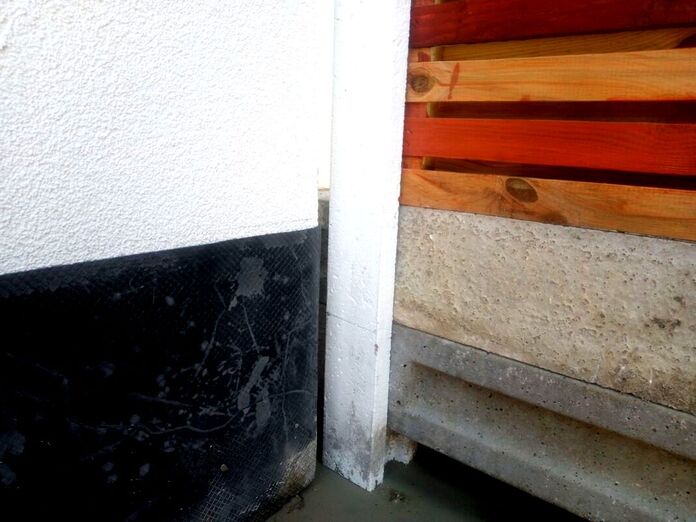
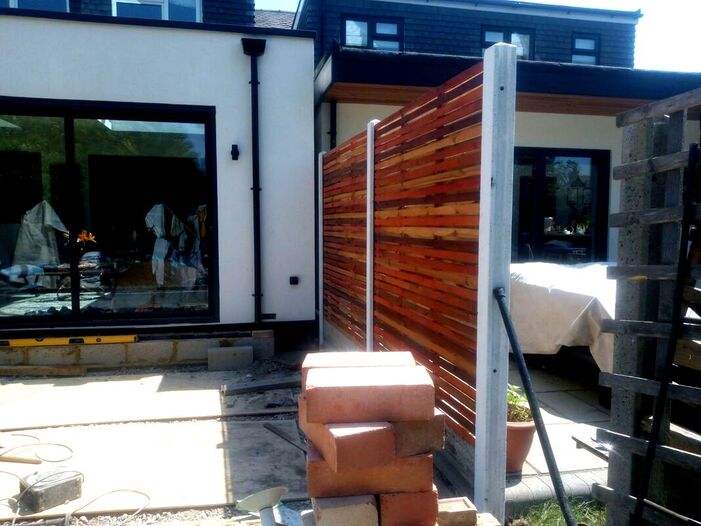
A great way to make your fence look modern is to paint your posts. In this slatted fence example we gave our concrete posts two coats of brilliant white masonry paint. Step 5: Stain your slats
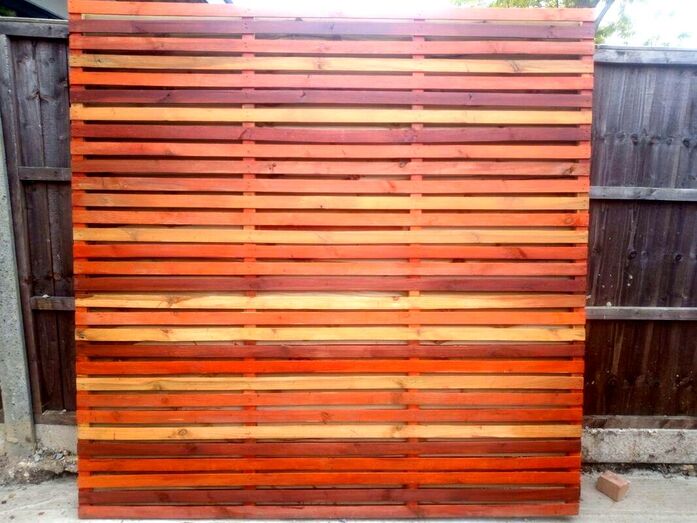
To replicate our contemporary, tropical hardwood, fence, effect, paint your slats with our recommended four wood stains. Combine, orange wood paint, Teak, Golden, and Red cedar wood stains. Perhaps print out images of our slatted fence to guide you. Step 6: Set up your string line
Set up a tight string line to run along the route of your fence line about 150mm above the ground. This will help you to build straight and plumb posts as you build. Step 7: Mark fence base on your post
Before setting in your posts it is useful to mark where the base of your panel will sit on the post. This will enable you to accurately excavate your posts holes to the correct depth. If you are using 1800mm metre panels measure 1830mm from the top of the post. This will make sure the post sits slightly above the panels. Step 9: Excavate your post holes
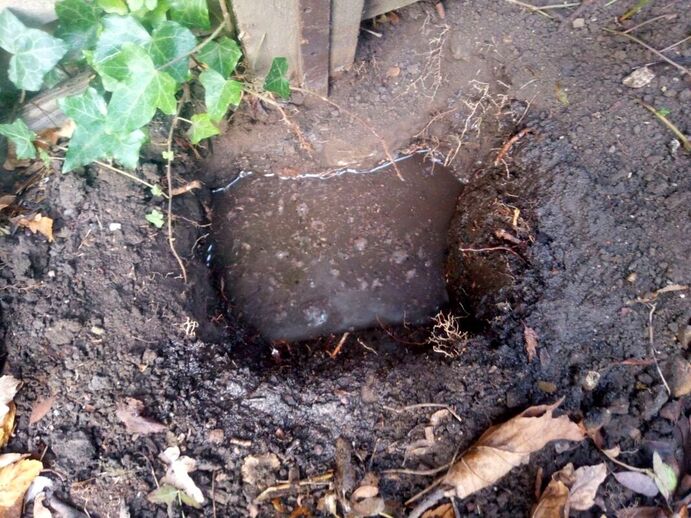
Excavate your post holes to a depth of about 600mm for extra stability. Try to make sure you have an equal distance of concrete mix all the way around the post. Step 10: Concrete in your first post
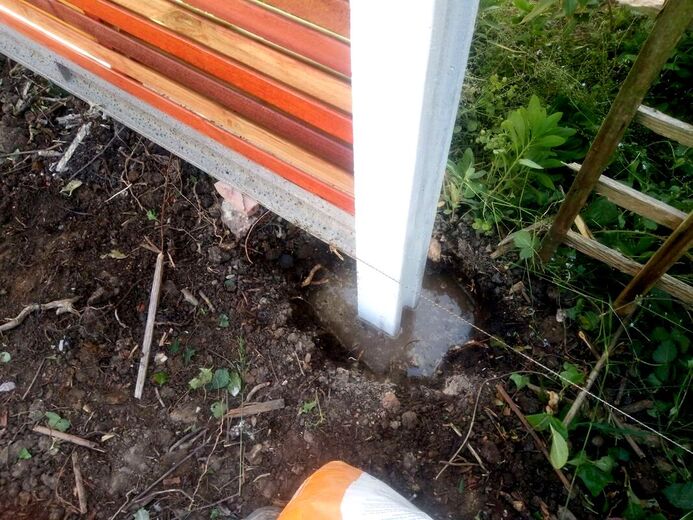
With your post in the hole, fill the post hole half way with water. Then empty your first bag of postcrete into the hole. Using a long and rigid stick, poke and rotate the dry mix around the hole so it mixes with the water well. Add more water is needed and empty in the second bag of postcrete. Postcrete has rapid setting cement added so you should be able to plumb and level your posts very fast. Allow to set for 5 minutes. Step 11: Offer up your fence
Offer up your gravel board and fence panel so they fit tightly against the post. Check your levels and fence line and get ready to concrete in your next post. Step 12: Concrete in your next post
Concrete your next post in tightly against the slatted panel and the gravel board. Step 13: Repeat the process
Repeat the process until you reach the very end of your fence run. Make sure you check your string line as you work to keep the fence straight. Step 14: Clad your gravel boards
Why not add some contemporary design flair by cladding gravel boards with Porcelain Rock Stack Cladding. All you will need is some stack cladding and external grade tile adhesive. Step 15: Admire your contemporary slatted fence
Now you can admire your new, contemporary slatted fence masterpiece and show off to all your friends. Why not give it a go?
Thank you for reading our article on making your own contemporary slatted fence. If you would like us to install a slatted fence for you why not contact us here.
If you found this article useful please help us by sharing it via the buttons below? This really helps us to create more useful and exciting landscaping tips in the future. Thank you!
'As an Amazon Associate I earn from qualifying purchases'
0 Comments
Leave a Reply. |
The Author
|
Landscaping services across Buckinghamshire, Amersham, Aylesbury & High Wycombe
Hyde Heath, Amersham, Buckinghamshire |
|
