|
This article contains affiliate links
Any time you plan to install a shed in your backyard you will require a stable base. There is no doubt that concrete is one of the best materials for a level and robust shed base. Concrete can mould perfectly into the shape of underlying ground and be formed into any shape. A high compressive strength combined with resistance to outdoor conditions makes it a sound shed base option. It is extremely important however that concrete shed bases are installed correctly from the start. The majority of concrete bases will require excavation and the working of large quantities of heavy materials. This means quite an investment of time, labour, and cost. Consequently, in this article, I will answer some typical questions regarding installing a concrete shed base. I will explain how to lay a concrete shed base step by step with pictures. The pictures I will display have been taken from multiple shed bases I have built on my own landscaping projects. How do I prepare the ground for a concrete shed base?
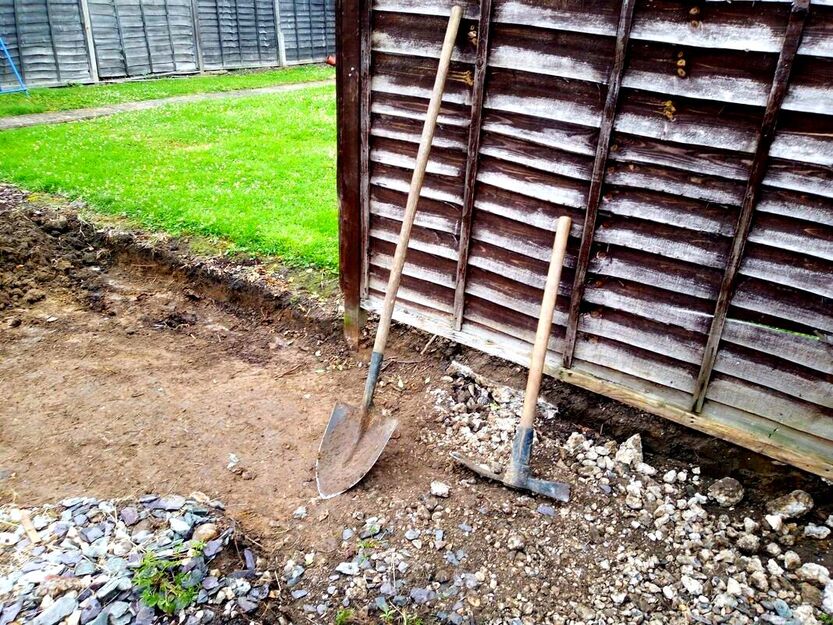
To prepare ground for concrete you will need to make sure the soft topsoil layer is removed. You want to excavate to a minimum depth of 150mm deep. This should expose a sturdier layer of subsoil which is less likely to move and displace under the heavy load of concrete. It is also advisable to scatter a minimum 50mm layer of compactable mot type 1 to the excavated ground.
When compacted this aggregate bites into the top layer of the soil making it firmer.
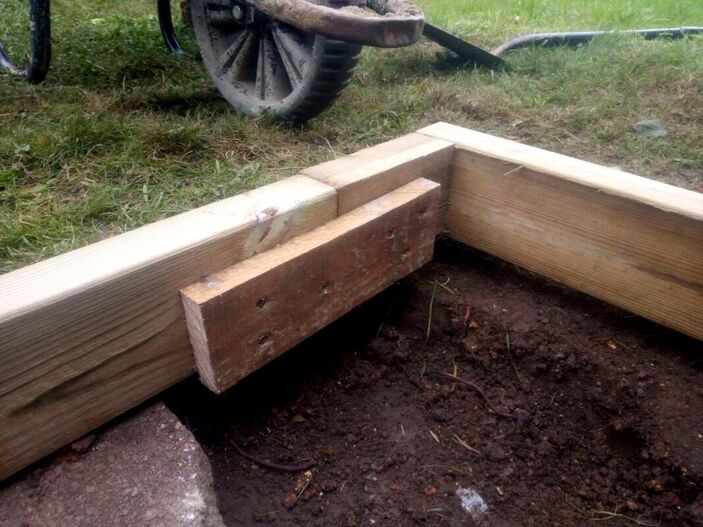
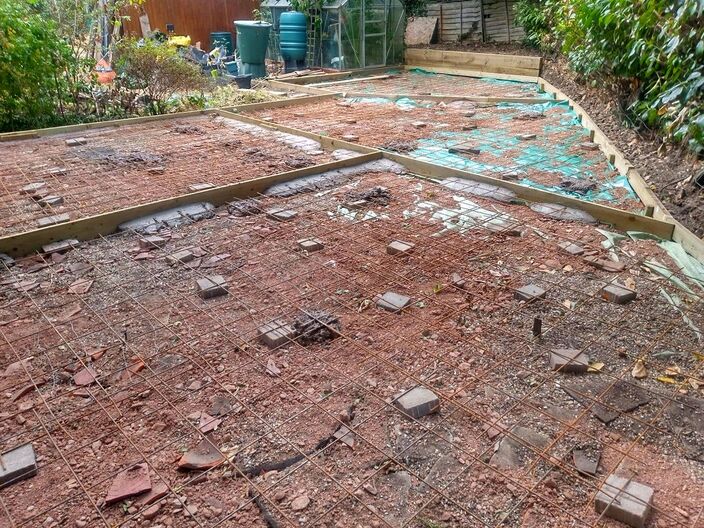
This also helps to create a bonding action between the concrete and the underlying soil. The edges of your concrete should be as neat and square as possible. It is therefore best to retain your concrete base with timber formwork such as treated 6x2 timber boards. Such formwork can be observed in the image above. How thick does concrete need to be for a concrete shed base?
For most garden shed bases a concrete thickness of around 100mm is adequate. For small sheds 75mm is probably fine but for larger structures housing heavy materials up to 125mm is best. In such cases it is also advisable to have a minimum 50mm layer of crushed concrete aggregate or mot type one under the base. Do I need membrane under a concrete shed base?
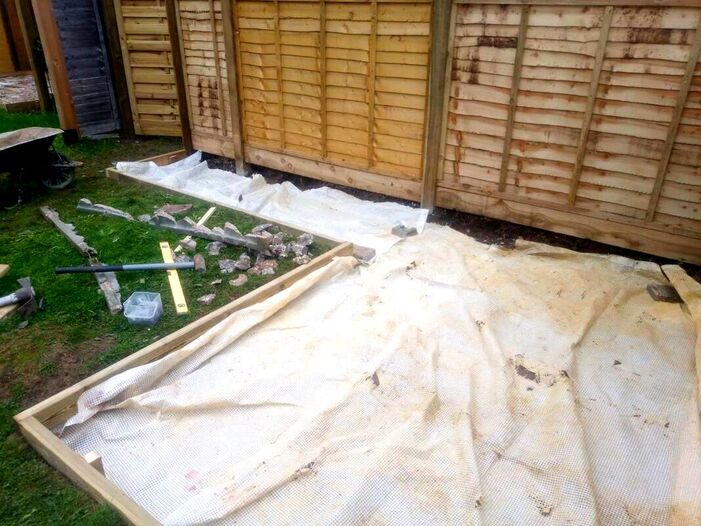
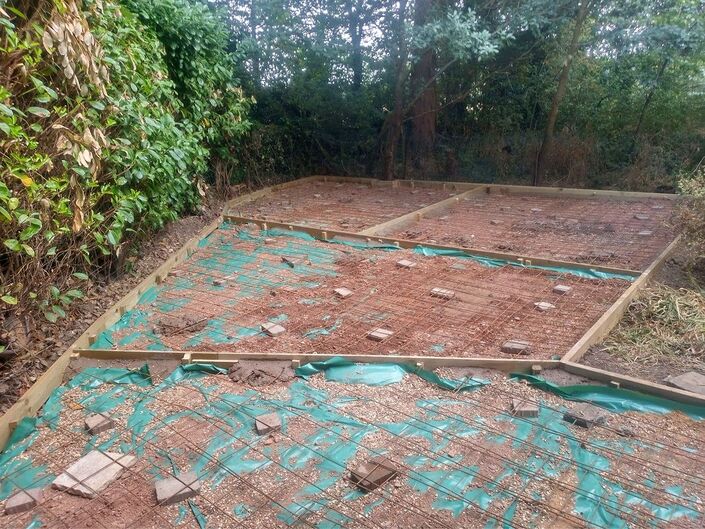
In order for wet concrete to cure correctly it requires a stable amount of moisture. An effective way to ensure the underlying ground does not absorb the concretes water away is with a membrane. This is more advisable during hot and dry summers where the ground is very absorbent. A membrane can stop the concrete drying out too quickly leading to cracking and poor curing. Such a damp proof membrane can be seen in the image below. Does a concrete shed base need reinforcement?
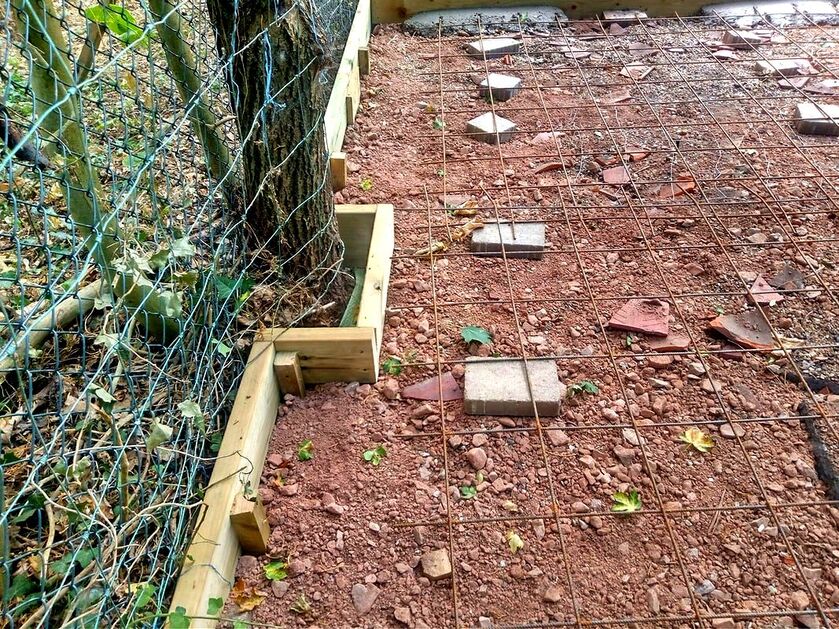
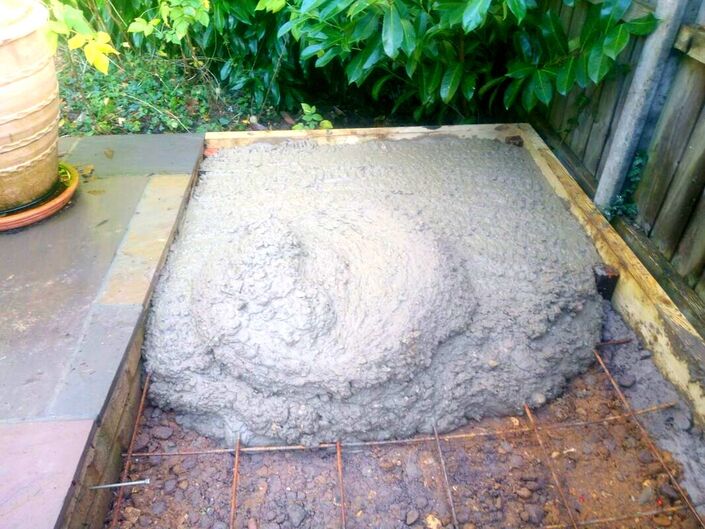
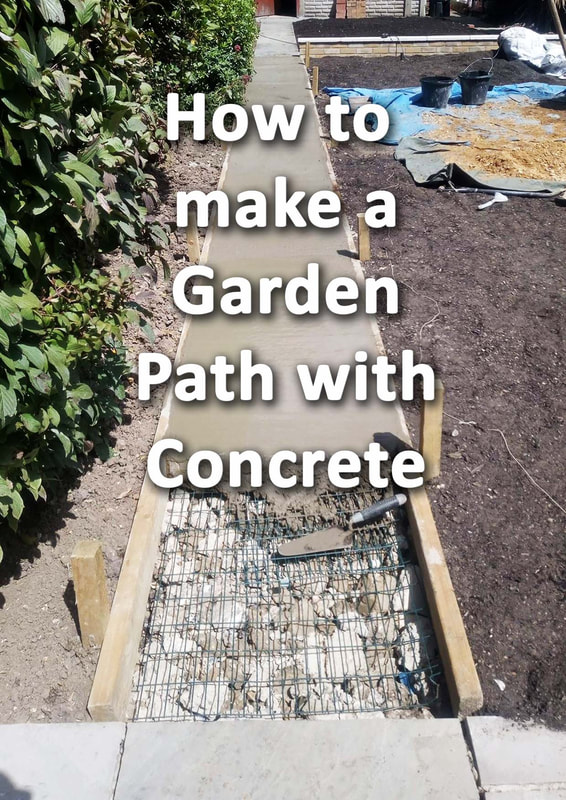
Reinforcement bars within a concrete shed base allows a slight flexibility. This flexibility provides extra rigidity against uneven and very heavy loads. Consequently, you may wish to add reinforcement mesh to the base if your shed will house heavy loads. Some examples of these may include large quantities of masonry materials or ride on lawn mowers etc. You may also wish to add reinforcement if your ground is liable to natural movements. For example, sandy soils or sites with saturated or boggy ground which are more likely to move over time. Reinforcement should be raised up slightly so it sits within the middle of the concrete layer. This can be seen in the image below of one of our concreting projects How much concrete do I need for my concrete shed base?
You will need to work out how many cubic metres of concrete you require. This can be executed by multiplying the length x width x depth of your concrete shed base. For example say your shed base is 2 metres x 4 metres and at a depth of 100mm. The calculation will be: 2 x 4 x 0.100 = 0.8 cubic metres If you are buying ready mix concrete you can purchase it by the cubic metre. However if you are mixing ballast and cement yourself you will need to buy ballast by the ton. Most builder’s merchants and haulage suppliers sell materials such as ballast by the ton. Consequently, you will need to work out how many tones there are to a cubic metre of ballast.
There are about 1.6 tonnes of ballast to a cubic metre. Therefore:
0.8 x1.6 = 1.28 tonnes of ballast To make things even more awkward for small quantities below 4 tones many merchants won’t deliver loose. Therefore you will have to buy the ballast in jumbo bags. 1 jumbo bag of ballast = 0.85 tonnes or 850kg Therefore for 1.28 tonnes of ballast you will need: 1.28 / 0.850 = 1.505 Therefore, for our case study you will need to purchase two jumbo bags of ballast for your concrete shed base! How to lay a concrete shed base by hand step by stepStep 1: Location
One of the most crucial elements of laying a concrete shed base is the location. You want to position your base somewhere accessible and which complements the existing circulation of your site. Try to locate your base away from growing trees as these can lift your base as they grow. If concreting near a boundary try to lay up to the fence line to prevent weeds and samplings establishing. Step 2: Excavation
Excavate your shed base area as neat and square as possible. This will make it easier to purchase the correct amount of materials for the concrete shed base. If you need to get rid of soil from your excavations this is best done by ordering a skip. Why not visit our article on how to fill a skip correctly. Step 3: Shuttering formwork
'Shuttering' and 'formwork' are simply forming a retaining mould for your concrete shed base. This is normally achieved utilising treated 6x2 timber fixed to timber pegs with external grade screws. The form work will enable you to set levels and the exact shape of your concrete before you start concreting. Such timber form work can be observed in the landscaping project below. Step 4: Setting up your work space
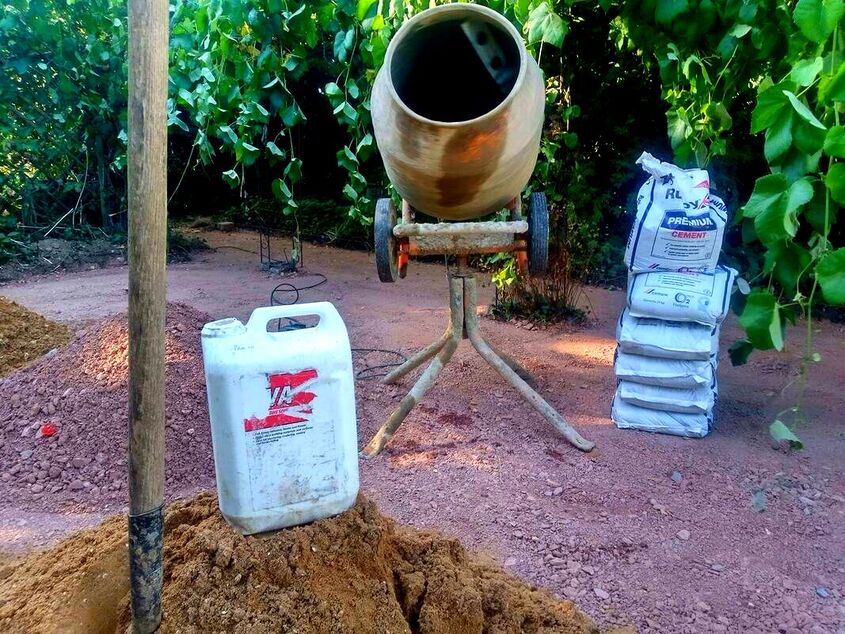
This is more relevant if you are mixing up concrete manually, however a methodical workspace is always essential. Concreting can be a fast and intensive process so preparation is key. Make sure you have all the tools and materials you need close to hand before work commences. Step 5: Mixing concrete
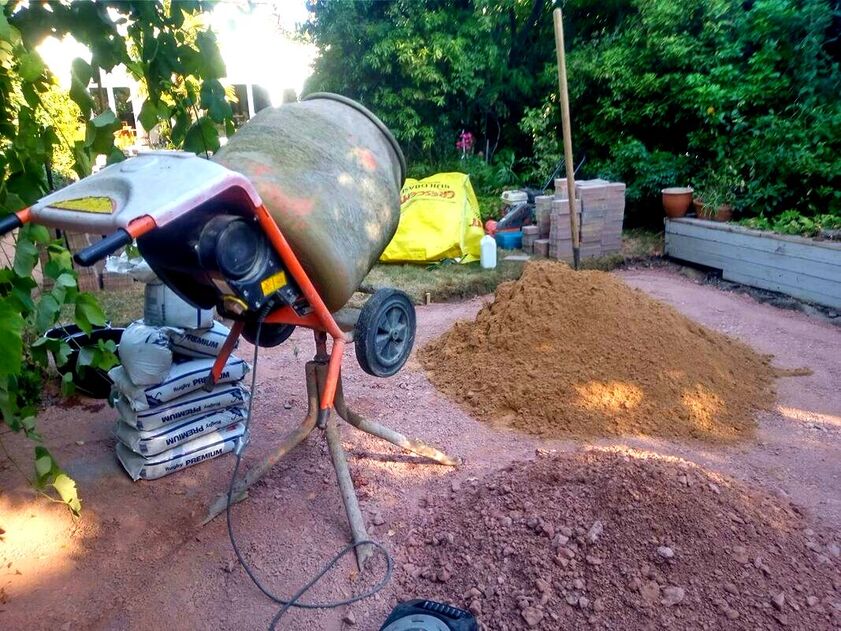
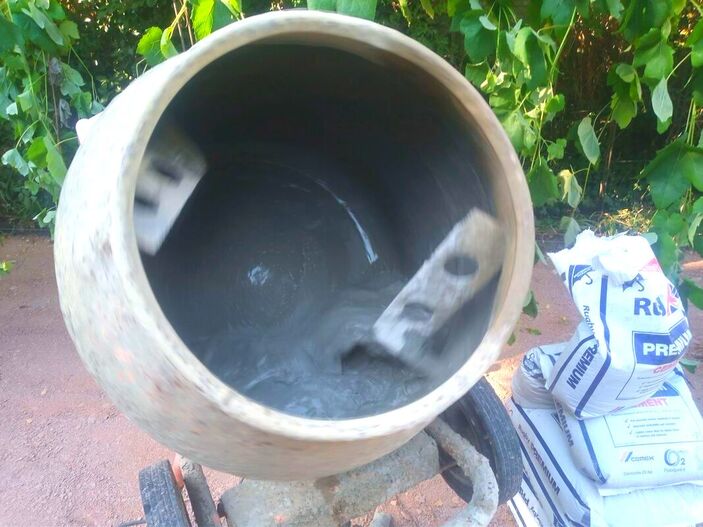
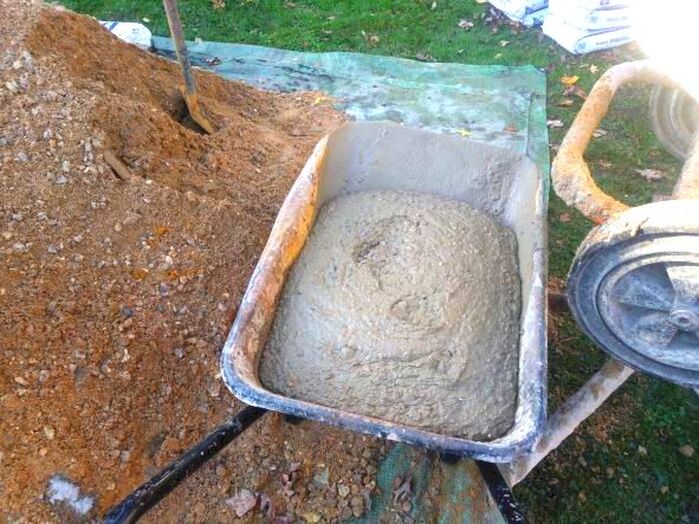
Fill your mixer with around half a builder’s bucket of water and add half a 25kg bag of cement. Let the mixer hydrate the cement well with no lumps, add more water if necessary. Shovel around 12 shovels of ballast gradually into the mixer gradually. If you are unsure about your ratio, measure out your materials in buckets. Add water until the mix has the consistency of runny porridge. Step 6: Pouring the concrete
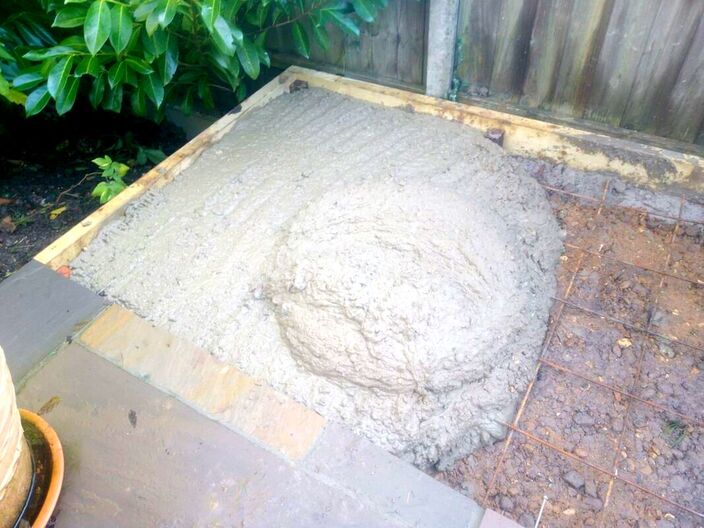
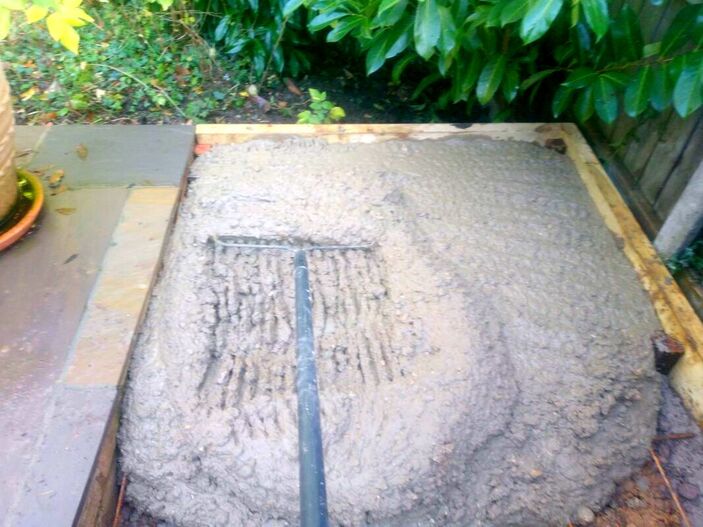
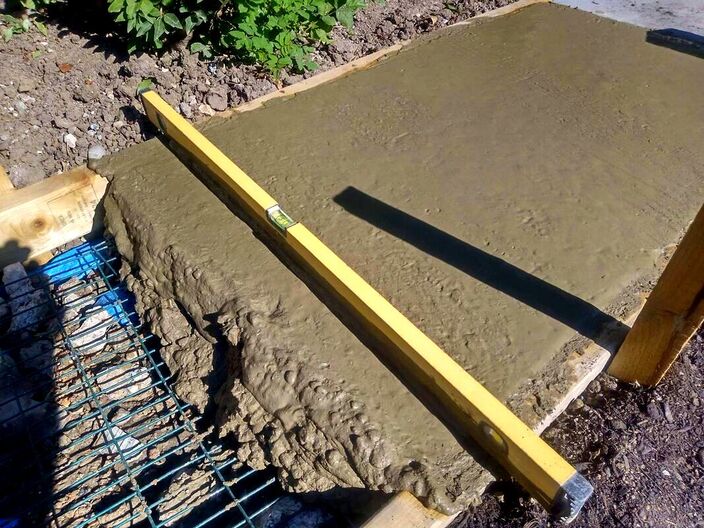
Pour your concrete into your formwork, it is best to start at one end and level a section at a time. Heap up your concrete and move it roughly level with a spade. Make sure the concrete is slightly higher than the formwork. Tamp down and drag the excess concrete towards you creating a level surface. Keep going back over the area in front of you to blend in a consistent level. Using a medium sized spirit level gently pump the surface to reach a smooth and level surface. Step 7: Curing
Concrete requires time to cure and set. Allow you concrete to set with no threat of disturbance! Pet cats somehow have a love or leaving foot prints in new shed bases so keep your cats in or fence off your masterpiece. Try do undertake this work when there is no threat of frost overnight. Step 8: Completion
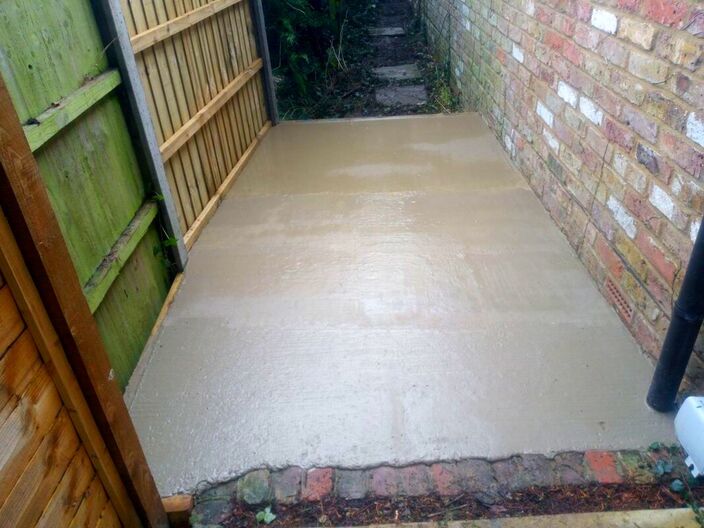
You have now completed your concrete shed base, clean your tools and clear away your workspace. It is best to leave your base to cure for two days before installing a new shed. This is because it takes a couple of days for the wearing surface or the concrete cream to go fully hard. FAQ’sShould I buy ready mix concrete for a concrete shed base?
If you are concreting a large area above 25 square metres it is probably best to buy ready mix. To lay a larger area in one hit can become tiresome with the threat you may not be able to keep the concrete workable to tamp level. The draw back however with ready mix is you will more than likely end up with more than you need. Concrete pumps are often cleaned out on site near to where the concrete is being laid. This can lead to stained patios and concreted lawns and flower borders. Consequently, I would only buy ready mix for larger and thicker shed bases. How to work out how much concrete I need for a concrete base?
Concrete is typically worked out and sold in cubic metres. Therefore, you will need to times the length x width x depth. For this question I have repeated the break down I explained earlier in the article. For example say your shed base is 2 metres x 4 metres and at a depth of 100mm. The calculation will be; 2 x 4 x 0.100 = 0.8 cubic metres If you are buying ready mix concrete you can purchase it by the cubic metre. However if you are mixing ballast and cement yourself you will need to buy ballast by the ton. Most builder’s merchants and haulage suppliers sell materials such as ballast by the ton. Consequently, you will need to work out how many tones there are to a cubic metre of ballast. There are about 1.6 tonnes of ballast to a cubic metre. Therefore: 0.8 x1.6 = 1.28 tonnes of ballast How many bulk bags of ballast do I need for my concrete base?
To make things even more awkward for small quantities below 4 tones many merchants won’t deliver loose. Therefore you will have to buy the ballast in jumbo bags. 1 jumbo bag of ballast = 0.85 tonnes or 850kg Therefore for 1.28 tonnes of ballast you will need: 1.28 / 0.850 = 1.505 Therefore for our case study you will need to purchase two jumbo bags of ballast for your concrete shed base. How many 25kg bags of cement do I need per 850kg bag of ballast?For a 5:1 ballast to cement concrete mix you will need 6 bags of cement to every 850kg bulk bag of ballast. How to make a concrete base level?
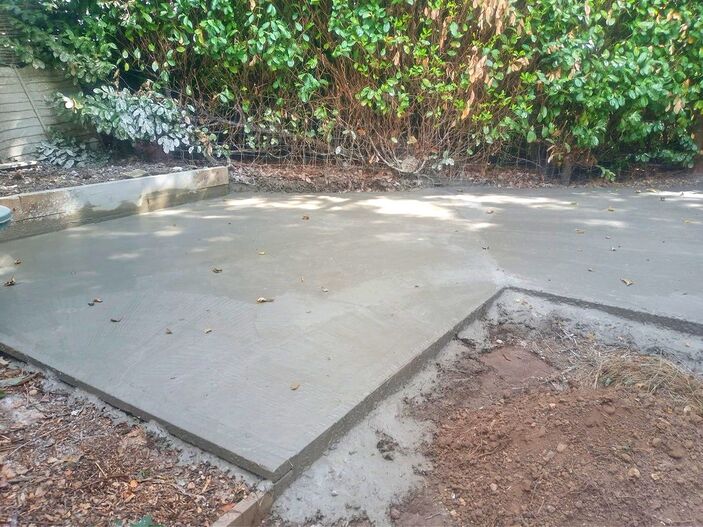
The very best way to make a concrete shed base level is to install level form work or shuttering. This can be achieved using 6x2 treated timber fixed to timber pegs driven securely into the soil. The timber edging can be levelled with a spirit level before it is fixed into position. You can then tamp the concrete level with a long straight edge across the level form work. This can be observed well in the image of one of our projects below. A good tip is to make you concrete a little wetter so it naturally wants to run level with less manual effort. Concrete base and concreting services in BuckinghamshireIf you require concreting services across Buckinghamshire and surrounding areas, please do not hesitate to contact us. We provide concrete bases for sheds, summer houses and garden offices. We can also provide concrete garden pathways and sideway concrete installation. Our typical service areas include: Amersham, Aylesbury, Bovingdon, Chalfont, Chesham, Hyde Heath, Great Missenden, Princes Risborough, High Wycombe, Penn, Beaconsfield, Tring, Gerrard's Cross and Denham.
Thank you for reading our article on how to lay a shed base with concrete. Below I have linked to some other articles you may also find useful.
Helpful links about installing concrete shed basesHow to Pour a Concrete Shed Slab! DIY! - YouTube How to Lay a Concrete Shed Base (7 Step Guide) | iMix Concrete A step-by-step guide to laying a concrete shed base | HSS Hire
'As an Amazon Associate I earn from qualifying purchases'
0 Comments
Leave a Reply. |
The Author
|
Landscaping services across Buckinghamshire, Amersham, Aylesbury & High Wycombe
Hyde Heath, Amersham, Buckinghamshire |
|
