|
This article contains affiliate links
Sideways around the home are often completely wasted, outdoor spaces. The frustrating thing is collectively; such areas typically can make up a large area.
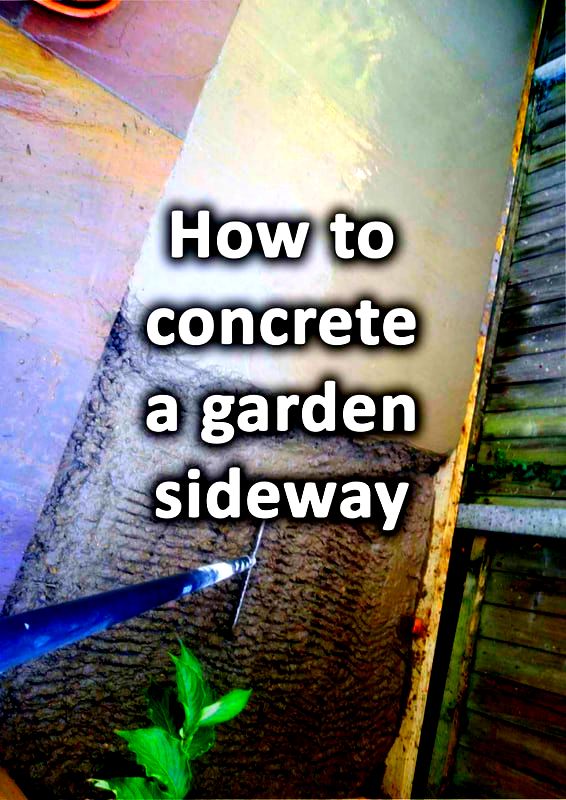
This means most garden sideways become wasted space and a lost opportunity for extra utility. Garden sideways can provide the perfect location for extra garden storage or a workshop for a new hobby. Concreting can be one of the most cost effective and fastest ways to prepare a sideway for other uses. In this article I will show you how to concrete a sideway correctly step by step. Why concrete a side of house garden?
Sideways around homes can become ‘no go zones’ for the rest of the property. Such areas regularly become stacks of unwanted materials and general waste. As sideways are normally narrow passages they rarely acquire any form of suitable investment. This leads to both muddy and messy zones around the home. Such circumstances can encourage pests such as vermin and increase the risk of damp conditions around the property. Sideways also become a haven for tree saplings and aggressive weeds which can soon become out of control.
This can lead to hours of frustrating labour and even the possibility of structural problems.
Therefore, concreting your sideway can prevent weed establishment, divert water away from walls and generally bring order to such areas. Is concrete better than paving for sideways?
Generally concrete is better than paving for surfacing sideways. This especially the case if the surface will be hidden under a shed, workshop or storage facility. If you need a surface which is relatively affordable and fast concrete is an efficient solution. In the scenario you’re sideway leads to premium paving you may want to carry the paving around the corner for a distance. This will create the illusion that it spans the whole sideway. However, most of the time this is not necessary as sideways should be more functional than aesthetic. What do you put under concrete?
It is best to lay your concrete upon a surface which has no risk of any movement. This means no loose or crumbly topsoil and only sturdy subsoil. You will need to excavate the soft dark layer of soil until you reach the firm and dense subsoil. The state of your soil will vary depending on where you live. Generally excavating out the top 160mm is usually adequate.
It is also beneficial to spread a layer of compactable hardcore or sub base under the concrete. This, when compacted, bites into the subsoil layer making it even more sturdy.
The sub-base aggregate also allows you to grade to a consistent and level base, perfect for laying concrete. Generally the best sub base material for under concrete is crushed concrete or Mot type 1. Can you put concrete straight onto soil or dirt?
It is best not to put concrete straight onto soft topsoil or dirt. This is because the high levels of organic particles and air spaces make topsoil unstable. This can potentially lead to the concrete cracking or even worse subsiding and sliding. This has the potential to cause damage to adjacent features and structures. It is always advised to excavate out any soft topsoil and spread a compactable sub base first. If you have a generous depth of concrete with reinforcing you can concrete straight over a firm and robust subsoil. This is as long as the subsoil is not subject to extreme fluctuations in seasonal water saturation. Do you need gravel under concrete?
You do not have to put gravel under concrete. However when people ask this question they are really asking, do you need to put compactable aggregates under concrete? These are materials which look similar to gravel but are very different. Compactable sub bases such as Mot type 1 are designed to compact hard as a base to concrete and paving. This is because they have particles graded from around 40mm to dust.
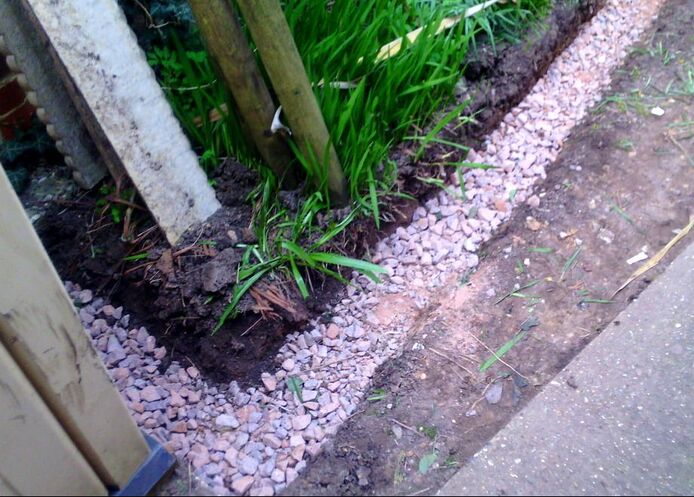
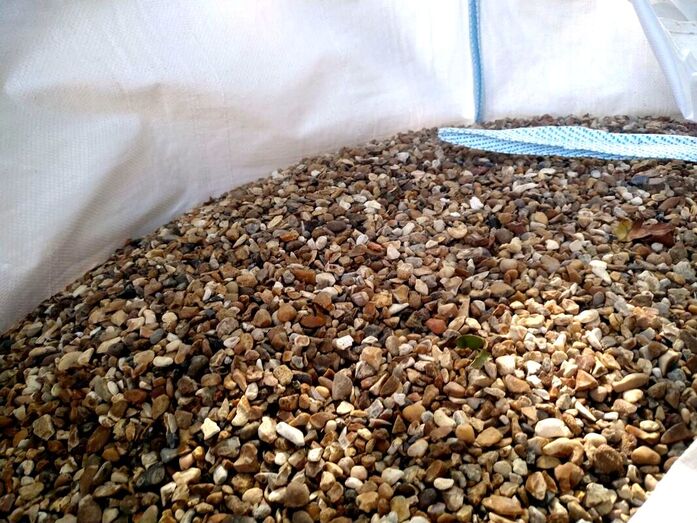
The angular particles bind and compact together hard under pressure. Conventional and decorative gravels like the pea gravel above are not suitable for under concrete.
Their evenly graded particles mean they can easily displace under pressure. You can certainly bury a thin layer of these gravel aggregates under concrete but no more than 30mm. I would add this should never be done on slopes or sites with unstable ground. Should you put plastic under concrete?
It really depends on the moisture content of your underlying ground and climate. Concrete needs to hold a suitable level of moisture to cure correctly. If your base and underlying subsoil are very dry this will suck moisture from your concrete. This is especially so during very hot and dry summer weather. Such conditions can lead to weak and crumbly concrete and a general failure of the surface. Consequently, if you’re concreting sideway in hot and dry conditions you may want to put plastic underneath. How do you finish a concrete sideway?
The best and simplest way to finish a concrete sideway is with a tamped finish. This allows for a very slight rippling within the surface which provides grip and texture. The effect can be achieved by bouncing a straight edge gently upon the concretes surface. This allows the aggregates particles to shuffle together and compact well. Such action brings the concrete cream to the surface which is easier to work to a satisfying finish. For a really smooth effect you can then work the concrete with a floating trowel. However, this is usually not a necessary finish for concreting a sideway. What do you need to concrete a sideway?
How to concrete a sideway step by stepStep 1.
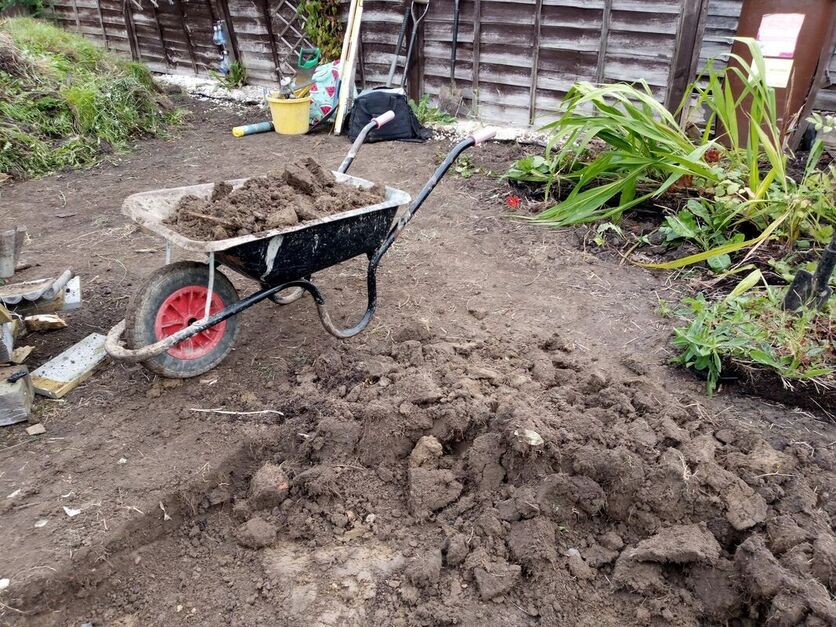
Excavate out any soft topsoil where you wish to lay new concrete.
Step 2.
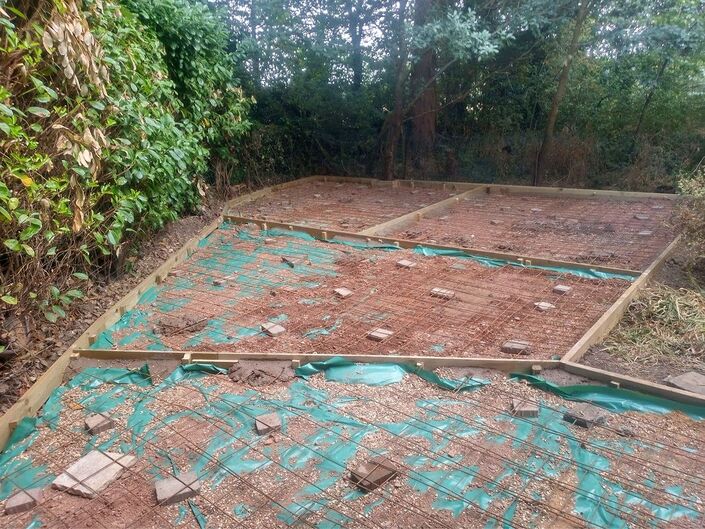
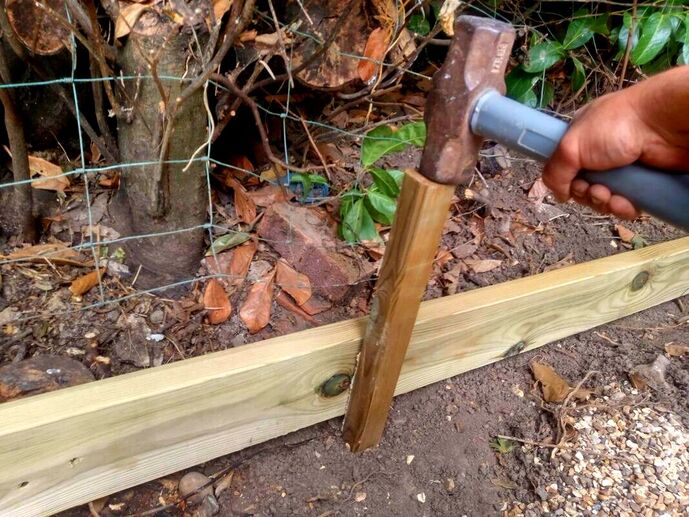
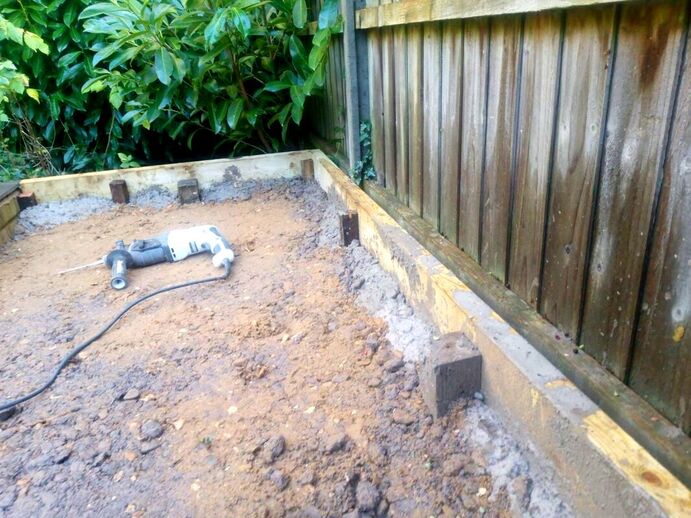
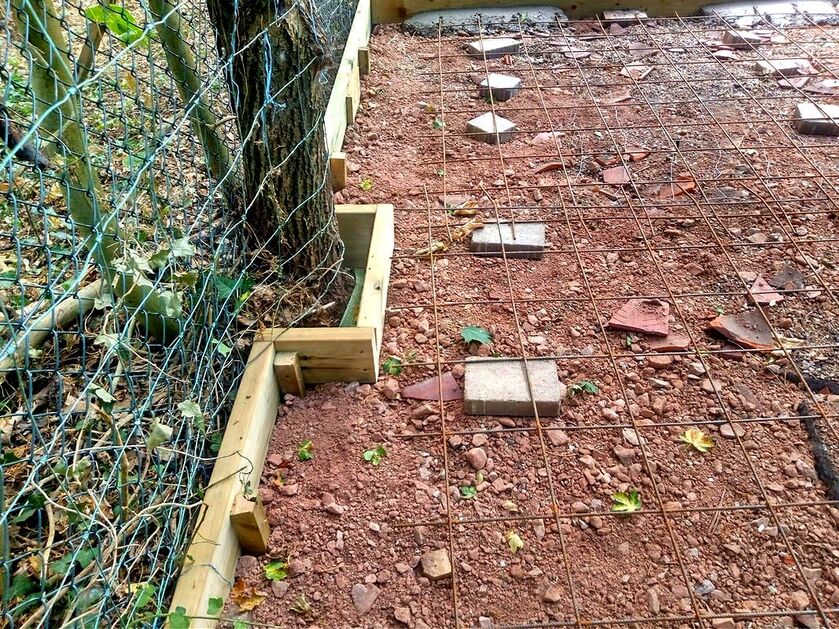
Construct formwork (shuttering) to retain wet concrete and hold back from boundaries such as fences. Shuttering is normally constructed using external grade 6x2 timber fixed to 50x50mm timber pegs. Make sure the top of your shuttering goes in at the perfect finished level for your concrete. Also make sure the level gently falls away from the house to prevent puddles and damp. Step 3.
Make sure your shuttering can take the weight of wet concrete by firmly applying pressure. If it feels solid, good, if not, hammer in more timber pegs and screw in fixings securely. Step 4.
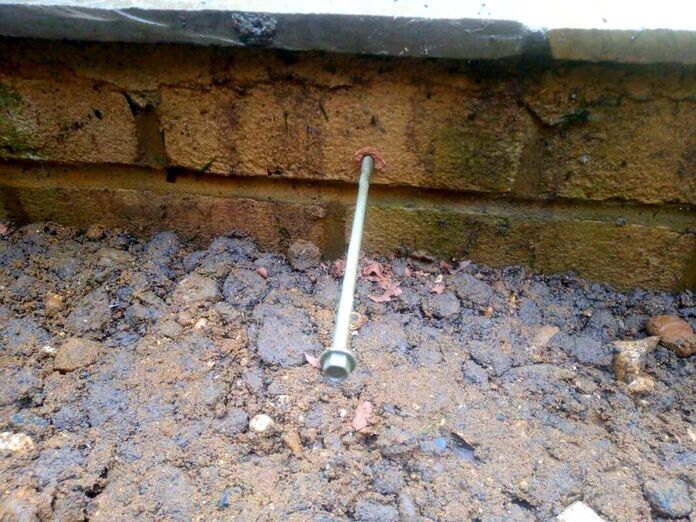
If your concrete sideway is adjoining a solid structure like a wall you will want to tie it in. This is where bolts or ties are fixed into the structure so the concrete bonds securely. This can be done by drilling holes into the wall and tapping in or fixing bolts. Step 5.
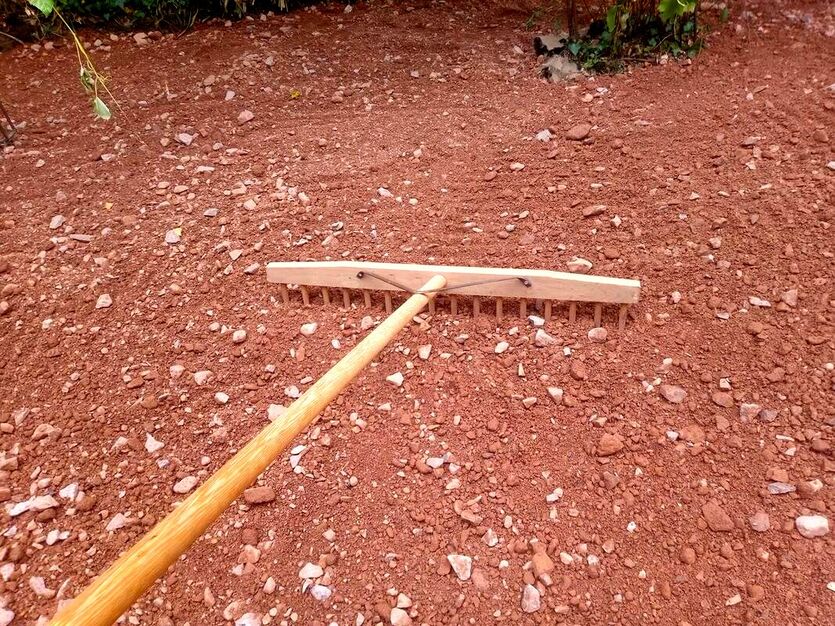
Fill up any low parts of your shuttering with compactable hardcore such as Mot type 1 and compact. You should aim for a concrete depth of between 6-4 inches (100-150mm). Spread your hardcore as evenly as possible and compact well with either a tamper or whacker plate.
Step 6.
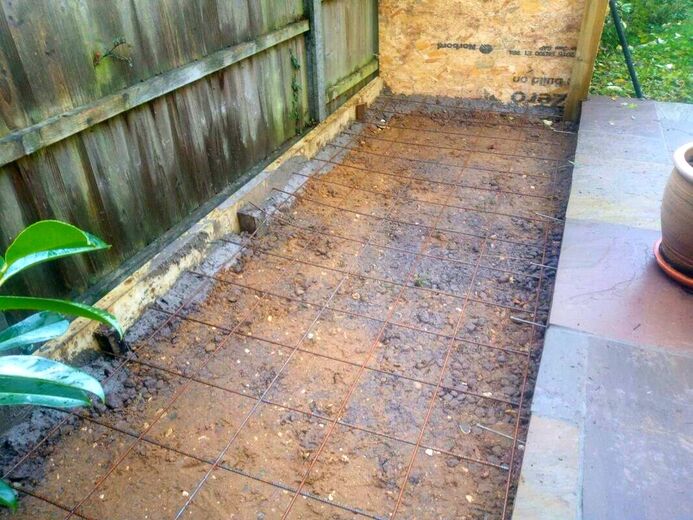
If you are concreting a larger area you may want to add some reinforcing mesh. The mesh can be elevated off the hardcore using rubble or bricks. This will allow the reinforcing to sit within the centre of the concrete.
Step 7.
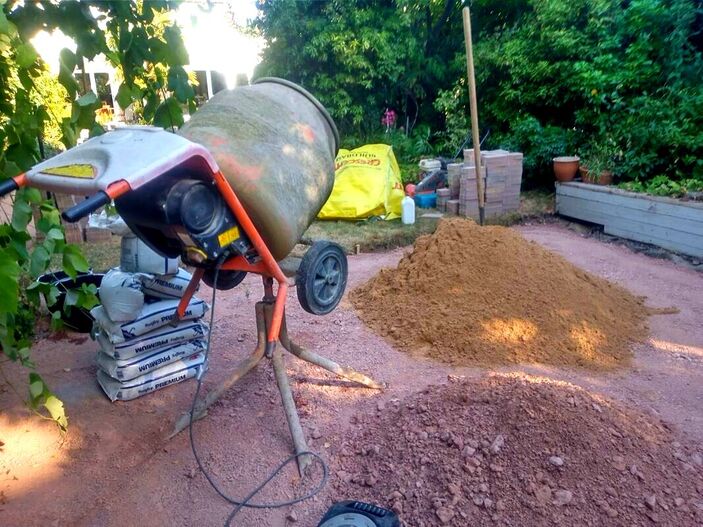
Get all of the materials you need to do the concrete mixing in a controlled area near the sideway. Concreting is a messy business which can stain walls and patios. It is a good idea to cover mixing areas with sheets or where there is no threat of staining.
Before you start mixing concrete make sure there is no threat of rain for the next 24 hours.
Step 8.
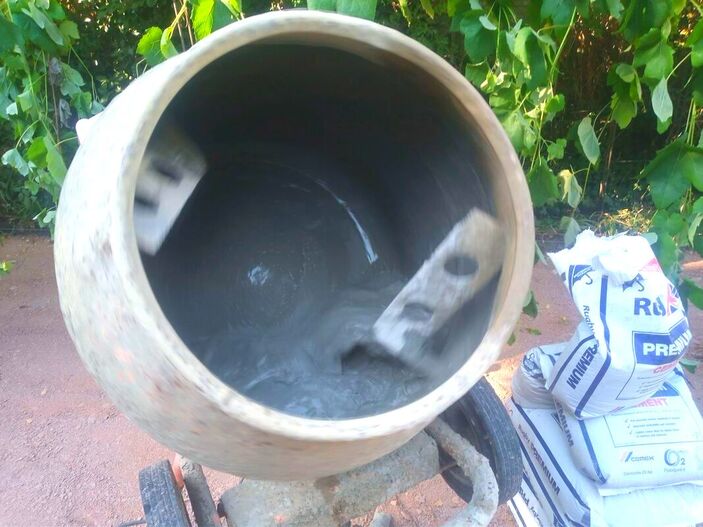
Using a cement mixer, mix up 1 part dry cement to 5 parts ballast. Firstly add half a bucket of water to the mixer and then half a bag of cement. Let it spin until all the clods have dissolved, keep adding more water if it is still cloggy. When the cement and water is a runny cream add the corresponding quantity of ballast (around 13 shovels). Keep adding water if the mix becomes claggy but do not put in too much! Too much water will result in the concrete becoming too wet and discharging from the mixer. When your concrete has the consistency of porridge and is well mixed, it is ready to pour. Step 9.
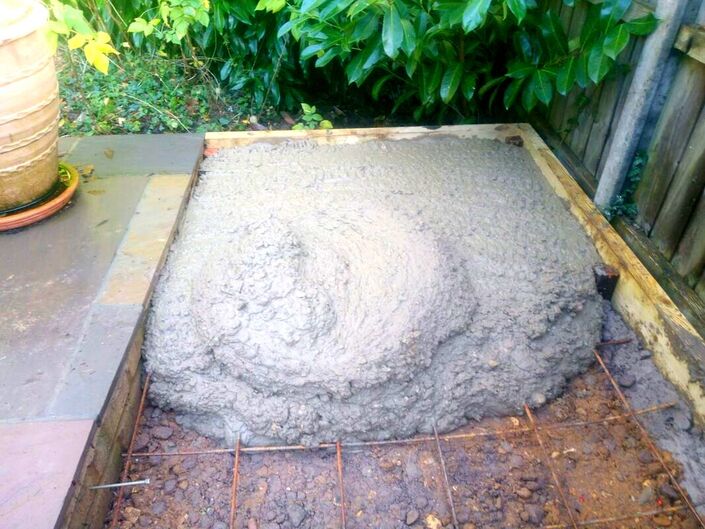
Empty your mixed concrete into a wheel barrow, I recommend only half filling the barrow at first. This will allow you to get used to barrowing concrete with minimum spillages and mess. Start to fill your formwork with the freshly mixed concrete. Step 10.
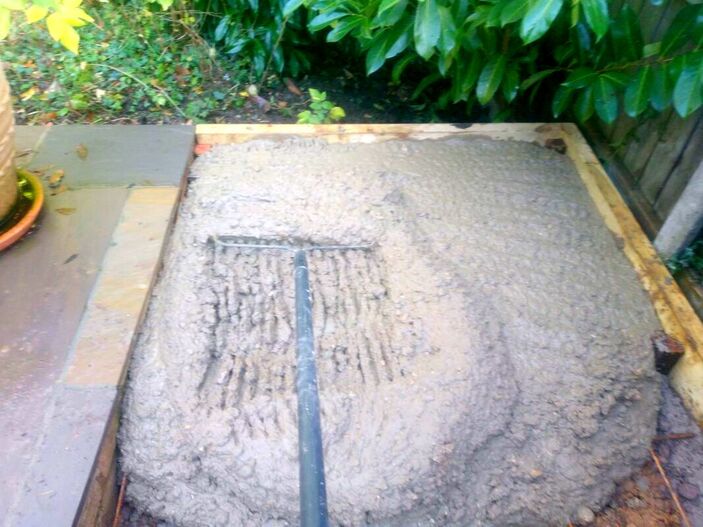
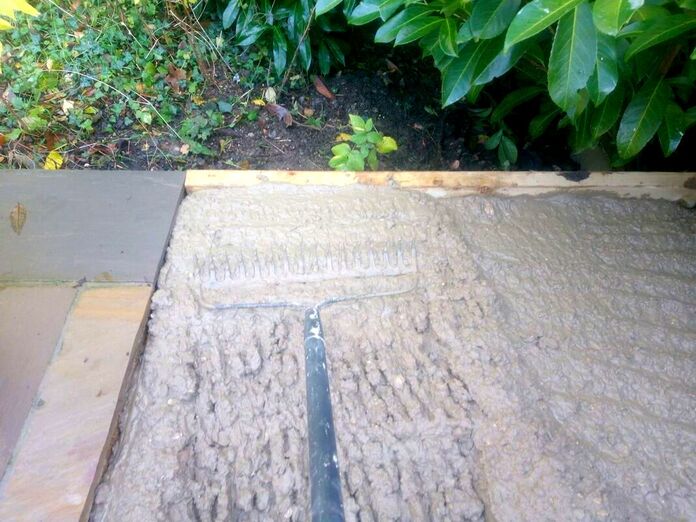
Using a rake, work the concrete so it is slightly higher than the top of the form work. The back of the rake can be used pump the concrete so it settles down with no air pockets. Step 11.
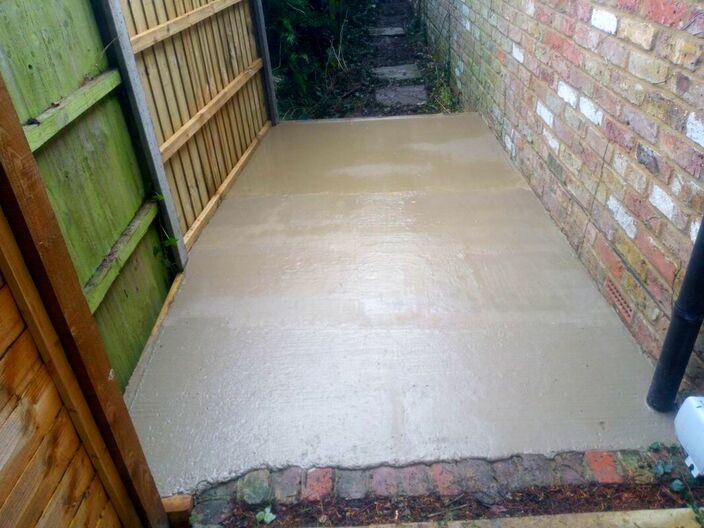
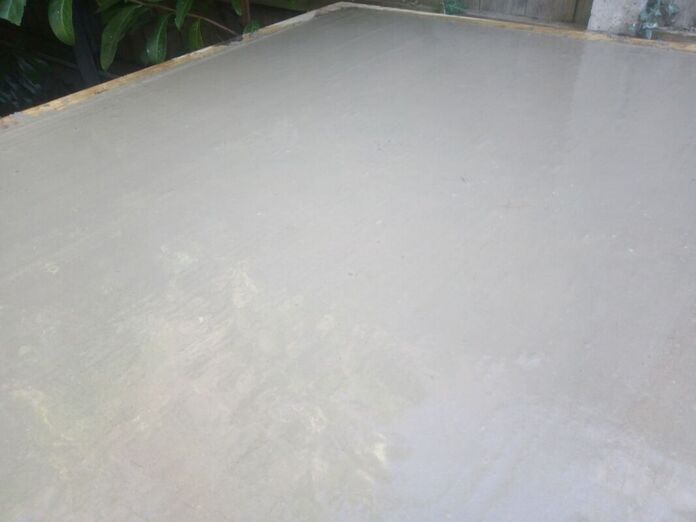
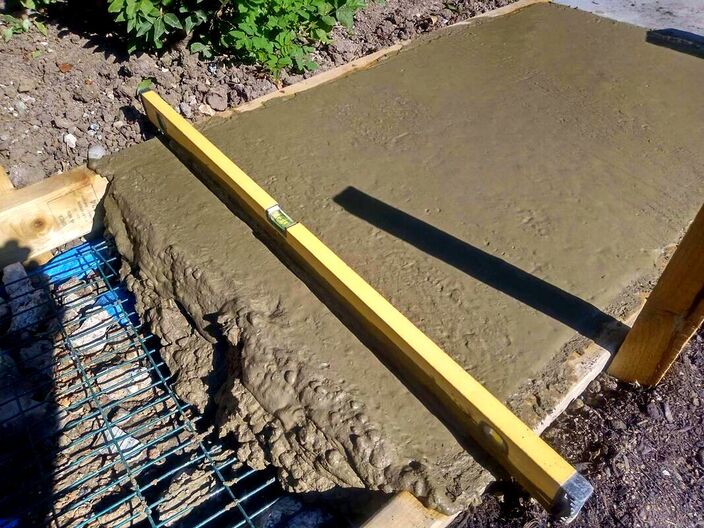
Using a straight edge tamp the concrete to realise a flush and level surface. If the concrete is too high in places scrape out excess with a trowel. Keep tamping until the concrete reaches a smooth finish flush with the top of the shuttering. Step 12.
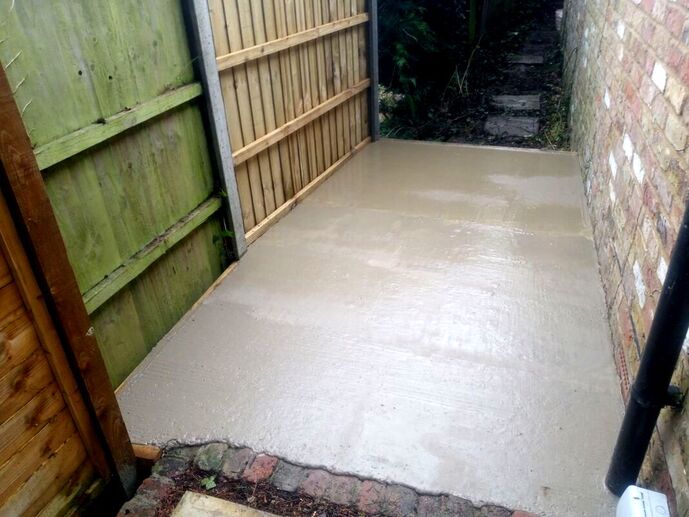
Clean concrete from all your tools so they do not stain and leave the sideway to cure. It is a good idea to leave all pets in the home during this time. If possible, fence the area off so wild animals do not wander over the surface during the night.
You have now successfully concreted your garden sideway! for further information on
how to concrete a sideway check out this other helpful article. Below we have included some other articles which may interest you!
'As an Amazon Associate I earn from qualified purchases'
9 Comments
3/24/2023 02:11:48 am
I appreciate your saying that it is ideal to place your concrete on a surface that won't shift. My sister complains about the uneven pavement in her yard. I'll advise her to choose a decorative concrete installation company.
Reply
3/28/2023 02:14:51 pm
Great post on how to concrete a garden sideway! The step-by-step instructions and detailed explanations provided make it easy for anyone to undertake this project with confidence. The tips on how to prepare the ground, mix the concrete, and apply the finishing touches are particularly helpful. It's also great to see the emphasis on safety precautions throughout the process. Overall, this is an excellent resource for anyone looking to enhance their garden's functionality and aesthetic appeal with a concrete sideway. Thanks for sharing this valuable information!
Reply
4/28/2023 10:46:54 pm
In the course of reading this article, you will acquire a comprehensive understanding of how to concrete a garden pathway. Among the various alternatives that should be taken into consideration are the ones outlined in this link. It is an extremely helpful article, and I would recommend it to others. In the future, I have no doubt that a great number of people will visit this page to read.
Reply
6/9/2023 01:50:01 am
Excellent article! Please continue sharing such delightful content. In case you're in need of expert solutions, be sure to explore...
Reply
9/29/2023 04:02:12 am
I particularly appreciated the emphasis on proper preparation. It's clear that taking the time to plan, measure, and excavate the area is crucial for a successful concrete project. Your tips on calculating the amount of concrete needed and ensuring proper drainage are also incredibly helpful.
Reply
2/20/2024 10:23:19 pm
This guide provides a valuable resource for anyone considering concreting their garden sidewalk.
Reply
5/31/2024 01:03:07 am
This is helpful and interesting, thanks for sharing! The detailed steps for preparing the ground and sub-base before concreting are very useful. It's great to know the importance of a stable base to prevent future problems.
Reply
6/23/2024 11:43:10 pm
Thanks for the info! The detailed guidance on preparing a stable base for concrete, including the use of compactable aggregates like Mot type 1, is very useful for ensuring long-lasting and stable pathways.
Reply
Leave a Reply. |
The Author
|
Landscaping services across Buckinghamshire, Amersham, Aylesbury & High Wycombe
Hyde Heath, Amersham, Buckinghamshire |
|
