This article contains affiliate links
It is very common today to look at concrete paths as old and outdated. However, concrete is still one of the most affordable and versatile building materials.
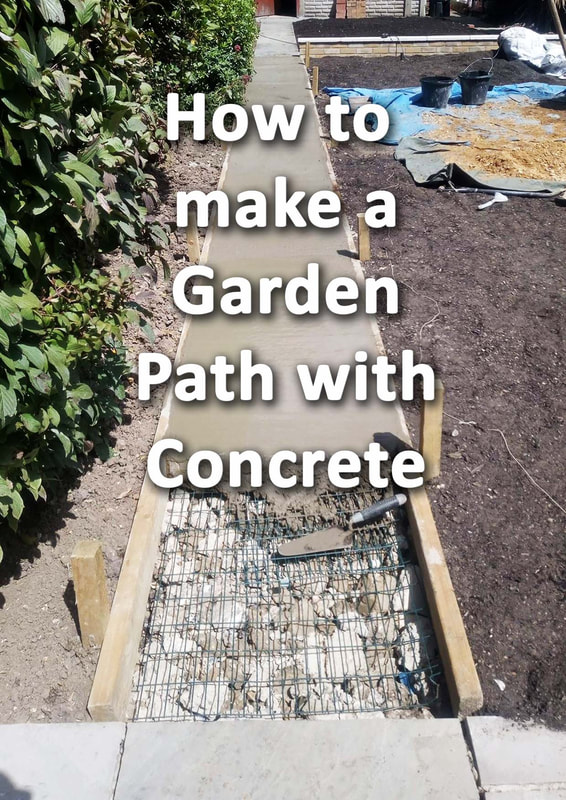
Concrete paths can be moulded into any form or shape including curves and angles. They also do not have to be visually boring as they can be worked into a wide variety of finishes and textures. Other products such as resin bound aggregates and addagrip can also be applied to the concrete paths surface. There are also a variety of dyes, moulds and paints which can alter and adapt the aesthetic qualities of a concrete path. In this article I will show you how to make a garden path with concrete step by step. Can you lay concrete on soil?
Concrete has a very high compressive strength; however it has a very low tensile capability. Any movement can induce cracking and failure. Therefore, it is important that concrete is laid on a solid base of compacted hardcore. This means you will have to excavate out any soft and loose topsoil before laying concrete. Ideally you will need to dig down to a more rigid and robust sub soil. The depth of the excavation will vary depending on your local soil type. However, generally, a depth of around 170mm is normally sufficient. 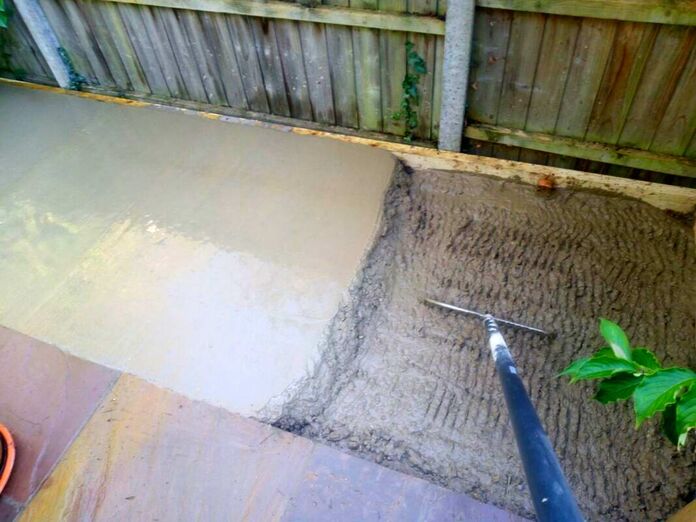
How deep should a concrete garden path be?
Between 4 and 6 inches is about the correct depth of concrete for a path. In metric that is a range between 100 and 150mm. Although in reality the deeper the concrete the better as there is less chance of movement and cracking. I would say 5 inches or 125mm is a good depth of concrete for a garden path. Do you need an expansion joint in a garden path?
For most concrete garden paths you should be able to avoid an expansion joint. However you will need to incorporate metal reinforcing rods or mesh into the concrete. Once a garden path goes beyond 10 metres having some sort of expansion joint becomes inevitable. If you have very stable subsoil and lay at a generous depth you may be ok for a greater distance. My advice is if you really can’t stand the idea of a joint lay the concrete without one. 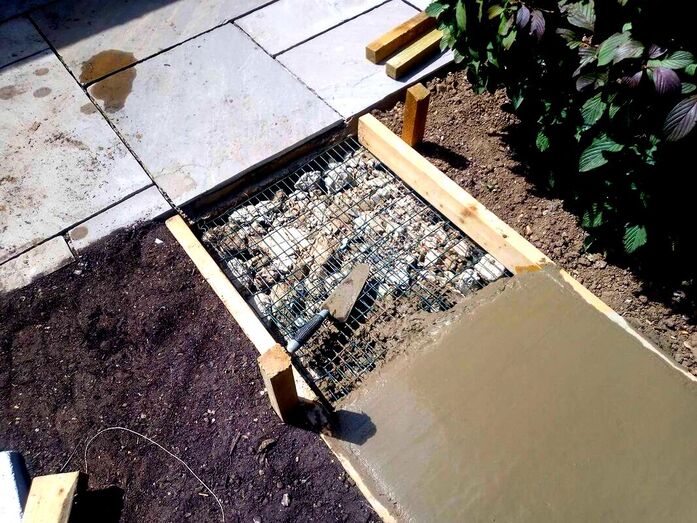
If then it does crack you can cut out a small section later and add one then. Just note if you choose this rout you may not get a consistent colour and finish with newly laid materials.
On the whole the longer distance you wish to go without an expansion joint the thicker and more reinforced your concrete should be. However, I would recommend a joint every 10 metres at most. Expansion joints can be formed with thin ply board or other external grade and rigid, sheet, material. How to make a curvy garden path with concrete?
The great thing about concrete is it can be formed into pretty much any shape. However it will take skilled labour to instate the formwork correctly. In order to make a curvy, garden path, you will need flexible retaining edgings. The most common materials for these are stainless steel edging and thin timber gravel boards. All curved edgings must be flexible but also robust enough to take the weight of wet concrete. This can be achieved by driving in timber stakes in and around the boards with a sledge hammer. Boards can then be fixed using external grade screws and a power drill. Other flexible edgings can be haunched into position with strong mortar mixes. The wet concrete can then be tamped level with the top of the edgings and towelled smooth. 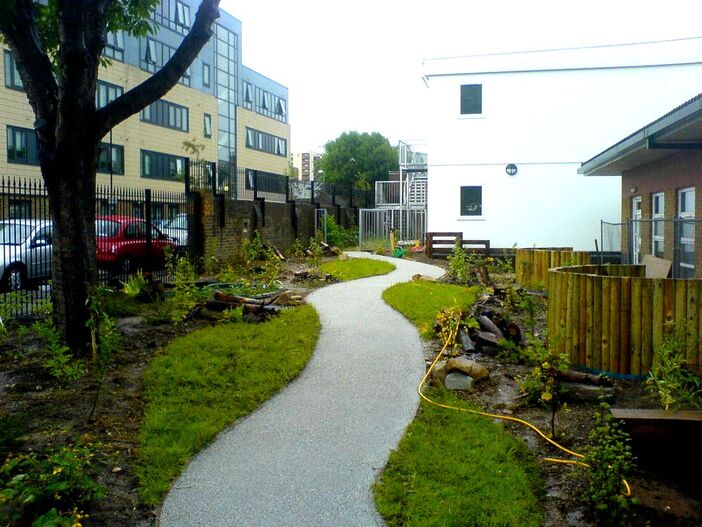
How to make a garden path with concrete step by step
Step 1. Plan the shape, direction and route of your path making sure it is both functional and aesthetic.
Step 2. excavate out any soft soil where the new concrete path is to be situated. This is typically at a depth of about 170mm.
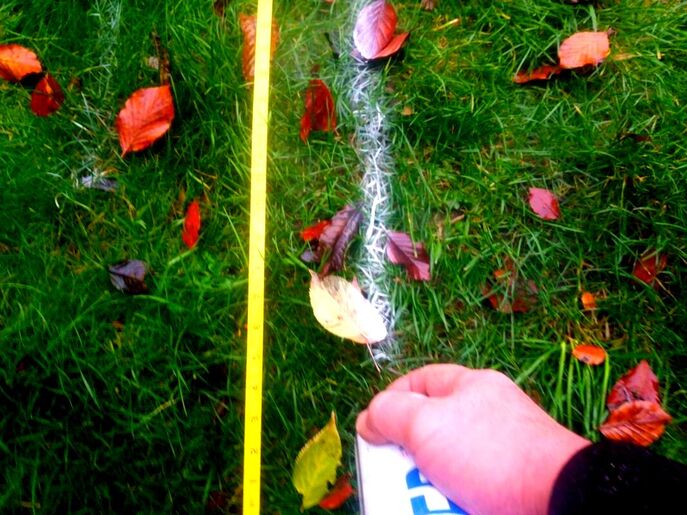
Step 3. Using a string line tightly plot out and realise your finished level. This could be from the level of a back garden shed base to a patio.
Step 4. Using 50mm x 50mm timber pegs peg out to the top of the string line using a sledge hammer. This will enable you see your completed level and mark your concrete and hardcore levels on the timber.
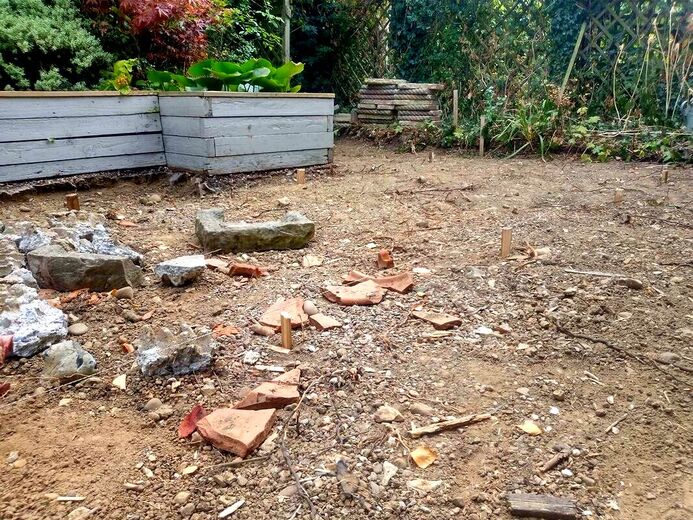
Step 5. Using a pencil or pen, mark your hardcore level onto the pegs. If you are laying 5 inches of concrete the hardcore level will be 5 inches below the top of the peg.
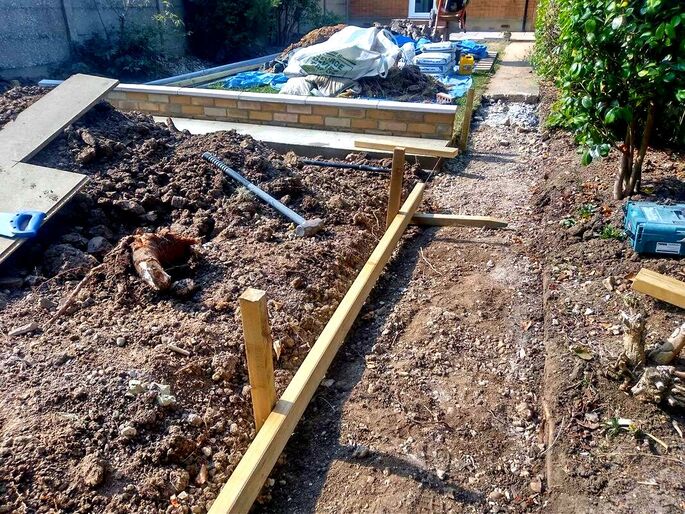
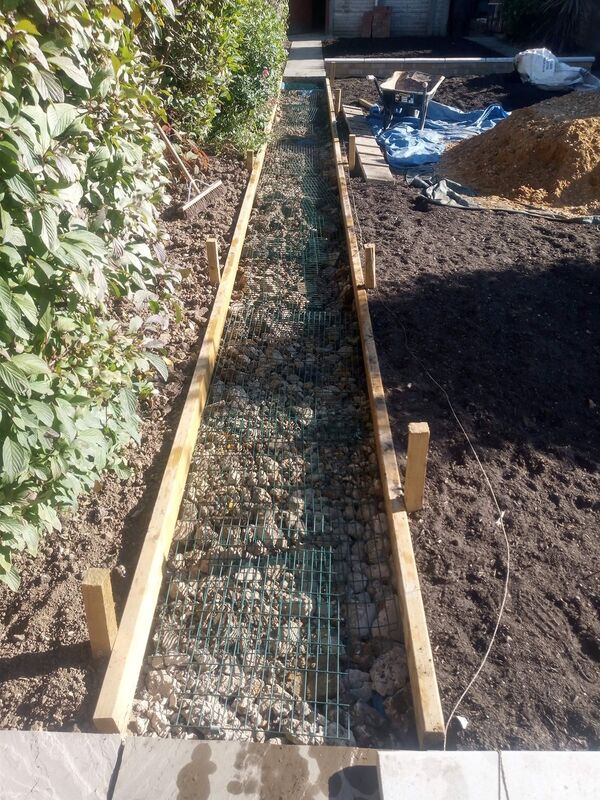
Step 6. install your retaining formwork or edgings these typically consist of timber boards or an edging of some kind. Your formwork or edging level must be consistently flush with the string line or the top of the pegs. This will allow for a consistent gradient with no risk of puddles.
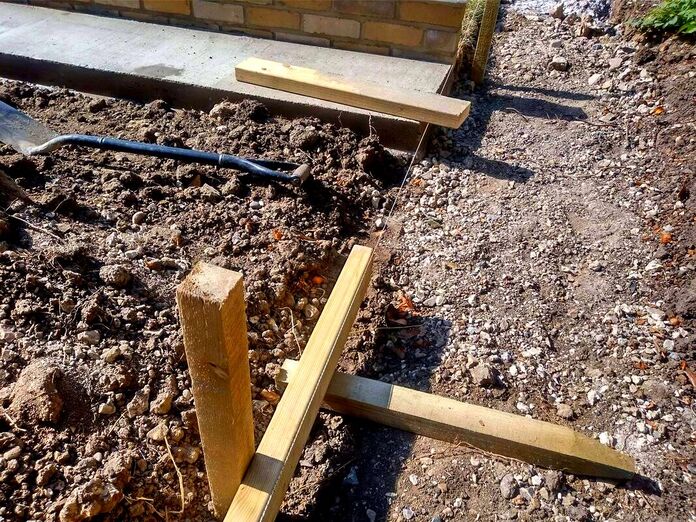
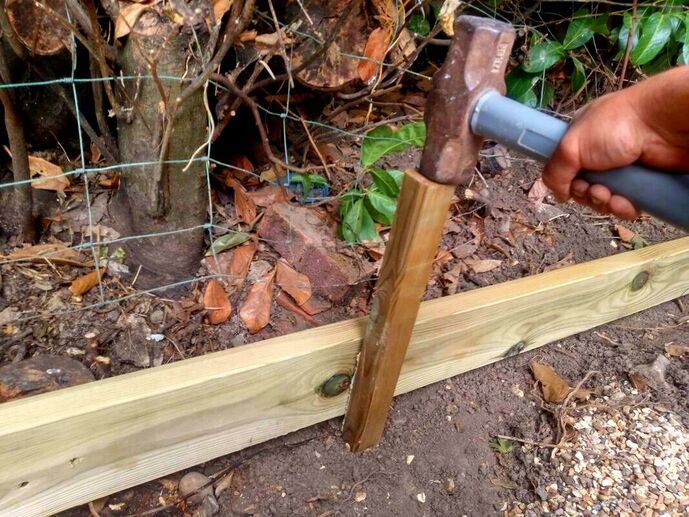
Step 7. Secure your edgings robustly so they can retain the weight of wet concrete. This could be with mortar haunching but also with timber pegs and 6x2 timber like in the example below.
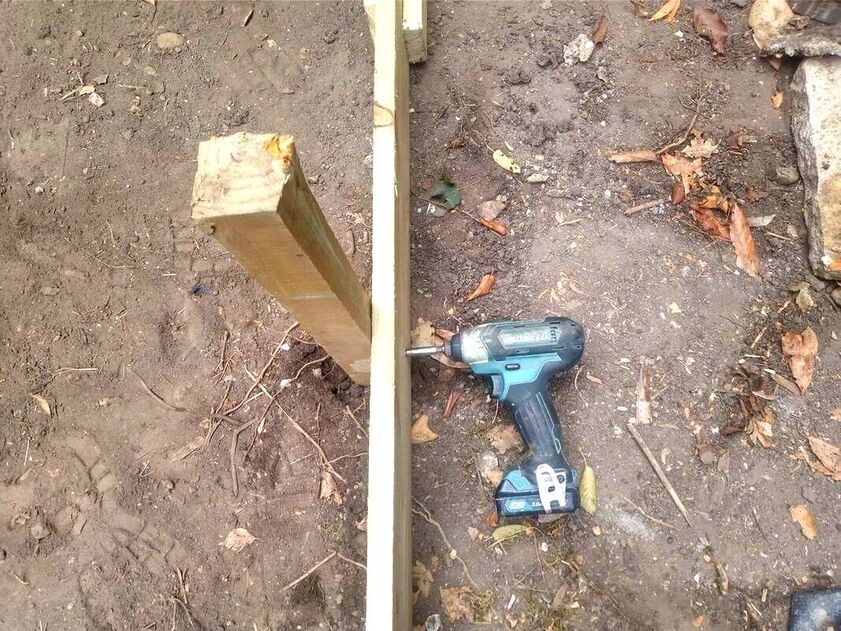
Step 8. apply pressure to your formwork to make sure it doesn’t move under stress. Timber boards can be reinforced and fixed with more pegs and external grade screws.
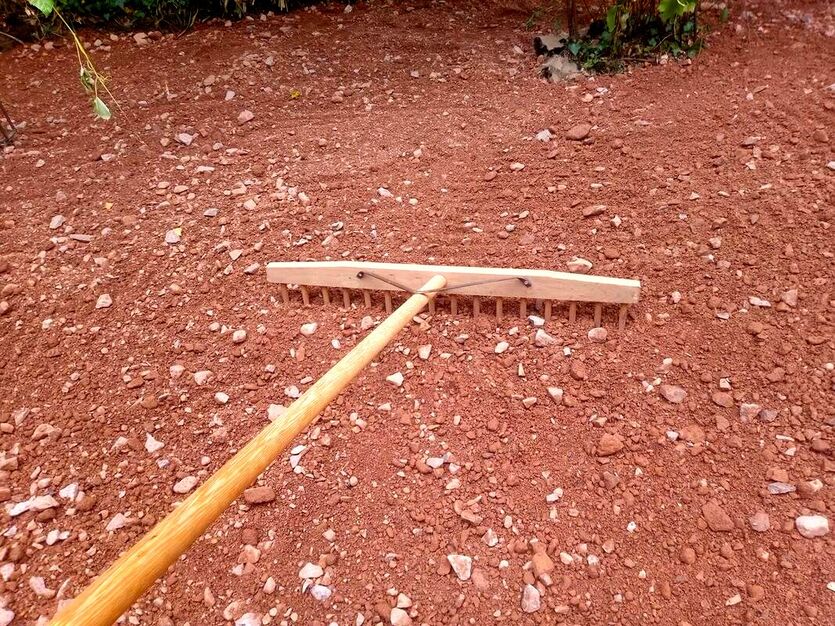
Step 9. Fill your formwork with a base of compacted hardcore and compact. This helps the ground beneath to bond well to the concrete. Here you can spread old masonry materials like bricks and concrete as long as they are well broken up. However, the best material for this is mot type 1 compactable hardcore.
Step 10. Install reinforcing if necessary, this can be done with metal, reinforcing mesh or any ridgid wire mesh. In the example below I used an old waste egloo chicken run wire mesh. Try to elevate you mesh up so it sits within the centre of the concrete.
Step 11. work out how much concrete you need. For this you will have to measure the surface area and times it by the depth.
Make sure you get the decimal point in the correct place! There are online calculators which can do the calculation for you. However, for example, if you have a path which is 1 metre wide and 10 metres long that will be 10 square metres. If you’re concrete depth is 5 inches or 125mm the calculation is: 10 X 0.125 = 1.25 This means you will need 1.25 cubic metres of concrete for the concrete path. A cubic metre is about two jumbo bags. Bear in mind you should always get a little bit more than what you need to do the job to avoid running out. Therefore you will need about 3 bulk or jumbo bags of ballast to do the concreting. I always allow 6no 25kg of cement for every jumbo bag so you will need 18 bags of cement. 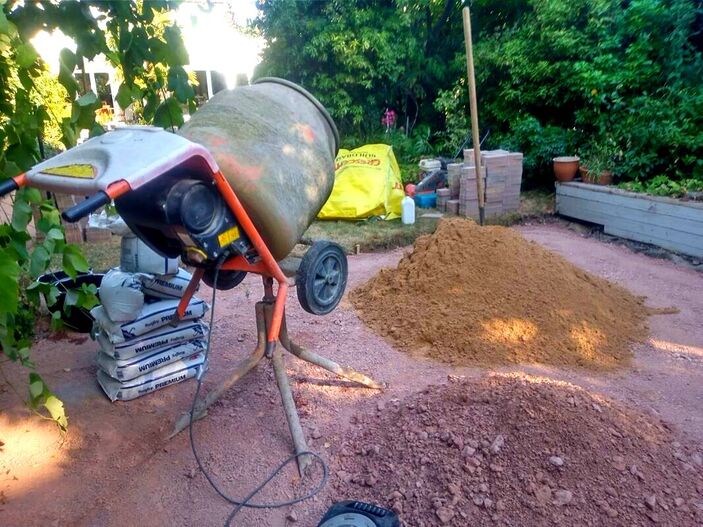
Step 12. Mix your concrete, to get a ratio of 5 parts ballast to 1 part cement, mix half a bag of cement 12.5 kg to about 12 shovels of ballast.
Put two thirds of a bucket of water into the cement mixer and turn it on. Add half a bag of cement and let it turn until all the clods have become soluble with water. Shovel in the sand gradually so it mixes well and allow mixing for at least 1 minute. Your concrete should have the consistency of porridge. It should not be too wet that it runs like water and stiff enough to work with some water on the surface. 
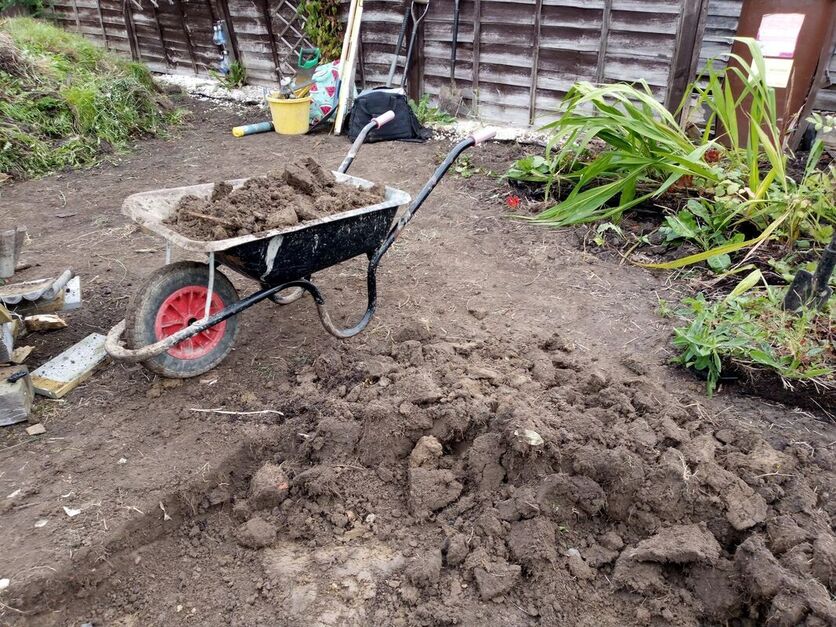
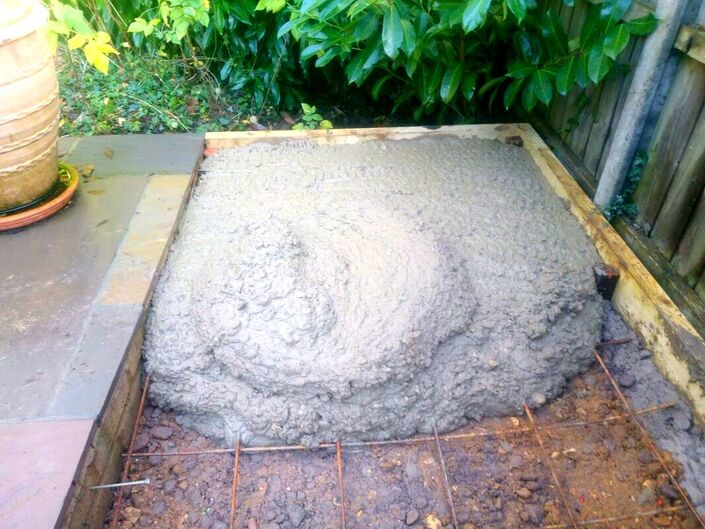
Step 13. Pour your concrete into a wheelbarrow and tip it into your formwork. Using a rake, spade and trowel move about the concrete until it is slightly above your retaining edgings and formwork.
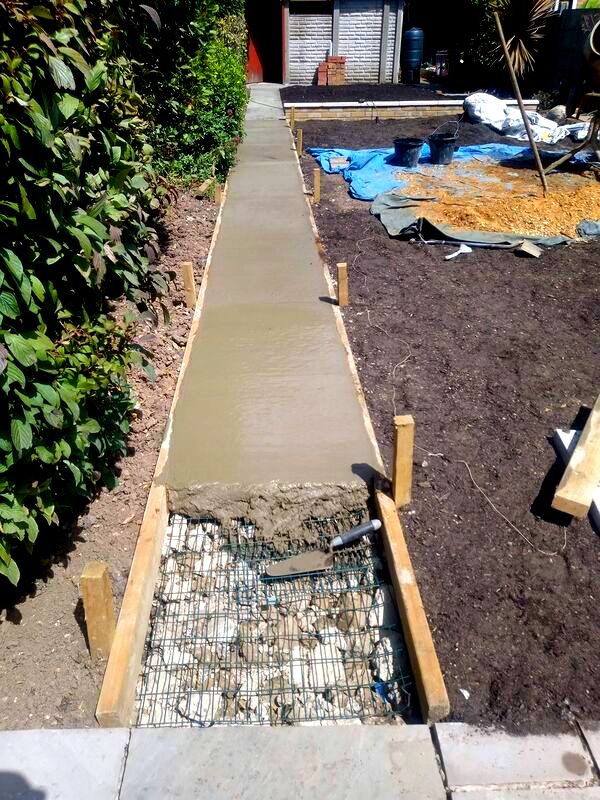
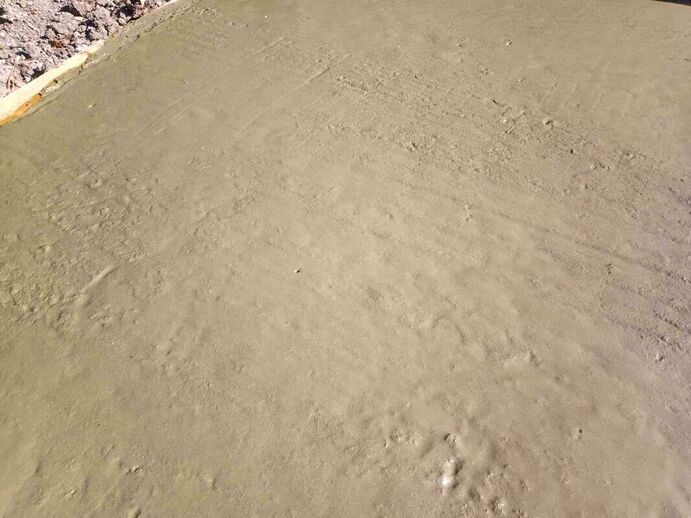
Step 14. tamping. Using a clean straight edge like a piece of timber or long spirit level, start to tamp the top of the concrete.
This will work the wet cement or ‘cream’ to the top and allow you to work a consistent and smooth finish. You may need to drag back some concrete as you work so your finished level is not above your edgings. This takes some practice but is quite fun and you will enjoy the process ‘very satisfying’. 
Step 15. Finishing. To get a consistent finish to the concrete vibrate and bounce your straight edge over the surface. As the concrete bounces angular particles will shuffle and become densely packed. This will make the strong cement cream come to the surface making it easy to work to a smooth finish.
Step 16. Curing. Make sure that nothing disturbs the concrete once you have a good finish. Cats should be kept inside for a few hours and make sure there is no rain in the forecast for at least 12 hours. Make sure all tools and edgings are clean of excess concrete so they do not stain.
Please note.
If you are concreting a garden path in summer make sure the concrete does not dry out too quickly. This can lead to improper curing and a weak, crumbly concrete. If you have to concrete in such conditions lay plastic under your path and make your mix slightly wetter. This will prevent moisture being drawn out too quickly disrupting the curing process.
Thank you for reading our article on how to make a garden path with concrete. How did you concrete path project go? Please feel free to comment below or email me questions regarding your particular project.
'As an Amazon Associate I earn from qualifying purchases'
0 Comments
Leave a Reply. |
The Author
|


Landscaping services across Buckinghamshire, Amersham, Aylesbury & High Wycombe
Hyde Heath, Amersham, Buckinghamshire
|
|