|
This article contains affiliate links
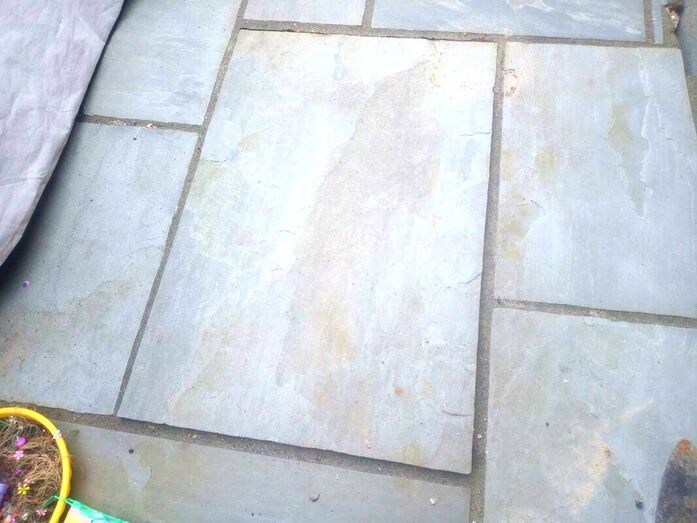
Not only are loose paving slabs an eyesore they can also be a hazard. If paving is becoming loose it is typically a part of a progressive trend.
The more rocking slabs are walked upon the looser they become. Therefore it is really essential you repair any loose paving slabs which appear on your patio. The key to repairing, rocking pavers is to diagnose the cause correctly from the outset. In this article I will explain the common causes of loose paving slabs, how to diagnose the issue and how to repair them. Why has a paving slab on my patio come loose?Insufficient base
A very common problem which causes loose paving slabs is an insufficient base. This normally means there is not enough compacted sub-base to mitigate any movement within the ground. Over time, loads applied to the paving creates cracking and movement. The tell tale signs of an incorrect base are multiple cracks throughout the surface and sinking. Poor bonding
Poor bonding is an inability for the mortar to stick onto the paving tightly. This issue can normally be traced back to the laying process. Some more impervious types of paving such as slate and porcelain have more trouble sticking to mortar. This is because the mortar mix has greater difficulty absorbing into the paving. Consequently bonding agents should be added to mortar when laying such paving. Poor bonding can also occur when the mortar is too weak or too dry to form an adequate suction seal. If the underlying mortar looks very sandy and crumbly then poor bonding is likely to be the cause. Less than 90% contact with mortar
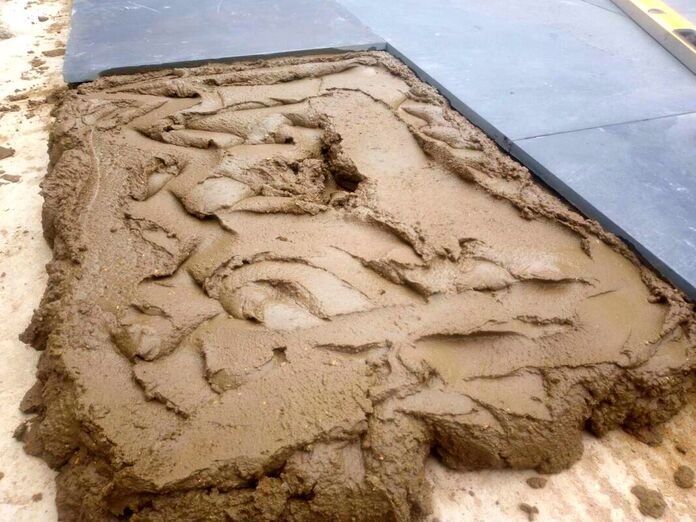
By far one of the most common reasons for loose paving slabs is not having a solid and consistent mortar bed. Mortar beds should have a minimum contact with the paving of around 90%. Dobbing paving slabs with voids under them will lead to rockers and loose paving. If you’re paving has circular dobs of mortar at the corners and the centre it has been dobbed. Disturbed during settingIf paving is disturbed during the setting process it can break the seal between the slab and mortar. The most typical cause of this is the paving being walked upon during setting. If your paving slab produces a slight tapping sound when walked upon the disturbed setting is often the cause. Laid upon sand
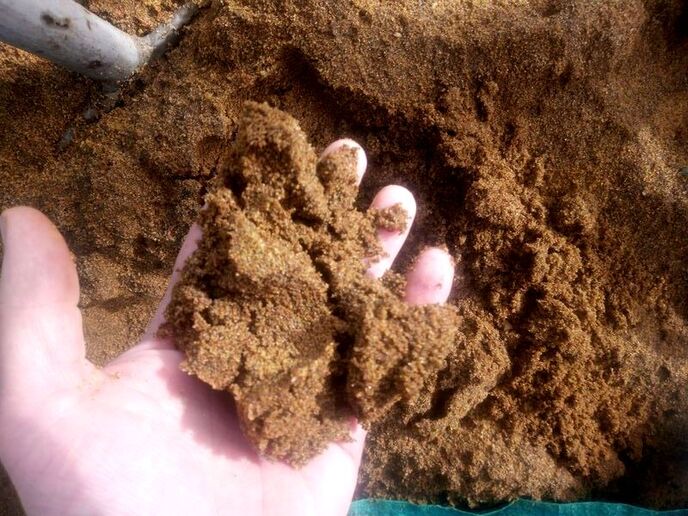
Sand is not a suitable base for paving slabs as it can displace under heavy loads. Sand can easily become penetrated by roots which can expand and cause loose paving. It can also easily mix with surrounding soil over time leading to movement. If you have sand under your paving it is no surprise it is loose. Tree roots
The roots of large trees can break through the toughest of paving bases. If your paving is rising in a linear pattern it is very possibly caused by tree roots. Freeze and thaw
Paving with broken pointing and large voids around mortar are vulnerable to freeze and thaw action. Water penetrates the paving’s surface and during freezing temperatures expands. This leads to eventual cracking and paving becoming loose. Ground saturation
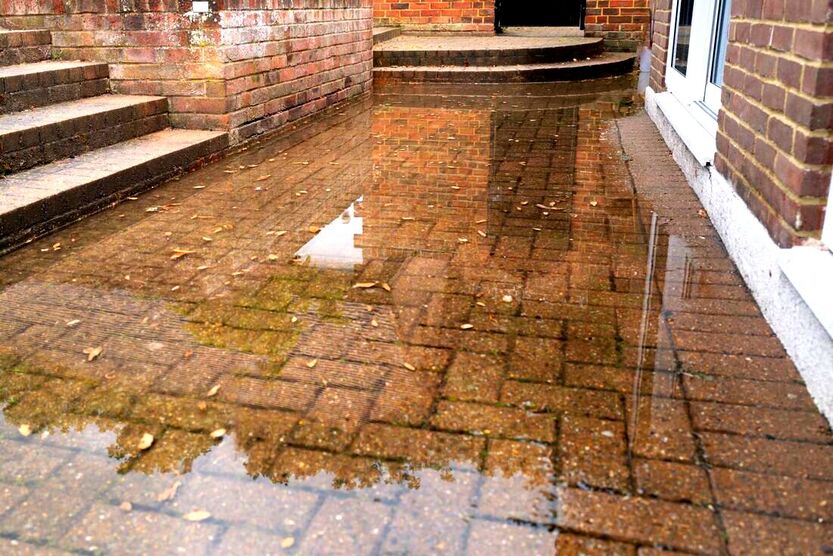
Underlying saturated and boggy ground can lead to movement under your patio. Furthermore, seasonal fluctuations in ground moisture in sub soils such as clay can cause a lot of movement. This can lead to paving slabs becoming loose and undulated. If you have boggy soil in winter and dry, cracked ground in summer this can be the cause of loose pavers. Why has a paving slab on my patio cracked?
Paving slabs being relatively thin and made of either concrete or stone do not have much flexible strength. Therefore, they are capable of cracking if unequal forces are placed upon them. This should not be a problem if they are laid with a consistent mortar bed and a robust sub-base. However, the circumstances listed below could be the reason your paving is cracking. 1. Excess tamping when laying
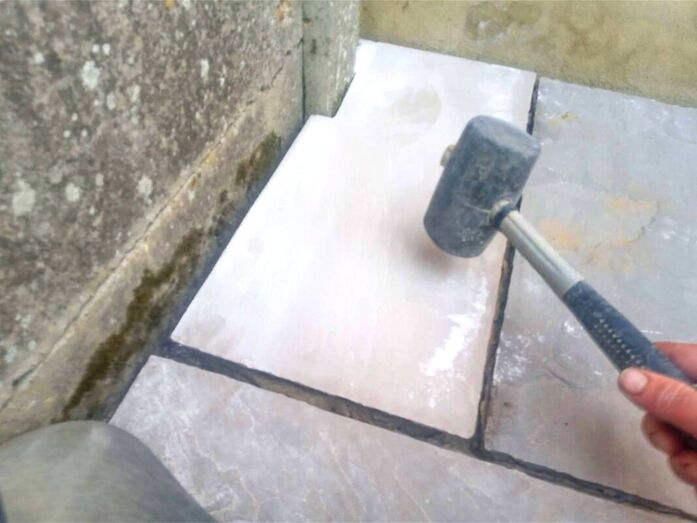
Paving contractors regularly tamp down paving into position with rubber mallets. Too much heavy tamping can lead to hairline cracks within the paving as it is being laid. As the paving ages any movement in the surrounding surface can lead to cracking. Insufficient base
If paving has been laid on an insufficient base ground movements can lead to pavers cracking. Heavy impacts
If paving has been impacted with a dense and heavy load this can lead to cracking. If your paving has been laid with an unsuitable base or mortar bed the risk of this increases. Less than 90% contact with mortar
If you’re paving has large voids within the mortar bed this can greatly increase the chances of cracked paving. This is especially so if your paving is subject to heavy traffic or continuous use. Impurities in paving
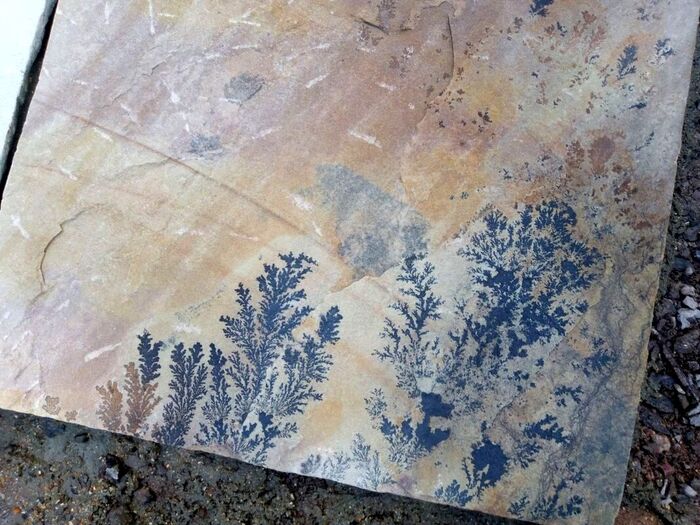
Some paving can have impurities within their material make up. This is much more relevant with natural stone although it is rare. Natural stone can have grains of less dense stone which could cause cracking. Most quarries and suppliers however do have quality control procedures to mitigate this risk. How to repair a loose paving slab step by stepStep 1: Check the surrounding levels
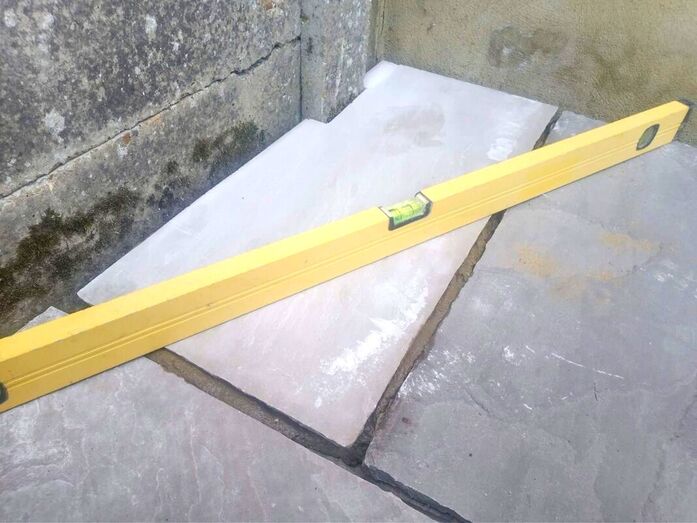
One of the first steps in diagnosing why your paving slab is loose is surveying the surrounding levels. Place a long spirit level across and over the slab to try to identify any level changes. If the underlying base is unsound you may discover undulation or abrupt level changes. Also look for cracking around the affected area. Step 2: Lift the loose slab
Using a hammer and chisel, lift up the paving by tapping the chisel head into the corners. When the chisel has penetrated into the mortar, use leverage to lift up the paving slab. Step 3: Inspect the underlying base
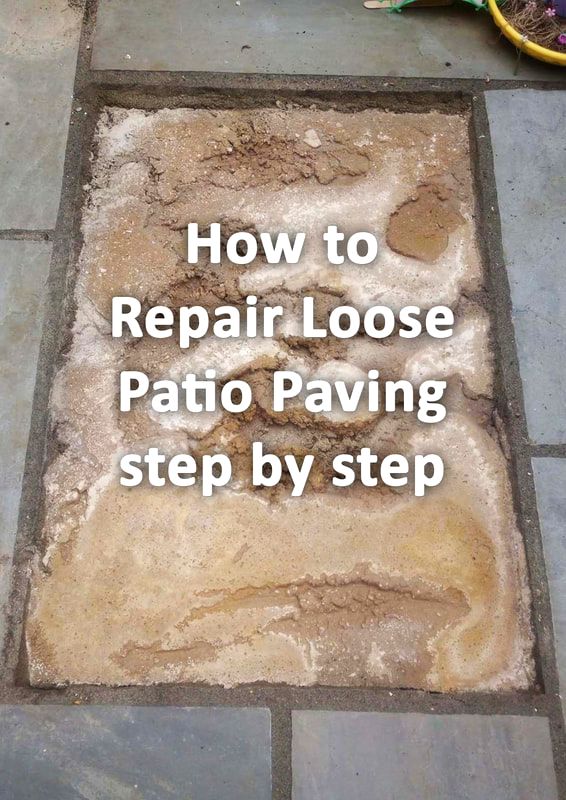
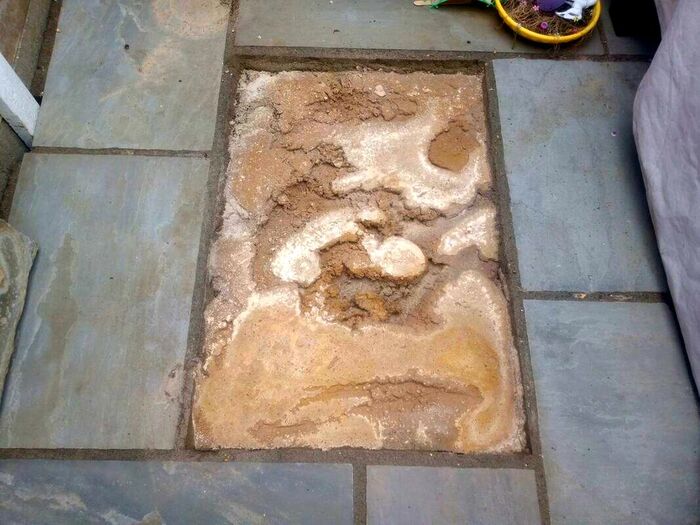
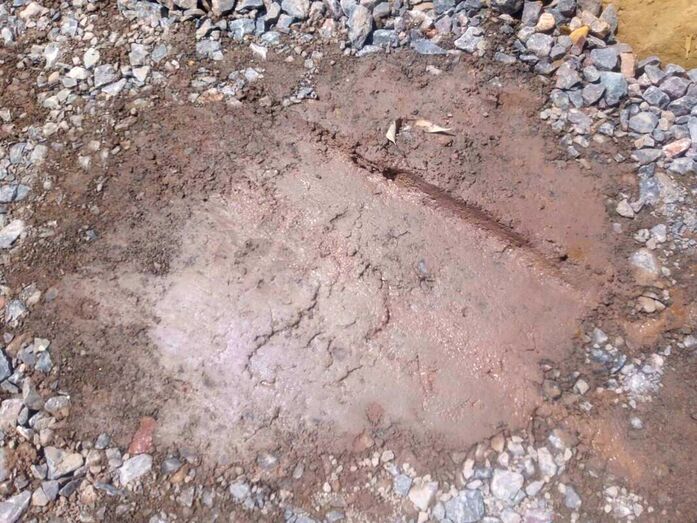
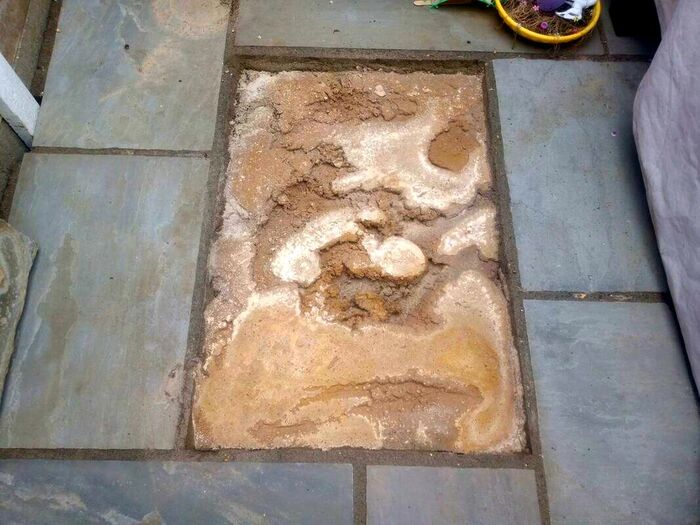
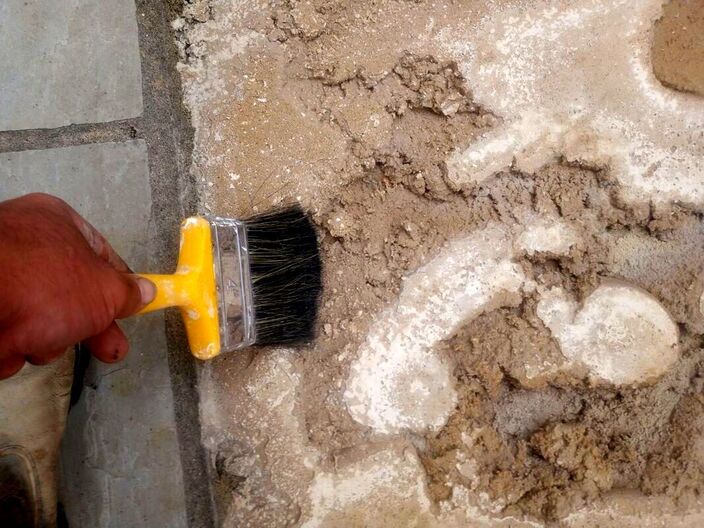
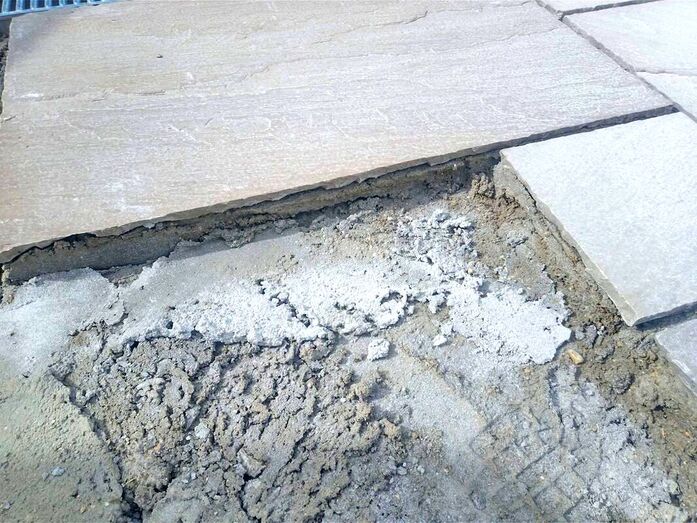
Inspect the base of the slab, is it a consistent mortar base? Are there large voids under the paving? As shown in the example below the slab has a reasonable mortar bed but there are considerable voids. Also check for crumbly weak mortar, if the mortar is crumbly you must remove it and re-bed the slab. Step 4: sweep away any dust or debris
Using a hand brush remove any dust or debris from the mortar bed. It is also a good idea to rinse the base with water to wash out any dust. Step 5: fill mortar voids
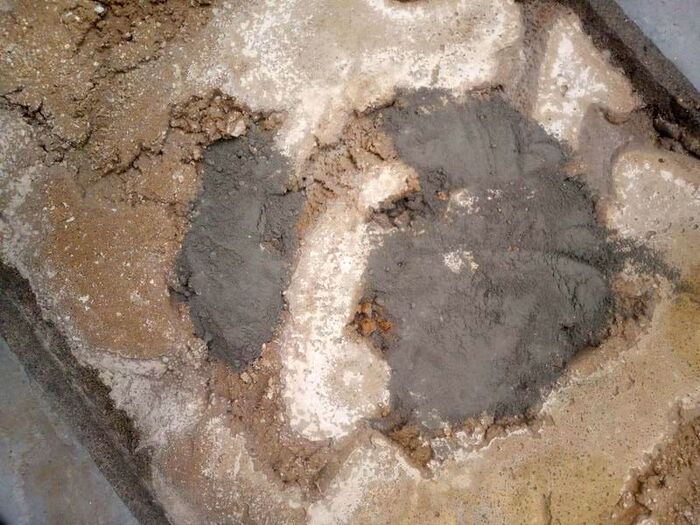
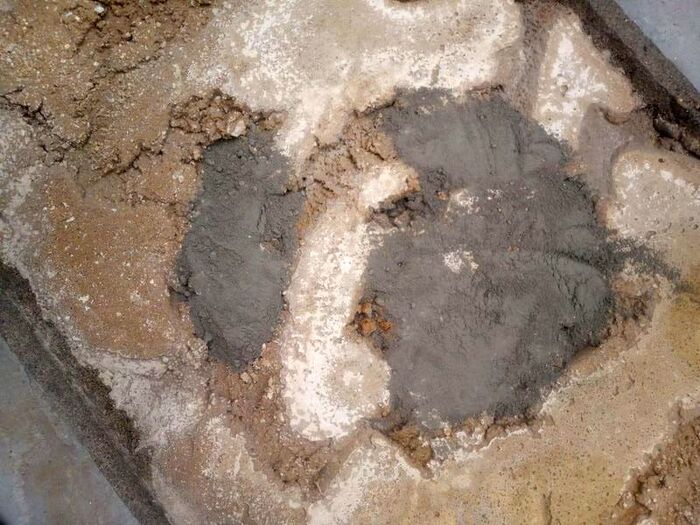
Mix up a 1:4 sharp sand to cement mortar mix to the consistency of brick laying mortar and fill in any voids. Step 6: Create a bonding cement paste
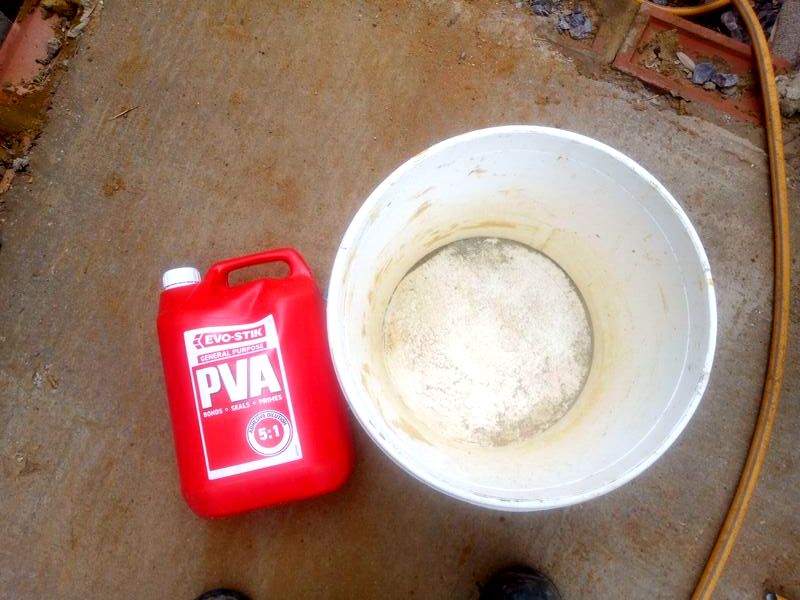
Dissolve about a mug full of water in a bucket with a little dribble of PVA. Mix the solution well so the PVA is well dissolved. Slowly add rapid setting cement to the bucket until you reach a consistency of double cream. Step 7: Dampen the mortar bed
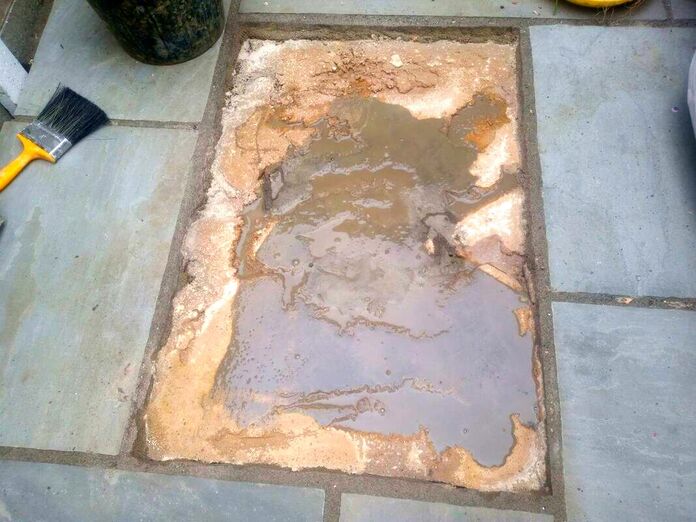
Gently dampen the mortar bed with some water and a brush. You don’t want any standing water on the mortar bed, just enough moisture to dampen it. Step 8: Apply the slurry
After a quick whisk, gently pour the cream like mixture over the mortar bed. You don’t want to overdo it here, just pour enough to coat the mortar bed. Spread out the cement cream with a hand trowel so it coats the whole mortar bed. Step 9: Replace the paving
Gently replace the paving slab in the same position in which it was lifted. Using your hands apply pressure to the paving slab so it makes good contact with the mortar bed. You should see cement cream bubbling up around the paving. Step 10: Clean off excess cement cream
If any cement cream gets onto the surface of the paving you must wash it off immediately! Otherwise you will stain your patio! With a bucket of water and a hand brush wash off any excess cement or spillages thoroughly. Step 11: leave undisturbed for curing
Now you have replaced the paver make sure nobody walks on it for 24 hours. You can leave an upturned wheel barrow over it or tape the area off. You may need to re-grout the paving slab when it is cured.Visit our article on how to re-grout patio paving here.
How to repair loose paving laid on sand or inadequate base workIf you have crumbly, weak mortar under your loose slab, sand or an inadequate sub-base, follow the instructions below. Step 1: Lift the loose paving
Using a hammer and chisel, lift up the paving by tapping the chisel head into the corners. When the chisel has penetrated into the mortar, use leverage to lift up the paving slab. Step 2: Excavate out sand or soil
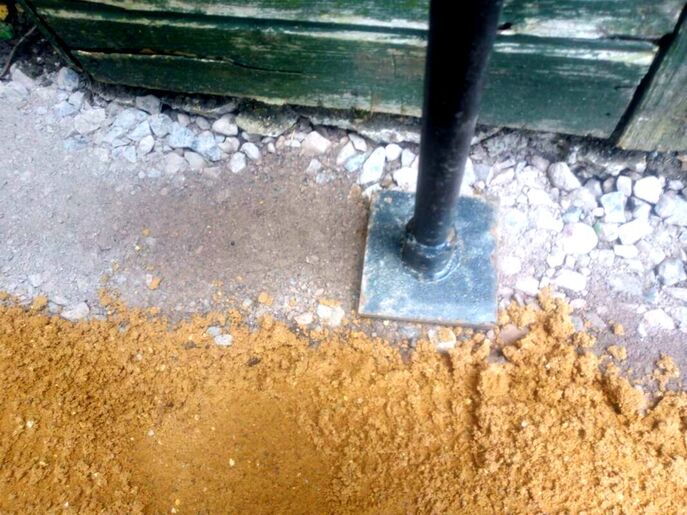
Excavate out the slab area to a depth of 150mm. Make sure you make the excavation consistently square with no loose soil at the base. Step 3: Add compactable sub-base
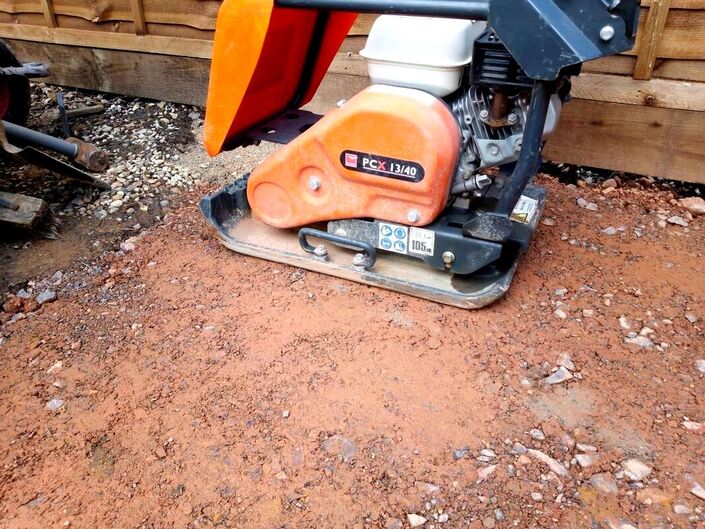
Add a compactable sub-base material such as Mot type 1 to the excavation and level 40mm from the top. Using a tamper then compact the sub-base well until it is well compacted. Step 4: Mix up mortar
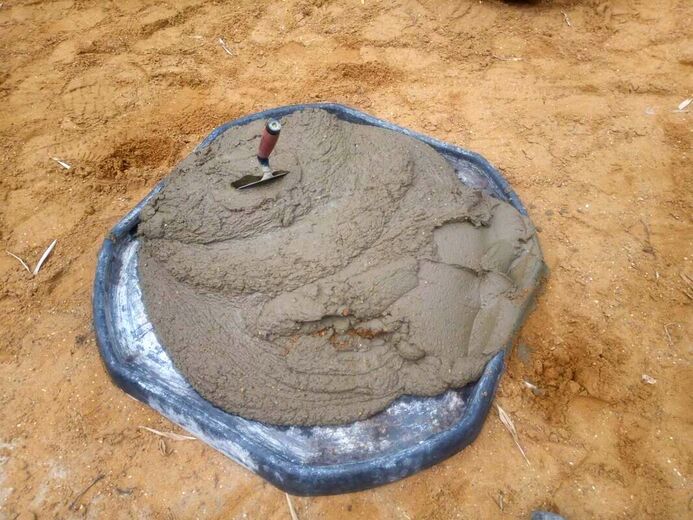
Mix up your slab laying mortar with a 1:4 sharp sand to cement mix. It is also a good idea to add some PVA bonding agent and plasticiser. The mix should have the consistency of a thick and stiff brick laying mortar. Step 5: Re-lay paving
Using a hand trowel lay the mortar onto the compacted hardcore; create peaks and valleys in the mortar so the slab will bed down gradually. This will help you to gently tamp down the paving flush and level to the surrounding pavers. Make sure the slab has a thick and consistent mortar bed under the slab Step 6: repair broken pointing
When you have allowed 24 hours for the slab to set, re-grout the paving slab. For a full guide on how to re-grout a patio visit our step by step guide here. Thank you for reading our article on how to repair loose paving slabs. Below I have linked to some other paving articles you may find useful for relaying paving.
'As an Amazon associate I earn from qualifying purchases'
0 Comments
Leave a Reply. |
The Author
|
Landscaping services across Buckinghamshire, Amersham, Aylesbury & High Wycombe
Hyde Heath, Amersham, Buckinghamshire |
|
