|
This article contains affiliate links
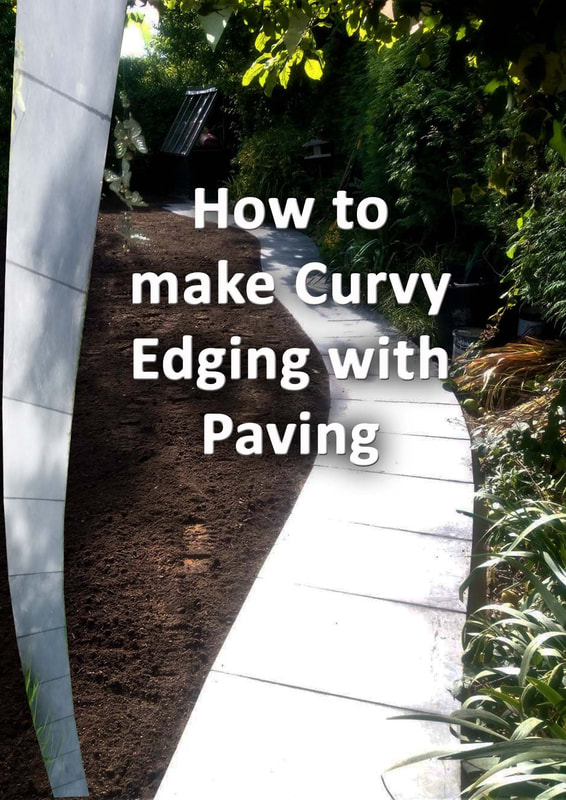
The structure of any garden design is defined by its lines and transitions within the landscape. Paths, patios, lawns and edgings all define the experience of an outdoor space.
In a world which forces orderly squares upon us curves celebrate the randomness of nature. The challenge is most garden elements are square; garden plots are typically square, timber, pavers and edgings are square. Consequently, the desire to create more organic lines within our gardens is abundant. However, creating curves with square materials can require some imagination and skill. As edgings add shape and structure our gardens I will explain how to lay edging in curves. With some simple preparation and careful cutting you will be able to create any curved shape you desire. In this article we will show you how to cut square edging blocks and paving into perfect curves. Why install curvy edging?
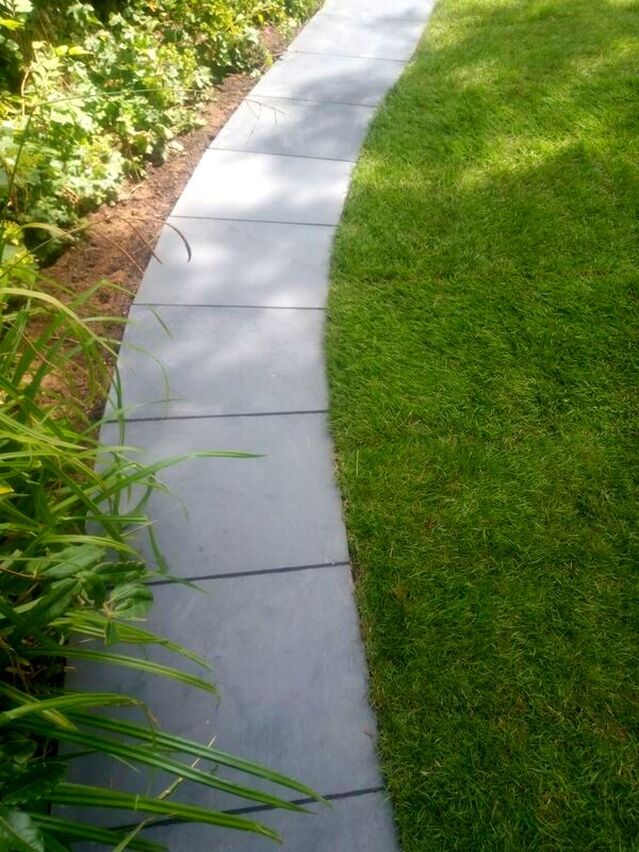
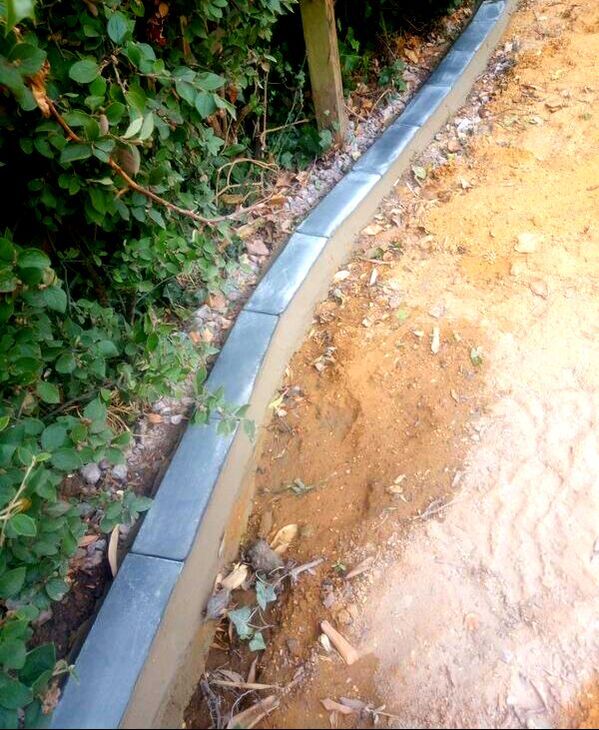
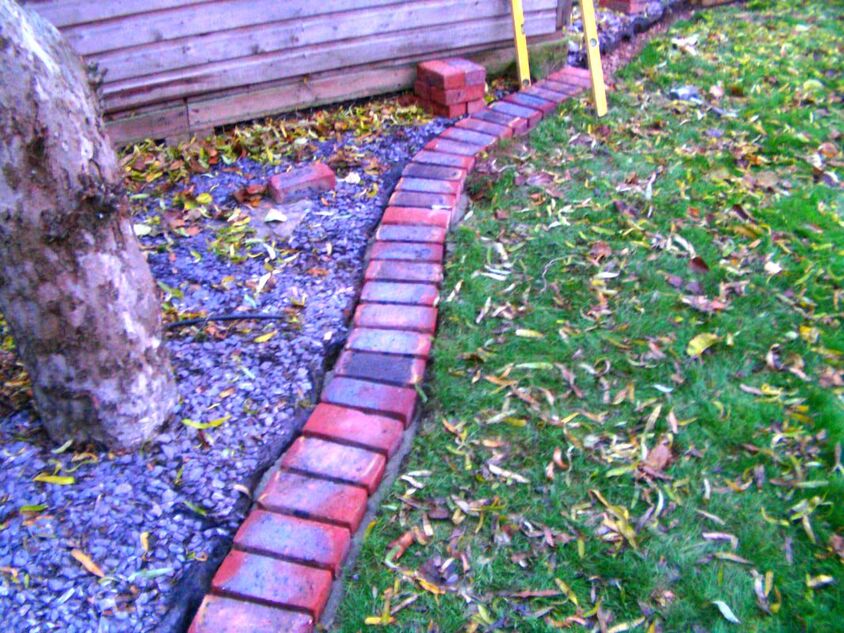
Most garden spaces and surfaces require some form of edge or border. Gravel needs retaining edges and lawns also need defined edges so they do not spread into borders. Therefore curved edging can be a vital part of realising an organically shaped garden design. Curvy edging can create a real visual flow and excitement to a garden space. How to make curved garden edging with square paversIn the case study below we will demonstrate how to make curvy garden edging with square pavers. The best way to execute this is by implementing the correct preparation. First you will need to mark out the exact curves you want with either a spray or garden hose. Then you will need to excavate for your sub-base with a very neat and tidy trench. Once this is filled with compactable sub-base and compacted you are ready to lay curved pavers.
The best way to cut your square pavers into curves is set them out overlapping at the edges. These diagonal overlaps can be marked on the edges of pavers and then cut.
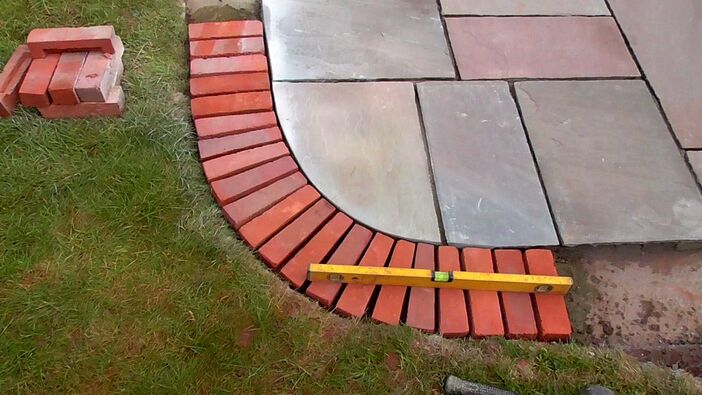
For tighter curves you will need smaller paving units with more gaps. This is why it is easy to lay curves with square setts as they have multiple gaps (joints) each sett can have a slight angle to it to create continuous curves. With larger edgings and pavers however, you will need to cut slight angles to edges to produce curves.
This concept can be seen in the diagram below. An effective way to lay curves with square paving is to set out 4-8 cut pavers at a time.
When you are happy with the curve, lay them on mortar and cut the next batch. Then you can keep going until you have completed your whole run. I will show this process below step by step. Curved edging shopping list
Tools you will need
Make curvy edging with paving step by stepStep 1: Mark out runs for your new edgings
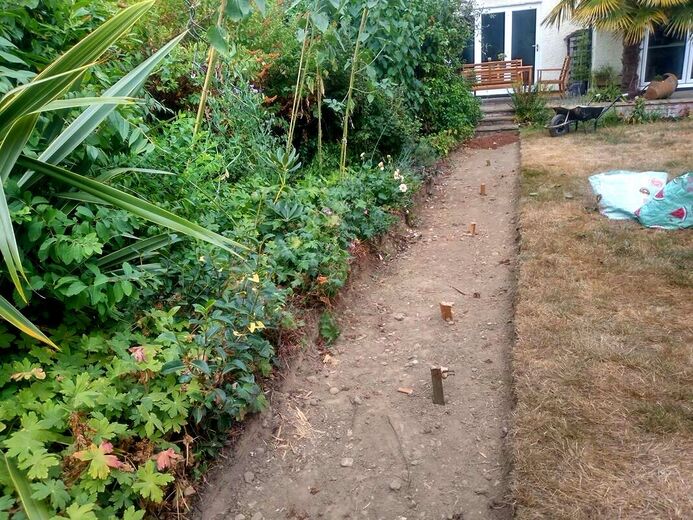
One of the most important parts of laying curvy edging is getting the curves you want correct. The best way to do this is marking out your curves with an old hose pipe and marker spray. When you are happy with your curves you then check your levels. Step 2: Check your completed levelsWhen laying any garden edging it is important to consider your completed levels. For mow strips you may want to follow the existing lawn level as you go for easy mowing. However, most of the time, it is best to lay edgings which are flush and level. The best way to do this is by running a tight string line from your start point to your end point. This will give you an idea of how deep you have to dig or build up to reach your desired level. Step 3: Excavate your mowing strip edgings
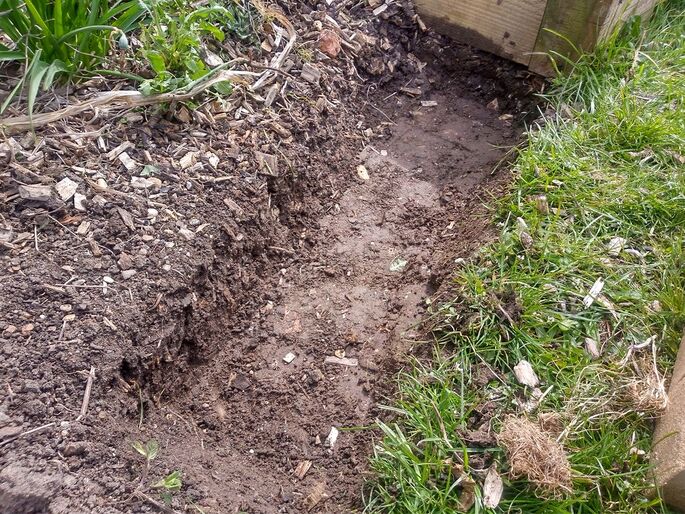
Excavate the soil where curved edgings are to be situated about 150mm below your completed level. Try to dig your foundations about the same width of your edgings and as neat and square as possible. You do not want to excavate too little or too much and leave no loose soil inside the excavation. Step 4: Fill your excavation with sub-base
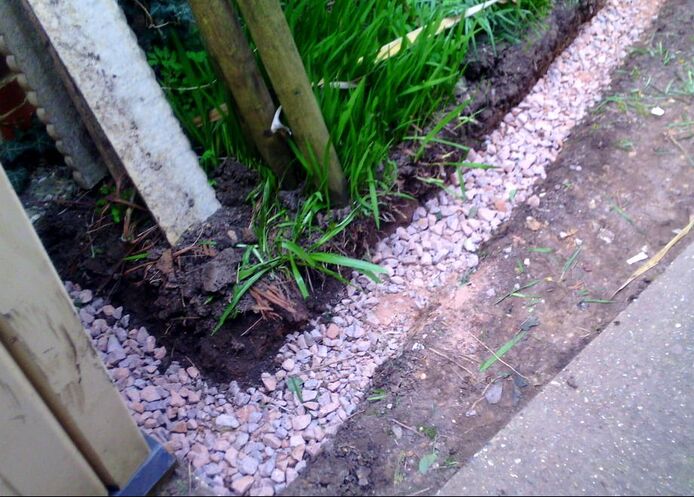
Fill your excavation with a compactable sub-base such as Mot type 1 to a depth of 100mm. Spread the aggregate as evenly as you can and compact well with a tamping bar. Step 5: Set up your working area
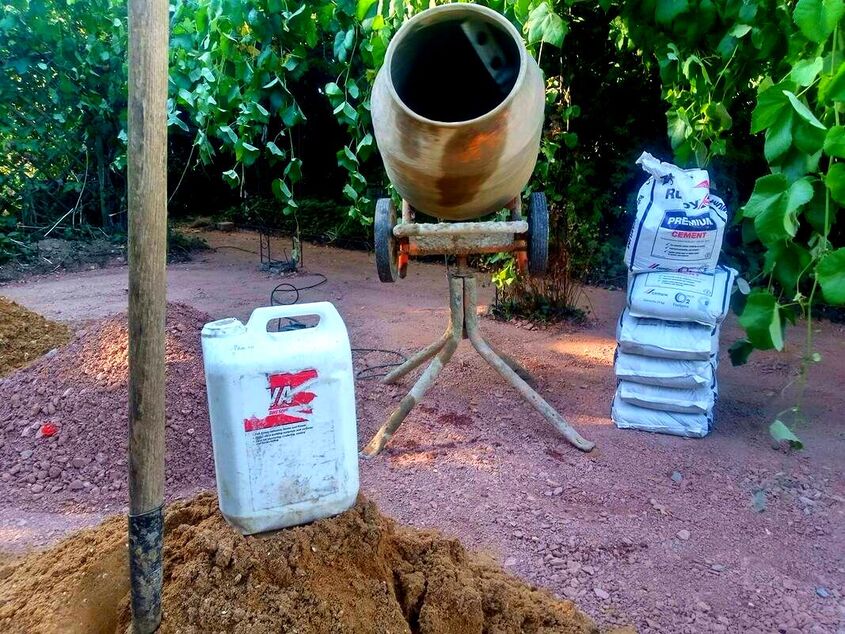
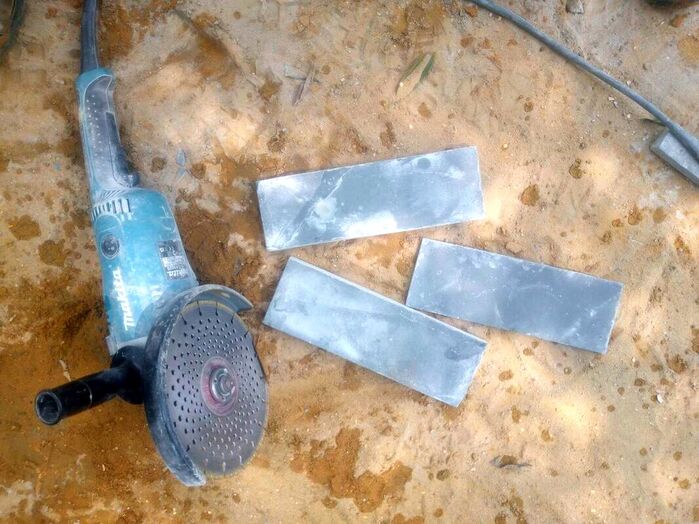
When laying curvy edgings you will need everything to hand. Set up your working area with adequate power, mixer, wheelbarrow and grinders. A well organised working area will make your process much more efficient. Step 6: Cut your paving into mow strips
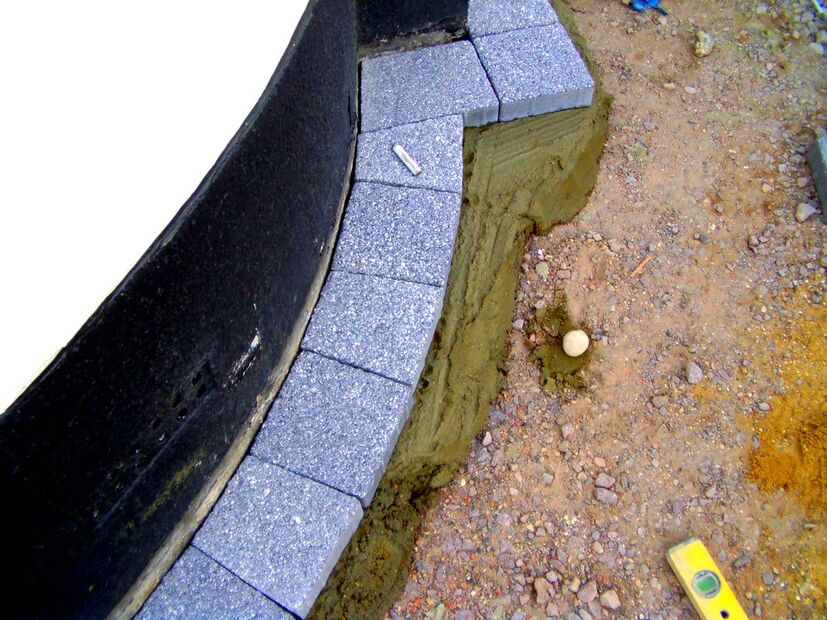
The best way to cut edging to a curve is to set out about 6 to 10 edgings at a time. Overlap the edgings at the corners to reach your desired curve. Then mark and cut these angles to create the curve you desire. If you are having difficulty reaching a tighter curve, consider cutting edgings into smaller units. Step 7: Mix up your laying mortar
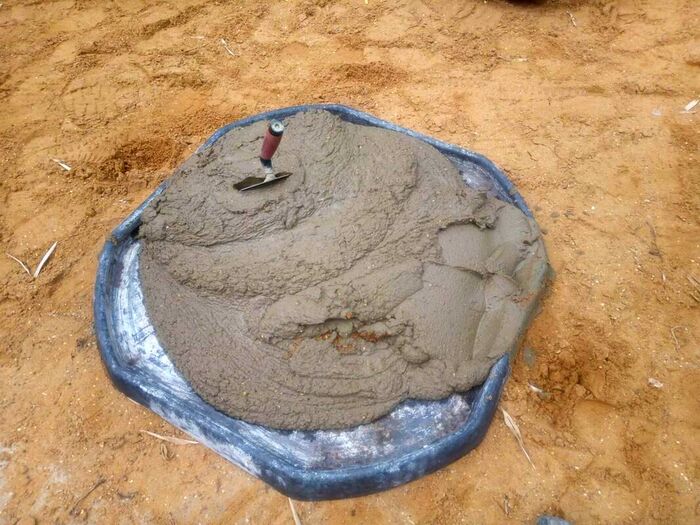
Mix up a 1:4 sharp sand cement mix to a consistency of a stiff brick laying mortar. Make sure you add a bonding agent such as PVA and some plasticiser for workability. Step 8: Tamp down your edgings
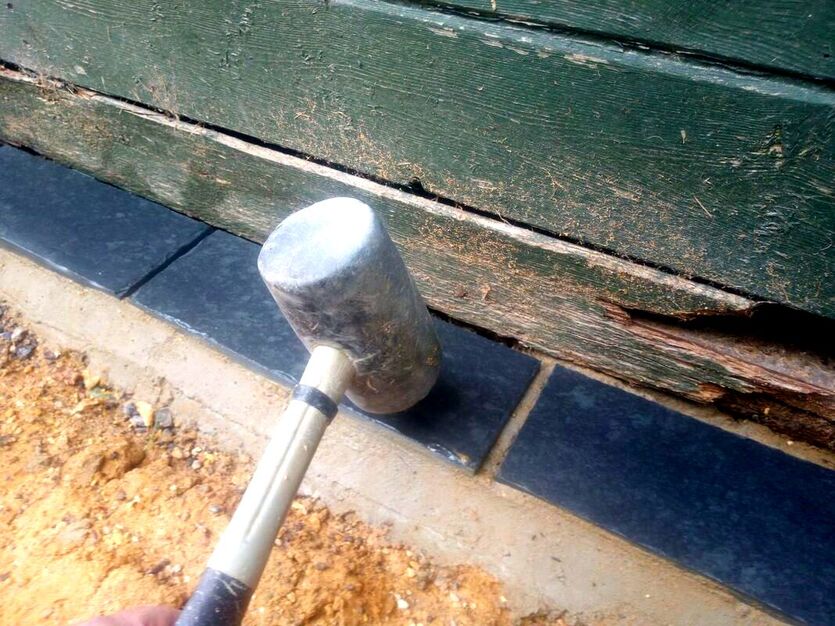
Lay your mortar down onto the sub-base creating peaks and valleys in the muck. Then, one at a time, tamp down your edgings so they make good contact with the mortar. You want your edgings to sit on a consistent mortar bed with no voids underneath. Step 9: Joint your edgings
Mix up a 1: 3 cement to plastering sand mix just damp enough to form a ball in your hand. Joint up your edging joins on a day when it is dry with no risk of rain for 16 hours. For a more in depth guide on grouting paving and edgings visit our step by step guide here. Step 10 Make good surrounding ground
When your curvy edgings are cured, tidy up and level the surrounding ground. Spread some freshly bought in topsoil if need be to finish them off neatly.
Thank you for ready our article on how to make curvy edging with paving. Below I have linked to some other relevant articles you may find useful.
'As an Amazon associate I earn from qualifying purchases'
0 Comments
Leave a Reply. |
The Author
|
Landscaping services across Buckinghamshire, Amersham, Aylesbury & High Wycombe
Hyde Heath, Amersham, Buckinghamshire |
|
