|
This article contains affiliate links
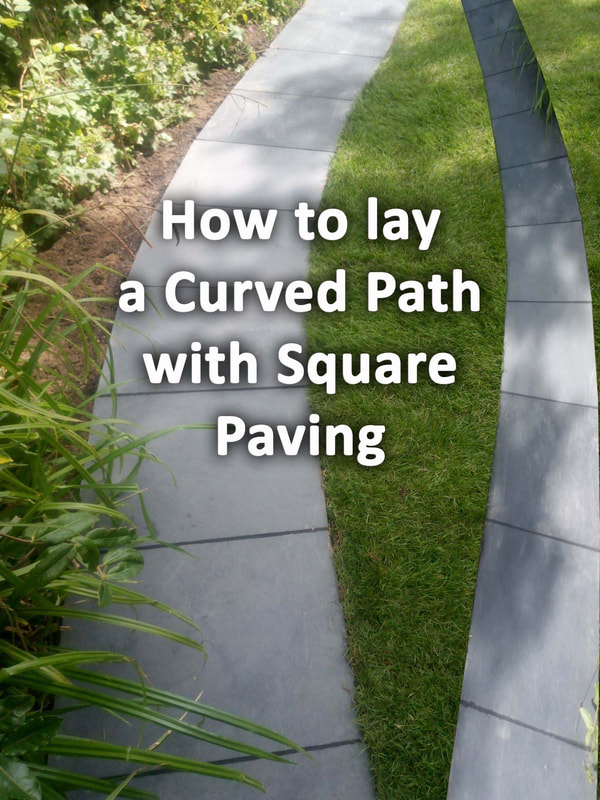
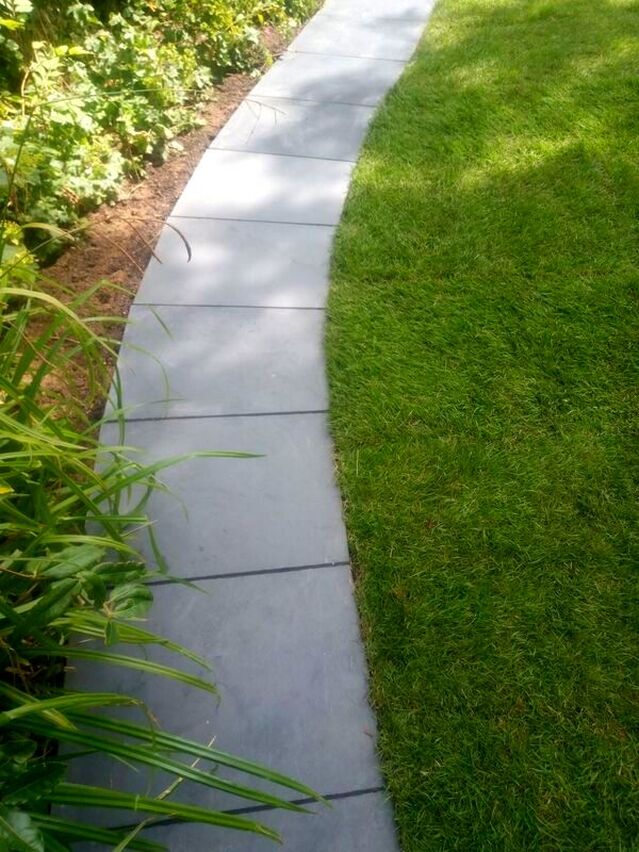
Laying a curved path with square paving slabs may seem like a complete impossibility to many. However, it is not only completely possible to achieve but can also look amazing!
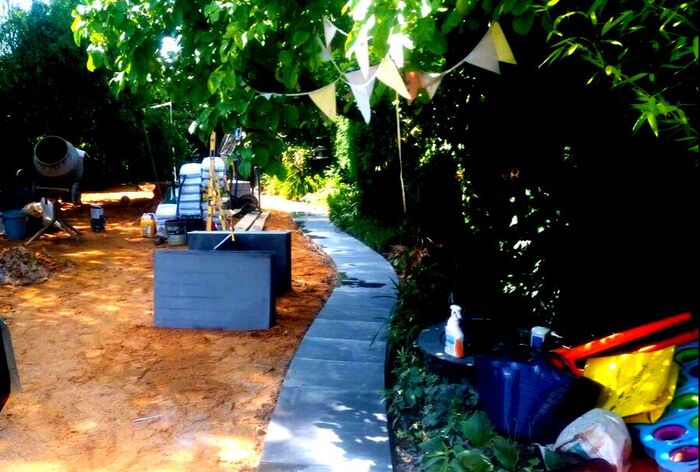
The best way to lay square paving as a curved path is to cut angles to connecting edges. This will allow your outer edges to follow whatever curve shape you wish. To make your curves as gentle as possible, cut your square paving into thinner rectangles. The increased joints will help you to space the directional variations gradually. This combined with slight angles cut to adjoining sides will turn any square paving into graceful meanders. In this article I include a step by step guide on how to lay curved paths with square paving. The guide includes step by step images of a curved path I built using square slate paving. What you will need to lay a curved path with paving
How to lay a curved path with square paving
1. Mark out your curved path
A crucial part of laying a curved path is to achieve the shape you want. By marking out your pathways curvaceous route you give yourself a template to work to. If you prepare your route with sub-base you will find it easy to cut your paving correctly as you lay. Mark out your desired curves with spray marker or hose pipe. 2. Check your surrounding levels
If you are laying your pathway through an existing garden you may wish its ‘finished levels’ to match the surrounding ground. Consequently, if your site has undulation your pathway may have a meandering level changes. However, if you want a perfectly flush and level pathway you will have to plan out your levels. This can be done by setting up a tight string line from your start to destination level. This ‘finished level’ can then be pegged out along your pathway route. You then have a guide level along your route so you know what height your sub-base must reach. This will guide you to excavate to the correct depth when installing your sub-base. 3. Excavate your curved path walkway
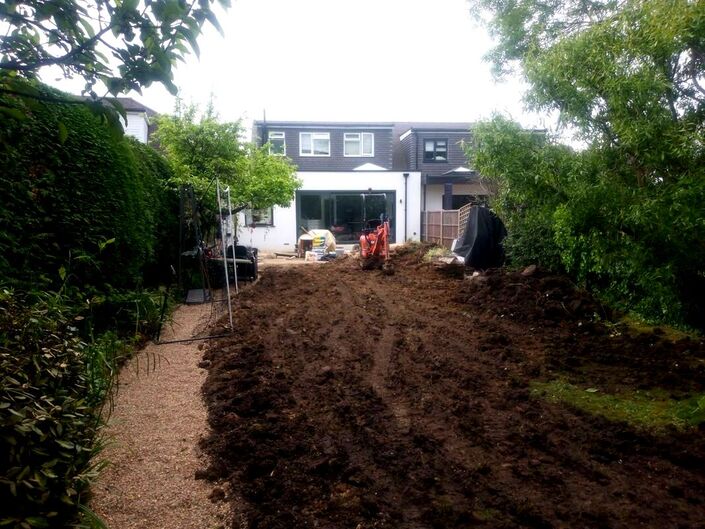
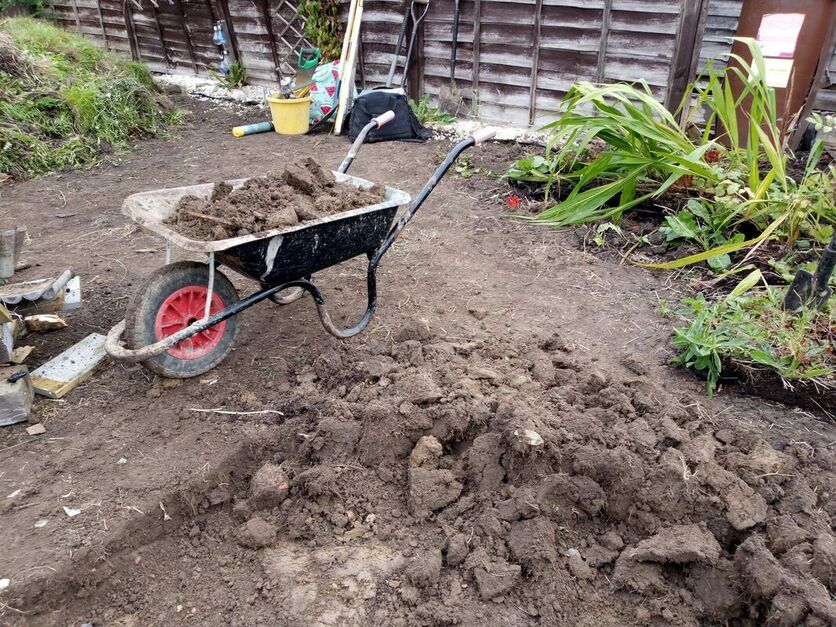
Excavate your curved pathway to a depth of 150mm and dispose of the spoil. Try to make the excavation as neat and square as possible with no loose soil remaining. 4. Spread your hardcore sub-base
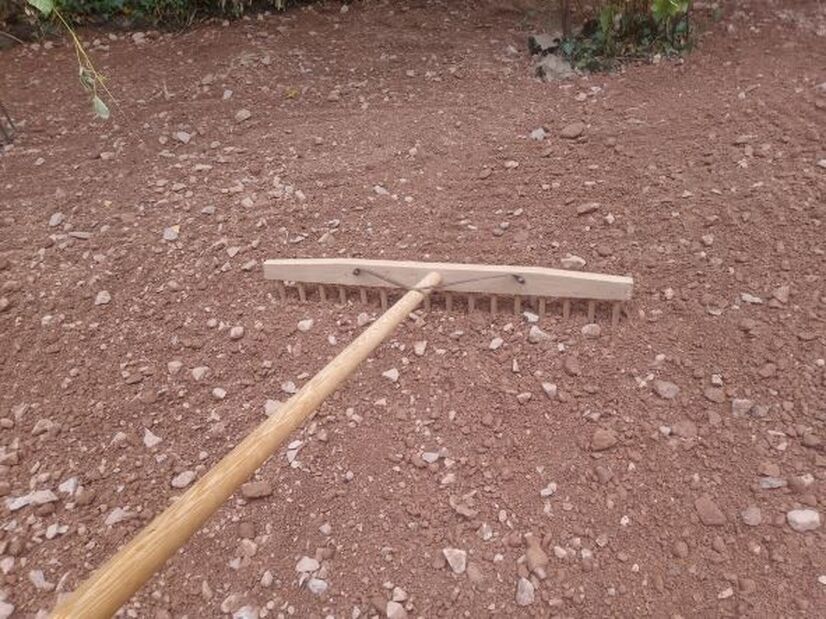
Fill your excavation with a 100mm layer of compactable sub-base aggregate such a Mot type 1. Level the sub-base to a consistent level. 5. Compact your sub-base
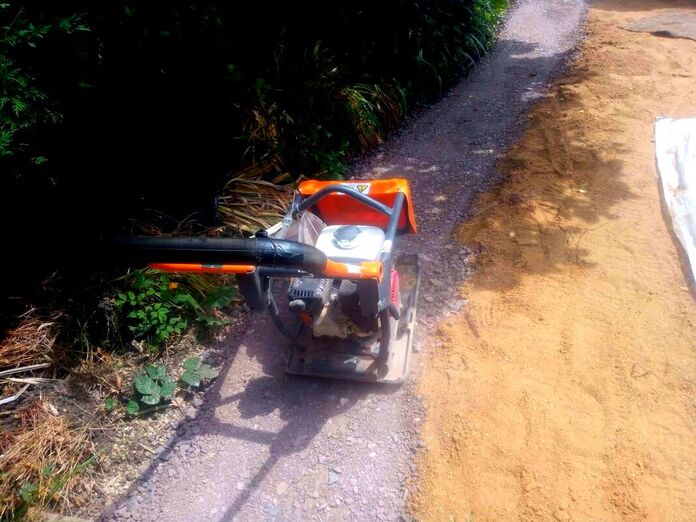
Compact your sub-base well with a vibro-compaction plate. Make sure you go over the same section at least 5 times until it is hard under foot. 6. Set out your first 6 paving slabs
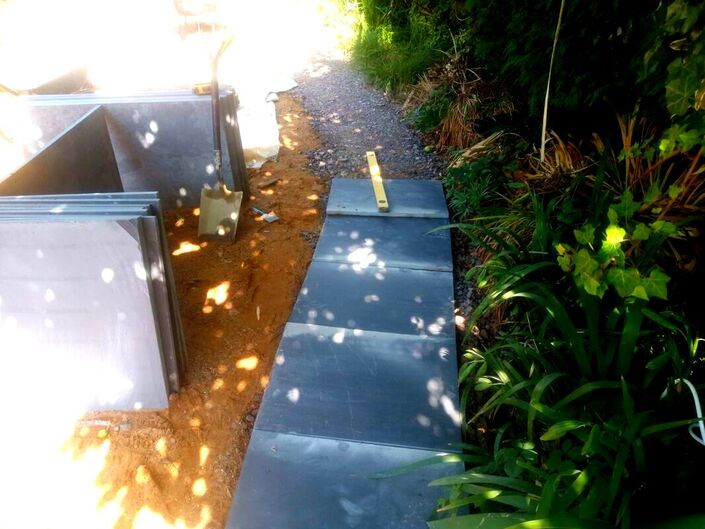
Roughly set out six paving slabs along the curved pathways route and observe the triangular gaps between them. This is a major clue as to how you will be cutting your slabs to create your curves. 7. Overlap edges to form the curve you want
Now position your paving slabs forming your curved route with no triangular gaps. What you will find is you have to overlap slabs at the corners to make a continuous curve. You will need to mark these triangular overlaps so they can be cut with a grinder. Your angular cut square edges will then butt up tightly while forming your curve. You may find it easier to cut square slabs in half so you end up with multiple rectangles. These will increase the number of joins or joints along the paths length. The greater density of joins will mean more ‘kinks’ along the pathway to meander the curve. The combination of angular cuts and thinner rectangles will make forming curves easy! 8. Score and cut your paving
Mark and cut your first 6 slabs with an angle grinder as accurately as possible. Make sure you use ear defenders, safety goggles and a tight fitting dust mask. 9. Set out your paving to check the curve
Set out your cut paving in sequence along your pathway to check its curve. When you are happy with the paths shape, start mixing up your slab laying mortar. 10. Mix up your mortar mix
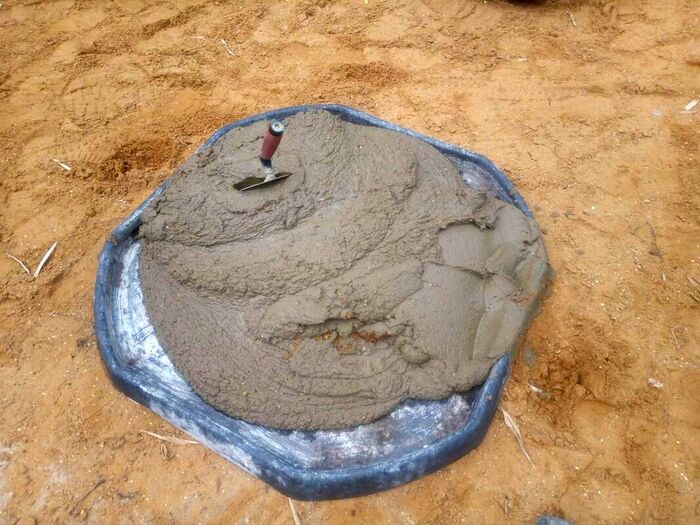
Mix up one part cement, one part sharp sand mortar mix until it has the consistency of porridge. This is best done with a cement mixer and the addition of plasticiser for extra workability. Try to keep the mixing area away from the paving as splashing cement can stain surfaces. 11. Lay your first 6 paving slabs
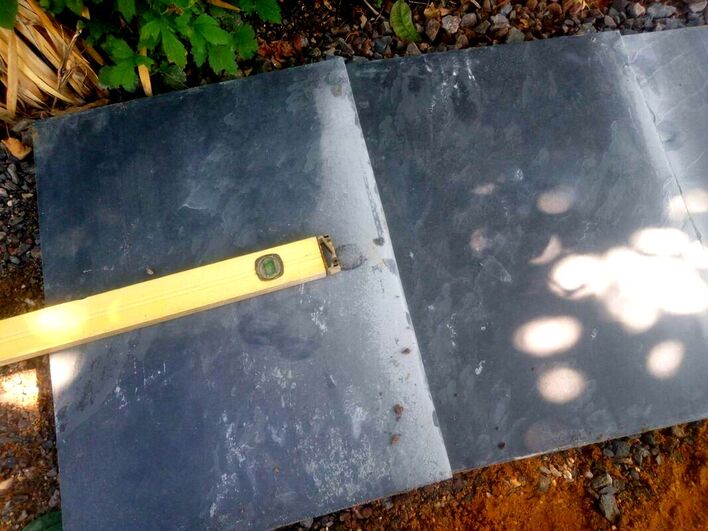
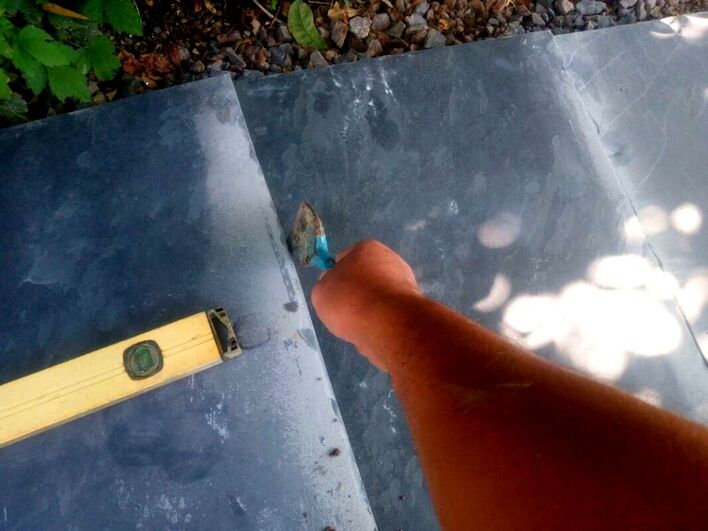
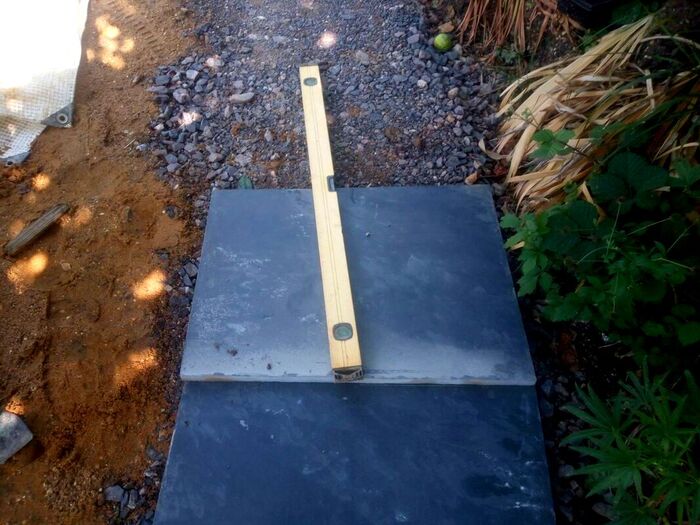
Lay your first 6 paving slabs in the correct order to form your curve. Keep your mortar bed consistent along the sub base and level as you go with a long spirit level. Create peaks and valleys in your mortar so you can easily bed down your paving level. Try to make sure each paving slab has a consistent mortar bed under each paver with no voids. 12. Repeat the process until the curved path is complete.
When you have laid your first section have a good look from multiple distances and angles. If the curve and level looks good it’s time to repeat the process! Mark out, cut and lay your next section of paving until you reach the end. You will be surprised just how good it looks and what a great tradesperson you have become! 13. Grout your new walkway
When the pathway has had at least 24 hours to set, you can start grouting your joints. Try to make sure you grout on a dry day when your paving and its joints are dry. You should ideally have no rain in the forecast for at least 16 hours after the grouting is complete. For my full step by step guide on how to grout paving, visit my article here. 14. Make good your surrounding levels
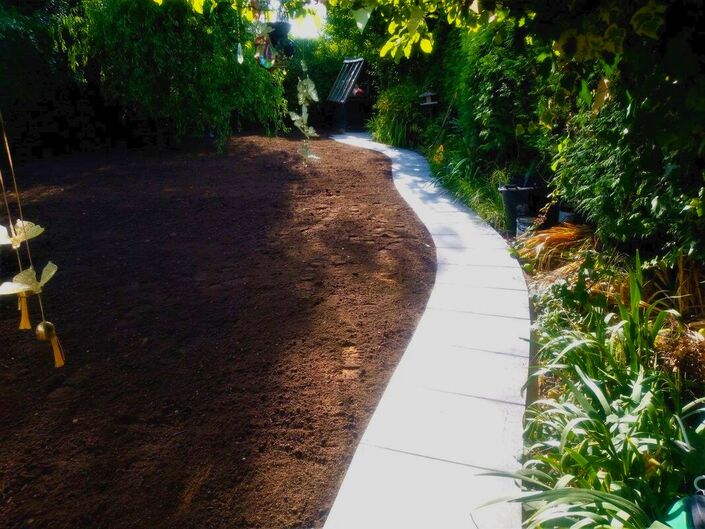
Now your curved pathway is complete you may have to make good surrounding ground disturbed by the work. This may be an opportunity to lay a strip of new lawn to a flush level of the path. You may also want to add some quality topsoil around any edges to borders. You have now completed building your curved path with square paving. Why not comment or email me to let me know how you got on?
Below I will link to some other relevant articles you may find useful.
'As an Amazon associate I earn from qualifying purchases'
0 Comments
Leave a Reply. |
The Author
|
Landscaping services across Buckinghamshire, Amersham, Aylesbury & High Wycombe
Hyde Heath, Amersham, Buckinghamshire |
|
