|
This article contains affiliate links
Pathways are a great way to create an outdoor journey or link up functional parts of the garden.
However, pathways like all surfacing can be expensive! Paving requires expensive materials and skilled labour while traditional gravels can become displaced and infiltrated by weeds. This is probably why free binding gravel is becoming an ever popular surfacing solution for garden pathways. Not only is it fast to lay it comes in a decorative array of colours and textures. Here I will discuss the advantages of binding gravel and how to lay a self binding, gravel, path, step by step.
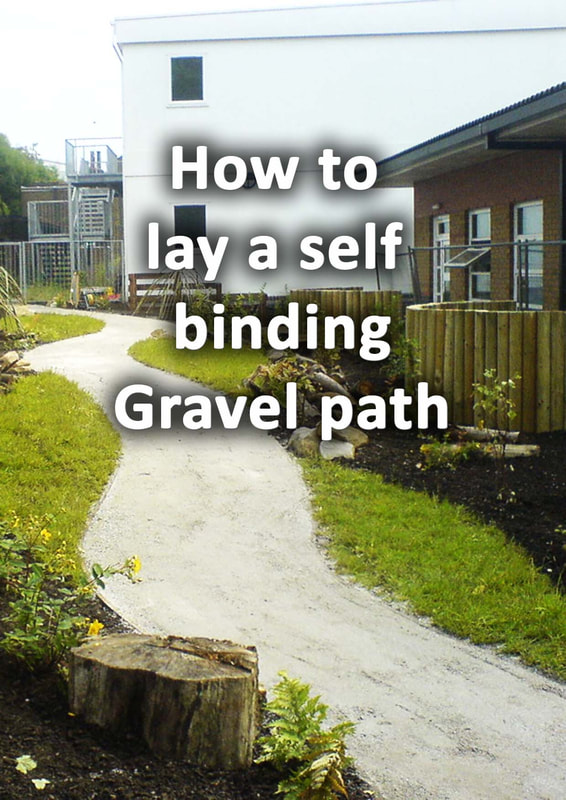
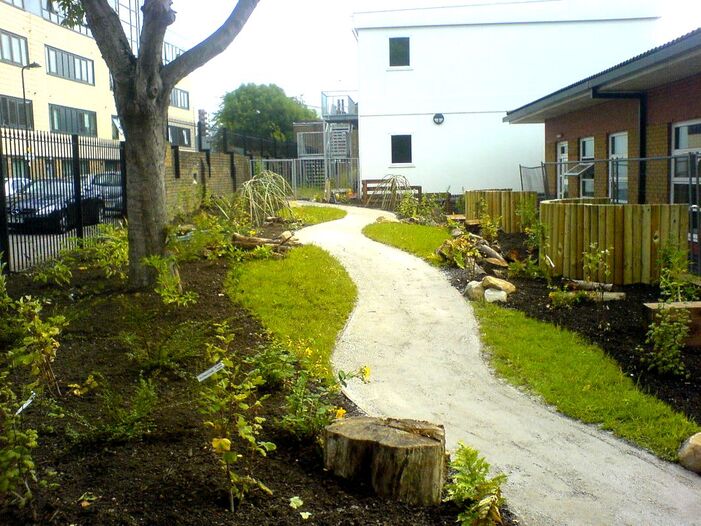
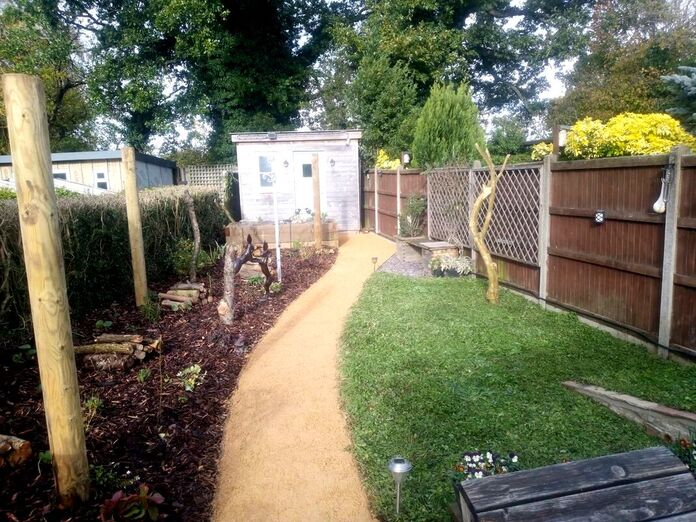
One of our self binding gravel pathways built using timber boards and Cedec silver, self binding gravel
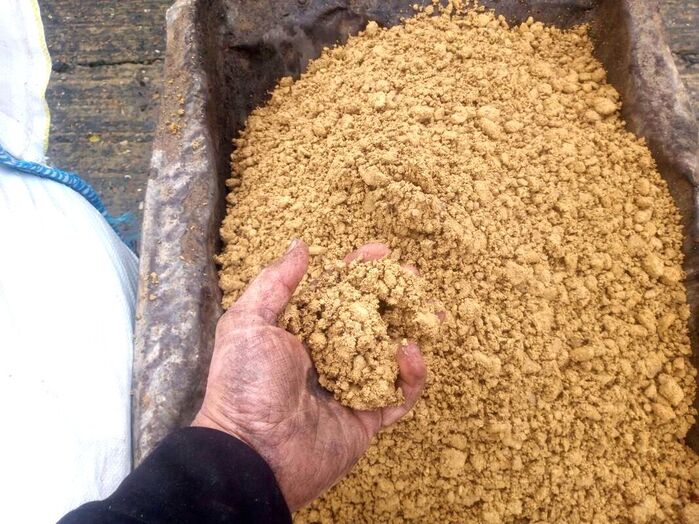
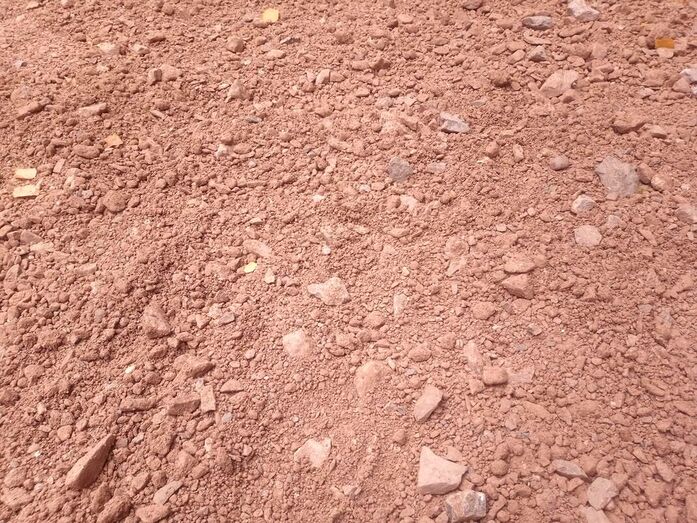
What is self binding gravel?Self binding gravel is a finely graded surfacing gravel which, when laid, forms a smooth and attractive surface. It contains a combination of sand, rock particles and clay which when moist and compacted creates a bound surface. Self binding gravels take on the qualities of the rock dust particles which make them up. This means they come in a variety of natural colours which will not fade over time. Such qualities make self binding gravel effective for modern gardens seeking contextual materials.
Self binding gravel can also replicate the habitat value of exposed gravels and rock.
This combined with minimal processing and potential for recycling makes it a much more sustainable choice. Not only can self binding gravel be used for paths it can also be used for other surfaces. Bound gravel can be used for seating areas, rockeries and even as compacted mulch for arid and Mediterranean planting schemes. The gravels evenly graded particles range from 10mm down to dust giving it a smooth but finely textured surface. Is self binding gravel any good?
Self binding gravel is an extremely effective landscaping surface and can be used for many different themes and styles. It is fast to lay and comes in a wide variety of colours and materials. However like most materials it has some advantages and limitations. Below I have listed the pros and cons for landscaping with self binding gravel. Pros and cons of self binding gravel
Pros
Cons
How to lay a self binding gravel path step by stepStep1.
Mark out for preferred route, design and shape of your new path. This can be designed on a plan of your garden or by sketching over site photos.
Step 2.
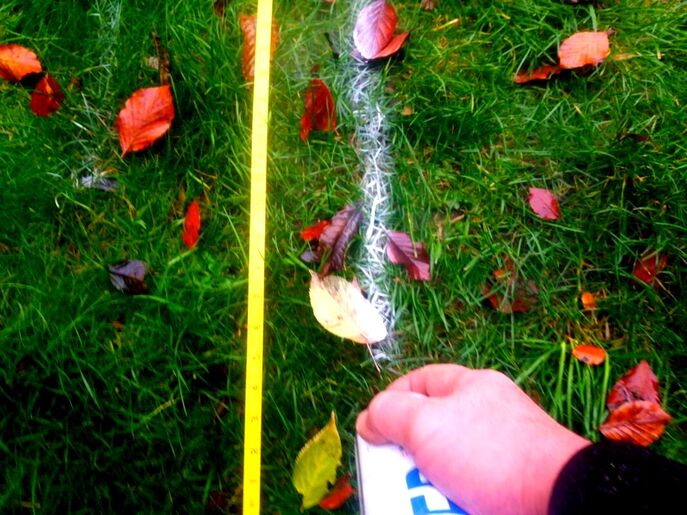
When you have decided on a shape and route mark out your pathway on site. This can be done with spray paint or pegs.
Step 3.
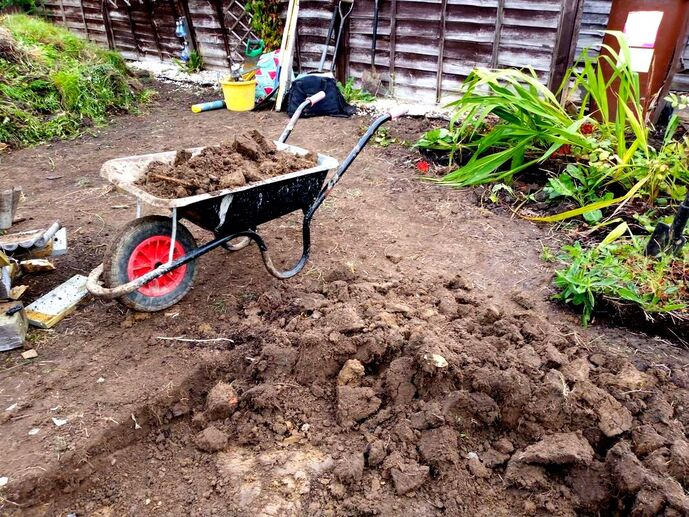
Dig out your path to a depth of 130mm deep removing any soft dirt or loose soil. You can either use your soil elsewhere or dispose of it within a skip. Always dig out your path a little wider than what you need to make room for edgings. Also retain a little good soil to grade around your path when its complete.
Step 4.
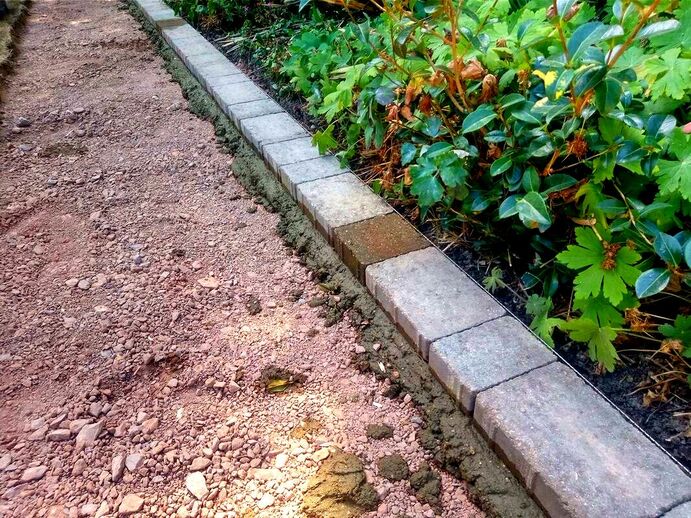
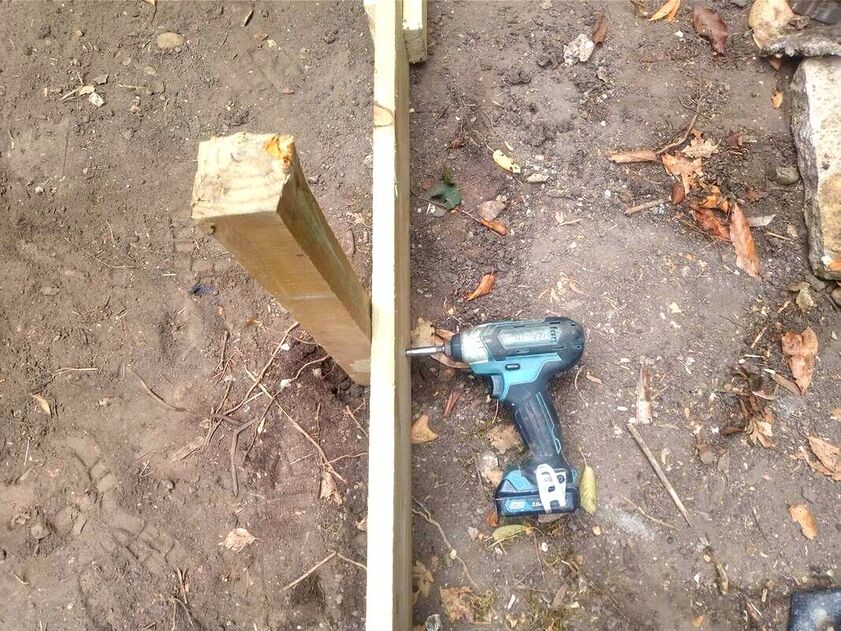
Install your edgings these could be brick, blocks, setts, steel edging or timber gravel boards. In this example we are using 100mm timber gravel boards fixed to pegs.
Step 5.
Connect your timber edging boards together with small sections of board used as connectors.
Step 6.
Place you’re edging boards into position and fix them to 50mm pegs hammered into the ground. Before fixing edgings with screws make sure your boards are at your preferred height. Consistent heights over distance can be achieved by working to a string line.
Step 7.
When your edgings are fixed solid, supply and spread a 90mm layer of mot type 1 compactable hardcore. This is available at all builders’ merchants and available in jumbo 850kg bags.
Step 8.
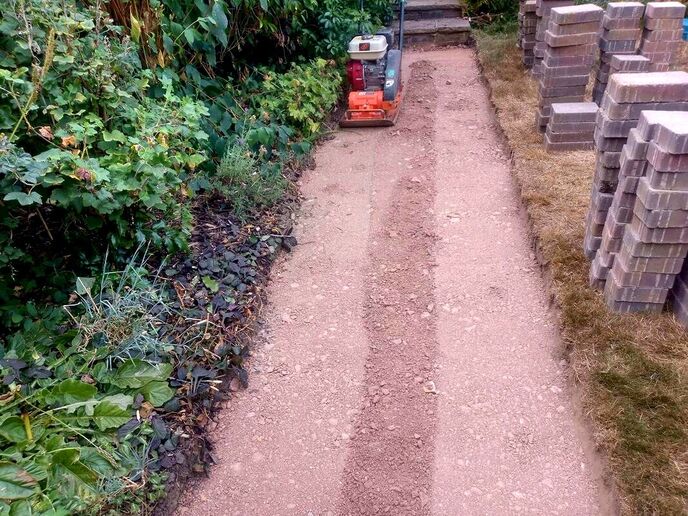
Using a compactor plate whack the type 1 until it is well compact. Remember this material will compact down at this depth about 15mm so factor this into your calculations. You should now have about 30 – 40mm distance from the hardcore to the top of the edgings.
Step 9.
Load your self binding gravel into a wheelbarrow and start spreading it along your path. Remember, this will also compact down so try to spread it slightly proud of the edging boards. You will want surface water to run off the path and into surrounding areas to prevent puddles. Therefore you will have to create a gentle camber or arch to your gravel.
Step 10.
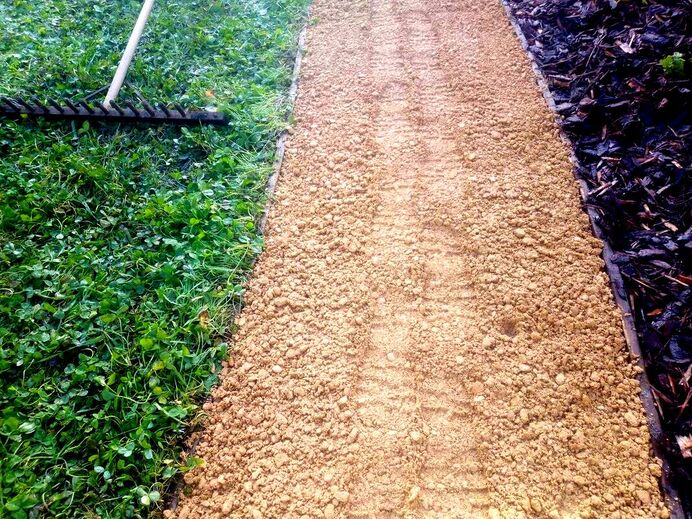
When you have spread your gravel, doing pigeon steps, consolidate the gravel underfoot. This will enable you to re-grade any areas which have sunk too much with the back of your rake.
Step 11.
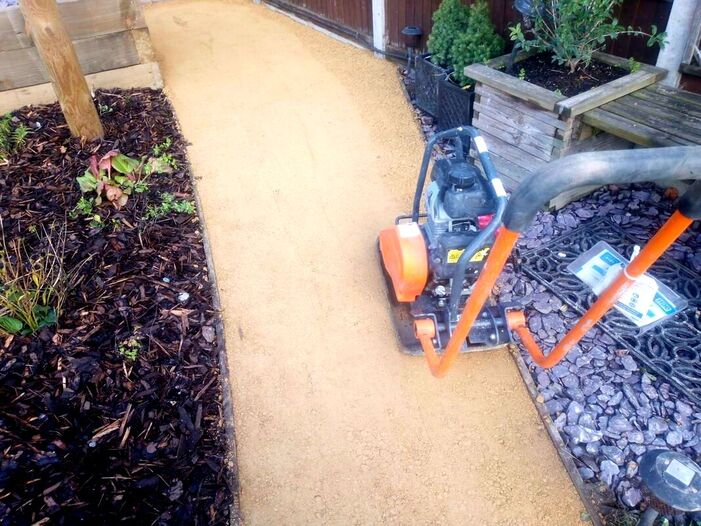
Using a vibro-compaction plate, whack the gravel to a firm and consistent surface. It helps if the gravel is slightly damp before you start. This will lubricate the gravel particles and make them bond consistently. When making sharp turns with the whacker, go slowly so you do not create ruts within the surface.
Step 12.
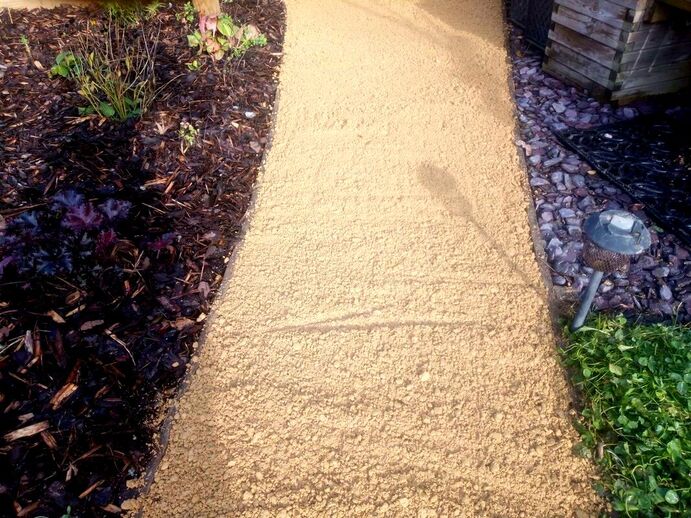
Your self binding gravel path is now complete! If your whacker plate has left line imprints in the surface these will usually erode away after a rain shower. However, you can always give the gravel a light sprinkling with a hose, spray, attachment.
Is self binding gravel good for patios?
Self binding gravel can be used for patios however there are some elements you must consider first. Firstly, gravel is much more challenging to spread and compact to consistent falls and gradients. This means you may find it challenging to implement a surface water drainage strategy. Furthermore, during times of heavy rain gravel particles can be washed into drains and gulley’s potentially causing blockages. As self binding gravel drains slowly you may end up with puddles across your patios surface.
Binding gravel is a firm surface but can potentially be disturbed and displaced. This is especially so with movable furniture such as tables and chairs.
Consequently, for a primary patio with seating, self binding gravel may not be the best choice. However, patio areas with less intensive foot fall and a more rustic aesthetic, are more suited. This makes self binding gravel effective for naturalistic seating areas and transitional zones to conventional hard surfacing. Do weeds grow through self binding gravel?
As long as a self binding gravel surface is laid correctly no weeds should grow in or through it. Firstly when you excavate for your gravel surface make sure you remove any visible roots. This will ensure there are no perennial weeds rhizomes left within the sub-soil. Make sure you build up the correct hardcore depth with compactable mot type 1. This will form a dense and formidable boundary for any weed roots. Also make sure you are generous with the thickness of your gravel, It is tempting to spread it too thin to save money.
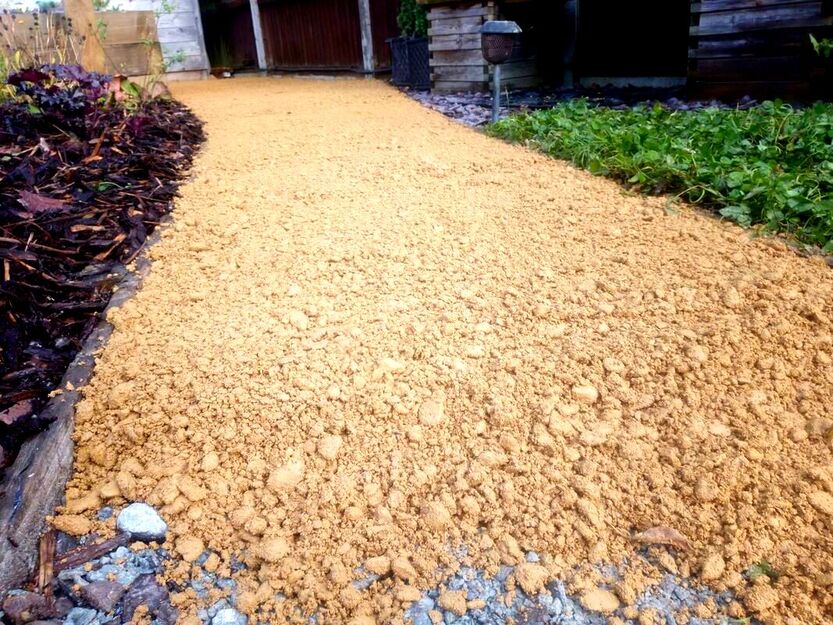
One of our self binding gravel paths built using Breedon Golden Amber self binding gravel
However, the thinner your gravel the more chance the surface could become infiltrated by small weeds.
From experience I have found that weeds are more likely to encroach onto and over your gravel from surrounding beds. This is particularly so with wild, and spreading, grasses. The best way to mitigate this is to lay your gravel areas slightly higher than surrounding beds. This can be achieved by installing your retaining edgings higher and prouder of any surrounding ground. Does free binding gravel need a sub base?
Free binding gravel which is laid to take the weight of pedestrian traffic must have a sub base. This will provide a robust base so the gravel above does not become displaced under pressure. The most effective sub base for free binding gravel is mot type 1. Its angular particles lock tightly and when compacted provide a continuous and solid base.
However, self binding gravel, like other gravels can be utilised as mulch around flower borders. It can be extremely effective for Mediterranean gardens and arid, desert, planting schemes.
In such scenarios self binding gravel does not require a sub-base. However, it should be laid on a weed proof membrane as not to mix with the soil below. Is self binding gravel permeable and does it drain?
Self binding gravel does have some permeability but it is considerably more impervious to water. This means water will puddle and run off rapidly in times of heavy rain. It is also important to note that self binding gravel can be eroded from surface water flows. Therefore, make sure your gravel is not laid in the path of a surface, water, funnel, point. Or the low point or valley within the surrounding land form. Although self binding gravel will eventually drain puddles can persist in times of heavy rain. Consequently it is best to lay with a slight gradient or camber to flower borders and lawns.
Thank you for reading our article on how to lay a path with self binding gravel. If you would like us to provide you with a quotation for laying a self binding gravel surface contact us!
We are experienced contractors in laying self binding gravel surfaces and installing any gravel, edging, specification.
'As an Amazon associate I earn from qualifying purchases'
0 Comments
Leave a Reply. |
The Author
|
Landscaping services across Buckinghamshire, Amersham, Aylesbury & High Wycombe
Hyde Heath, Amersham, Buckinghamshire |
|
