Buckinghamshire Landscape Gardeners
  • Home
  • Landscaping
    • Decking
    • Driveways
    • Patios
    • Fencing
    • Turfing
    • Planting
  • Design
    • Landscaping Ideas
  • Resources
    • Garden products
  • News
  • Contact
    • landscaping apprenticeship jobs buckinghamshire
    • landscaping labourer jobs buckinghamshire

How to make a gravel path step by step

12/22/2022

0 Comments

 
How to make a gravel path
This article contains affiliate links


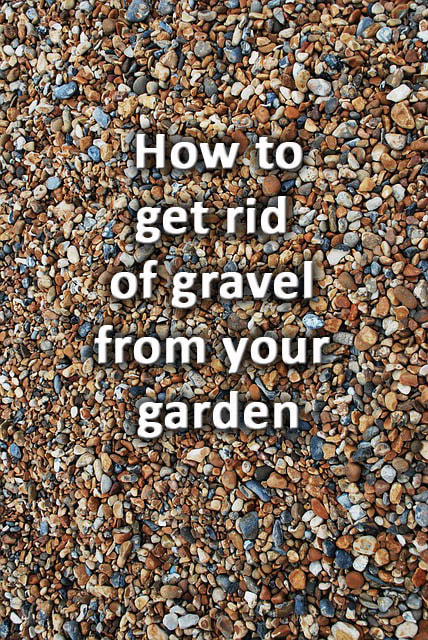
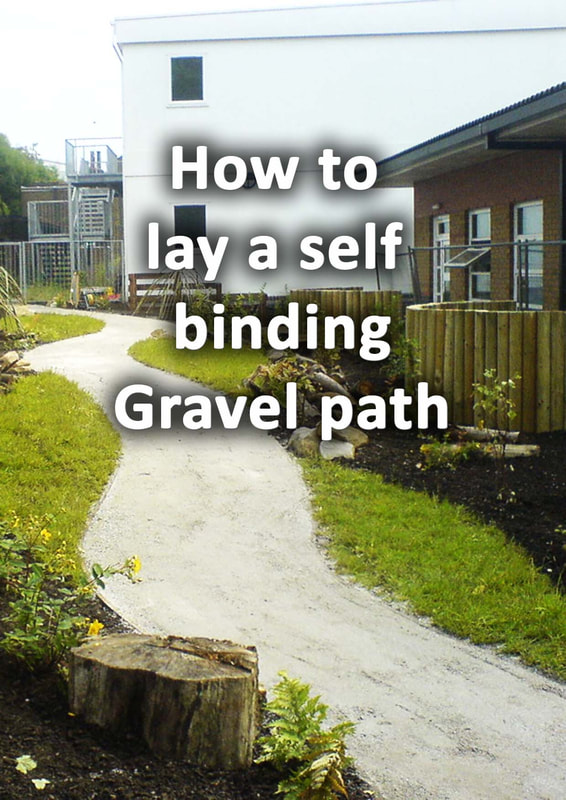
Gravel is one of the most diverse and versatile of all the garden surfacing materials. It comes in a wide variety of size grades, materials and colours.

This makes it able to fit in with pretty much any garden style or theme. From contemporary and modern show gardens to rustic Tuscan courtyards, gravels aesthetic is universal.

Not only is gravel visually effective it is also very affordable! Buying gravel and spreading at 40mm is five times cheaper per metre than buying new paving. 

Add to this the beneficial fact that gravel is also about 5 times faster to lay! 
​
Gravel Path with granite setts
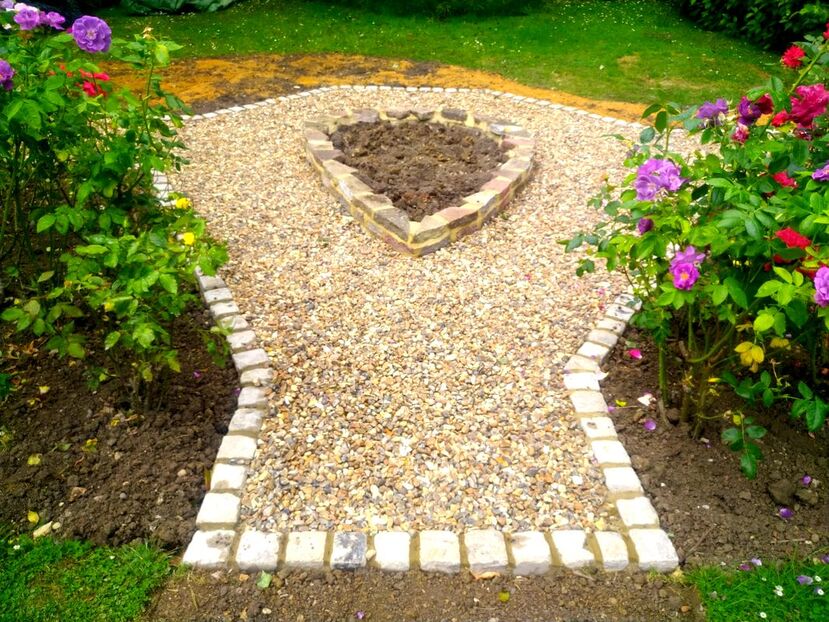
With no need for highly skilled labour, gravel can be laid by anyone well!

From a sustainability aspect gravel also scores well! Contextual aggregates can be sourced from local quarries reducing a gardens carbon footprint.

Furthermore, lose gravels are permeable allowing storm water to pass straight through. This helps to reduce flash flooding and protect local watercourses.

So, now you’re excited about gravel, I will show you ​how to make a gravel path! 

Can you lay a gravel path straight onto soil? 

​
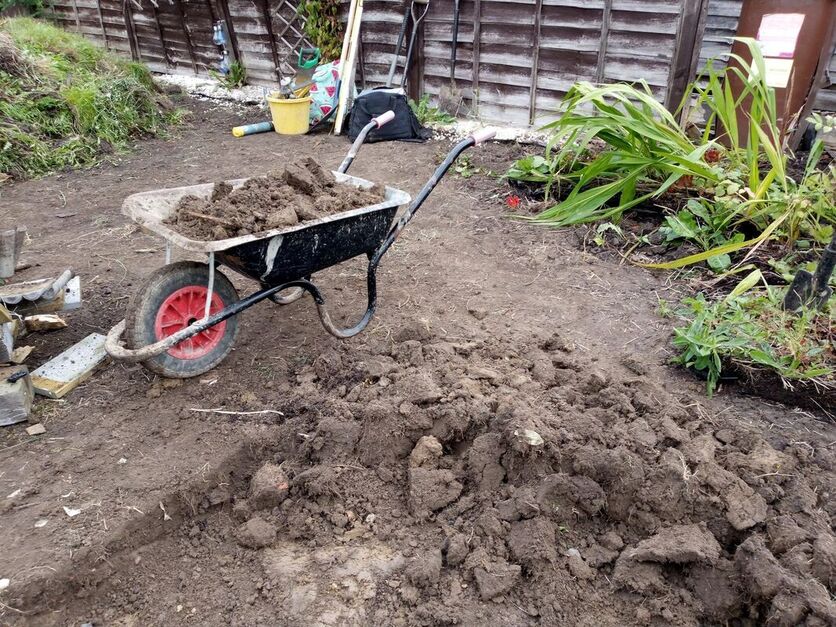
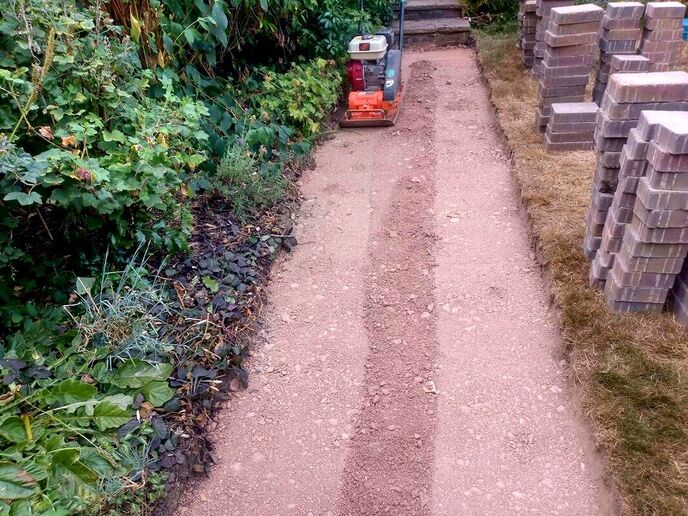
A gravel path really needs a sub base to stabilise the underlying ground. Gravel laid directly on to topsoil will eventually sink into the soft ground below. This means you will end up with a compacted and boggy mess full of weeds. 
​
laying gravel path

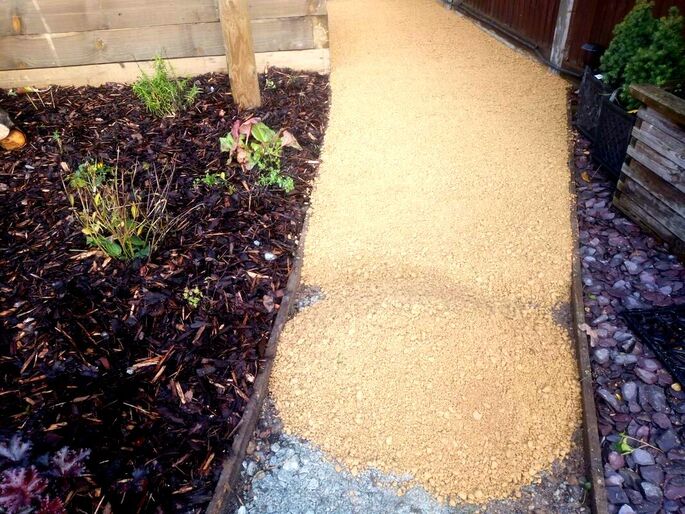
Do I need to dig before laying gravel?


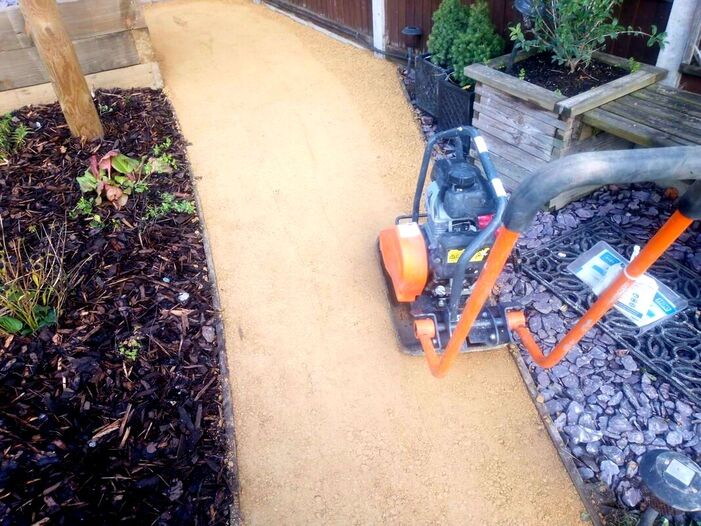
​Ideally you should dig out a gravel path to a depth of 140mm. This will allow 100mm for a compactable hardcore aggregate such as type 1. It will also allow a 40mm depth of gravel. 

How deep should my gravel be? 


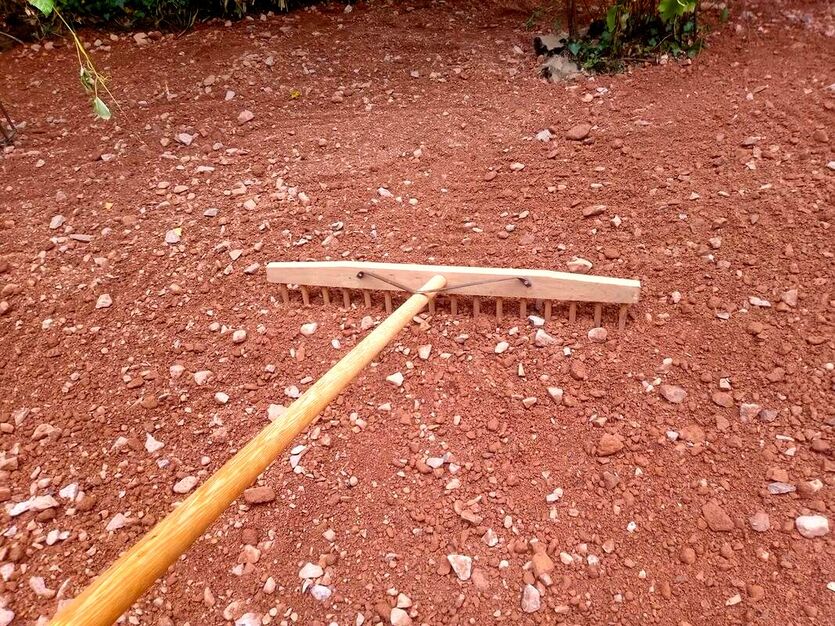
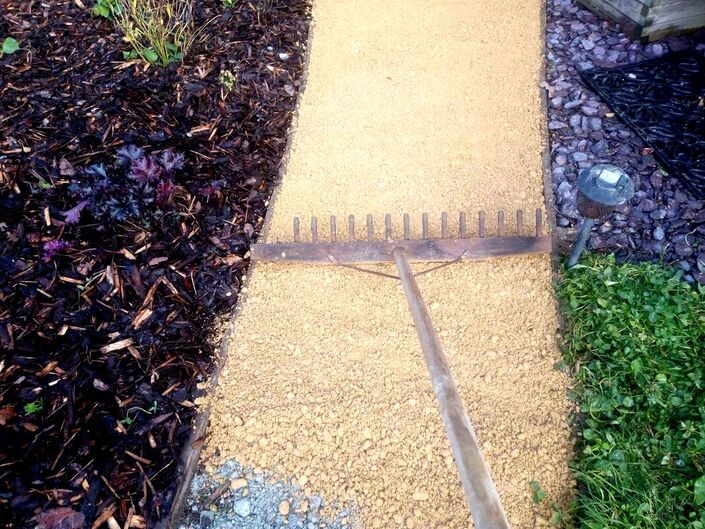
​​I have found that a depth of around 40 mm is ideal for a gravel path. Too shallow and you will not hide the membrane and have the added risk of weed establishment. However, too deep and you will find the gravel challenging to walk upon. I find a 40mm depth allows enough displacement to kill geminating weeds but is comfortable to walk upon.  

What should I put under a gravel path? 

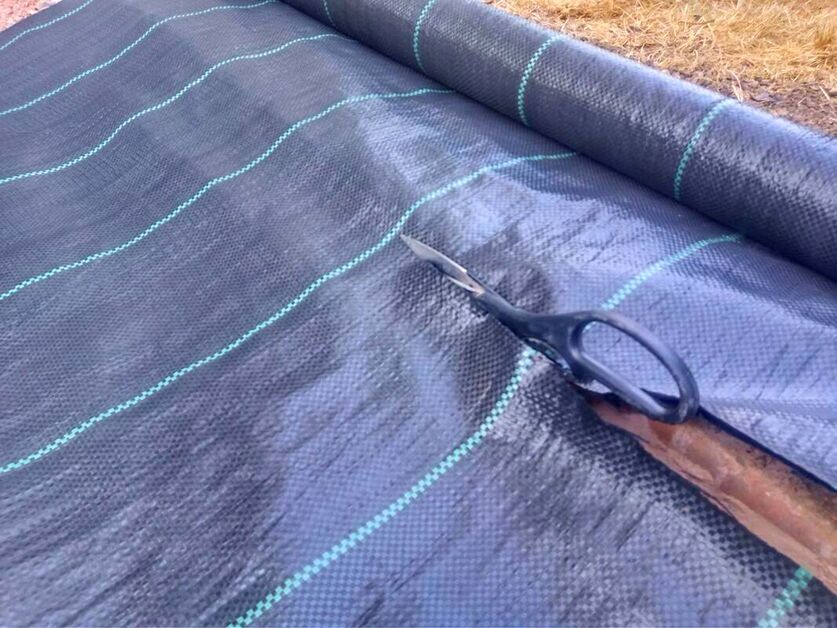
​A gravel path should have about 100mm of compacted sub base aggregate for pedestrian traffic. The most effective and widely available is mot type 1, available from most builders merchants. On top of that you should lay a robust, landscape grade, membrane. This is to discourage weed establishment and gravel mixing with the sub base layer. 
​
Compacting type 1

Should I put landscape fabric under a gravel path? 

​
Often you see people putting landscape fabric at the bottom of a paths excavation. I think due to the fact many people assume weeds grow up through paths.

Except for a few robust and woody perennials on the whole this is not true. If you excavate down 140mm you will be able to remove all threats of weeds growing under your path.

Combined with at least 100mm of well compacted sub base your path will not be suitable for weed growth. Weeds more typically seed in the damp edges of shallow gravel.

​This is why I advise to lay your fabric on top of your sub base and under your gravel. 
​
Weed landscape fabric

How do you keep gravel on the path?

​
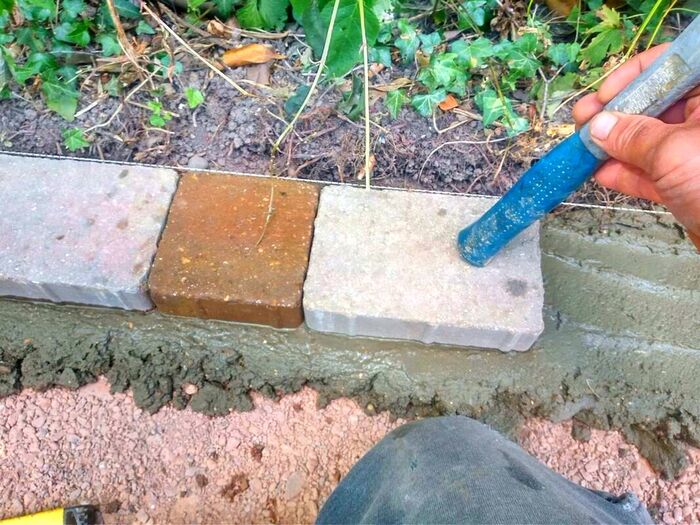
The best way to keep gravel on a path is by having suitable retaining edgings. Normally the wider and more stable the edgings the less gravel will escape.

It is also important not to spread the gravel too deeply. This will encourage accidental kicking and scuffing of the aggregate as people walk.

Sometimes the secret to keeping gravel on the path is the size of the aggregate. Very small aggregates are easy to pick up in the treads of shoes and easier to kick around. 

How to make a curvy gravel path? 

​
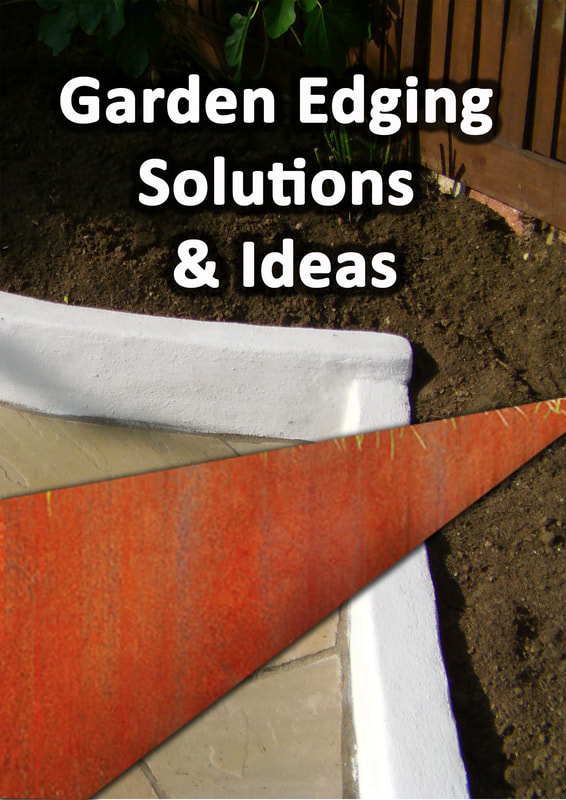
To make a curvy path you will either; need to install flexible edgings or lay masonry edgings. These will allow you to shape the outline of your path with curves.

The most typical flexible edgings are steel edgings like Everedge or long gravel boards. These can be fixed into position with pegs and mortar.

Using small masonry units such as bricks, sets and blocks also allow you to form curved edging easily. When designing the curvy shape you can set your path out with hose pipe.

This will enable you to visualise its shape before committing. The curvy shaped path can then be sprayed out or pegged. 
​
Curvy gravel path

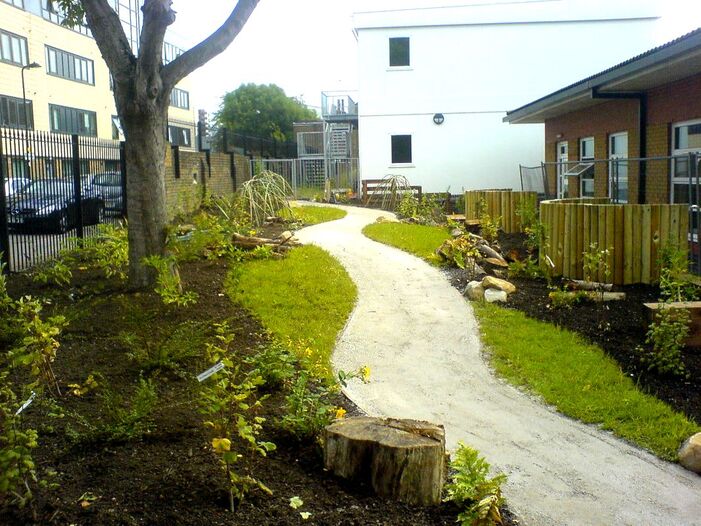
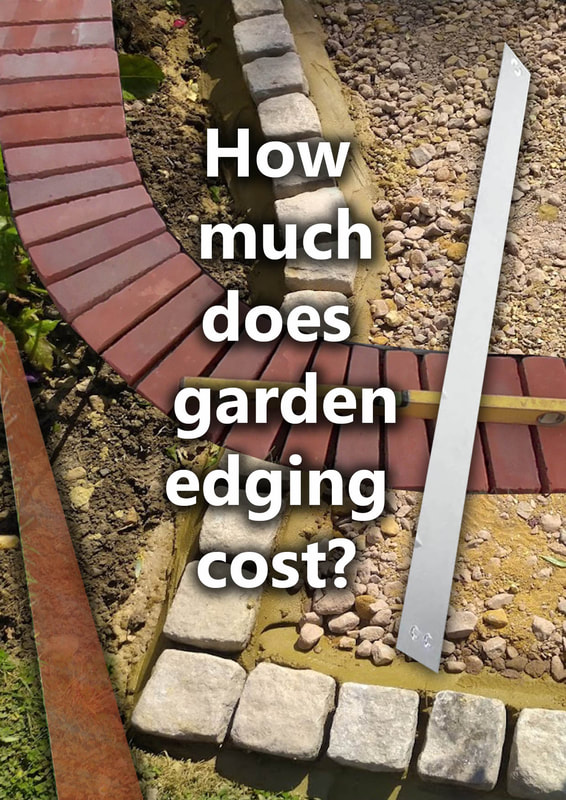
Do gravel paths need edging? 

​Gravel paths do really need some form of retaining edging to contain the aggregate. If you do not install edgings soil and dirt will infiltrate your gravel. This will lead to mud and silt filling up the aggregate and weeds becoming established. 

How to make a gravel path step by step 

Step 1. 

​Excavate your path to depth of 140mm and remove the spoil. 
​

Excavating a gravel path

Step 2. 


Install your edgings whether they be flexible, metal edging, timber, brick, concrete or natural stone. Masonry edgings such as setts and bricks can be laid on concrete or a strong mortar mix. These should also be based on a 100mm layer of compactable hardcore as shown in the image below. Timber and other flexible edgings can be fixed to timber pegs and haunched into position with mortar.
​
Tapping in edgings

Step 3. 

​
​When your edgings are secure, supply and spread a consistent 100mm layer of compactable, hardcore, sub-base. The best material for this is Mot type 1 graded aggregate. Spread the Mot evenly and slightly higher than your desired level. This is because when it is compacted it will sink down by about 17%. You can compact the sub-base using a vibro compaction plate, available from most hire shops.  
​
Spreading mot type 1

Step 4.

​Compact your Mot type one well, go over each spot at least 4 times with the whacker plate.
​

Lay mot type 1 to a path

Step 5.

​Apply your weed suppressant membrane to the compacted sub base. Make sure you fix your membrane down well so the wind does not blow it out of position. 
​
laying weed membrane

Step 6.

​Supply and spread your gravel flush with the top of your edgings.
Raking gravel

Step 7.

​Clear up the ground on either side of the gravel path, re-grade any topsoil back around the edgings. Replace any damaged turf or re-grade any disturbed flower borders. 
​

Gravel pathway
​You have not completed your gravel pathway. Thank you for reading our article on building your own gravel path. I will reference some other articles below you may also find useful. 
Picture
Picture
Picture
Picture
Picture
Picture
Picture
Picture
Picture


'As an Amazon associate I earn from qualifying purchases'
0 Comments


Leave a Reply.

    Picture

    The
    ​Author 

    Paul Nicolaides 
    BA (Hons) Dip

    Paul Nicolaides has over 30 years of recreational gardening and 20 years of professional landscaping experience. He has worked for landscape contractors including design and build practices across London and the South East. In 2006 he qualified with a BA Hons degree and post graduate diploma in Landscape Architecture. In 2009 he founded Ecospaces an ecological landscaping practice which aims to improve social cohesion and reduce climate change through landscaping. In 2016 he founded Buckinghamshire Landscape Gardeners which designs and builds gardens across Buckinghamshire and the South East. This blog aims to provide easy problem solving information to its audience and encourage others to take up the joy of landscaping and gardening. 
Proudly powered by Weebly
Photos used under Creative Commons from graibeard, UK Prime Minister, Maggie Hoffman, Aaron Volkening, Darlene Roelofsen, David Paul Ohmer, denis.zabin, Permaculture Association, Bill Selak, The fixed factor, The Garden Smallholder, Tauralbus, nan palmero, Lee Cannon, Monkeystyle3000, Darlene Roelofsen, nicolas.boullosa, Bryn Pinzgauer, cattan2011, Center for Neighborhood Technology, Matthew Paul Argall, tdlucas5000, Acabashi, Ronald (Ron) Douglas Frazier, Gilles Gonthier, Martin Hesketh, Owen P, alljengi, steve p2008, romana klee, Bennilover, *_*, blumenbiene, Julianna, Daryll90ca, Wendell Smith, Acabashi, Decorative Concrete Kingdom, Permaculture Association, MizGingerSnaps, Tjflex2, wuestenigel, travel oriented, Aaron Volkening, shixart1985, SupportPDX, pete. #hwcp, MostlyDross, Local Food Initiative, Ronald Douglas Frazier, Torquay Palms, Oregon State University, perfectgrassltd, aarongunnar, Acabashi, Actual Brian Crawford, jeans_Photos, alh1, Darlene Roelofsen, Rromani from Romania, docoverachiever, tawalker, markfountain52, Maria Eklind, treegrow, deckerme, Kevan, richardghawley, Ivan Radic, Mark Wordy, garryknight, Matt Lavin, greger.ravik, Capt' Gorgeous, LWT Gunnersbury Triangle, Wonderlane, Rudi1976, stonescape, Dinesh Valke, troutcolor, Acabashi, Juhele_CZ, Darlene Roelofsen, pikkuanna, tdlucas5000, Jocey K, Acabashi, focusonmore.com, BethinAZ, zoetnet, kurt.stocker, Monkeystyle3000, ell brown, Bryn Pinzgauer, Mark Wordy, infomatique, Linda N., Armcon Precast, Tinkers Moon, AnnSophieQ, mikecogh, Bob Klannukarn, Aiko, Thomas & Juliette+Isaac, ChrisHamby, Alessandro_Corsoni, Stiller Beobachter, GLVF, denisbin, MizGingerSnaps, garryknight, goforchris, Dick Thompson Sandian, Paul Comstock, Kelowna09, Decorative Concrete Kingdom, Kanesue, BlossomPDX, Wonderlane, alh1, PAUL (Van de Velde) -Fotografie, Paul and Jill, Gilles Gonthier, katunchik, thinkactlove, gidlark, jugreen_de, Henry Hemming, Ivan Radic, tompagenet, corsi photo, www.to-tuscany.com, Mark Wordy, UC Davis Arboretum & Public Garden, Aaron Volkening, Mark AC Photos, Peter O'Connor aka anemoneprojectors, arripay, denisbin, alans1948, wallygrom, Frank.Vassen, alh1, Scottb211, LenkinDesign, wallygrom, Mike Bonitz, Aaron Volkening, juliamaudlin, dwblakey, Jocelyn777 Love Europe, HerryLawford, mikecogh, jeans_Photos, Corey Leopold, Jeremy Levine Design, Kaibab National Forest Photography, Ciarán Mooney, onnola, 35mmMan, longlabcomms, nc.hort, Jamiecat *, pom'., Puddin Tain, Acabashi, tompagenet, Loz Flowers, Alan Stanton, Darlene Roelofsen, denisbin, Darlene Roelofsen, zakzak7, Center for Neighborhood Technology, wht_wolf9653, LenkinDesign, HerryLawford, FoodCraftLab, Miranda J Wood, Key West Wedding Photography, Montgomery County Planning Commission, bienen-nachrichten.de, zaphad1, SupportPDX, Ronald (Ron) Douglas Frazier, itmpa, Judy Gallagher, SteveR-, kylehase, simonmgc, treegrow, garryknight, Peter O'Connor aka anemoneprojectors, el cajon yacht club, cattan2011, Ed Bierman, mikecogh, Mike Prince, photofarmer, M. Martin Vicente, Darlene Roelofsen, La Citta Vita, Mary Gillham Archive Project, Puddin Tain, sustainablejill, mikecogh, ScotGov Rural, Macleay Grass Man, Andesine, denisbin, *_*, samsaundersleeds, onnola, James St. John, Pixelteufel, www.twin-loc.fr, The359, F. D. Richards, berniedup, Monkeystyle3000, Mark AC Photos, Mark Wordy, Swallowtail Garden Seeds