|
This article contains affiliate links
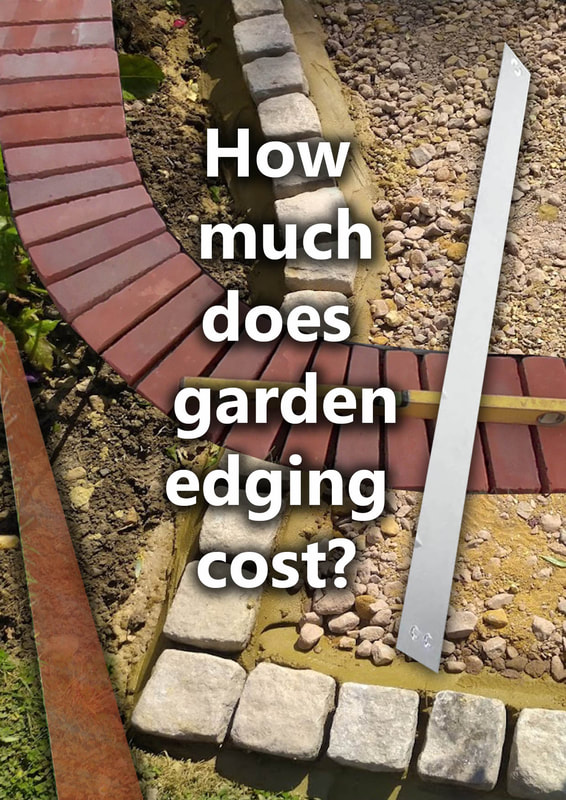
Garden edging is a great way to border garden features and retain landscaping surfaces. As well as serving a very functional purpose in the garden they also serve aesthetic objectives.
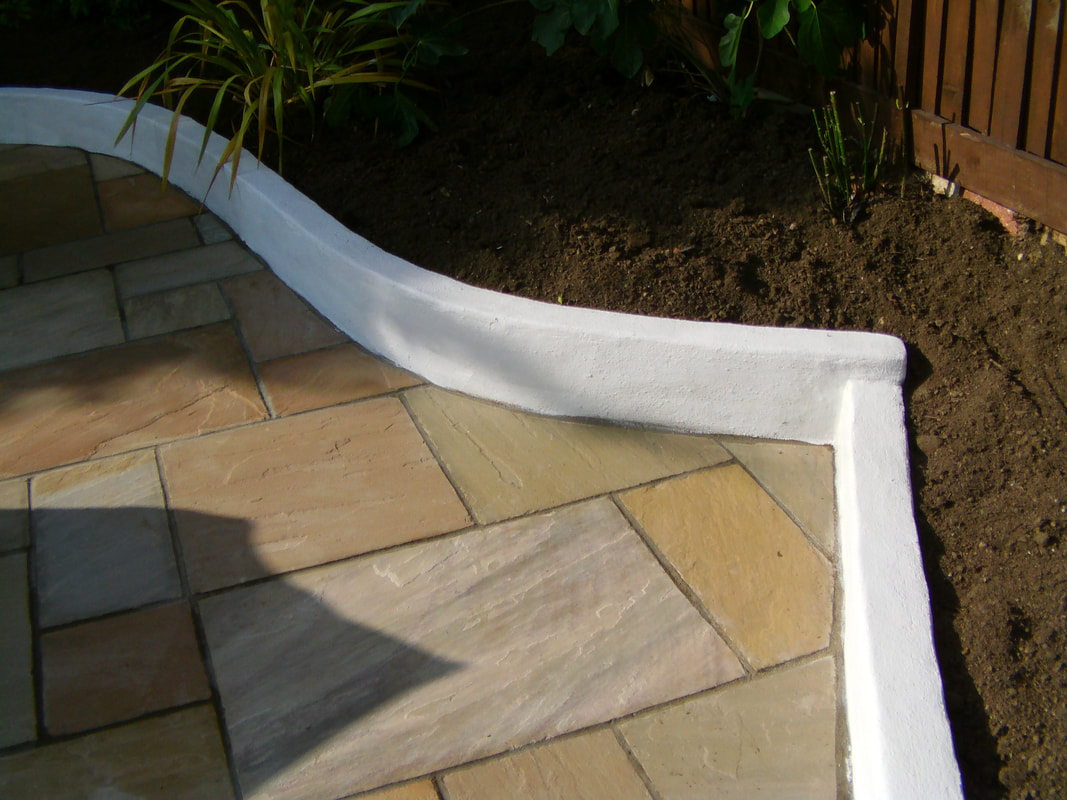
Edgings can play a major role in connecting a design theme together and becoming a feature in their own right. Flush edgings can create contrast by forming junctions between varying surfaces and visual textures.
Such edgings can also be used to create level, mowing strips which eliminate the need for edge cutting. There are so many material options when it comes to installing garden edging. This means it can be difficult to work exactly how much your project will cost.
In this article we will answer the question; how much does garden edging cost to install? We will list the most common types of garden edging and work out an installation cost for each scenario. A 50 linear metre garden edging pricing cost case study
In each of the edging scenarios below we will work out an average price for laying 50 linear metres. We will break down all of the waste, material and labour costs so we can work out a price for each. This will enable us to come to an average project guide price per linear metre. This provides an idea of what your edging will cost whether self build or hiring a contractor. How much does it cost to install brick edging?
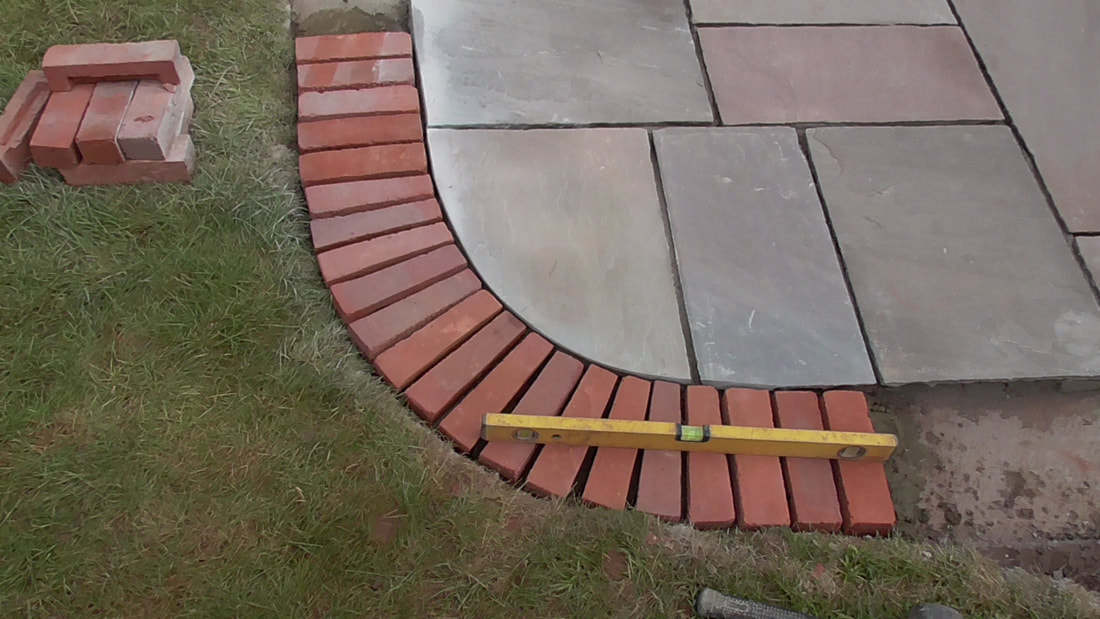
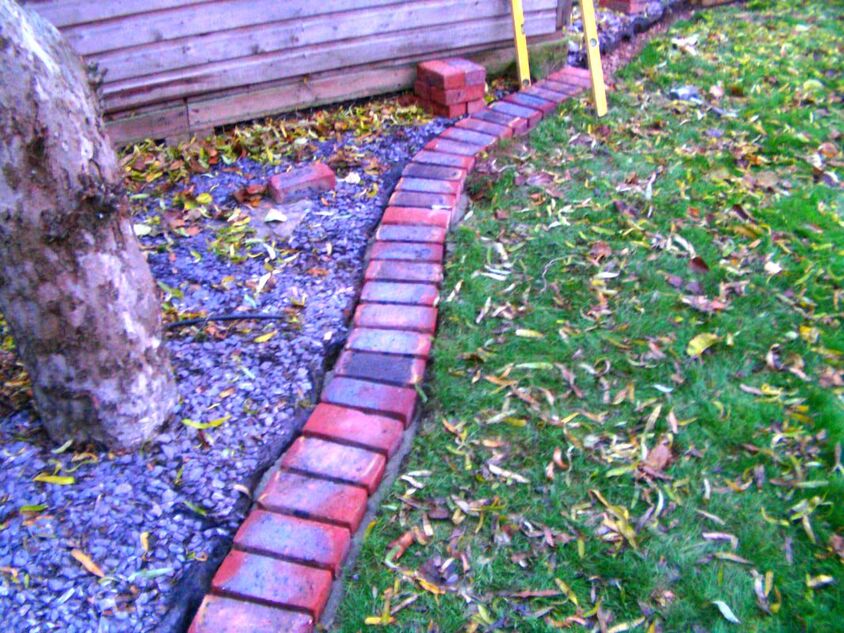
One of the most sought after edging is brick edging. Bricks are very hard wearing and made from natural materials which don’t fade in sunlight. There are a number of ways bricks can be used to form edgings but the most popular is a soldier course. This is where bricks are laid on their side horizontally to create a broad edging. This can be laid perfectly flush with lawns to create a mowing strip. Such an edging will mean there is no need for lawn edge trimming and strimming saving extra work, time and inconvenience. Brick mowing strip edging InstallationTo install any type of brick edging or mow strip you will need to excavate a consistent base or foundation channel. This covers the width of the edging and ideally to a minimum depth of 170mm (7inches) including the brick. This will allow for 80-90mm of type 1 sub base and a mortar joint of between 15-25 mm. The excavation channel should be a uniform as possible with no loose material left at the base.
Base the linear foundation with type 1 hard core or for extra strength. Use a heavy tamper to compact any loose hard core thoroughly until solid.
Make sure to leave enough void for your brick and mortar layer. Bricks can then be laid with a trowel, spirit level and rubber mallet. For brick edging mowing strip installation contact us here. Table costs based on 50 linear metres of brick soldier course edgings
How much does concrete edging cost to install?
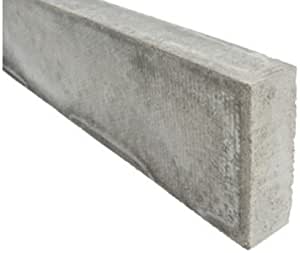
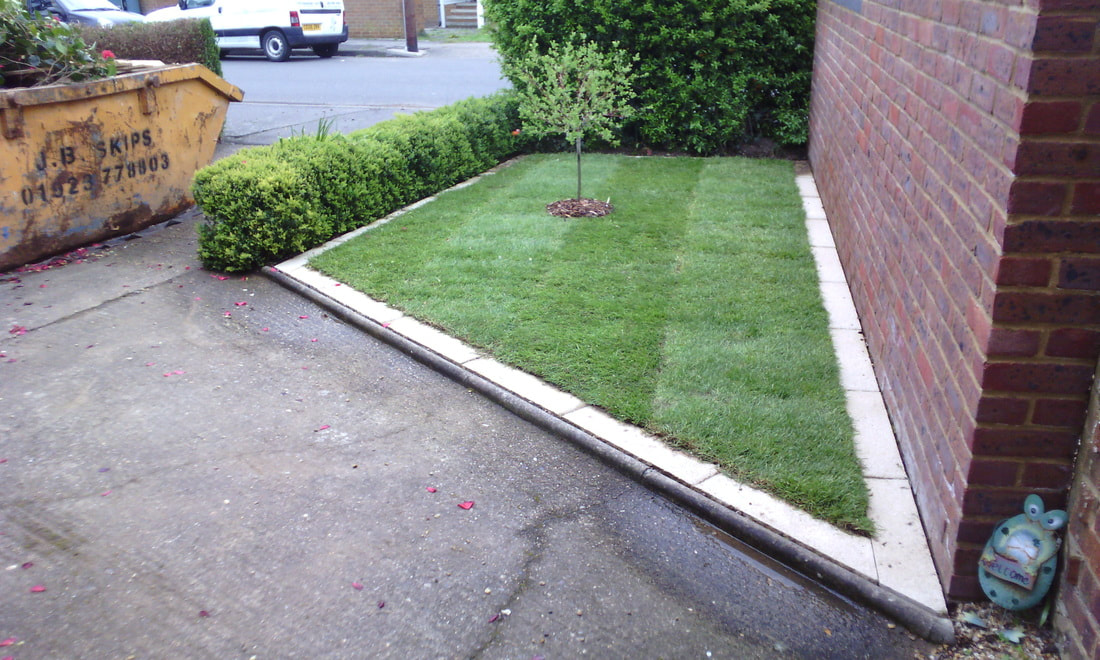
When it comes to concrete, garden edging there are literally hundreds of products on the market. Some of these are designed to create a decorative, raised border and some made to be flush. We will work out a price for the most standard PPC concrete edgings on the market. These will be set in flush as a lawn mowing strip edge. Concrete garden edging installation
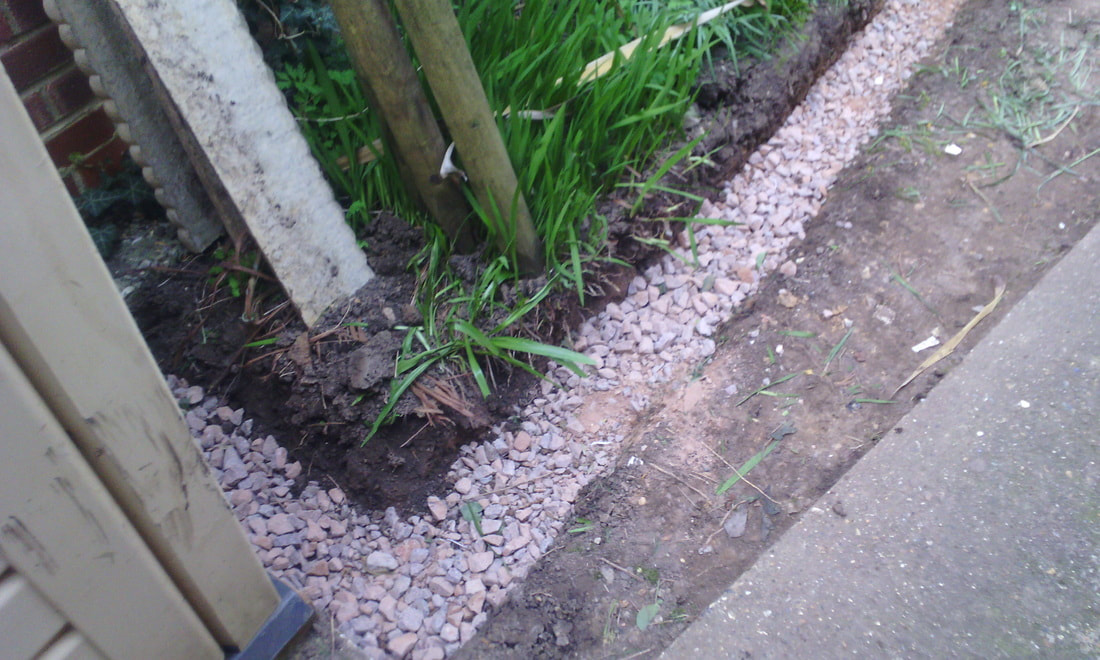
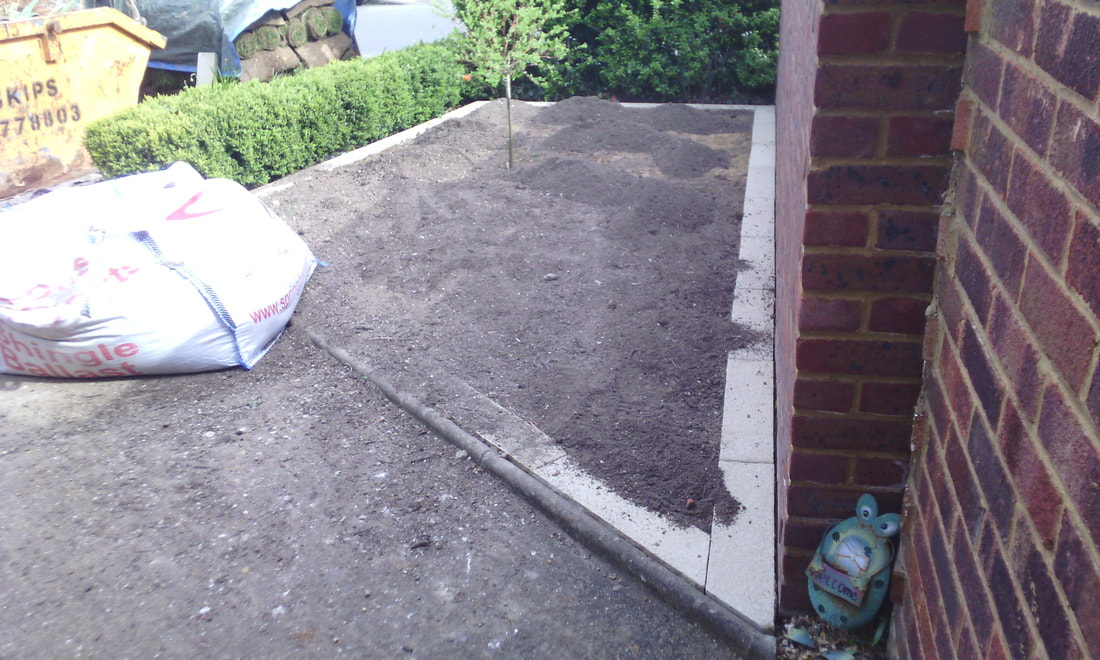
Very much in the same way as brick edging a foundation channel will have to be excavated for concrete PCC edgings. The depth of the excavation will depend on if you want a flush edging top or a raised edge. Raised edges are more suited to rounded top pc edgings opposed to square. As these edgings are long and narrow the excavation can be narrower but slightly deeper than brick edgings. Base the foundation with enough hardcore to give you the edging height you require. Haunch the concrete edgings into position with wet concrete and smooth down the concrete on either side. For concrete garden installation services contact us here. Table costs based on 50 linear metres of concrete PPC edgings (50mm wide)
How much does paving edging cost to install?
A great way to create you very own garden edging is with standard paving used for patios. Using an angle grinder with a diamond blade you can cut pavers into 100mm straight sections. You can also cut these into 100mm squares for a sett effect although this is a lot of cutting work. This is particularly effective if you have a patio with the same material keeping a consistent design theme. To do this you may have to practice cutting perfectly straight lines with a grinder first. Cut edges are noticeable so paving edgings are best laid flush as mowing strips or surface junctions. Paving garden edging installationFor the most robust of paving edging I would recommend basing these up like a patio. Therefore excavate out a channel 170mm (7inches) deep and to the width of your edging. (Typically 100mm) Make sure the excavation is neat with straight sides and no loose soil at the base.
Fill the bottom 120mm (5 inches) of the hole with compactable mot type 1. With a tamper or sledge hammer compact the base well so there is no movement or give.
Bed the paving edgings on a strong 1:4 coarse sand mortar mix. To keep the edgings level use a long spirit level, rubber mallet and bricklaying trowel. For garden paving edging installation why not contact us here. Table costs based on 50 linear metres of hand cut sandstone edgings (120mm wide)
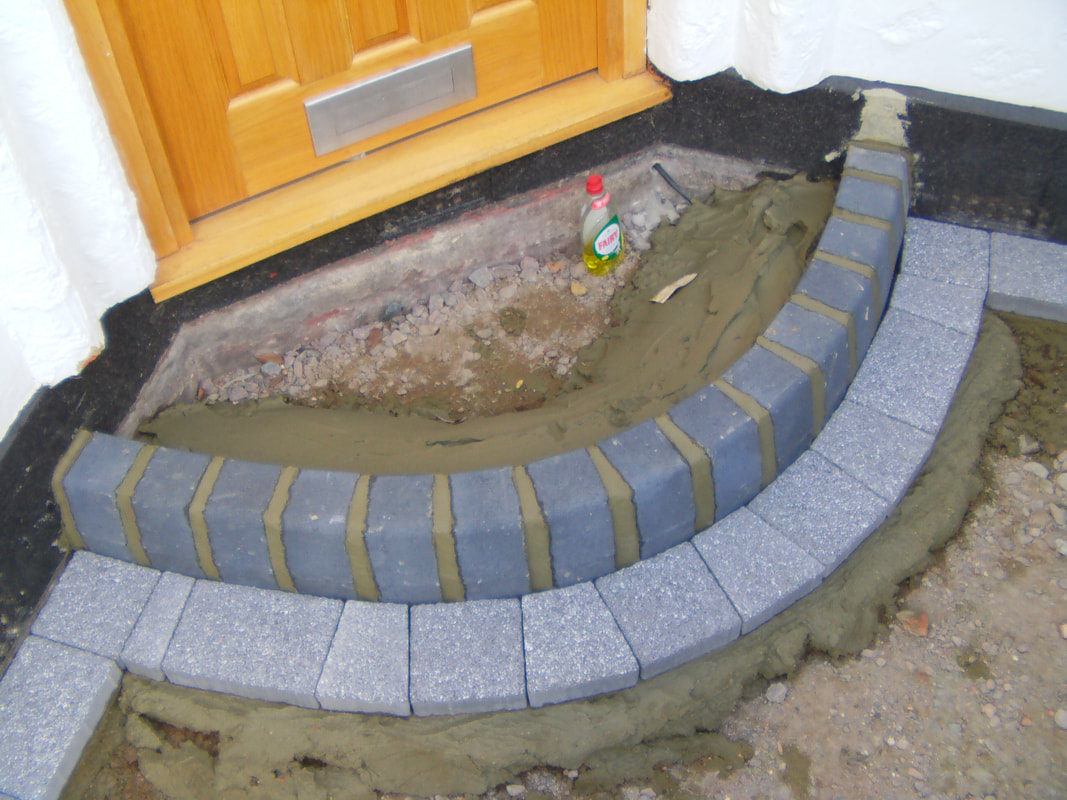
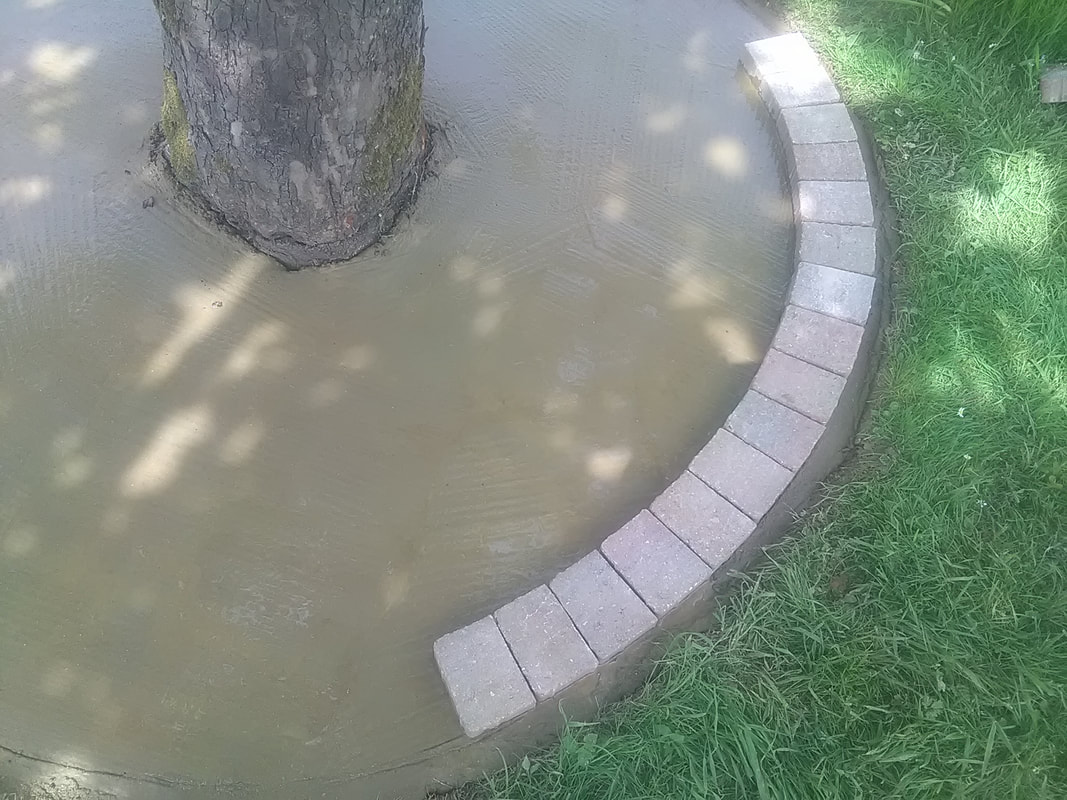
How much does it cost to install block paving edging?Block paving comes in a wide range of colours, sizes and styles. This has made them particularly popular for garden edging in a wide variety of ways. The perimeter of block paving driveways is traditionally concreted in as a retainer. This means block pavers naturally lend themselves as good candidates for edging blocks. These can easily be cut into multiple shapes and sizes to fit any adjoining garden surface or feature. Block paving garden edging installation
Block pavers have similar widths and depths to standard bricks making them similar to base up for. However I find it is better to lay these on a continuous, pliable coarse sand 1:4 mortar mix. Therefore to lay block paving edging, excavate a channel a blocks with and 170mm (7 inches) deep. Make sure the trench is neat and consistent with no loose soil at the base.
Fill the channel with a 75mm (3inch) layer of compactable mot type 1 and compact well with a tamper. Then lay a 50mm (2inch) mortar bed along a 1 metre section and bed the block edging down securely.
Tap the blocks down so they make continuous contact with the mortar. Level the blocks with a spirit level and string line as you go. For block paving garden edging installation why not contact us for a quotation? Table costs based on 50 linear metres of Tegula block paving edgings (120mm wide)
How much does it cost to install granite sett edging?
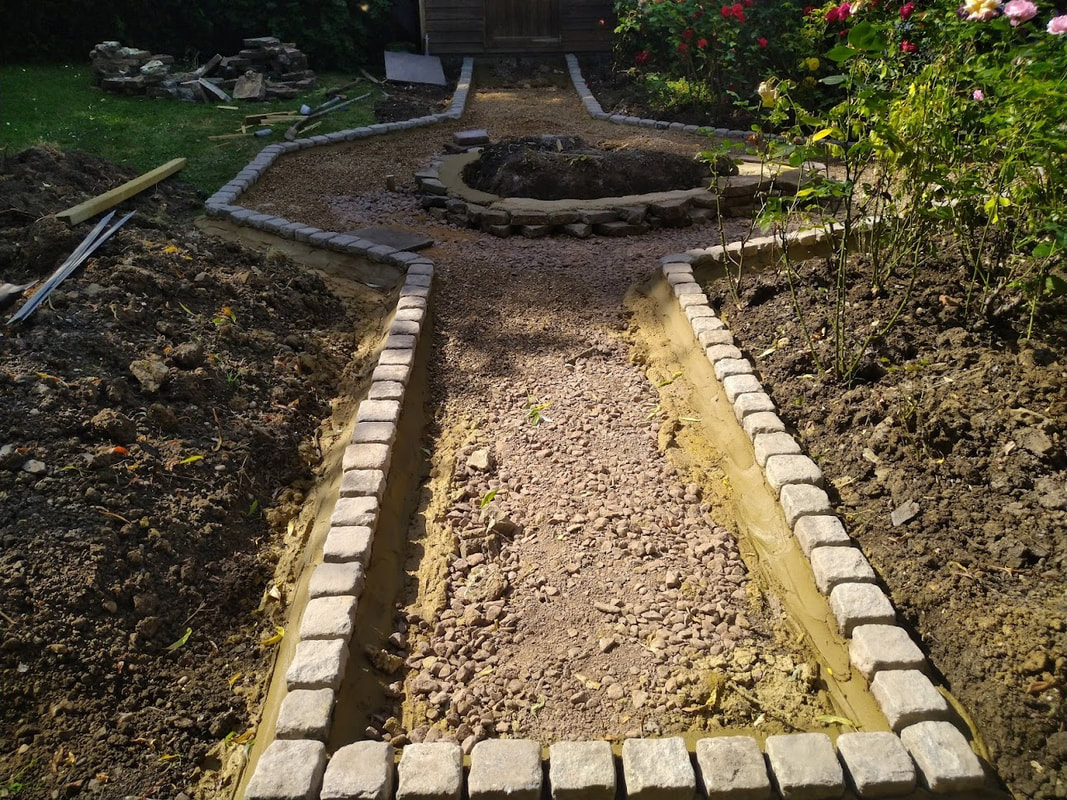
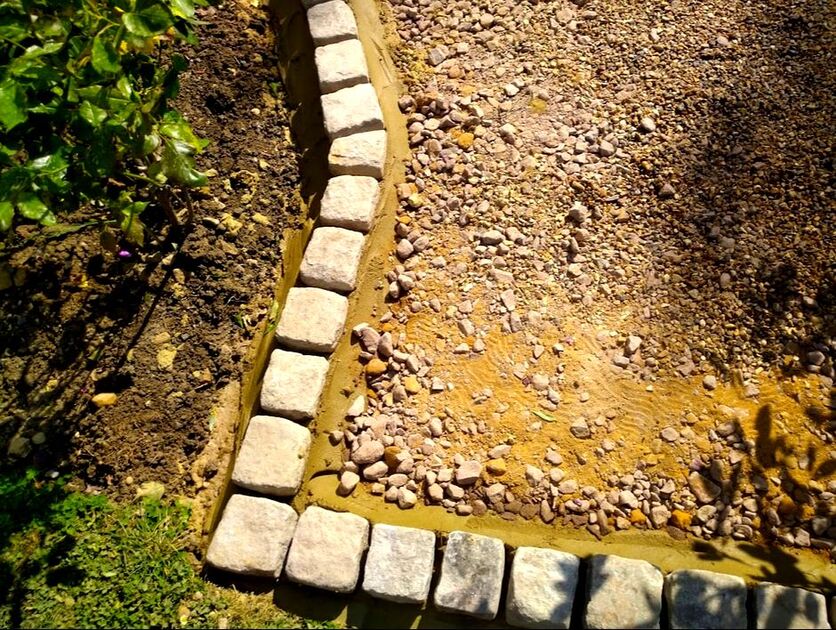
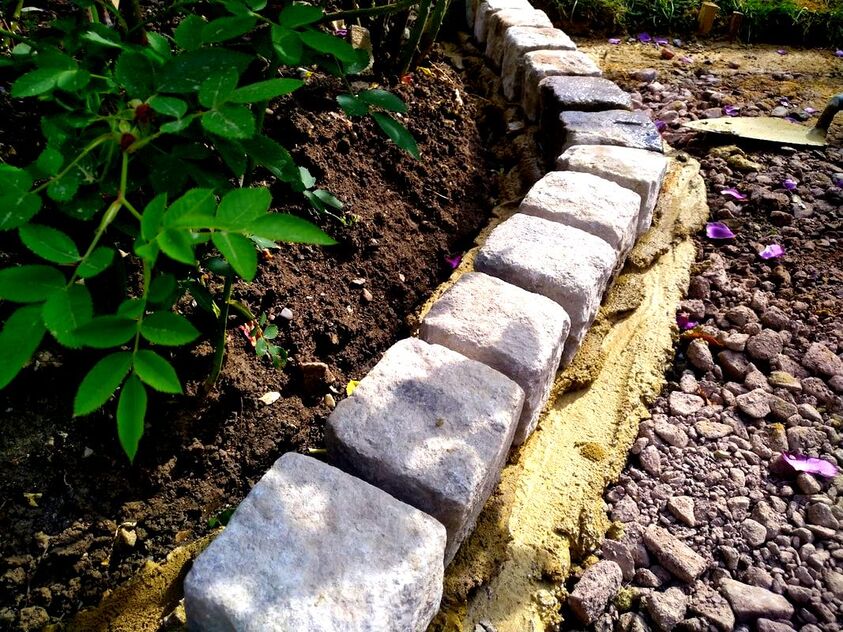
Granite setts are a much loved landscaping material and have been popular for centuries. Today there are two main choices when it comes to granite setts, new and reclaimed. The reclaimed are usually a little more expensive but they do have historical value and charm. These robust, edgings are normally around 100mm square with irregular faces. For garden edging, there is probably no other material as hardwearing and durable as granite setts. In fact most setts will outlive the mortar they are bedded onto. These are perfect for edging lawns, pathways and paving but can be used for almost anything in the garden. Granite setts garden edging installation
Granite sets are extremely dense and heavy which means they are better laid straight onto strong concrete mixes. For flush garden edgings make sure they are based up well to avoid future movement. Excavate a channel to a depth of 200mm (8inches) and a little wider than the setts themselves. Make sure the foundation channel is neat without loose soil left in the base.
Scatter a 50mm layer (2 inches) of compactable mot type 1 into the channel and tamp down well. With a cement mixer, mix up a strong concrete mix and lay a 50mm (2 inch) bed onto the hardcore.
Bed setts onto the concrete mix levelling with a spirit level and pointing up around them as you go. For granite sett garden edging installations why not contact us today? Table costs based on 50 linear metres of Granite sett edgings (100mm wide)
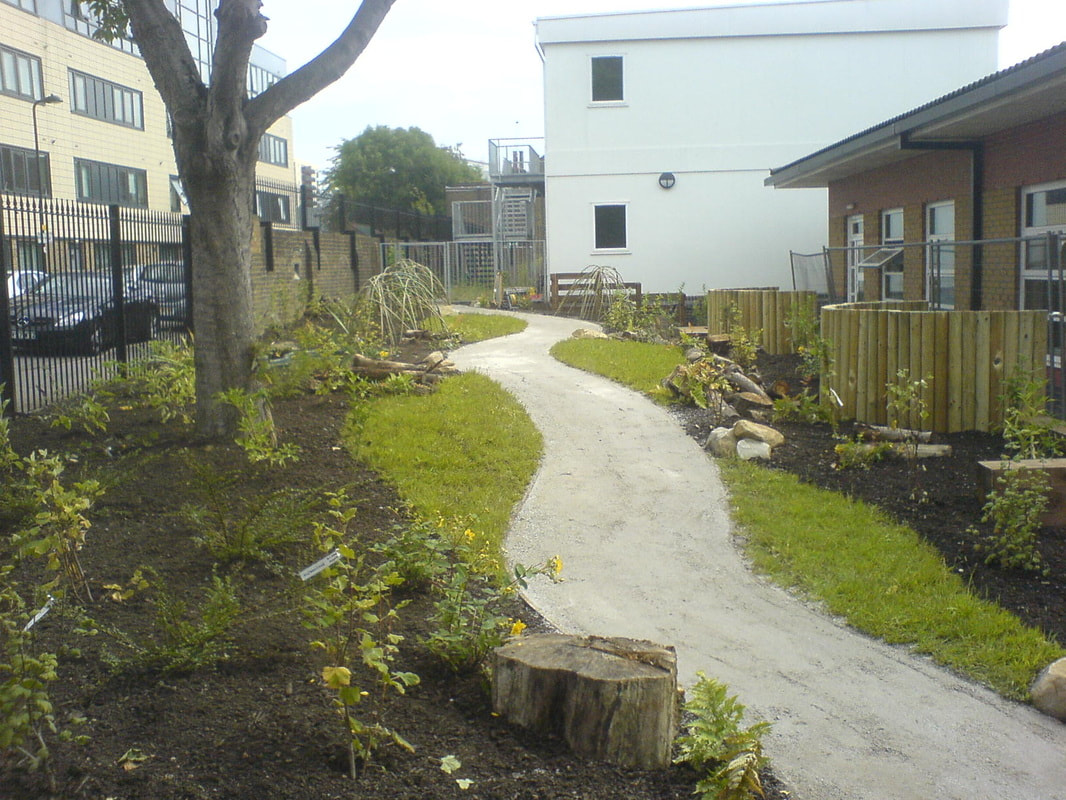
How much does it cost to install curved timber edging?Timber gravel boards are a very effective way of creating curved garden edging. These are particularly effective for creating narrow, flush edgings to lawns and pathways. Traditionally manufactured for fencing these timbers are treated to resist external rot. These come in a wide variety of lengths with widths of 150mm to 100mm. These can be braced together using small gravel board sections and external screws. Gravel boards are extremely flexible which makes them perfect for moulding curves. Boards can be scored with a series of 8-12mm cuts to make them cure more extreme bends. This type of garden edging can be extremely effective at forming organic shapes. Curved gravel board garden edging installation
To achieve a narrow timber edge flush with the ground the edging boards will have to be submerged vertically. This means you will have to excavate out a narrow channel to set in the timbers. This may be a part of a larger excavation if it is a part of a greater landscaping project. However I will cost the project as if you are excavating solely to install an edge flush with ground level.
Once your foundation channel is excavated place your board edging in to check its finished height. Now using a sledge hammer drive in 50x50mm timber pegs flush with the positioned gravel boards.
Fix the boards to the pegs forming a secure timber edge. You can now backfill the edging boards with soil until they are flush. If you require curved timber gravel board installation please contact us here. Table costs based on 50 linear metres of curved timber gravel board edgings (25mm wide)
How much does it cost to install straight 6x2 timber edging?
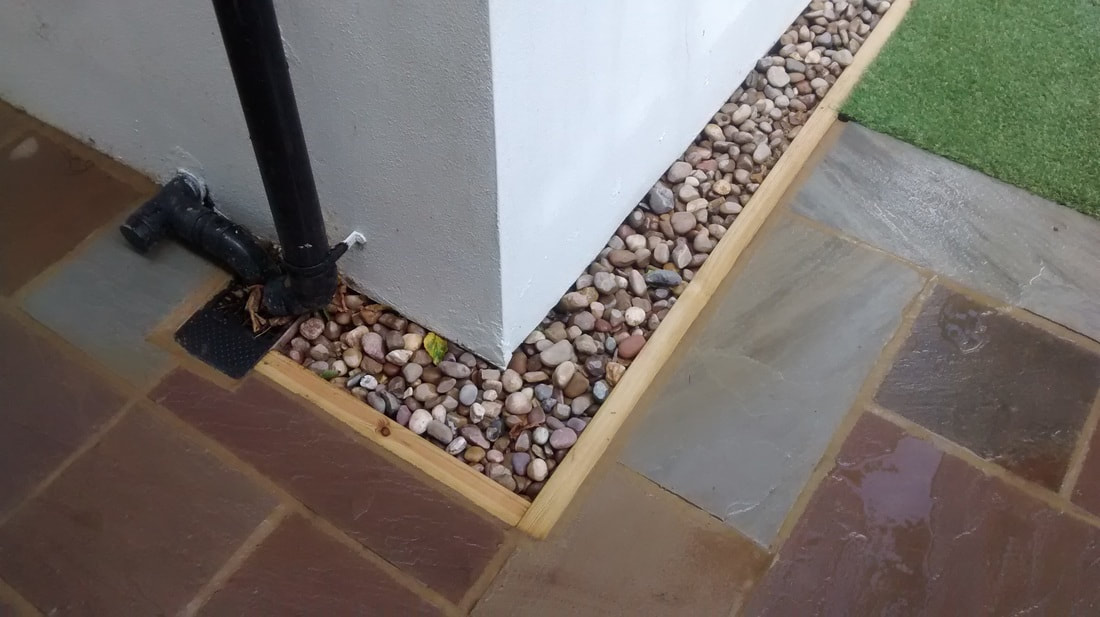
Most of the time straight timber edging is the most desired approach. These are perfect for bordering flowerbeds and creating a perfectly flush mowing edge. The most typical method of accomplishing this is with treated 6x2 timbers. The 2 inch width gives the boards a rigidity which makes it easy to lay straight providing a consistent level. These are also very effective as edging boards to gravel pathways and a junction between two surfaces. Straight 6x2 timber garden edging installation
To install 6x2 treated timber edging you will need to set it on edge into the soil. Excavate a 6 inch (150mm) Trench along where you wish the edging to sit. Place the timber edging in the trench to check your heights. When you are happy with the position of your edging secure it with external screws and 50x50mm timber pegs. Make sure pegs are hammered securely 300mm deep under the soil level. You can now backfill soil and substrates around the timber edge so its sits flush with the surrounding ground. If you require straight 6x2 timber edging installed please do not hesitate to contact us. Table costs based on 50 linear metres of straight 6x2 timber edgings (50mm wide)
How much does it cost to install timber sleeper edging?
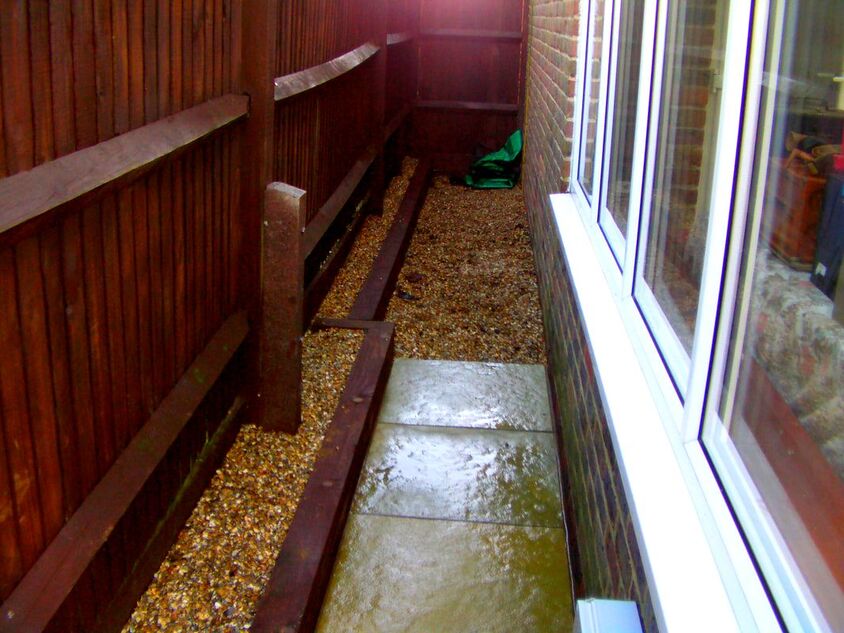
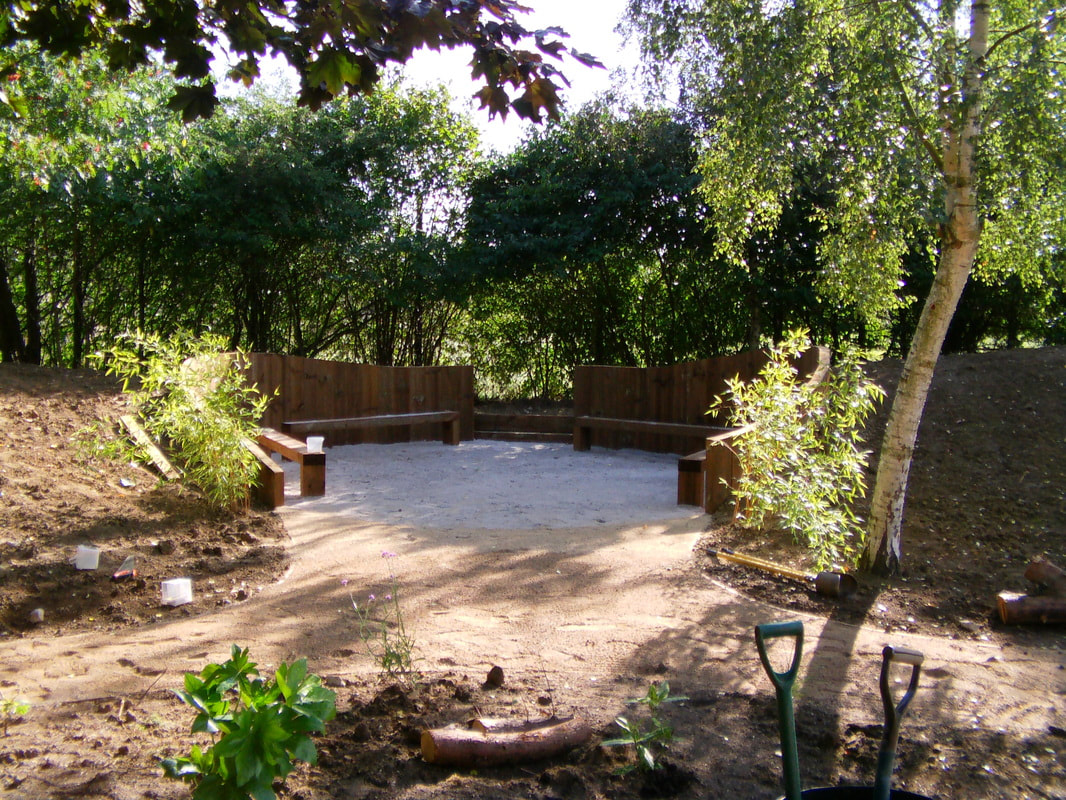
A very popular landscaping material for building garden edgings is timber sleepers. These heavy duty timbers are bold and robust perfect for retaining flower beds and borders. Due to sleepers large bulk they are rarely used as a flush garden edging or mowing strip. These are more typically used as raised edging which have some retaining value. They can however be used as flush edgings to lawns and pathways where there are level changes or terracing. More often than not sleeper edging is submerged halfway into the ground providing a raised edge. Timber sleeper garden edging installation
Depending on how exactly how you intend to use your sleepers for edging will depend on your specific cost. However we will work with the most common scenario of a raised garden edging. Excavate a 120mm deep trench along the route you wish to set in your sleeper edging. Try to fix sleepers together tightly by screwing braces of gravel board flush against them. This will make it easy to set in continuous straight lines. When you have sleepers in the correct position fix them to timber posts submerged into the ground. These can be concreted in and will help secure the sleeper edgings securely Table costs based on 50 linear metres of timber sleeper edgings (100mm wide)
How much does it cost to install curved timber sleeper edging?
Another popular method of creating sleeper edging is to set them in vertically. The series of joins every 200mm allows you to create organic cures. This can be a very attractive way to create raised edging to flower borders. Although this method requires a lot of cutting and skilled labour, often the extra effort and expense is worth it. The most typical scenario for this is having raised sleeper curves around 200mm above soil level. This usually requires cutting 400mm sections of sleeper and concreting half into the ground. Curved timber sleeper garden edging installation
The key to building curved, sleeper edging is by accurate cutting and a level foundation base. Firstly mark out the curvy shape of your new edging. Then excavate a trench 170mm (7 inches) wide and 300mm (12 inches) deep along the route. Make sure the foundation trench is cut out neatly and there is no loose soil in the base. Then with a cement mixer mix up a wet concrete mix and create a level base to the bottom 100mm (4 inches) of the base. While the concrete is setting cut your sleepers neatly into 400mm sections. The next day lay out your cut sleepers vertically onto the base. If you are happy with the edgings shape, concrete in around each side of the sleepers securely. Table costs based on 50 linear metres of curved timber sleeper edgings (100mm wide)
How much does it cost to install steel garden edging?
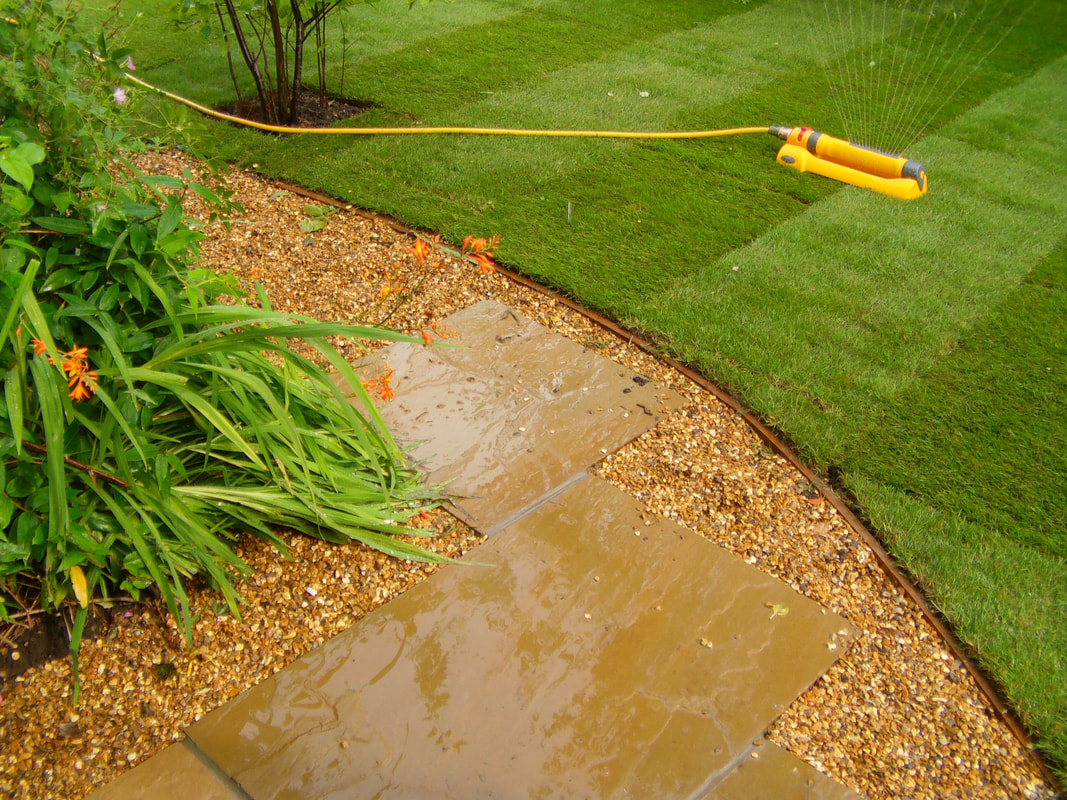
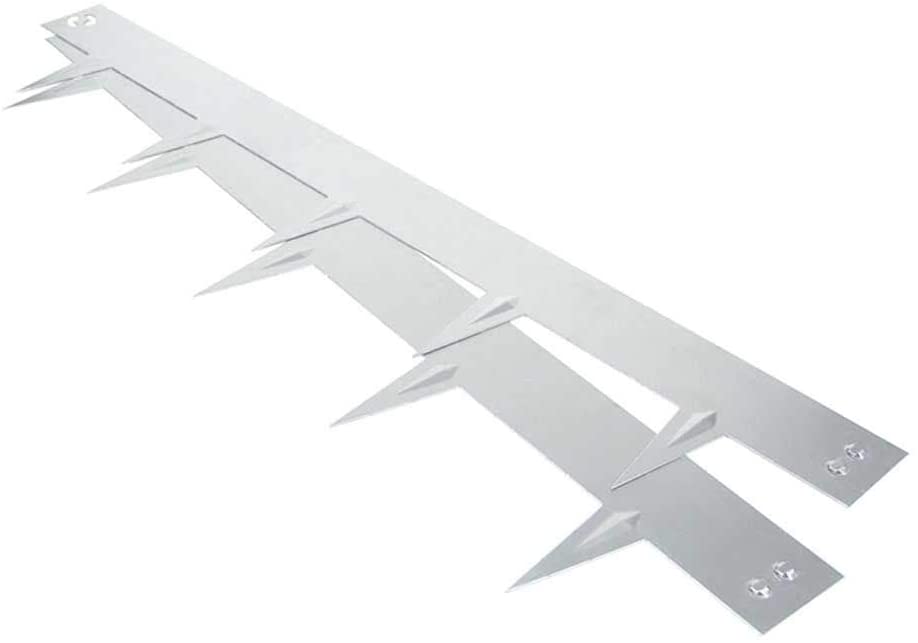
Stainless steel edging can give a clean and modern look to an outside space. This edging is typically used to retain loose aggregates and form clean transitions at ground level. This makes stainless steel edgings ideal for mowing edge strips and borders to flower beds. As this metal edging is flexible it can be formed into almost any shape. This type of edging is very popular for creating meandering curves to contemporary gardens. There many types of stainless steel edging on the market but they are all designed in a similar way. For pricing in this article I will use CORE EDGE stainless steel garden edging for installation costing. Stainless steel garden edging installation
Stainless steel garden edgings are relatively easy to install if you use the correct method. You can set these into the ground without concrete but I would recommend otherwise. Excavate a trench where you want them to go and then connect a few sections together. Using a block of wood and a hammer tap them down into position. When you are happy with the level and position concrete them in at the joins. Laying perfectly straight lines with these is challenging, you will need a string line and greater quantities of concrete. Table costs based on 50 linear metres of Core Edge stainless steel edgings (1.4mm wide)
Conclusion
It is important to mention that every landscaping projects costing will depend on your locality and site conditions. Landscaping contractors rates vary depending on demand, profitability and risk. Labour rates do have regional differences and material costs can vary seasonally. It is important to clarify that this article should not be used to directly quantify specific projects. However the prices here will give you an average price you should expect for garden edging installation. Taking into account all the garden edgings options here: The average cost of installing garden edging is about £50.00 a linear metre if you hire a contractor. The average cost of installing garden edging is about £23.00 a linear metre if you install it yourself.
If our article helped you in your search please help us by sharing it on social media!
Thank you!
'As an Amazon affiliate I earn from qualifying purchases'
1 Comment
|
The Author
|
Landscaping services across Buckinghamshire, Amersham, Aylesbury & High Wycombe
Hyde Heath, Amersham, Buckinghamshire |
|
