This article contains affiliate links
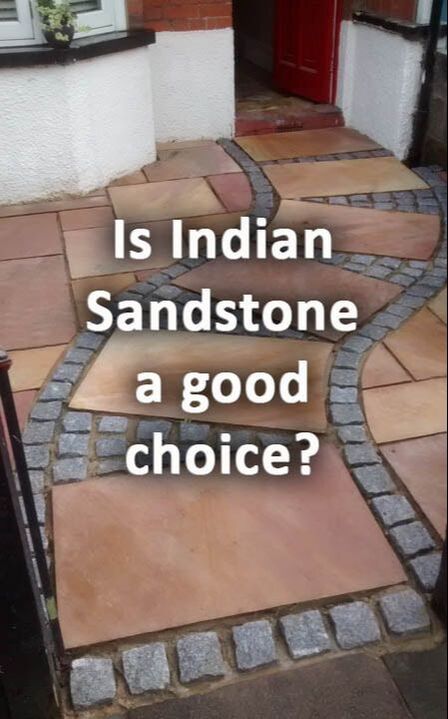
Indian sandstone is one of the most popular paving materials on the market today. Not only can it be worked into an array of specifications it also comes in a wide variety of colours.
Indian sandstone can come in a rustic, riven, form or cut and honed for a more contemporary style. When quarried, colour variations and even fossils can be celebrated within any single paving unit. This allows a tremendous amount of choice and variation for any landscaping project. Indian sandstone also comes in a variety of sizes including multi-sized project packs. Over larger areas these help to enhance visual texture and interest. 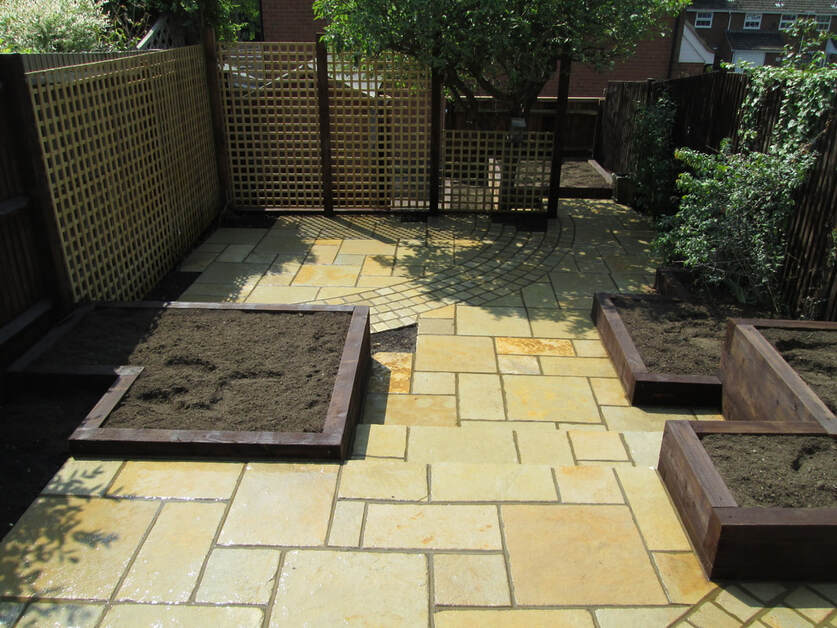
Unlike manufactured paving units using concrete and colour dyes Indian sandstone's colours do not fade. This makes this natural stone a worthwhile investment for a new garden pathway or patio.
Although laying Indian sandstone in principle is easy it is very easy to get it wrong. There are a great number of pitfalls you can fall into if you have no experience laying paving. Some of these include puddles, uneven surfaces, loose paving, poor finishing and staining. In this article I will explain how to lay Indian sandstone paving step by step with pictures. Setting out
One of the most crucial stages of making any patio is setting out your paving. Try to visualise how your wish your patio to look, do you want curved edges or a brick border? A good idea is to search for precedent images of other Indian sandstone patios online for ideas. When you have decided on your patios size and shape mark this out with pegs or spray paint. Work out how many square metres of paving you need from the marked out surface area. It is advised to buy 10% extra than what you need to allow for cutting and breakages. 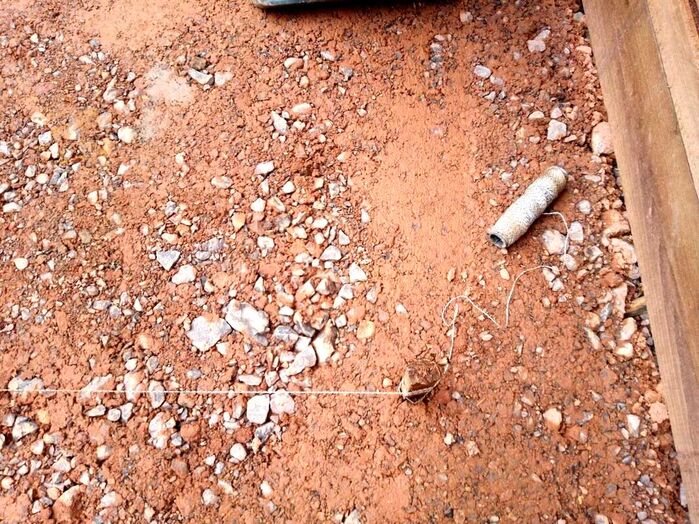
Buying your paving
When buying your paving make sure you purchase from a reputable supplier. There are many cheaper websites selling Indian sandstone from very soft sandstone deposits. These Indian sandstones are extremely porous and can soon become stained by algae blooms. Furthermore, these cheaper pavers can also be subject to freeze and thaw action in damp conditions. I always recommend going with a well known brand such as; Marshalls, Bradstone, Pavestone and Brett. 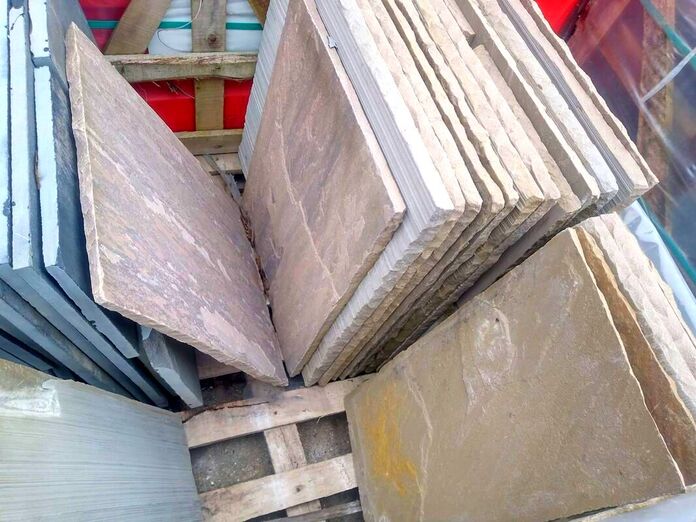
Working out your levels
Working out your finished levels is a very important part of building a successful patio. Resolving your levels will give you some very important information. Some of these include; if you will need to build any retaining features, or how many base materials you will need. The best way to work out your levels is by establishing known reference points. These can be where your patio meets the level of a sideway, or your preferred level around the home. Please note the paving around your home should be about 150mm or 6 inches below the damp proof course. Run a tight string line from your known references across the patio to find an optimum level. This can be pegged out so you know how deep to dig for your base. 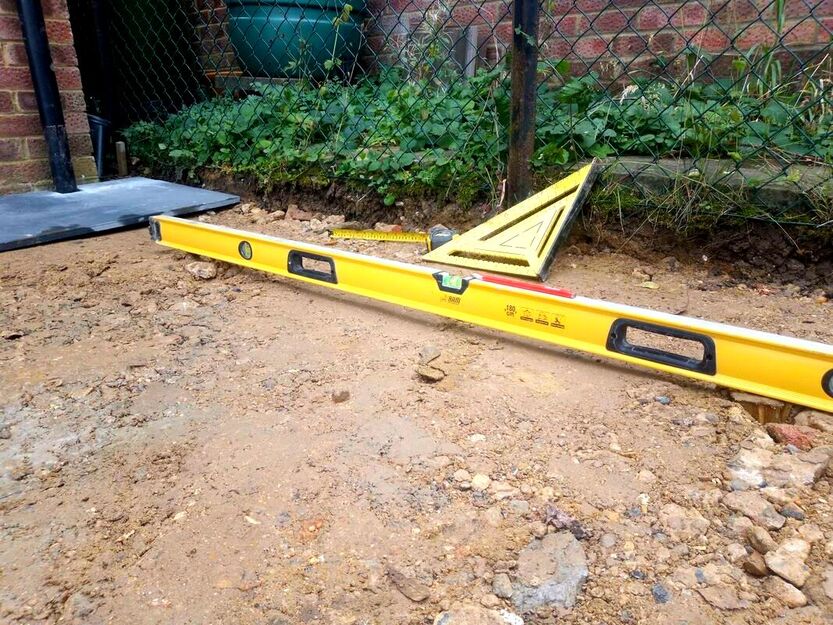
Where will rainwater run?
A very important strategy for your Indian sandstone patio is drainage. You will want surface water to flow away from any buildings and to drain easily from the paving. Indian sandstone is more absorbent than some other types of paving. This means it is susceptible to algae establishment and becoming slippery in damp conditions. You will need to devise a basic patio drainage strategy for your Indian sandstone patio. For more information why not read our comprehensive article on patio drainage here. 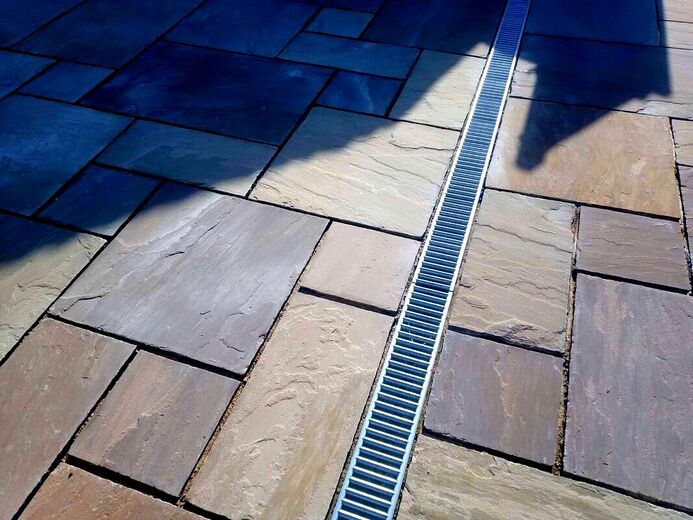
Excavation
When you know where your finished level of your patio you can start excavating. You will need to excavate to a depth of about 160mm. That will allow about 20mm for paving, 40mm for mortar and 100mm for sub-base. You need to make the excavation as square and neat as possible with no loose material left over. Any loose soil left could sink leading to settlement and cracked paving. The best way to remove excavated soil from your garden is with a skip. Why not visit our step by step guide on how to fill a skip with soil here. When working out how much soil you need to get rid of bear in mind it bulks up by 30% when excavated. 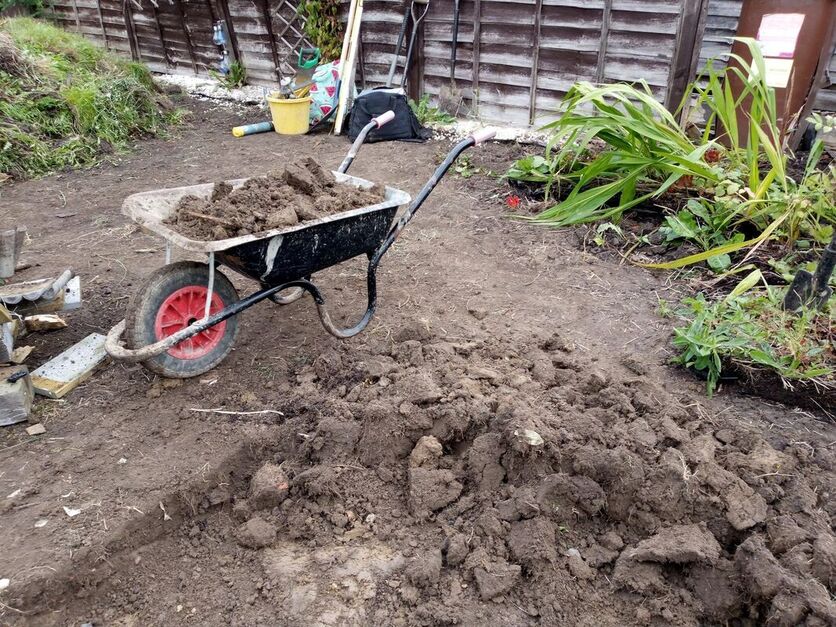
Sub-Base
Your laying base must be made up of a suitable, compactable, sub-base, aggregate, material. The best material for this is Mot type 1 compactable aggregate. This dense material has angular particles which compact well under pressure. The key to laying Indian sandstone perfectly flush and level is by grading the base properly. This will enable you to lay a consistent mortar bed of around 35mm which will make levelling the paving easier. The best way to spread your hardcore is by pegging out your sub-base level (55mm lower from finished patio level). Using a long spirit level, tight string line, hammer and pegs plot out the sub base level. Then spread your sub base aggregate just slightly higher than the top of the pegs at an even gradient. When you compact your base with a whacker plate the base will settle to the top of the pegs. 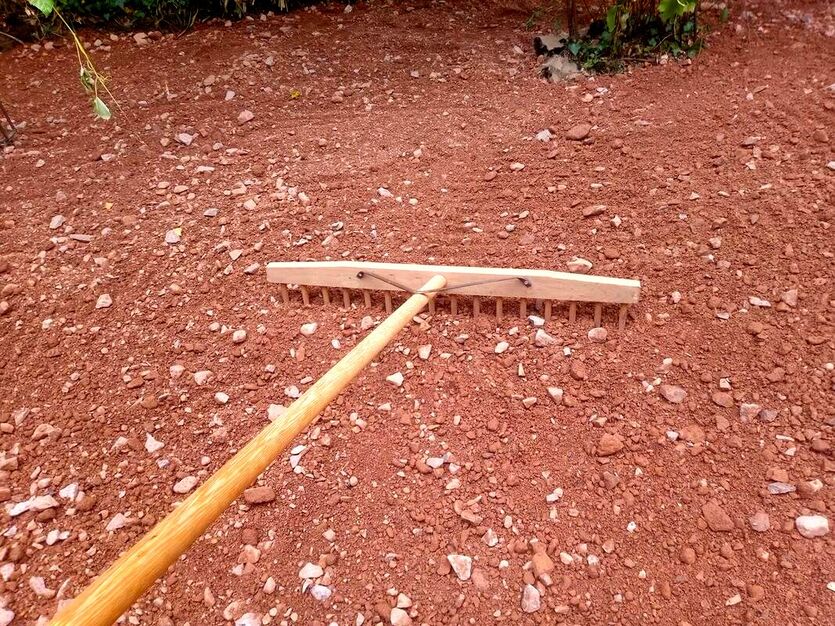
Preparation
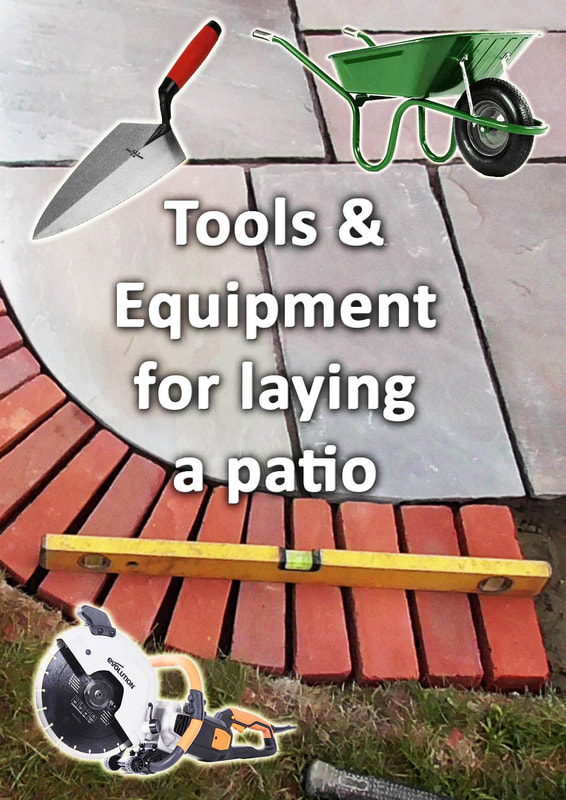
Once you have a well levelled and compacted sub-base you can prepare for laying the paving. Make sure you have stacks of sandstone slabs around the outside of your patio, to hand. If you are laying separate sizes stack them in their size grade. This way you can keep an eye on your pattern ratio as you lay. Get everything you need as close to the laying area as possible. If your mixing with a cement mixer make sure it cannot splash and splutter over the sandstone. This can lead to cement stains which are impossible to remove once set. 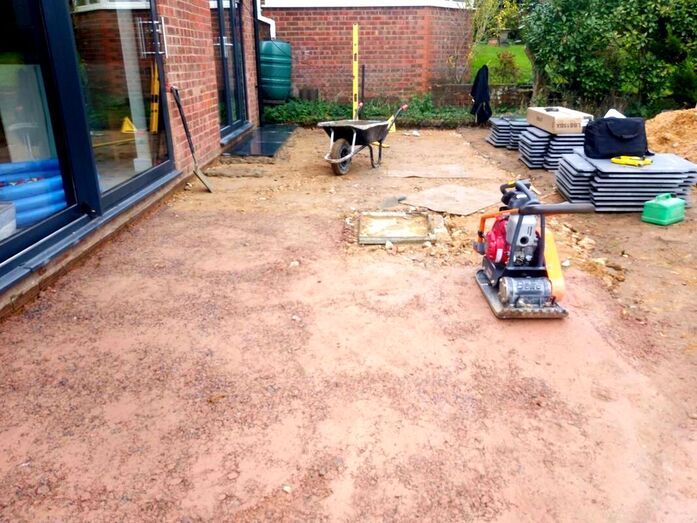
What is the best mortar mix for Indian Sandstone?
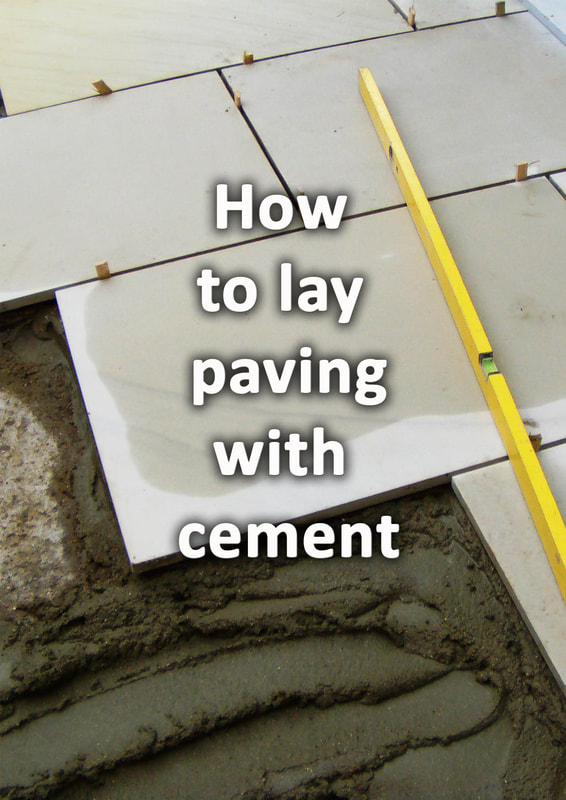
The best mortar mix for laying Indian sandstone is a 1 part cement, 4-5 parts sharp sand mix. Sharp sand has course and angular particles which create a mortar with a high compressive strength, I personally like to mix 1 part cement, 1 part soft sand and 4 parts sharp sand. The little bit of soft sand makes the mix just that little bit more workable and sticky. The mortar should have the consistency of a thick bricklaying mortar. You should be able to create wet suction on the mortar with the back of a trowel. This is important as the moisture content will enable the sandstone to stick to the mortar. Too often, contractors make their mixes too powdery and dry leading to poor bonding. Such mixes can also make the paving feel hollow under foot. 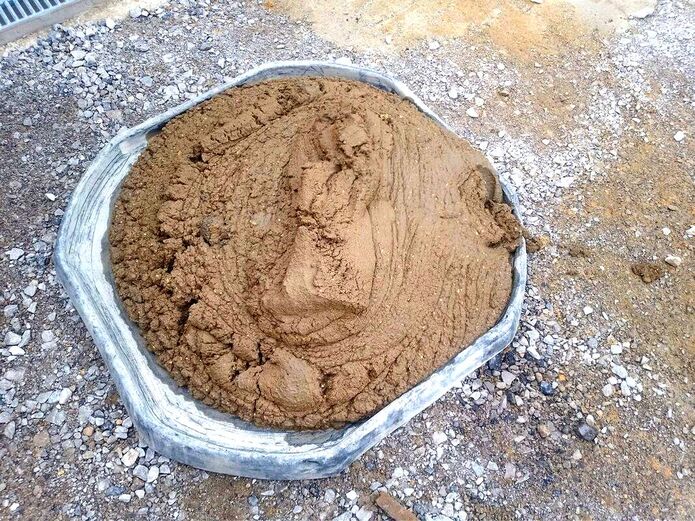
The mortar should be wet and pliable enough to form a continuous and dense mortar bed.
Start you mixer and add two thirds of a bucket of water to the spinning barrel. Add a dribble of mortar plasticiser and add half a bag of cement. When the cement dust has become completely soluble in water add the sand. Usually I find13 shovels of sand makes the perfect ratio. However, if you are not confident with ratios measure your mixes out in buckets. Mix until you have a good, workable, mortar, consistency. How thick should mortar be under Indian sandstone?
Normally your mortar bed should be between 30mm and 40mm. Any less than this and your mortar base would be too thin and possibly crack. However any thicker and the mortar will become difficult to work and level. Laying your first slab
Laying your first few slabs is the most important stage in building your patio. It is at this point that you will set your paving level and falls. Try to keep your paving edges square with the line of the home and square to any walls. Bed down your first Indian sandstone slab and check its falls with a long spirit level. Make sure your paving is laid on a consistent mortar bed with no gaps under the paving. 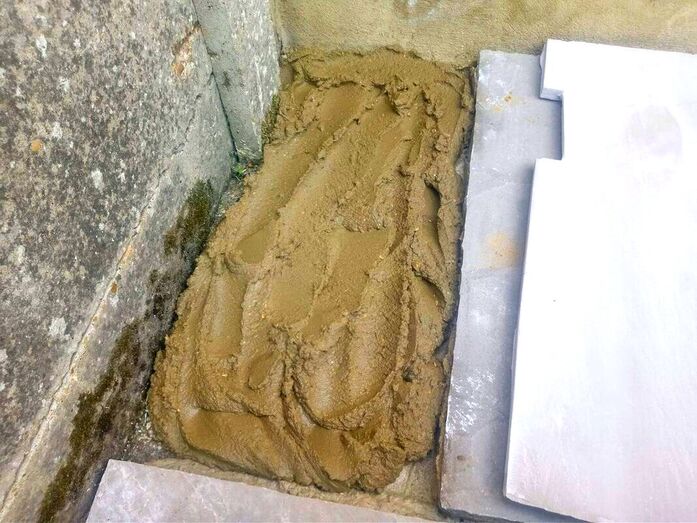
Keeping your joints constant
One of the biggest challenges when laying Indian sandstone is keeping your joints consistent. Much of the Indian sandstone on the market has a rustic finish. This means some pavers can ever so slightly vary in size and shape. This can make it difficult to keep your grouting joints a consistent width. This is especially so is you are laying different sized paving within a pattern. The best way to lay with consistent joints is to set out some paving before you start. This will give you an idea of the best size to set your joints. As a general rule joints for Indian sandstone paving should be around 10mm. 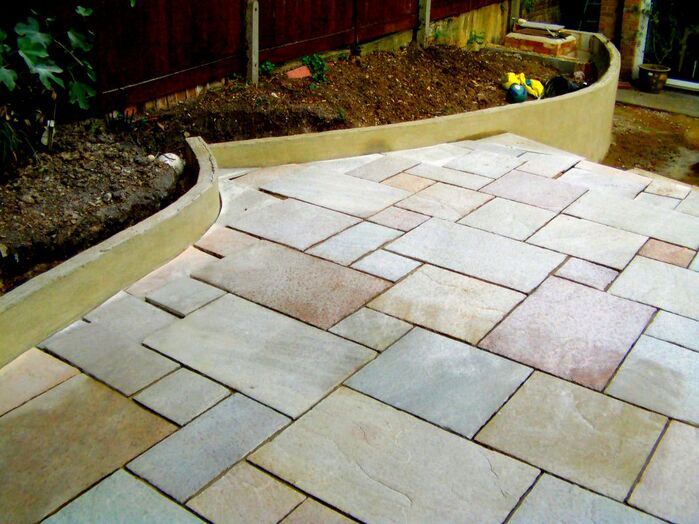
Keeping your lines straight
As well as keeping your joints consistent you will also need to keep an eye on your lines. The best way to keep your lines straight is to lay back from a perfectly straight feature like a wall. However the further out you build the more chance you have of wavy joint lines. As you lay check your pattern lines and edges with a string line and long spirit level. 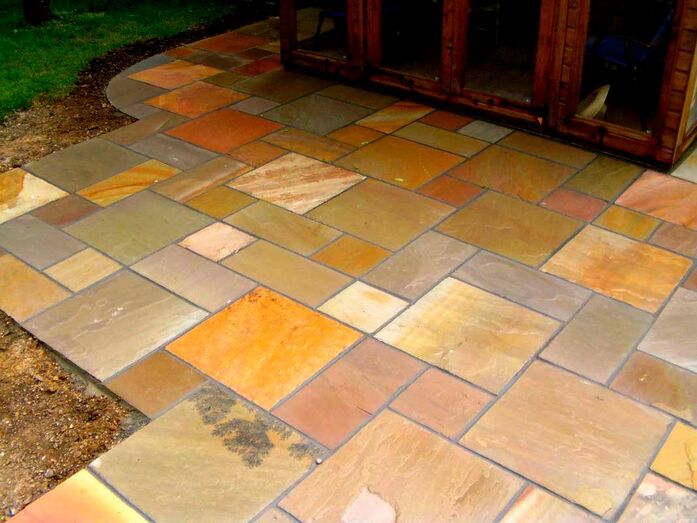
Cap off long joints
If you are laying different, sized, Indian sandstone paving to a pattern you will want to cap off long joints. This is where a grouting joint has become continuous without being blocked by another slab. As you work, keep an eye on your joints so none of them become too long without becoming capped off. 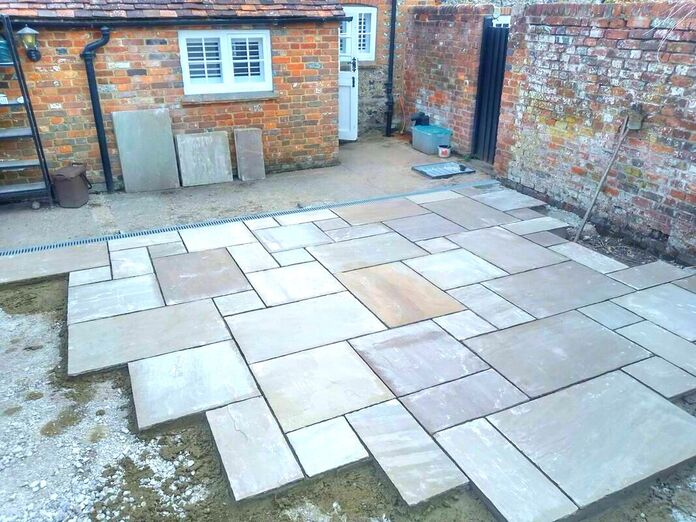
Keeping the project clean
A very important factor when laying Indian sandstone paving is keeping its surface clean. You want to prevent mortar splashes and cement staining as much as possible. This also goes for paving which had been laid days previously. It is very easy to tread mortar across a patio staining it. Try to keep an eye on your paving and make sure mortar is not left upon the surface. When I lay paving I have a bucket of water and hand brush nearby. If any cement gets flicked up on to the paving I wash it down immediately! What is the best way to grout Indian Sandstone?
The best grout for Indian sandstone is a mortar mix containing 1 part cement 3 parts plastering sand. I find Leighton buzzard plastering sand the best for this due to its consistent particles. The mix should only be slightly damp so you can form a ball with it in your hand. There should be no cement or water discharge from the mix whatsoever. The mix should have the consistency of brown sugar. This will allow you to point a neat finish without staining the paving. For our full guide on how to grout paving visit our step by step guide here. 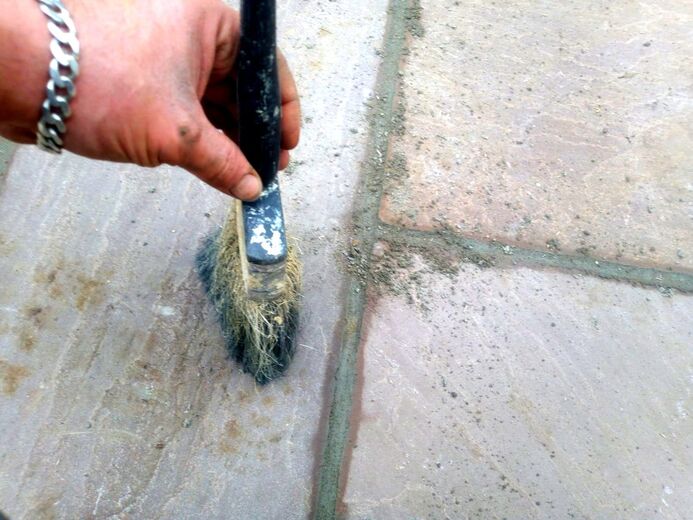
Do you need to seal Indian Sandstone?
You do not have to seal Indian sandstone but sealing will protect it from stains and algae. Indian sandstone is naturally, porous so can absorb liquids like red wine, coffee, oil and bird poop. Such substances contain compounds which can stain Indian sandstone paving. Therefore, it is recommended you do apply some sort of sealant if you foresee potential staining events. There are many sealants available on the market today and some especially for Indian sandstone. I have linked to some of the most popular below. 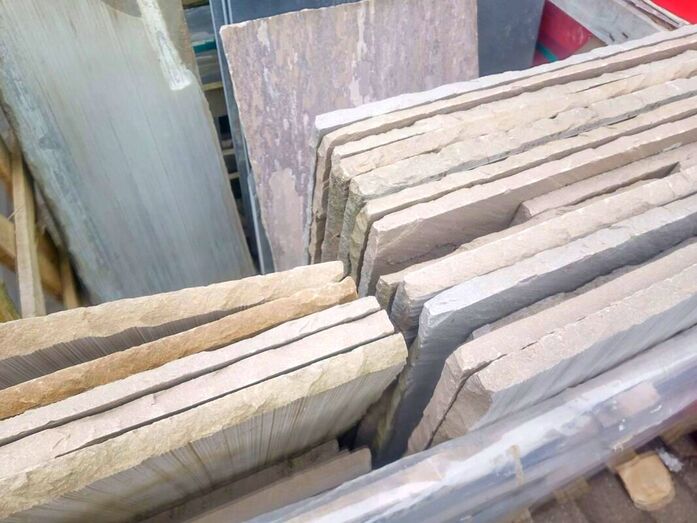
For more information on these products displayed above click on the images to be taken to Amazon.uk.
Thank you for reading our article on how to lay Indian sandstone correctly. Below we have included some other articles you may find useful.
'As an Amazon associate I earn from qualifying purchases'
0 Comments
Leave a Reply. |
The Author
|


Landscaping services across Buckinghamshire, Amersham, Aylesbury & High Wycombe
Hyde Heath, Amersham, Buckinghamshire
|
|