|
This article contains affiliate links
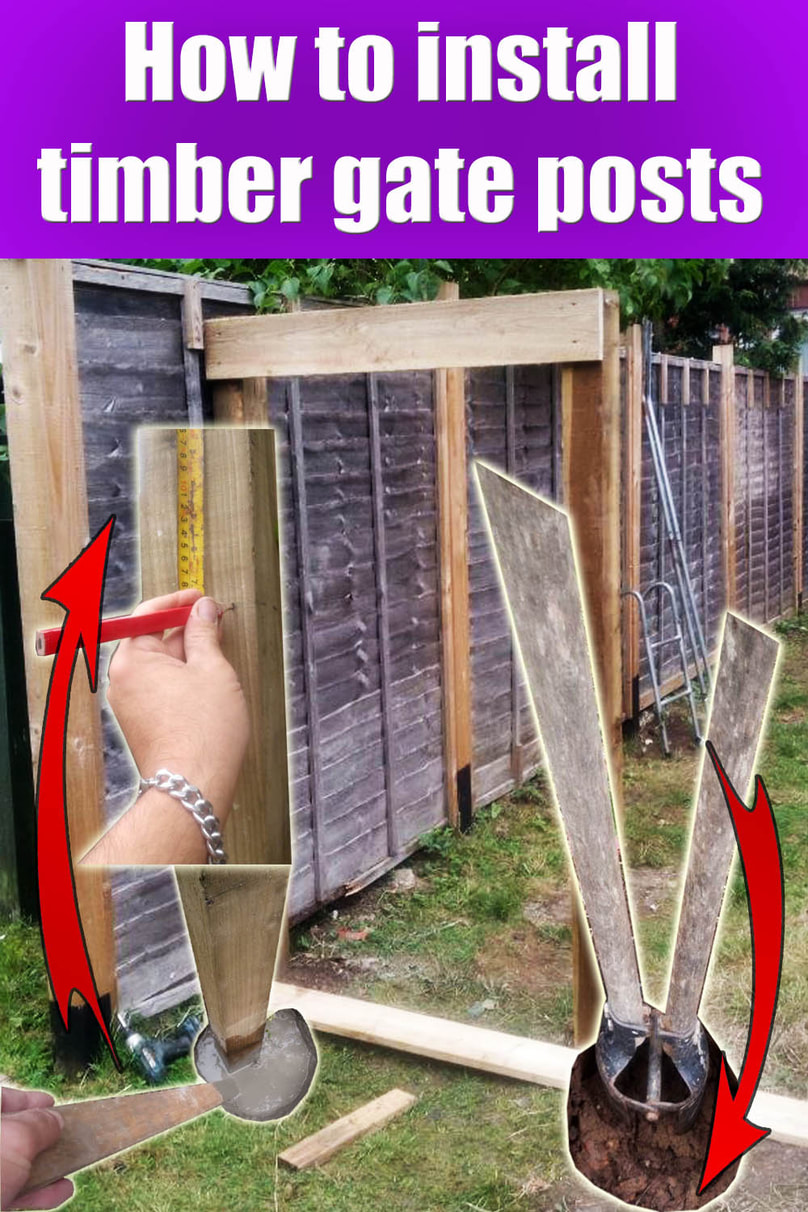
Installing gate posts for wooden and garden gates is one of the most crucial stages of timber gate installation.
As timber is a natural product it is susceptible to varying moisture content and seasonal movement. Consequently installing gate posts correctly is crucial to avoid excessive gapping and jamming. In this article I will not only explain how to install timber gate posts step by step. I will also describe measures and tips to avoid some of the pit falls of gate post installation. In this article I will include step by step pictures of recent gate posts I have installed. Tools you will need
Shopping list
How to install wooden gate posts step by step
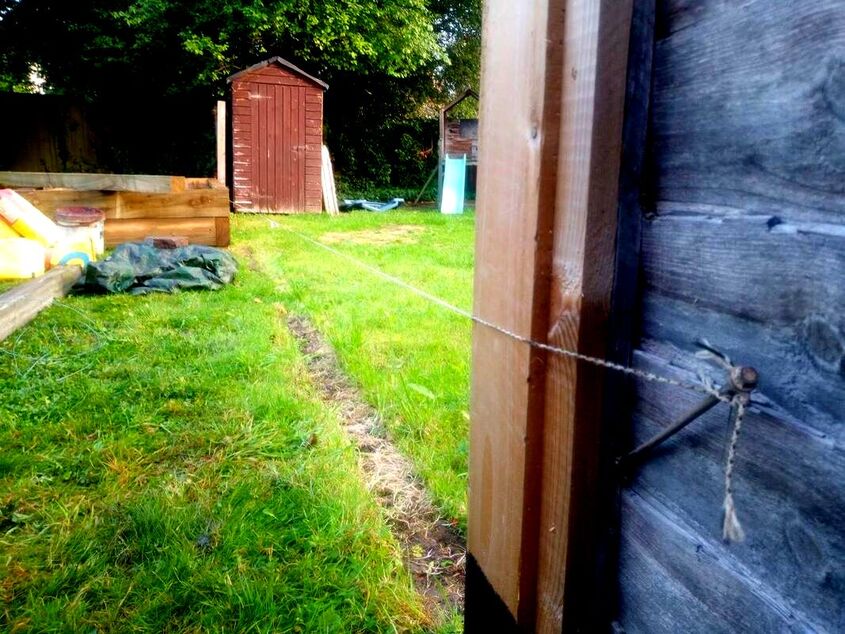
Step 1: Setting up your line
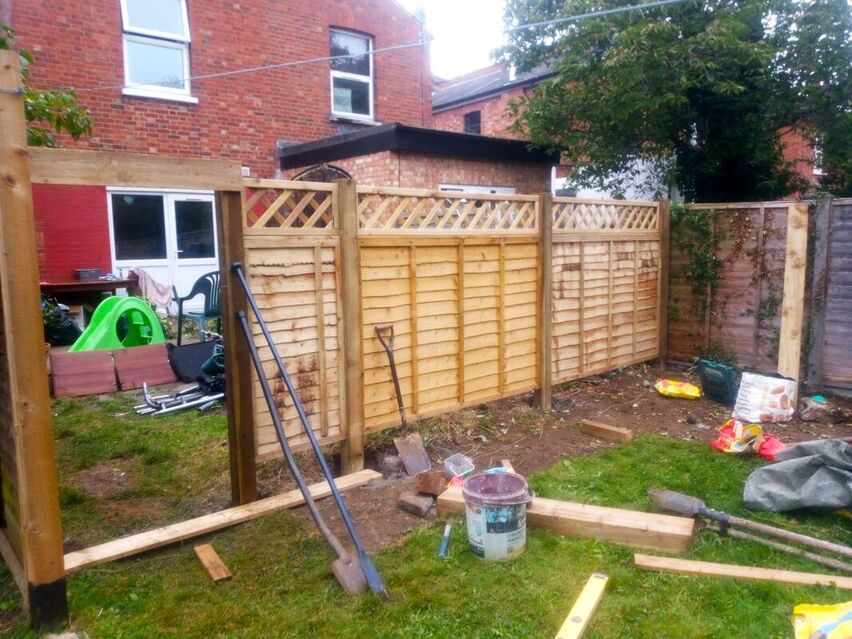
Set up a string line or long and straight piece of timber across your gate line. This will enable you to mark out, excavate and set in your gate posts straight. Step 2: Mark out your holes
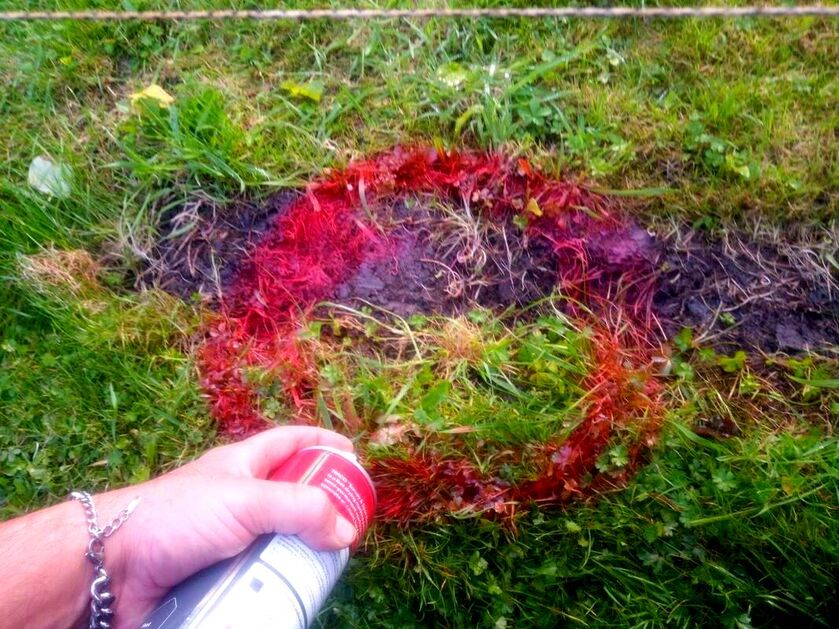
At this point it is a good idea to cut a piece of timber to the exact width of your gate with an extra 3mm at each end. For example if your gate is 900mm wide cut your timber squarely at 906mm. Now mark out the centre point of your gate posts and mark out a circle around the centre. The radius from the centre should be about 130mm all the way round. The best way to mark out your post holes is with line marker paint. Step 3: Excavate your post holes
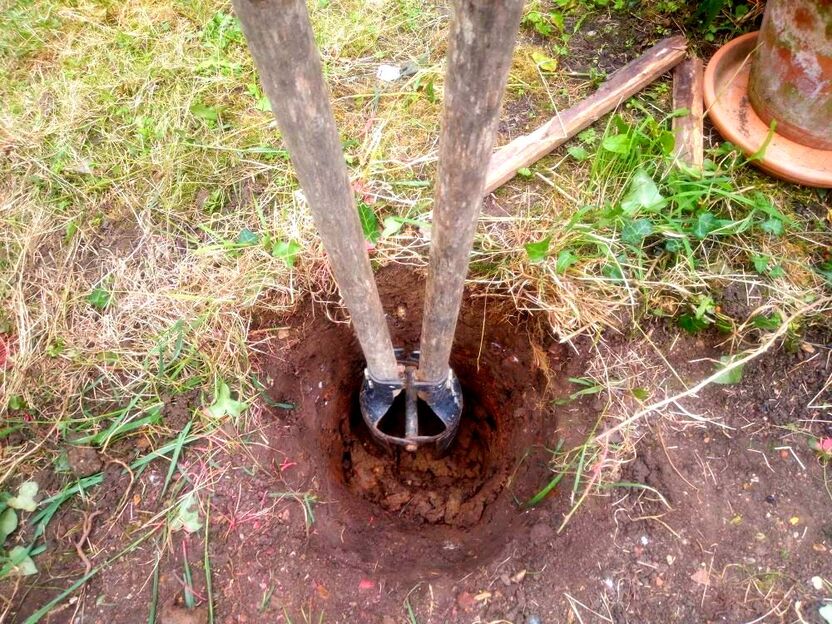
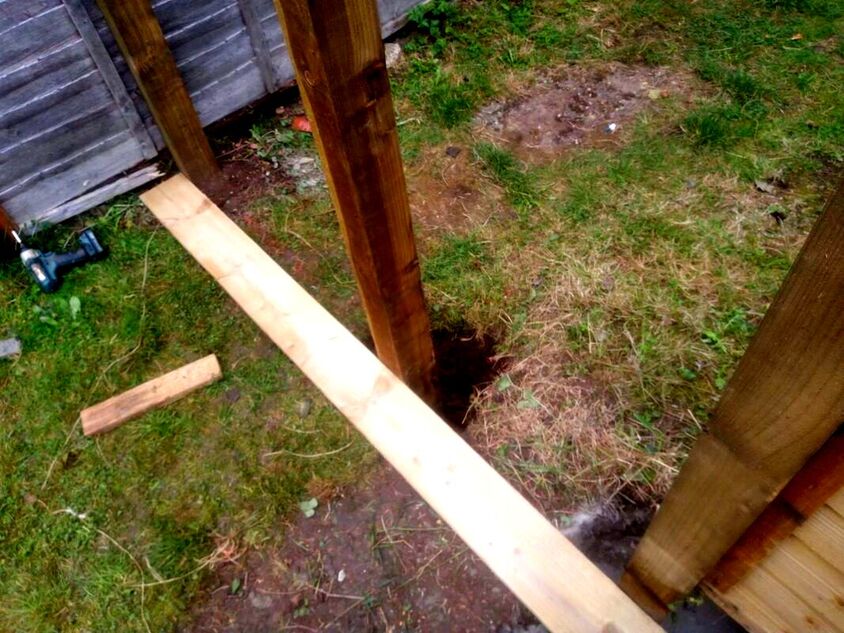
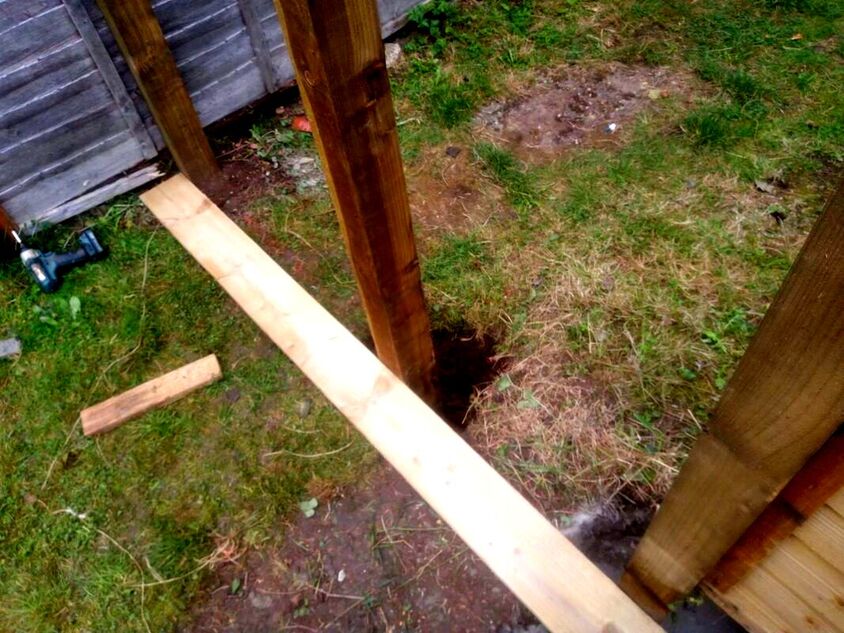
Excavate your post holes so you have clean sides with a level bottom. You are aiming for a depth of around 600mm deep. This is best done with a digging bar and post hole diggers featured in the image below. Step 4: Check your post heights
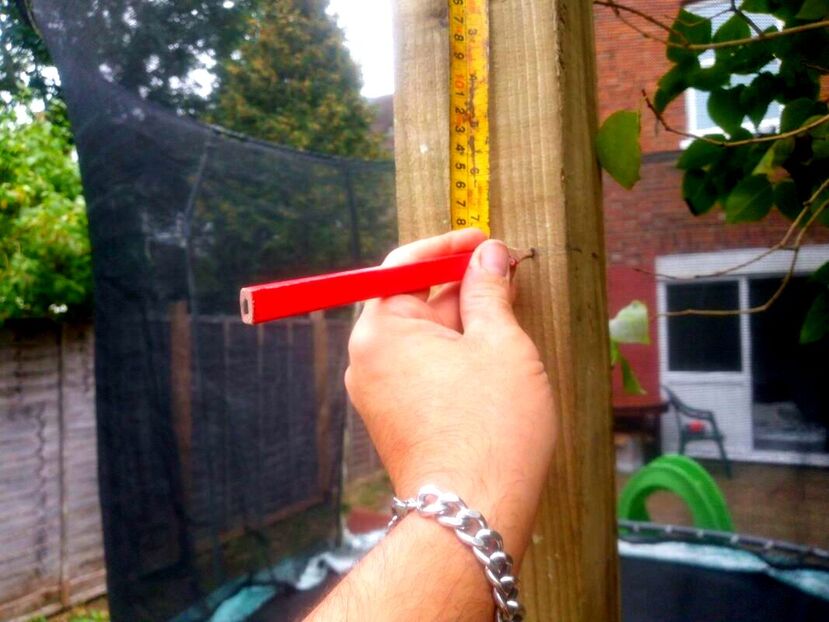
Place your posts into your excavated post holes so you can check their heights. You want to make sure the posts are slightly higher that the gate when the gate is installed. Remember that it is custom procedure to elevate your gate off the ground by an inch or two. Step 5: Set in your first post
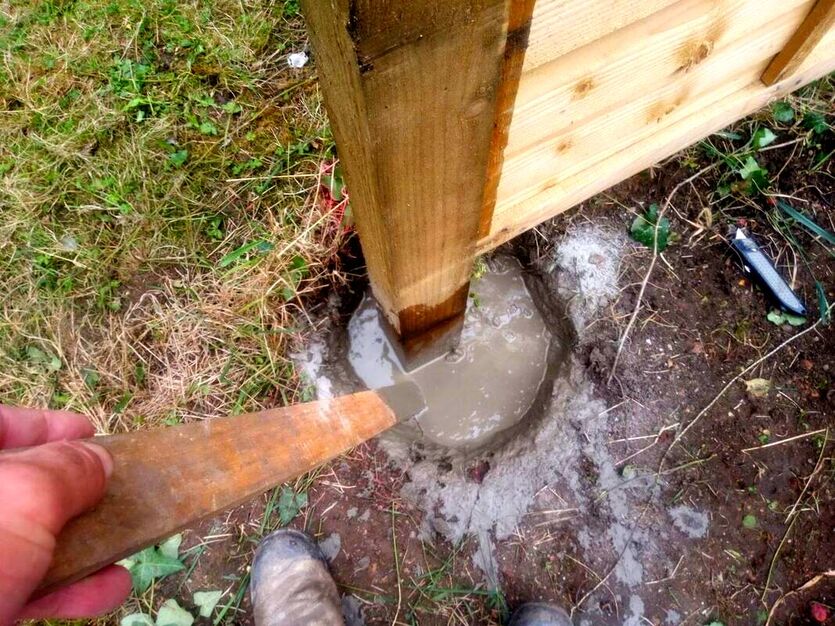
Place your first post into the first hole so there is a reasonable void around the post. It is good to set in posts to a string line so they are flush with the existing fence. When the post is in position fill the hole half full with water. Now empty the first bag of postcrete evenly around the hole. Using a long stick mix the dry mix with the water distributing it evenly around the post hole. Add more water if necessary and add the second bag, mix well until it forms a level mix. Set in posts with their sides as flush as possible, any angles could prevent gates from closing fully. As the post sets over the next 10 minutes check its vertical level so it remains in place. Step 6: Set in your second postSet in your second post using your gauge to make sure the correct distance is set for the gate. A good tip here is to screw a timber brace along the front line of your posts. Once the posts are screwed into position and level you can concrete them in more easily. Add your concrete making sure the posts distance and vertical level as you work. Step 7: Fix a spacer gauge
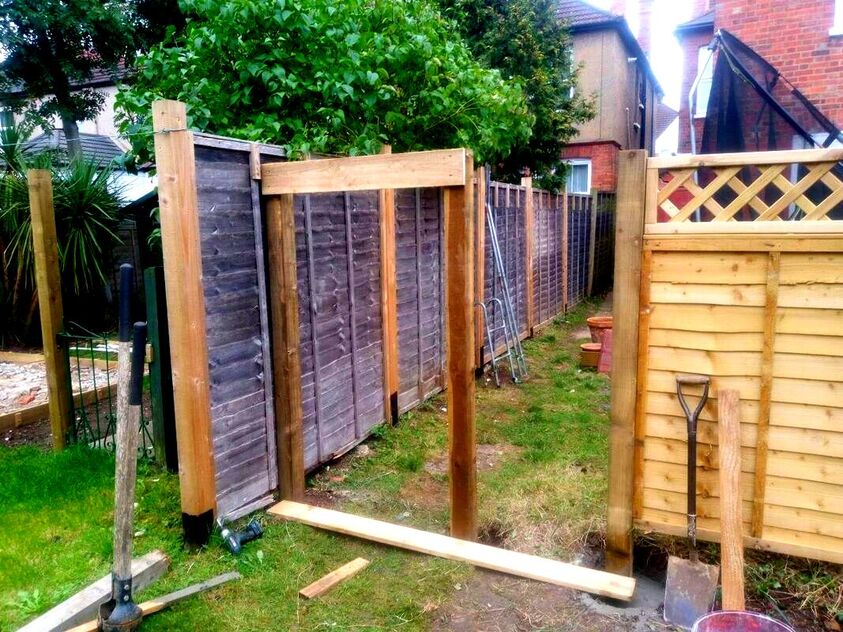
As posts are setting they can occasionally move slightly out of position. This can lead to a wider or tighter gate width than is optimum. As this issue typically affects the top of posts a spacer gauge can be installed while they set. This simply involves screwing a section of gravel board across the top of the gate posts. You can use your 906mm timber gauge to set the distance while you fix it into position. Step 8: Check your levels
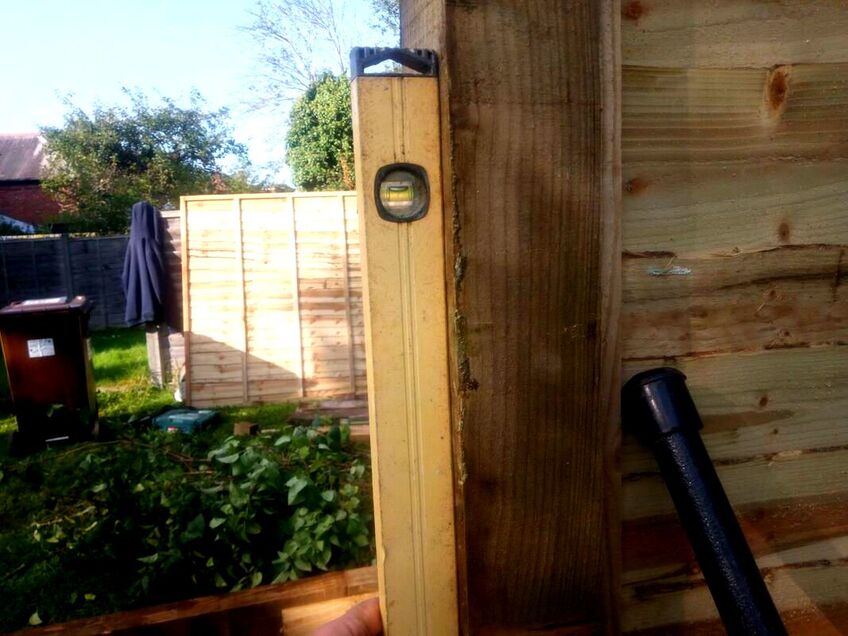
Once your posts have been concreted, it is a good idea to check their vertical levels. Go around your posts with a spirit level and make sure they are as plumb as possible. You have now completed your fence posts and ready to hang your gate. FAQ’S
How do you fit a wooden gate post?
Wooden gate posts should be a minimum thickness of 100mm and set into concrete 600mm deep into the ground. You should use fence posts treated for outdoor use but should also water proof the bottom 600mm. This can be brushed on with a wood preservative to prevent rot at the soil line. You should also only use the straightest timber posts possible and set them in as vertically level as possible. Should gate posts be set in concrete?
Yes gate posts need to be solid with no threat of movement. If fence posts have any movement they can lead to gates jamming or not closing properly. Posts should be concreted at least 600mm deep with at least 75mm (3 inches of concrete all the way round) How deep should a wooden fence post be?A wooden fence post should be well concreted into the ground about 600mm deep (2 feet). How many bags of postcrete per post?
You should add at least two 20kg bags of postcrete to concrete in a single post. How much water do you need to add to postcrete.
It depends upon how permeable the underlying ground is but aim for the hole to be half full. As a general rule two thirds of a bucket or 3 gallons is enough to hydrate two 20ky bags of postcrete. How do you line up a gate post?
The best way to line up a gate post with a fence line is with a tight string line. Set up the tight string along the line of the fence, and then set your post flush with it. The best way to set posts straight is fixing long straight sections of timber across posts. This also allows posts to set perfectly inline overnight with no threat of disturbance. How far apart should gate posts be?
A standard distance between gate posts is a standard gate distance of around 900mm. Any narrower than that and future access for certain things could be restricted. Any larger than a metre, could mean heavy gates and eventual bowing of posts.
Thank you for reading our article on how to install timber gate posts for wooden gates. Below I will link to some other articles you may find useful in your search.
If you require fencing or gate post installation do not hesitate to contact us. Based in Amersham we undertake a wide range of garden landscape projects. Our landscaping services include; brickwork, paving, pathways, edging installation, fencing, drainage systems, landscape design, garden clearances, new lawns garden re-levelling, ponds, wildlife gardens and gravel installation. We cover most of Buckinghamshire including Hertfordshire, Oxfordshire and the local regions of Amersham, Aylesbury, Beaconsfield, Chesham, Chalfont Great Missenden, Gerrards cross, High Wycombe & Tring.
'As an Amazon Associate I earn from qualifying purchases'
0 Comments
Leave a Reply. |
The Author
|
Landscaping services across Buckinghamshire, Amersham, Aylesbury & High Wycombe
Hyde Heath, Amersham, Buckinghamshire |
|
