|
This article contains affiliate links
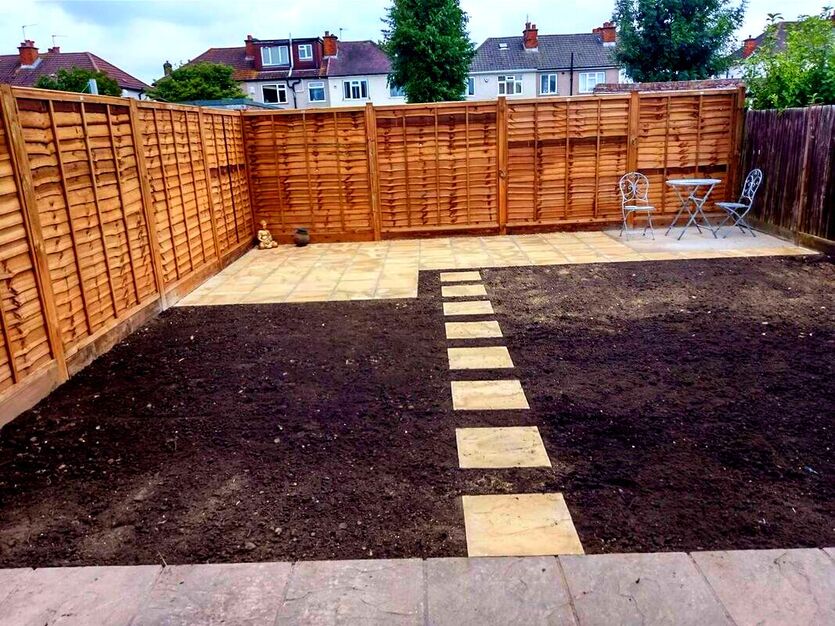
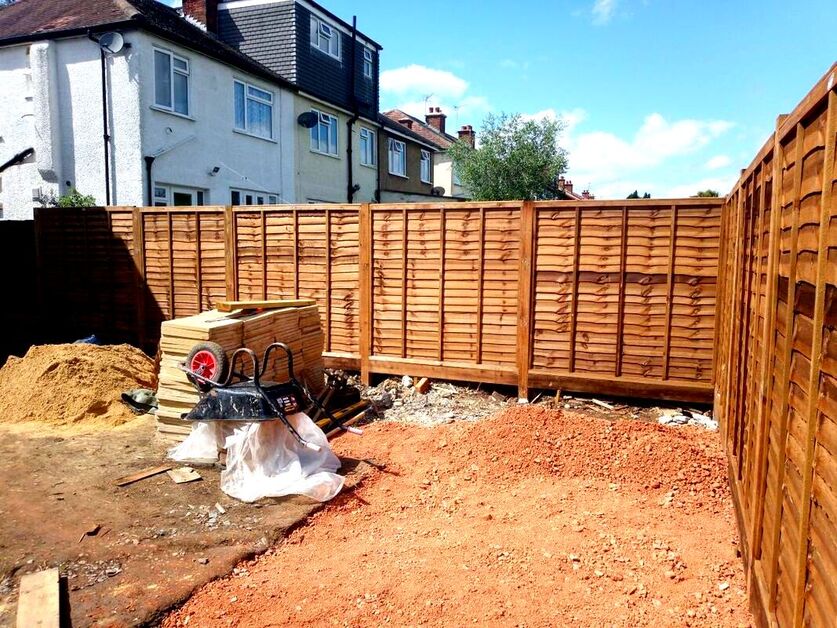
Timber fence panels have provided a fast and affordable way to put up robust and attractive boundaries for decades.
Today, fence panels come in a wide variety of styles, colours and sizes. Timber panels can give a clean and effective way to provide security and screening to your property. Although timber panels are more affordable that building masonry walls they can still be costly to install. Consequently, many decide to put up panel fences themselves. Installing wooden fence panels with posts is not difficult; however there are some pitfalls if you have no experience. In this article I will explain how to install a panel fence step by step with pictures. With over 20 years experience installing fences I will provide some expert advice and insightful tips along the process. I will illuminate general considerations and answer typical questions about timber fence panel installation. Considerations of installing a fenceBefore starting your fence installation there are few considerations you need to think about. Who owns the fence?
It is very common for one neighbour to own one side of your fence and you to own the other. Therefore, legally you are only obliged to replace the fence which comes under your authority. This can sometimes be problematic if you have neighbours or tenants who don’t have the money to replace their side. Either way, if you need to replace a fallen fence, communication and courtesy is the best approach. Find out who owns the fence and discuss your proposals so a consensus is reached. Unintended consequences
When replacing a fence there are often some unintended consequences of undertaking the work. A common problem is breaking out old posts along a neighbour’s patio line. Patios are occasionally paved right up to the fence line. This can result in next doors paving becoming broken and difficult to repair in a matching fashion. It is always good to have a peak over the existing fence first to expose any potential issues. Some other snags include trees growing on the boundary and old dilapidated sheds leaning on fence posts. When the fence is removed the shed collapses causing a dilemma. Some of these are rare but it is always worth predicting potential problems before you start. This way you can run the scenarios over with your neighbour before you begin. Neighbours & Boundaries
It is surprising just how possessive some get over very small amounts of land in regard to boundaries. Some sources claim you should check land registry deeds before replacing a fence. I personally think this can be a bad idea leading to misinterpretations of the boundaries. I would not do this unless there is obviously something questionable about the existing boundary. If the existing boundary has existed for years with no disputes erect the fence to the exact line, simple! Once again, discuss this with your neighbour first to extinguish any issues before the work commences. Health & Safety
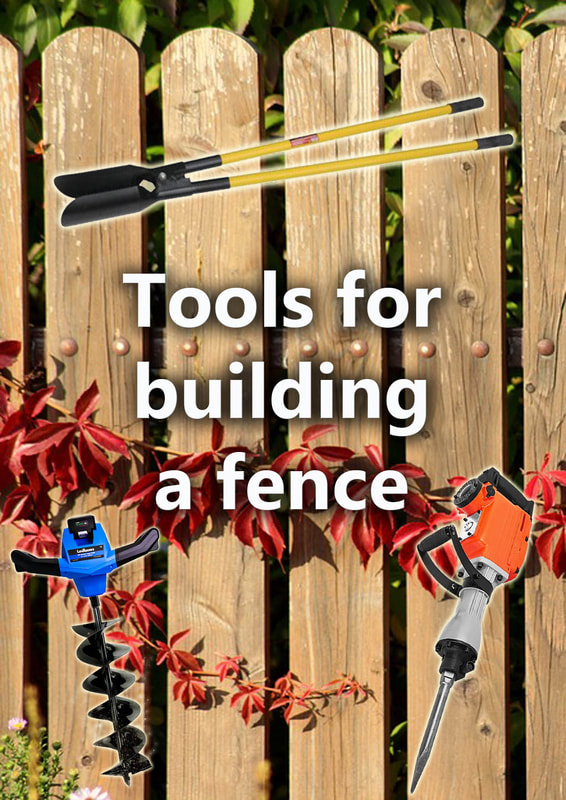
Putting up a panel fence is generally a safe operation. Before you start digging deep holes try to make sure you aren’t excavating on top of services. I have to say it would be extremely rare for such services to run under a site boundary. Nonetheless keep an eye out for warning tape or buried cables as you dig. It is advised to always wear tough gloves and steel toe cap boots while installing fence posts. Tools for building a fence
Shopping list
How to install a timber panel fence step by step
Step 1: Existing fence removal
When putting up a new fence it is easy to underestimate the task of taking down the old fence. An old fence may look dilapidated but it will amount to a substantial amount of material. Make sure you allow extra time and capacity to take down and remove the old fence. Step 2: Ground clearance
It is typical for old fence lines to be littered with tree saplings, broken fence posts and other obstacles. Before you begin it is a good idea to clear the boundary of any perennial weeds or roots. It is also a good idea to level any bumps or level changes along the fence line. Step 3: Setting up your line
Before you begin you should set up a string line to identify the run of the boundary. Not all boundaries are perfectly straight! However a string line will allow you to get a feel for any imperfections to the boundary. Step 4: Marking post holesMark your first post hole with line marker paint, aim for around 100mm of concrete around your post. Step 5: Excavating first post hole
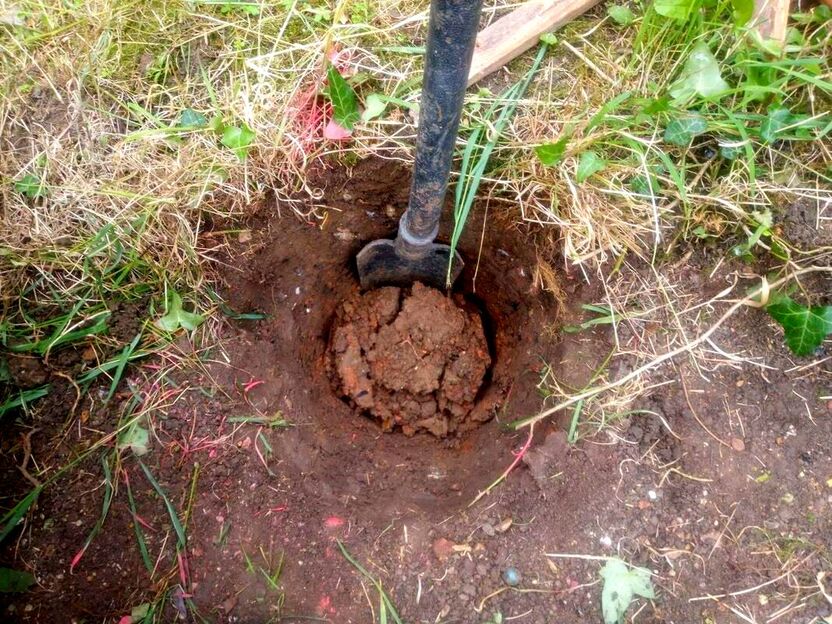
Start excavating your first post hole, the best tools for this are a spade, grafting bar and post diggers. Aim for a clean and circular post hole around 600mm deep. Step 6: Concreting first post
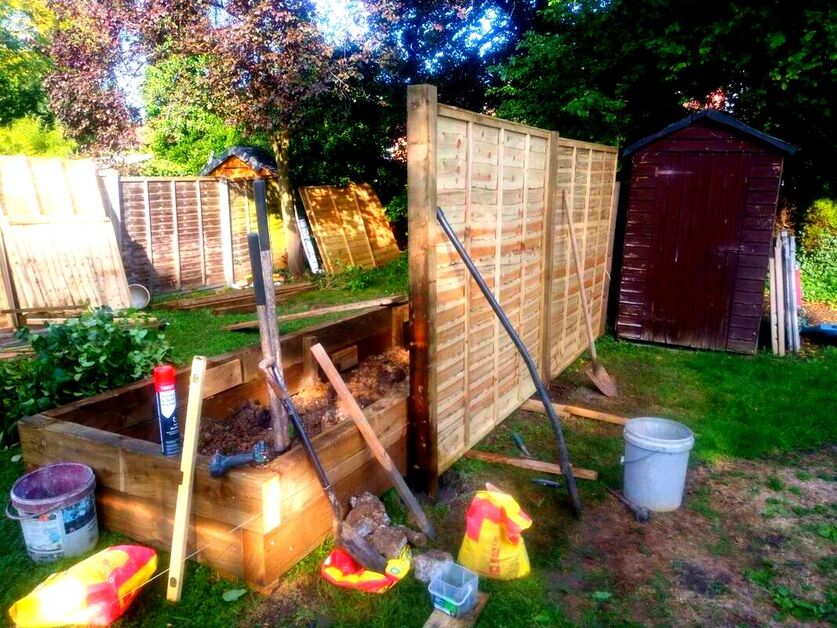
Place your first post into the hole making sure it is vertically level (plumb) while touching the string line. This is a good opportunity to measure the height of your post from the ground level. You want enough height for the post and gravel board with about 50mm extra on top. Step 7: Installing first gravel board
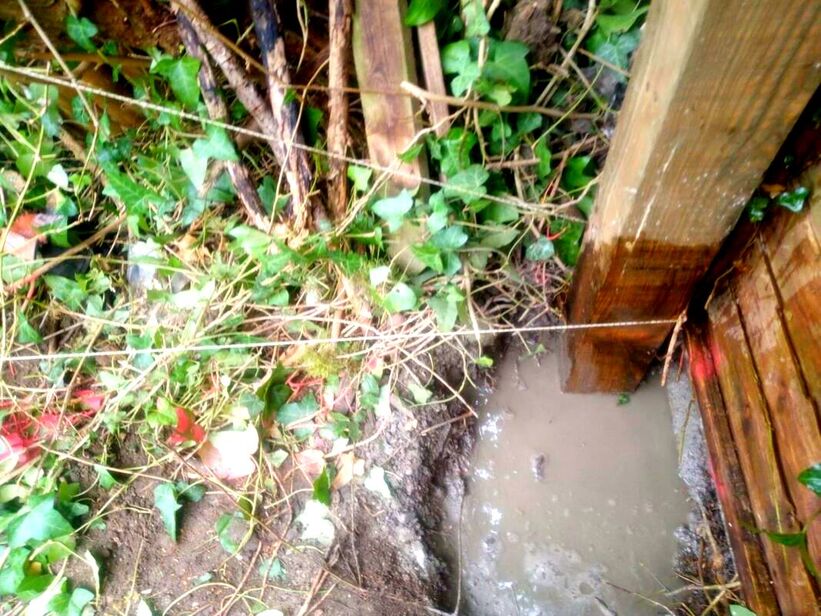
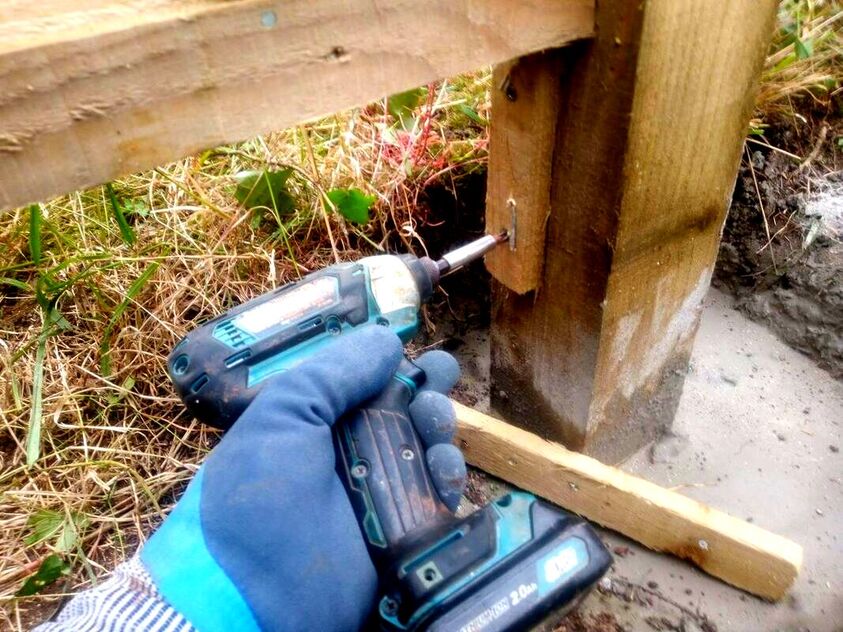
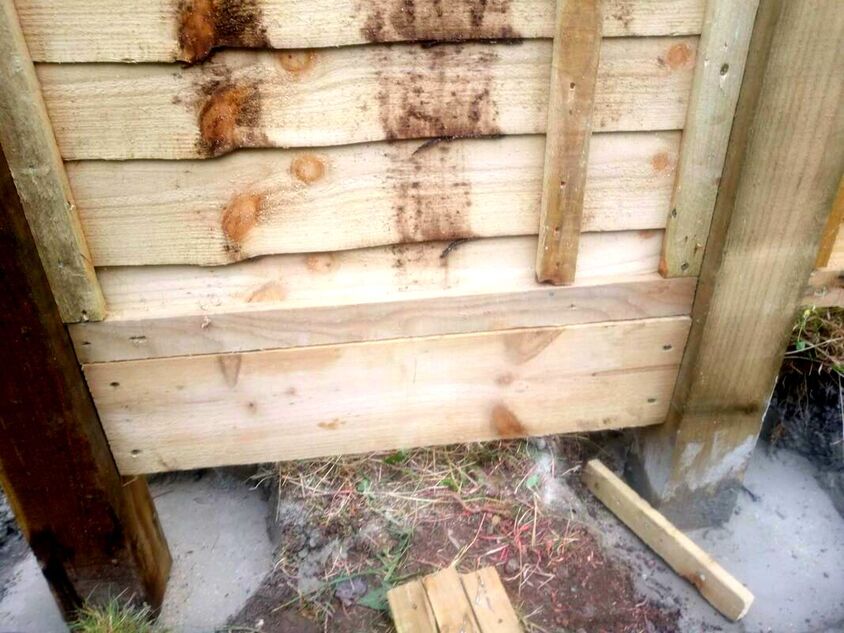
Mark on your post where the top of the gravel board is to be situated. If you are using 6ft panels this will be about 6ft 2inches (1,850mm). This allows you 6ft for the panel and two extra inches so your posts are proud of the panel tops. Offer up your gravel board to the first post and wedge it into position level. Concrete posts and gravel boards can be slot into position, for timber you will need to screw gravel boards to posts. This can be achieved by attaching cleats to the posts with screws. Cleats are small cuts of timber which allow gravel boards a firm fixing base to posts. This process can be seen in the image below. Step 8: Fixing your first panel
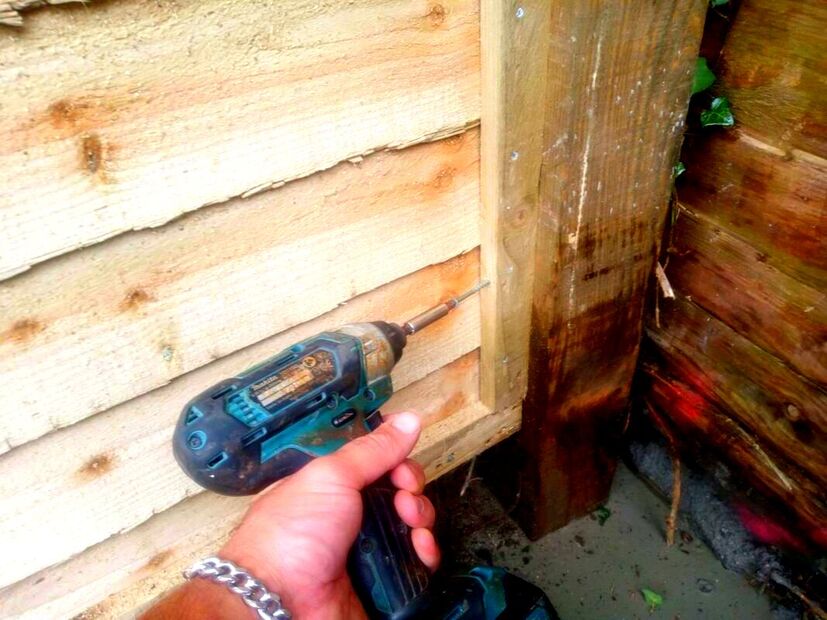
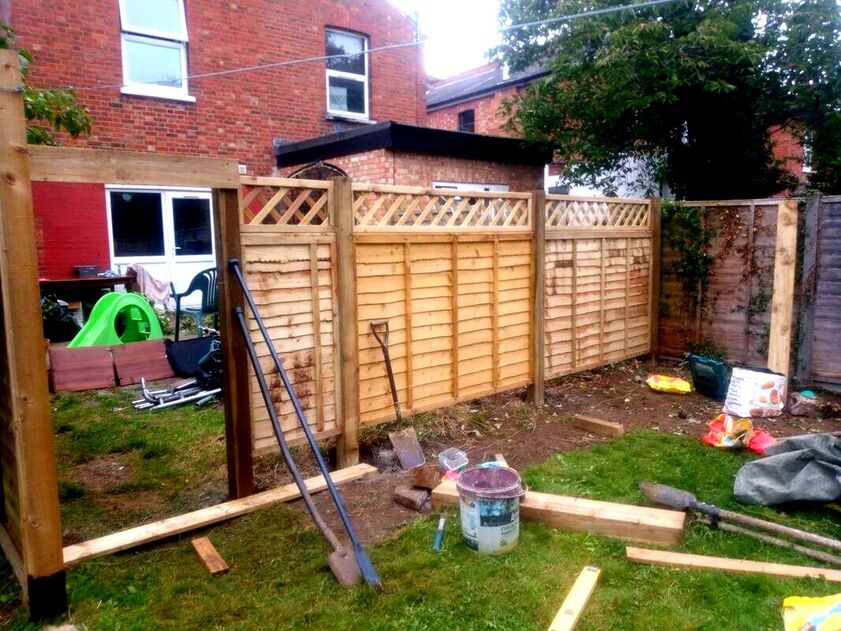
When your gravel board is fixed level, the panel can be perched on top. Push the panel tightly up against the post and screw it into position. Fix the panel within the centre of the post with an even gap all the way up the post. External grade screws can be used to fix the panel frame straight into the timber posts. Alternatively you can install fencing slot brackets to each post. Make sure your panel and gravel board is lined up well with your string line! You can now prepare the next post hole. Step 9: Excavate next post whole
Start excavating your second post hole, the best tools for this are a spade, grafting bar and post diggers. Aim for a clean and circular post hole around 600mm deep with no loose material inside the excavation. Step 10: Offer up second post
Offer up your second post so it meets your gravel board and panel nice and flush. Make sure your post meets the string line when the post is vertically level. Step 11: Fix panel
Check your level and fix your cleat, gravel board and panel to the second post securely. It is best to fix 4, 80mm screws at even intervals along the height of the panel. Step 12: Concrete second post
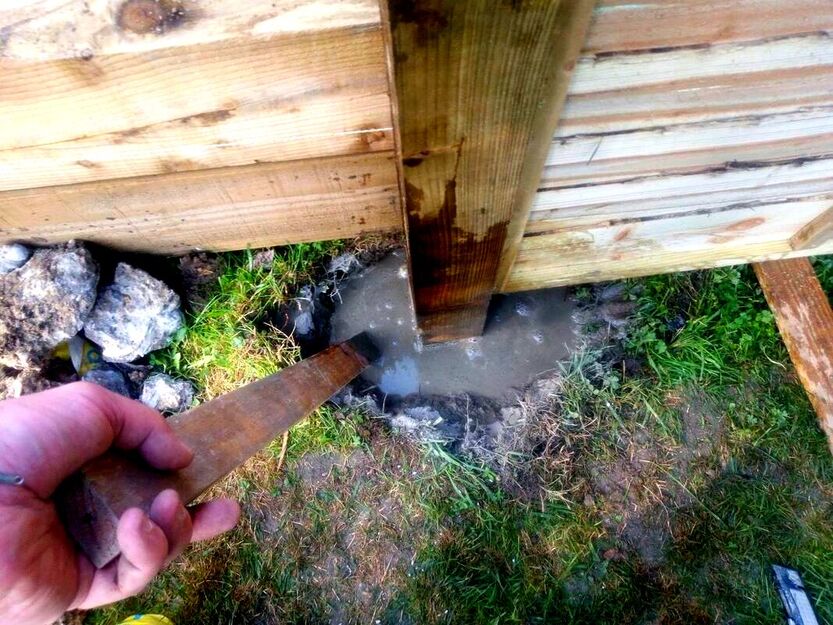
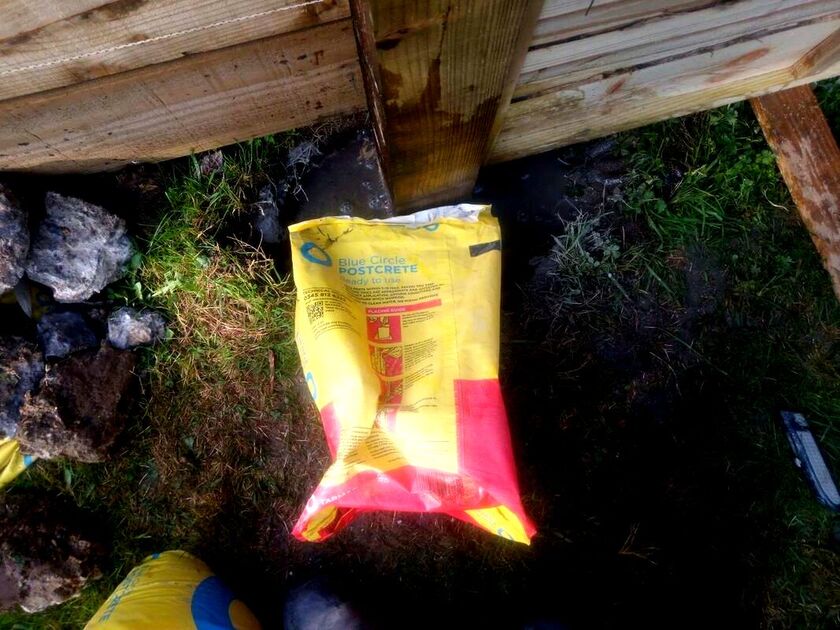
When your post is in position concrete it in securely, this is best done using postcrete. Fill the post hole with water half way and pour one bag around the hole. Using a long stick or ‘pokey stick’ swirl and mix the dry mix with the water well. The mix should start to set within the first five minutes making it easy to level your post. Fill your post hole until it is well filled with concrete, (about two 20kg bags). Step 13: Repeat the process
Now repeat the process all the way along your fence line until you reach the end. It is very common to have an irregular cut at the end of the fence line. You will have to install a post to the far end and cut down a panel to fit the gap. Step 14 Cutting down panels
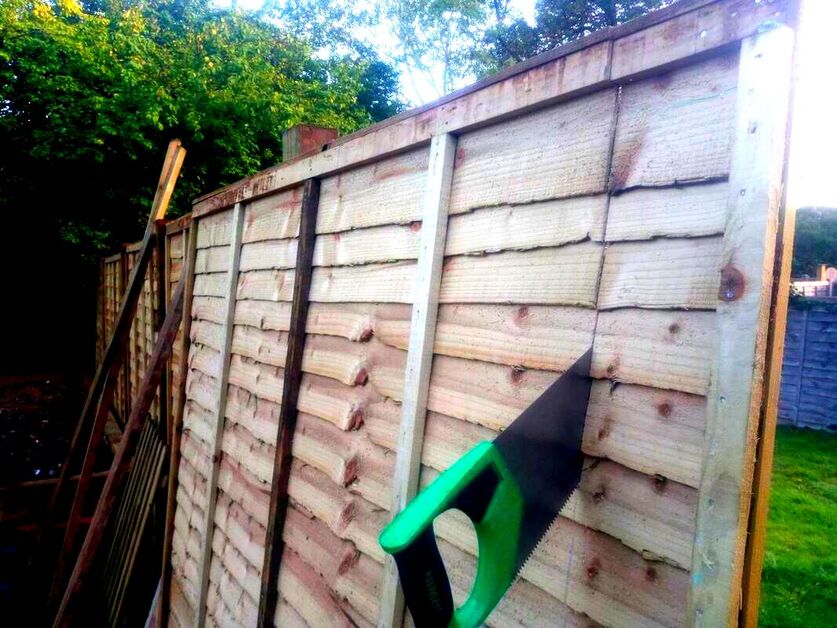
Although cutting down a panel may seem like advanced carpentry it is really very easy! The most important thing is to measure carefully and cut slowly. Make sure you measure both the top gap and lower gap and draw a line between them. This can be achieved with a carpenters pencil and a long (2 metre) spirit level.
Once your panel is cut neatly, you can prize off the clamping beads from the cut off end. This can be done gently using a claw hammer or crow-bar.
The beads can then be overlapped the cut end and fixed into position. Your cut down panel can now be screwed in between the two end posts.
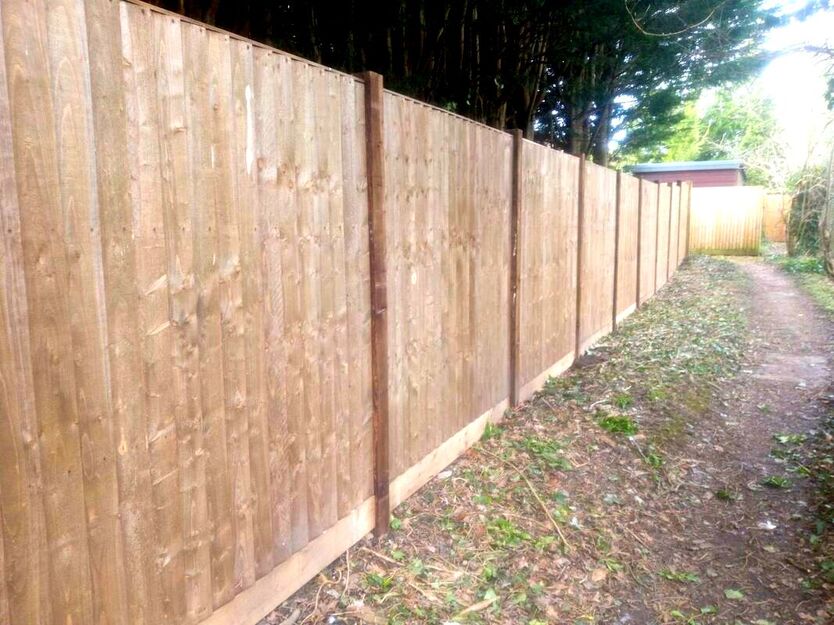
Your fence is now complete!
FAQ’SDo you need planning permission for a new fence?
When it comes to planning permission there is never a one size fits all answer. However, I will list some general guidelines on at least the likely hood of needing permission. If you are installing a new fence where one did not stand before it is likely you will need planning permission. When changing the height of an existing fence, particularly higher it is likely permission should be sought. Generally it is not an issue unless you go above 2 metres tall. Any taller than two metres means blocking neighbours light can become an issue. If your fence borders a public road or highway permission should be sought for major alterations. What do you put under fence panels?
It is always a good idea to install gravel boards under timber fence panels. These keep panels elevated, aerated and away from loose soil sitting against them. For most timber fences 150mm treated timber gravel boards are best. Is it easy to install a fence?
Generally the practice and principle of erecting a fence is easy. However in practice there are many scenarios which can make it challenging. Old fences covered in thick ivy can make installing new fences difficult. Such old fences can be very heavy and difficult to remove. The ivy will need to be cut into sections and all the stumps and roots removed from the soil. It is also very common for new post holes to be directly over old concreted posts. This means you have to individually break out each individual block of concrete. Consider moving the positions of your posts by adding a cut panel at each end to avoid this. Can you install a fence on your own?
You can certainly install a fence on your own if you install one post and panel at a time. However erecting a fence in this way can be awkward and tricky at the best of times. A good tip is to put the fence up in summer during dry weather. When the panels are dry they are much lighter and easy to work on your own. Storing your panels standing at an angle also helps them to dry out faster. Should fence posts be higher than panels?It is always advisable to set posts in a little higher than panels. I normally aim for them to be about 50mm higher than the panels. Should a fence be level or follow the ground?
It is never a good idea to try to follow the ground level with a panel fence. If your panels are not level across the top your posts will be at an angle. This will not only look odd but the structure will not be as robust and sturdy. When installing on a slope you need to step he panels up or down according to the gradient. Can you attach fence panels to an existing fence?
It really is not a good idea to attach a new fence panel to an existing fence. It will add extra weight and burden to the existing posts. This can result in the posts breaking and the existing fence collapsing. Who should get the good side of a fence?
Theoretically you should give your neighbour the good side of the fence. Traditionally this has meant every garden has one good side and one less attractive side. However, it really does depend upon the specific situation and orientation of neighbouring properties. Fencing services in Amersham, Buckinghamshire
If you require garden fencing or fence installation services in Buckinghamshire including; Amersham, Beaconsfield, Chesham, Chalfont, Aylesbury or High Wycombe do not hesitate to contact me. Our fencing installers can erect a wide range of fencing products tailored to your specific site. Why not contact us below for a fence installation consultation and quotation.
Thank you for reading our article on how to put up a fence with timber panels! Below I will link to some other articles you may find informative.
'As an Amazon Associate I earn from qualifying purchases'
0 Comments
Leave a Reply. |
The Author
|
Landscaping services across Buckinghamshire, Amersham, Aylesbury & High Wycombe
Hyde Heath, Amersham, Buckinghamshire |
|
