|
This article contains affiliate links
Wooden gates are a commodity for the garden and other backyard projects. Not only are they only great for side gates but also out buildings chicken coups and animal enclosures.
The problem is, most pre-made timber gates on sale are made from thin and flimsy materials. These can easily degrade over time becoming more of a liability than an asset. Furthermore, there is one main advantage of building gates from scratch. They can be built to fit any width or gap perfectly flush. Building your own strong wooden garden gate is not as technical as many people assume. Consequently, in this article, I will explain how to build a very strong timber gate step by step. The gates dimensions will be 900mm wide by 1.8 metres tall. Shopping list5no. 47x47mm treated timber 1.8m long 6no. 150x22mm treated timber gravel board 1.8mm long 1 Pack of external grade 80mm wood screws 1 pack of external grade 50mm wood screws 1 large bolt lock 3 large wooden gate T Hinges Tools you will need
Step 1:
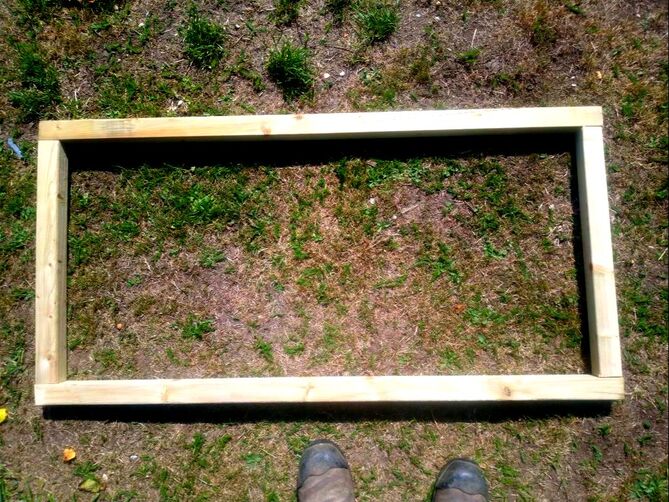
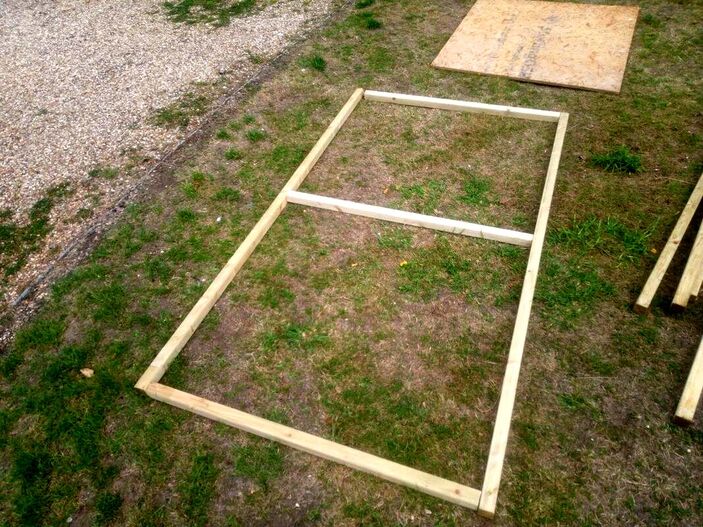
Take two 1.8 sections of 47x47mm timber and lay them out parallel on a flat piece of ground. You will then need to cut three pieces of 47x47 to a length of 806mm. When placed between the two long vertical braces, these will make the gate 900mm wide. Step 2:
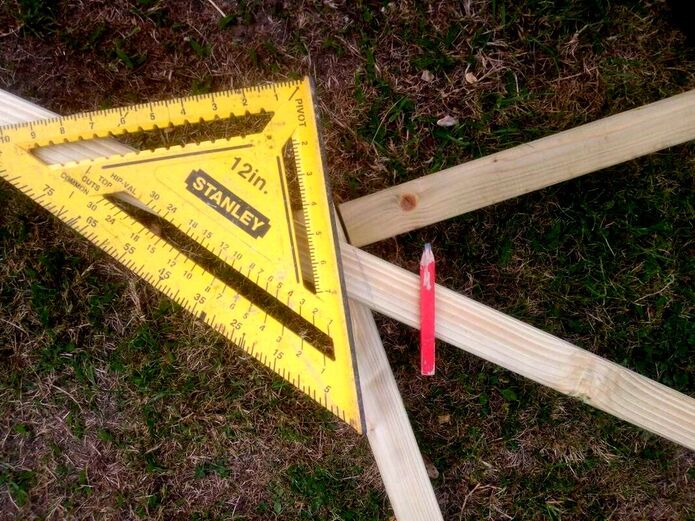
Using a set square and carpenters pencil mark the three 806mm lengths accurately and squarely. Then cut the three horizontal braces as neatly and square as possible. Step 3:
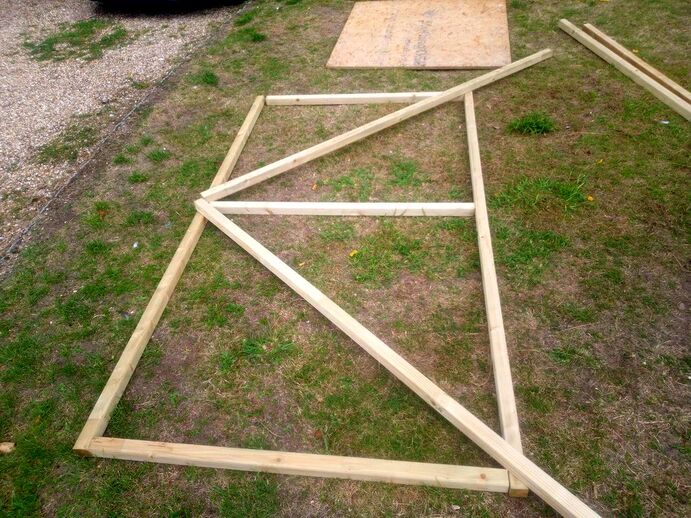
Offer up the top, bottom and middle braces tightly between the two verticals, you now have the complete frame of your new gate. Step 4:
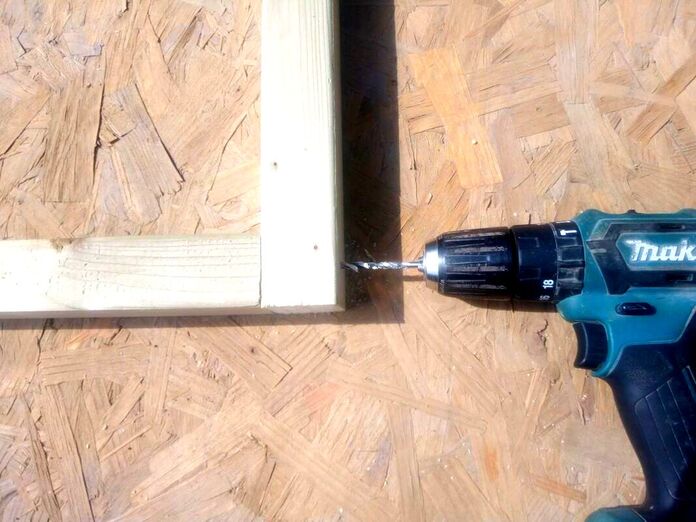
Drill pilot holes through the vertical timbers into the horizontal braces as central and square as possible. Step 5:
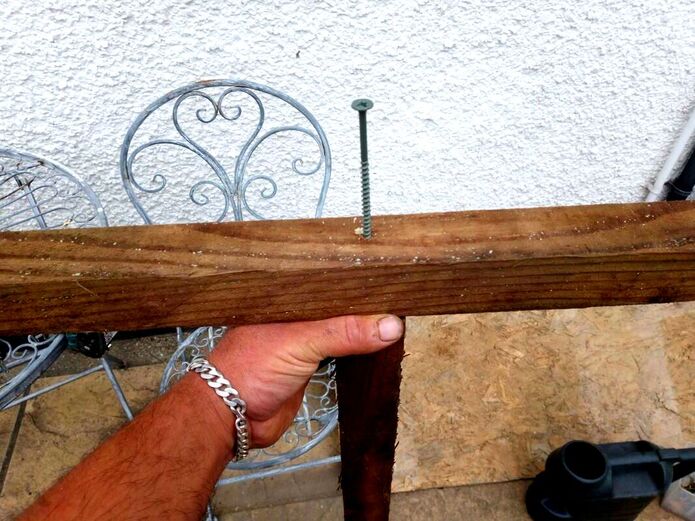
Screw the new timber framework together using the 80mm screws. Make sure this is done on a hard and flat surface to ensure flush joins. Step 6:
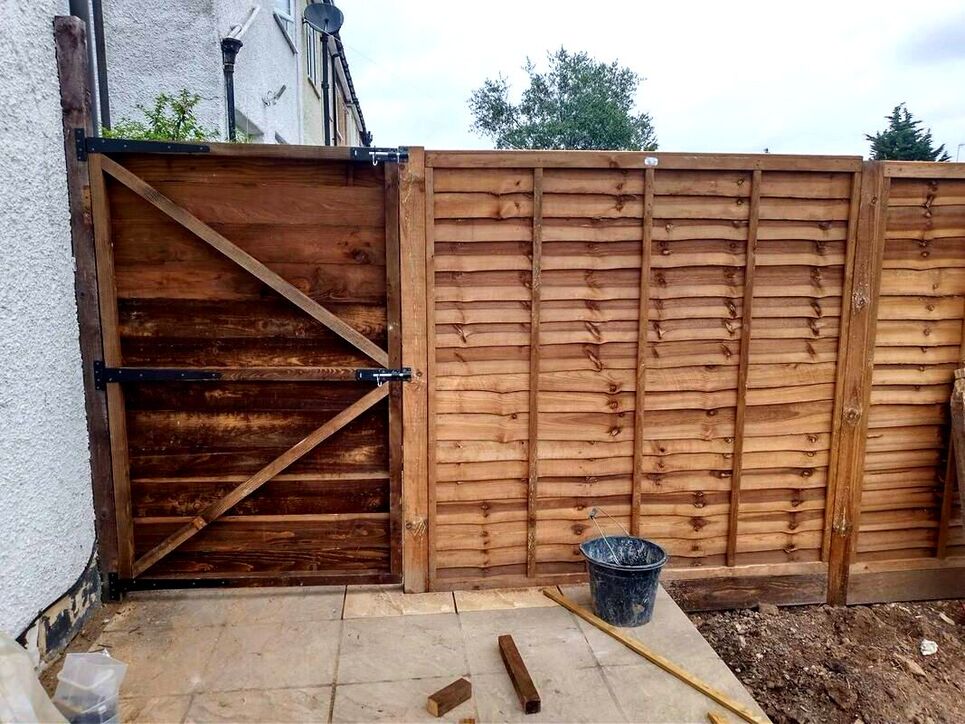
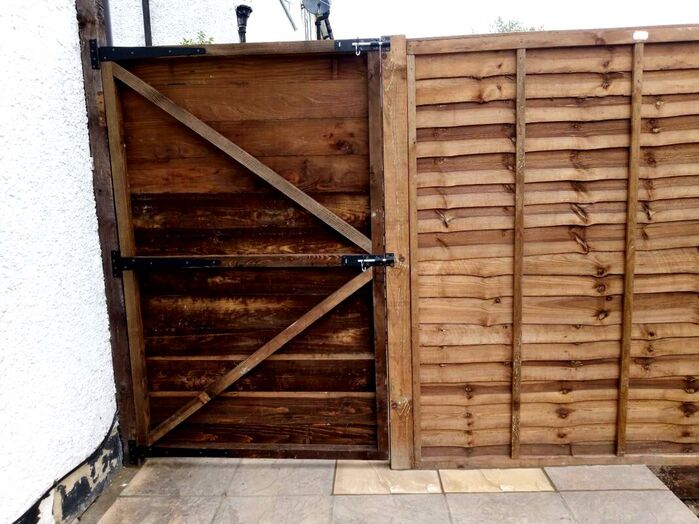
You will need to cut two sections of 47x47mm timber to make triangular corner braces. This makes the gates frame extra strong and prevents diagonal torsion forces warping the frame. Offer up your timber from the top corner to the corner of the central horizontal. Mark a diagonal line so it can fit perfectly between the two horizontals. Now cut the diagonals as neatly as you can. Step 7:
Offer up the corner diagonals and screw them tightly into the frame, you have now completed the gates frame. Step 8:
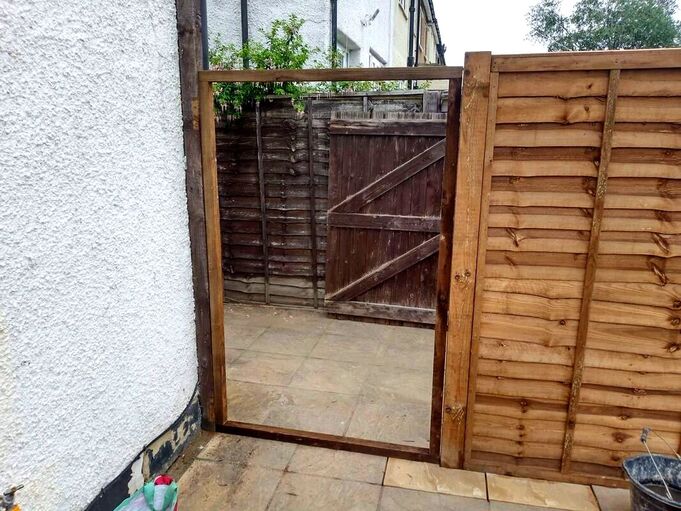
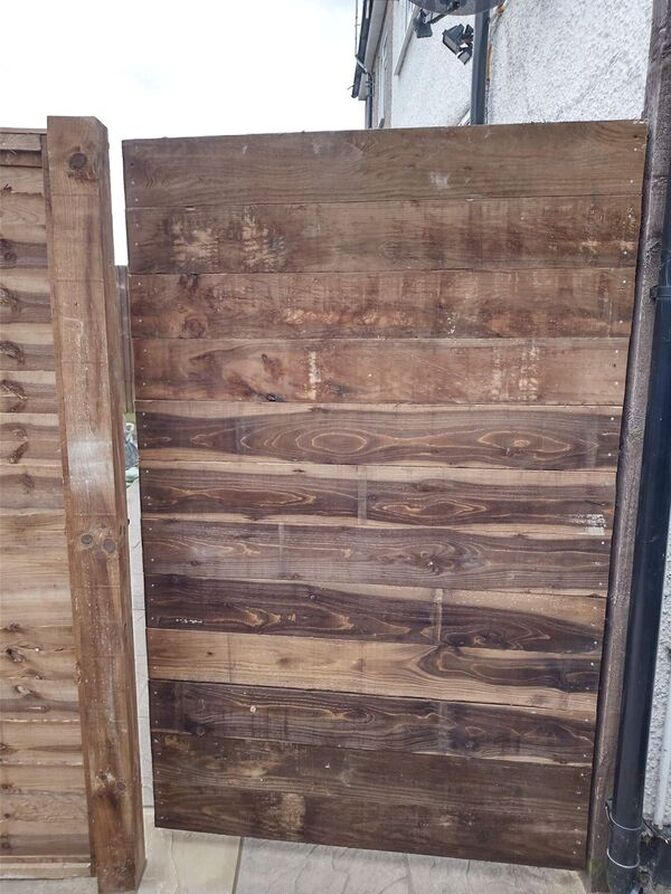
Cut your gravel boards perfectly in half squarely into 900mm sections using your wood saw. Using 50mm screws fix your gravel boards squarely onto your gates frame. Start at the top and fix them tightly and flush until you reach the bottom. You have now completed your strong timber gate. You may notice this gate is very heavy; this is why it must be hung with three large T hinges. Lean your gate up vertically on a warm and dry today to reduce its moisture content and hence its weight. Step 9:Due to this gates robustness you will need to attach it to a strong post. Your posts must be a minimum of 100mm thick and be concreted into the ground 600mm. Wedge the gate into position and hang your gate using the T hinges. It is best to wedge the gate up off the ground and attach the hinges to the gate first. Try to fix the gate with a slight tilt towards the post at the top. This will allow the weight of the gate to pull it vertically plum when your release the wedges. Step 10:
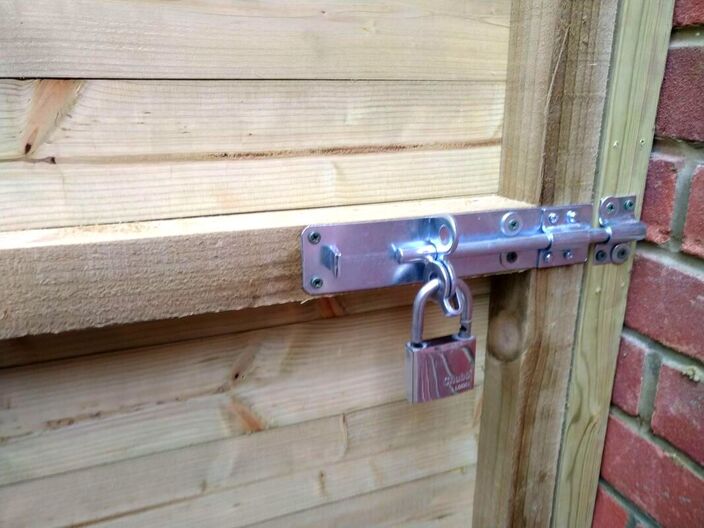
Fix your bolt lock to your gate where it meets the post, bolt locks normally come with shorter fixing screws.
You have now completed your strong timber gate! Thank you for reading our step by step guide on how to make a strong timber gate.
If your project was a success or have any questions why not comment below?
If you found this article helpful why not help us by sharing it via the tabs below? Thank you!
'As an Amazon associate I earn from qualifying purchases'
0 Comments
Leave a Reply. |
The Author
|
Landscaping services across Buckinghamshire, Amersham, Aylesbury & High Wycombe
Hyde Heath, Amersham, Buckinghamshire |
|

