|
This article contains affiliate links
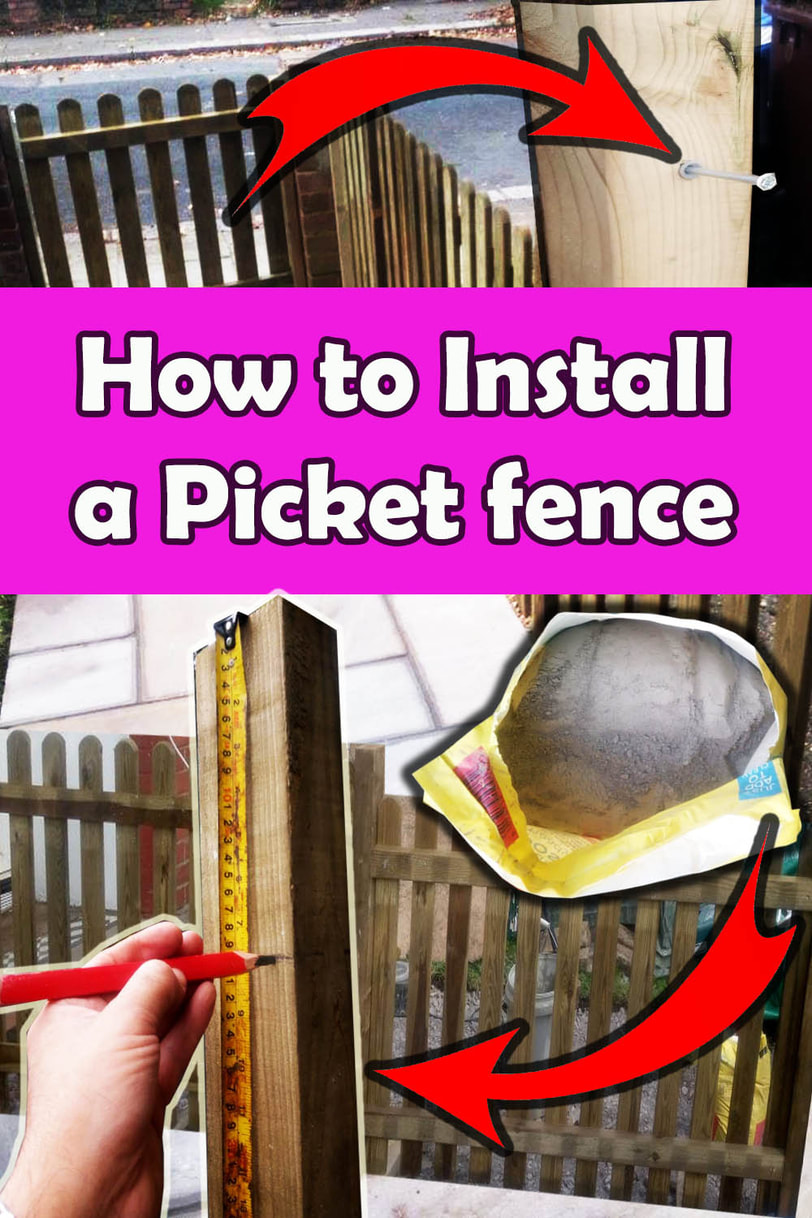
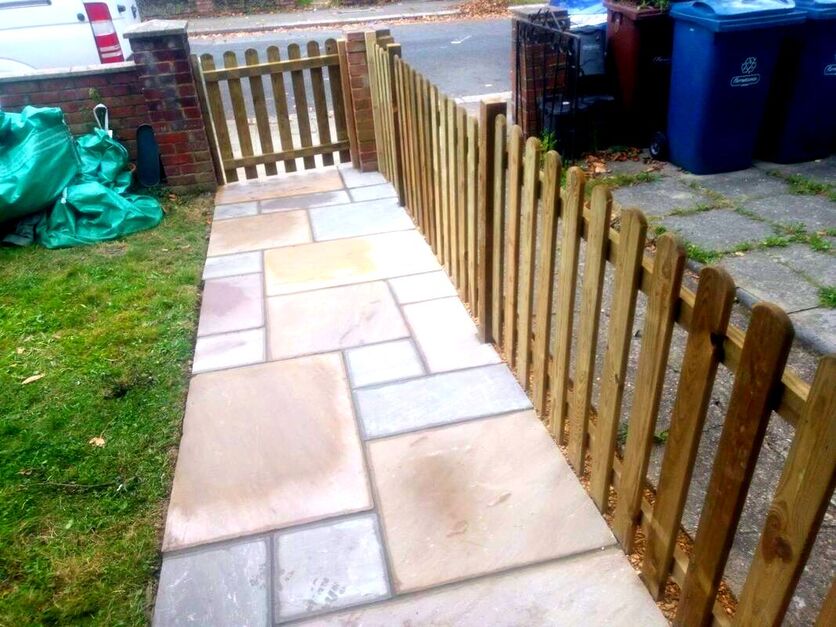
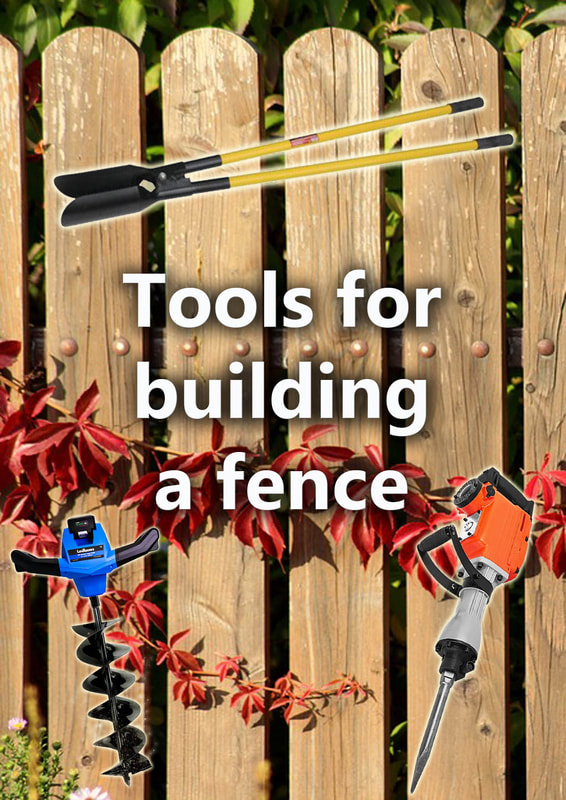
Picket fences can provide an aesthetic boundary to your property without creating too much shade. These low level and airy fences are the perfect way to define your property without blocking views. Their vertical and narrow slats act as a precarious obstacle to wondering feet but also look elegant and neat. It is no surprise that pickets have become one of the most favourite fences for front gardens and narrow back yards. Picket fences now come in a wide range of panel styles lengths and heights. In this article I will explain how to install picket fence panels regardless of which type you choose. I will cover everything from setting up your line to installing on a slope, setting posts and fixing panels. Find my step by step guide on how to install picket fence panels below. Tools you will need
Spade
Post diggers Spirit level Wood saw Tape measure String line Wheel barrow Hand Drill Claw hammer Shopping list
Postcrete
Timber posts External grade screws Picket panels How to install picket fence panels step by stepStep 1: Set up your line
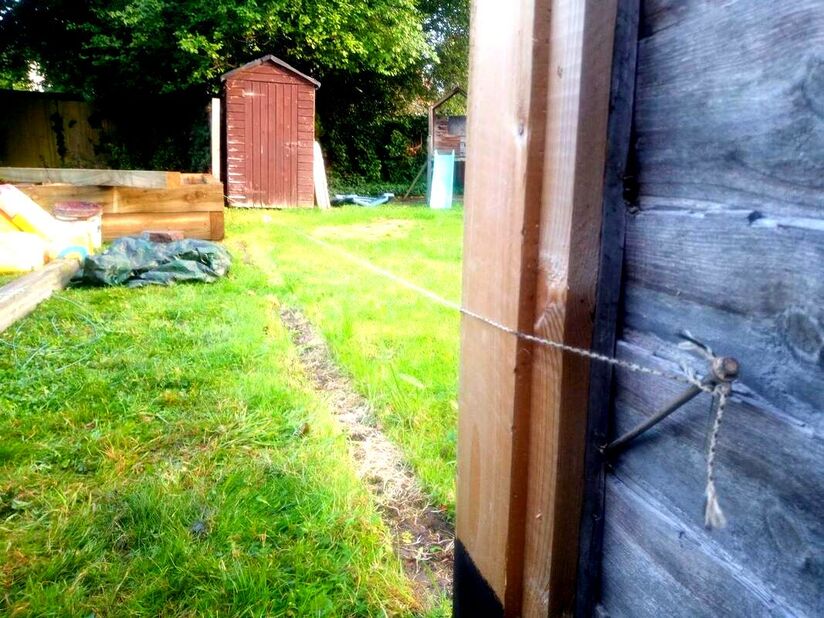
One of the most important starting points for erecting any new boundary is setting up your line. This involves setting up a tight string line so it matches the boundary you are working too. Try to set your line about 500mm from the ground, this will ensure you do not accidently sever your line as you dig. Make sure your picket fence line is free from vegetation and obstructions. Step 2: Check your levels
More often than not you may find that you are laying your picket fence upon sloping ground. If so, you will have to step up your panel slightly as you travel up or down hill. Before you start building, examine your levels to see how drastic level changes are. It is always best to keep step ups or downs consistent throughout the fence line. Step 3: Work out cut locations
When installing picket panels it is inevitable you will have to cut some panels down at one end. Try to work out which end of your fence will be less visible and place the cuts at that end. If a cut ends on an individual picket you may need to price the pickets off and re-space them evenly between the cut. Step 3: Install your first post
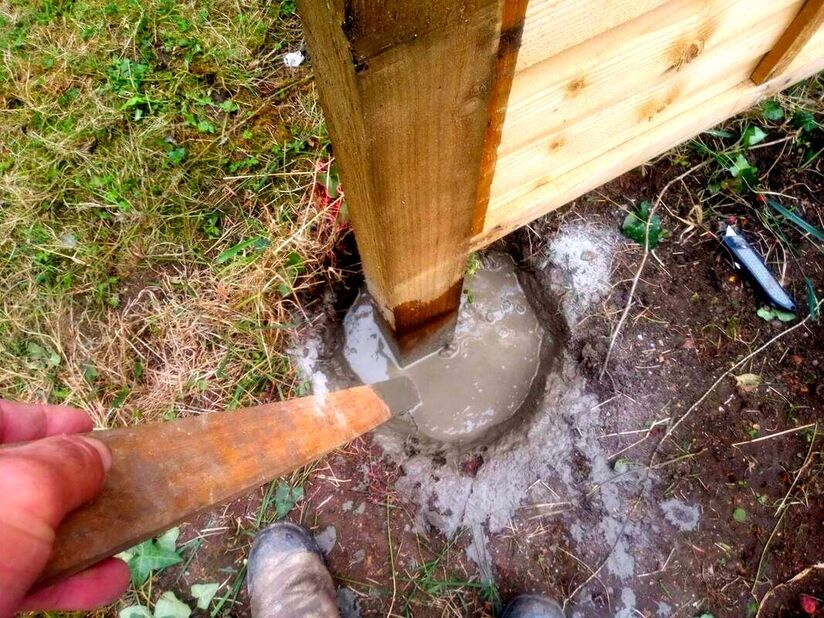
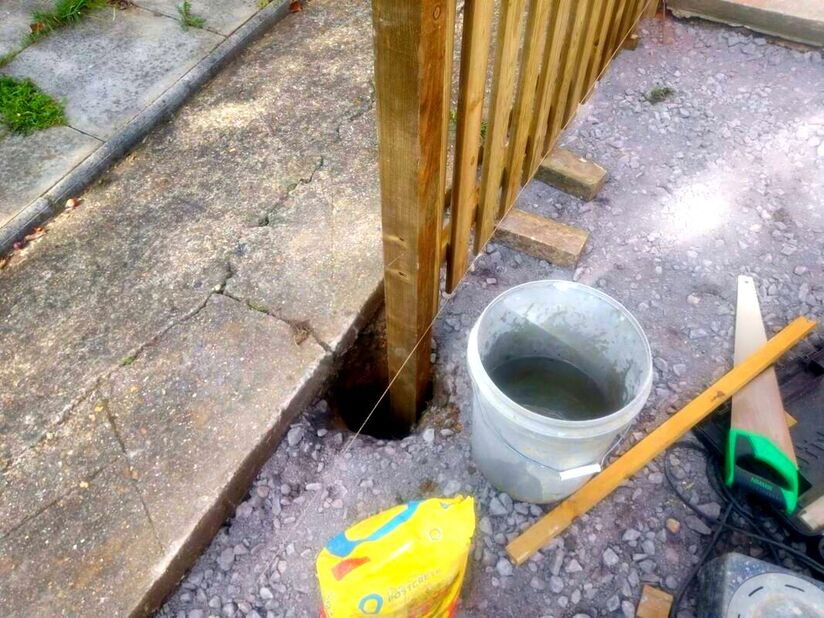
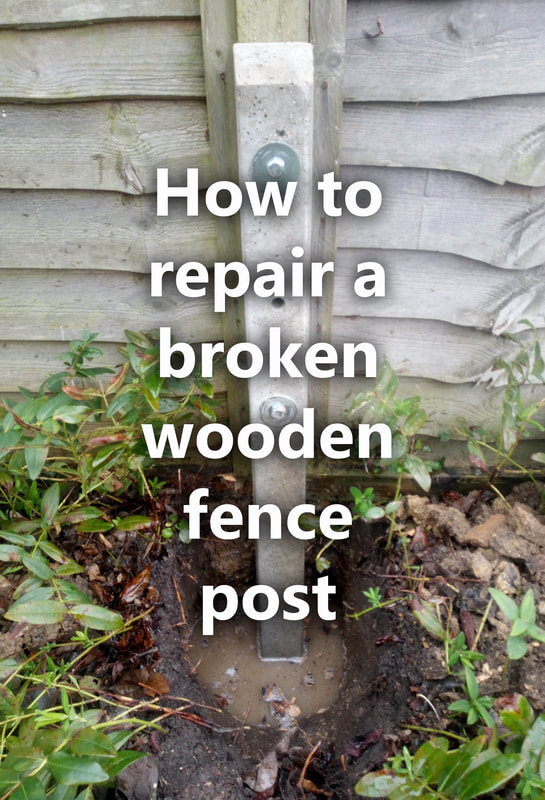
The first thing to do is install your first post so it is set firm. Excavate a post hole so you have a minimum of 3 inches of concrete around the circumference of the post. Try to make your post hole between 500-600mm deep with no loose soil at the bottom. Either concrete your post in or use rapid setting postcrete. Postcrete is much faster! Simply fill your hole with water halfway and pour postcrete around the post. Make sure your post will reach the correct height for your panel and is set in plumb and level. Step 4: Offer up your first Panel
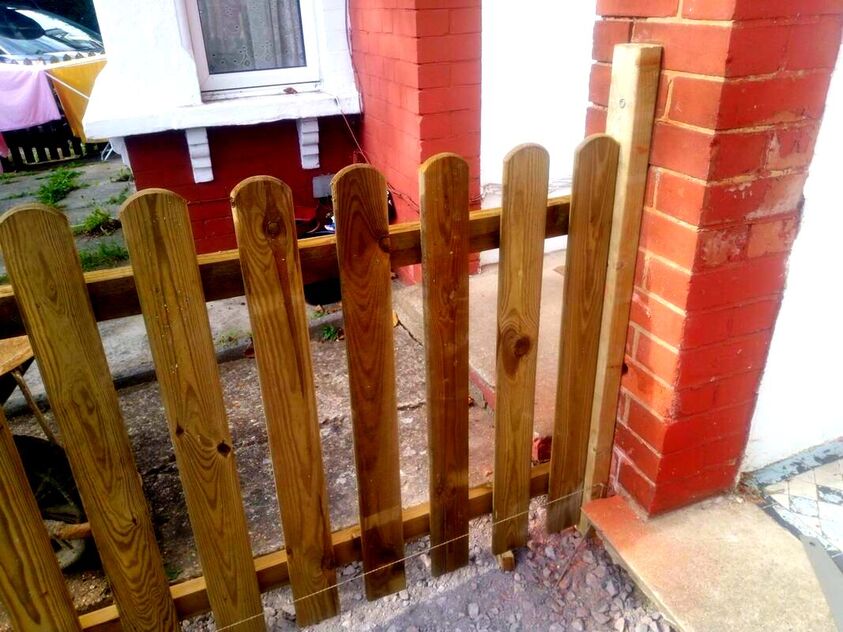
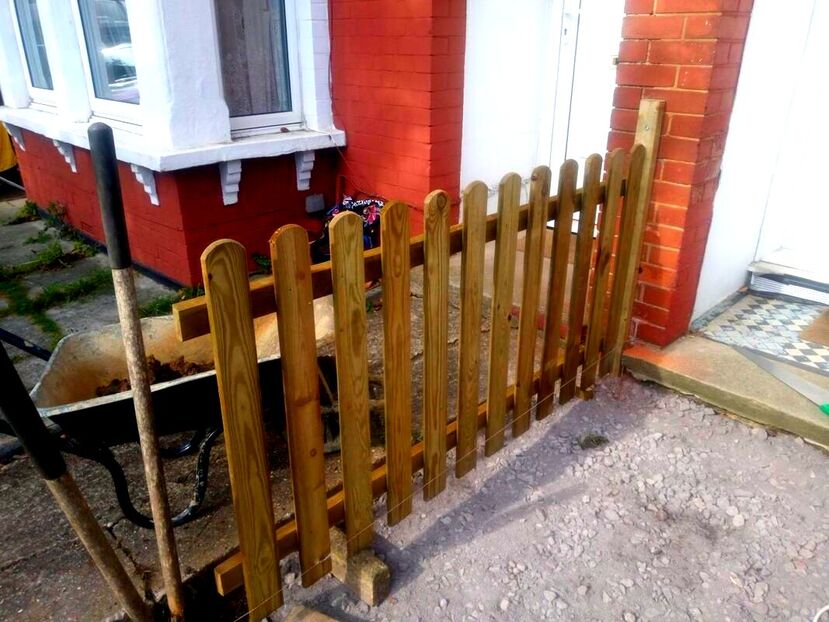
Make sure your first post is relatively secure and then offer up the first picket panel. Observe the lie of the ground below the post, is it sloping? If so you may have to wedge the panel up to make it sit level and flush against the post. You do not want any of the panel touching the soil, raised it up with some makeshift wedges. Step 5: Fix panel to your first post
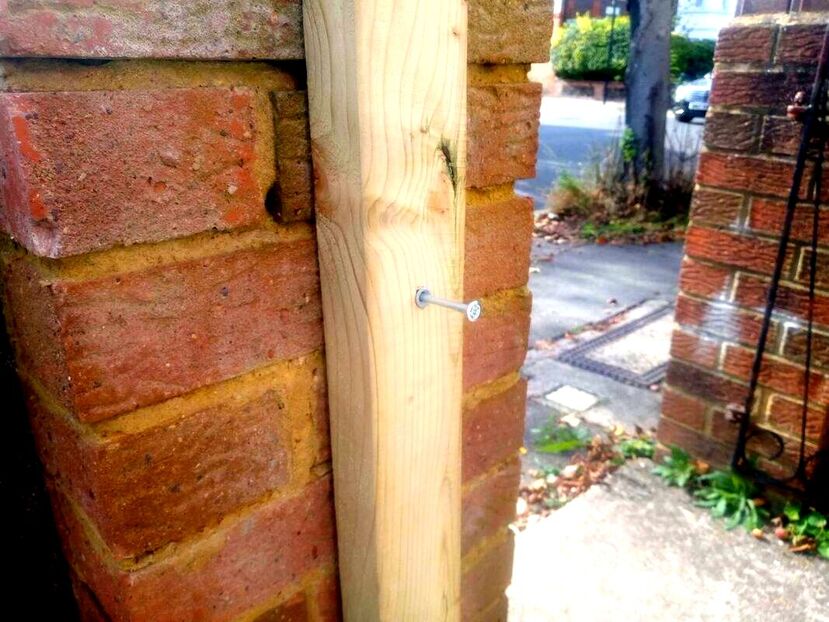
When your first panel is at the correct height and level, fix it to your first post. If you are using morticed posts and slotted panels slot the panels into the posts and fix them with screws. If you are using solid posts and straight edge panels offer them flush and screw the rails to the post. You can also attach fencing brackets to make fixing easier. Step 6: Excavate second posthole
Using your string line as a guide mark out where your next post will be located. Now you can excavate out for your next post, taking care not to disturb the string line. Once again make your excavation as clean as possible with no loose material left in the hole. Step 7: Fix panel to your second post
Now place your second post into your posthole, it should offer up to the first panel perfectly. Make sure the height of the post correlates well with the picket panel. Now check the vertical level and its correlation to the string line. When these line up, you can fix your panel to the second post. Step 8: Concrete in your second post
Using postcrete, concrete your second post so it is plumb and level with the string line. Step 9: Repeat the process
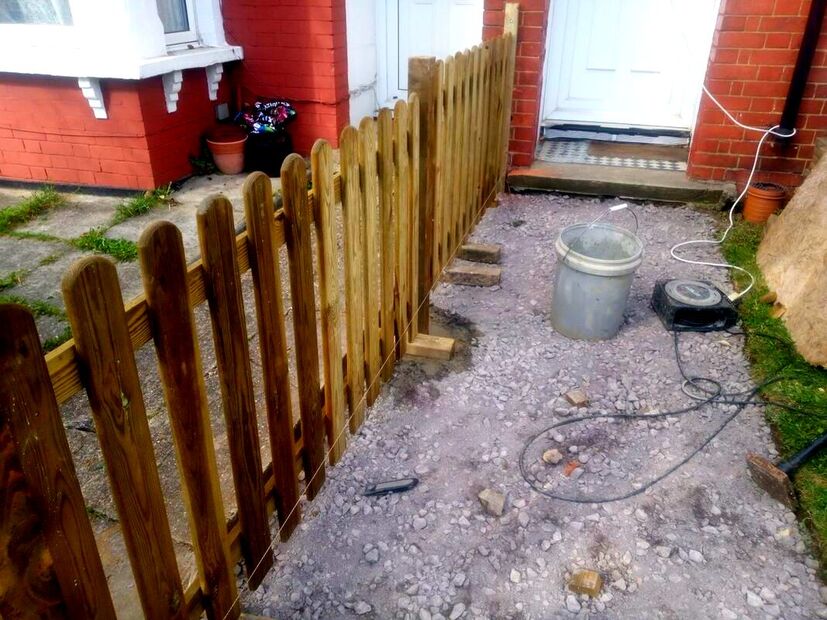
Keep repeating this process until you reach the end of your picket fence. You will probably need to cut down a panel at each end and fix the cut panel between two end posts. Step 10: Gate installation
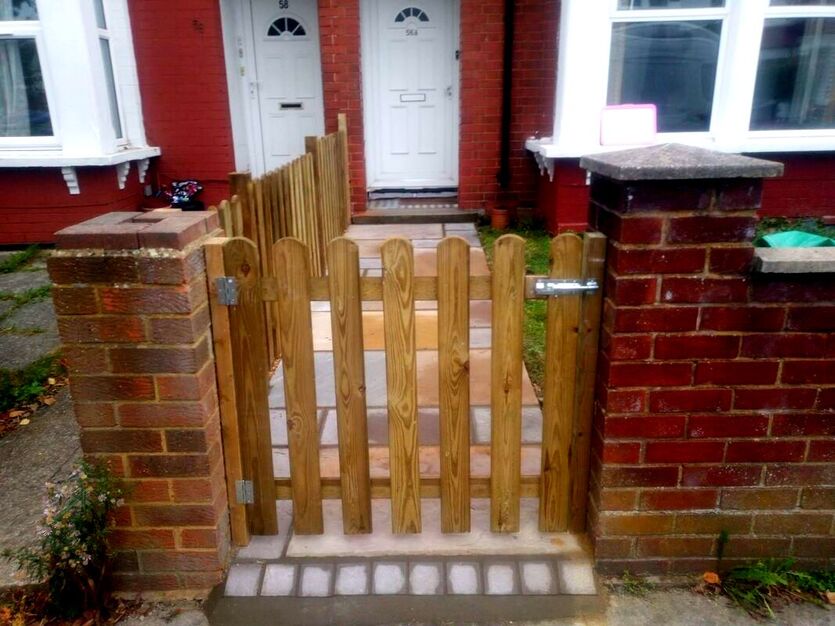
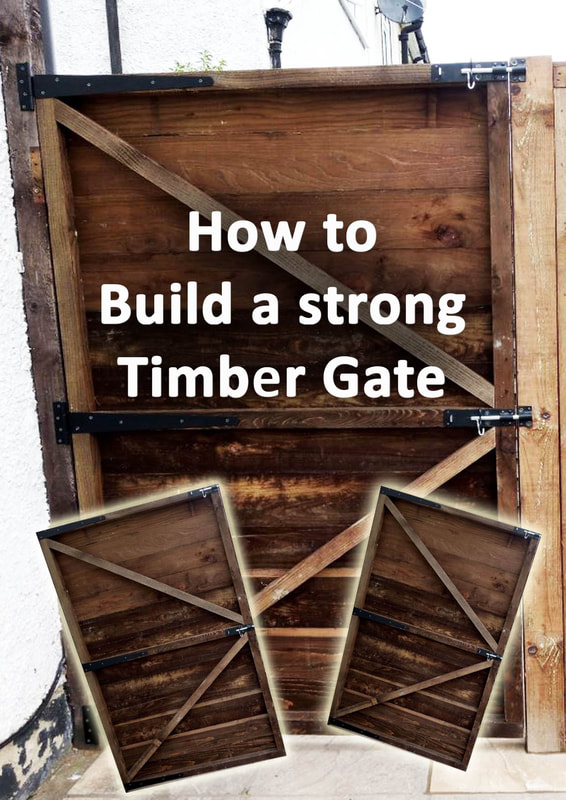
If you need to install a gate to your picket fence you have two options. Either buy a pre-made gate or make a gate out of the picket panels. This is not as difficult as it sounds! You will just need to strengthen the section of picket with some timber braces. When you have created your new gate, set two gate posts within the fence line where you want the entrance. The posts should be a gate width apart with an extra 3mm on either side so the gate swings freely. Gate hinges and a bolt lock can then be fitted to the gate. FAQS
Can you install a picket fence yourself?There is absolutely no reason why you cannot install a picket fence yourself! Like any new skill you will always make mistakes at first! However you will soon pick up a good process and experience as you go along. What are the best fixings for picket fences?Screws are best for fixing picket panels to posts. Screws allows you to unscrew panels if they ever need to be moved or adjusted in any way. However the vertical pickets I find better to fix down with nails if you are making whole panels. Should my fence pickets touch the ground?
Picket fences should be raised slightly off the ground or set on top of a gravel board. This is to prevent pickets from becoming too damp and rotting. What are the advantages of a picket fence?
Picket fences provide a robust and secure boundary without creating too much shade. They are an attractive way to fence off gardens while allowing good airflow and light penetration. Fencing services or picket fence installation Amersham Buckinghamshire
If you require picket or panel fence installation in Buckinghamshire including Amersham, Beaconsfield, Chalfont, Chesham, Great Missenden or High Wycombe do not hesitate to contact us. Why not check out our fencing installation service page below.
Thank you for reading our article on how to install a picket fence! Below I have linked to some other articles you may find useful.
'As an Amazon associates I earn from qualifying purchases'
1 Comment
3/8/2024 11:43:38 pm
What are the step-by-step instructions for installing wooden picket fence panels?
Reply
Leave a Reply. |
The Author
|
Landscaping services across Buckinghamshire, Amersham, Aylesbury & High Wycombe
Hyde Heath, Amersham, Buckinghamshire |
|
