|
This article contains affiliate links
Slate is one of the most effective natural stones for creating beautiful garden edging.
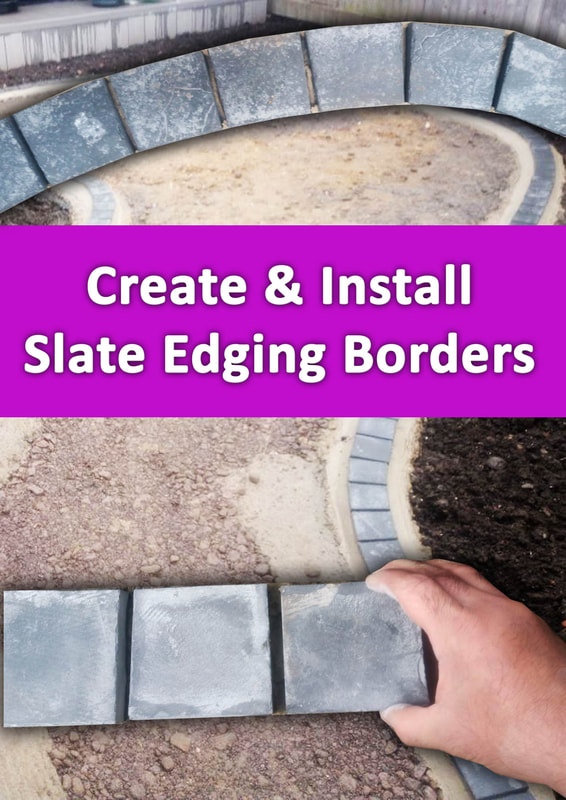
Not only does it come in a range of aesthetic tones it is extremely durable and weather resistant. What makes slate even more exceptional for garden edging is its suitability for any type of garden design and themes. Slate can be utilised for border edging in contemporary, traditional, or any international theme of garden design. Due to slates fine grain and dense structure it can be worked to either a clean or rustic finish. Consequently, in this article, I will show you how to make affordable slate garden edgings from paving. These slate edgings can be cut to form any shape including bricks, setts and gentle curves. Our step by step guide with pictures demonstrates how to create slate sett garden edging laid to form a curvy border. These slate edgings are perfect for edging; lawns, patios, paths and flower borders. Is slate good for garden and landscape border edging?
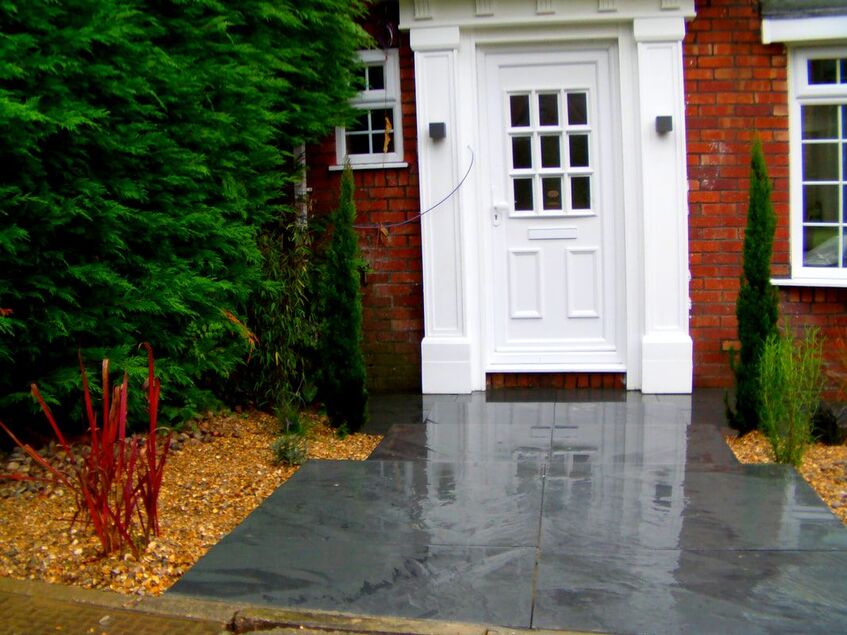
Slate is extremely suitable for garden and outdoor border edging. Any material intended for outdoor use must be durable and weather resistant. As slate is metamorphic rock formed at extremely high pressure it is extremely impervious and dense. This means it is resistant to water penetration and freeze and thaw action. Low permeability combined with naturally dark tones means it is very resistant to staining. Typically, even impervious and light coloured materials such as porcelain can obtain surface stains. Bird poop, and tannins from dead leaves and berries can still stain the surface of very light garden edgings.
With slate however, its dark hues means stains are less likely to spoil its look. Slate also has an extremely high compressive strength like concrete.
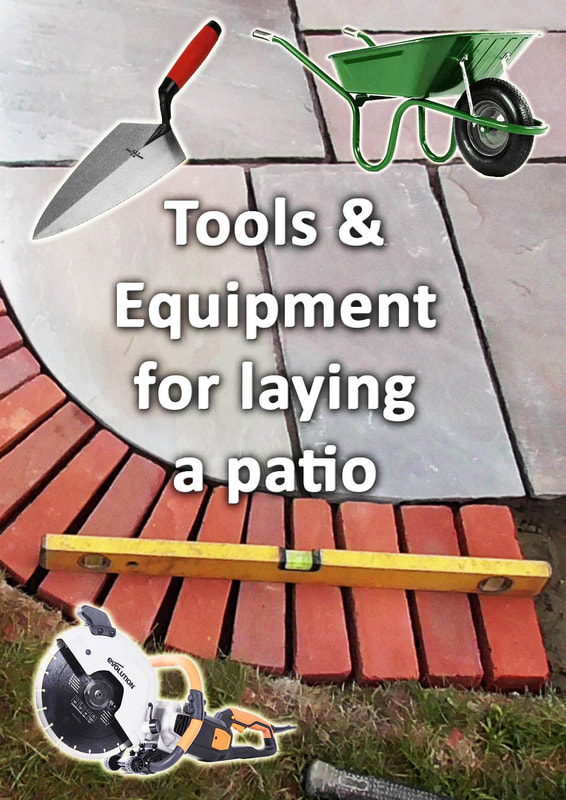
This means when combined with an appropriate compacted base and strong mortar bed slate can last outside for a lifetime. As a material slate is universal in theme meaning it can be applied to many different landscape designs and styles. Its natural aesthetics and durability make it ageless when it comes to style and design. Slates tones and smooth surfaces provide excellent contrasts to other landscape elements such as lawns, gravels, planting and water. How to install slate sett edgings to a curvy garden borderMost slate garden edgings on the market come at an expensive premium. In this section I show you how to create garden border edgings from slate paving. I will then show you how to prepare a base and install your slate edgings to your new borders. In this example I will be using 900 x 600 x 20mm Brazilian Black Slate paving slabs cut into slate setts. Tools you will need
Shopping list
Step 1: Marking out
Mark out where you want your slate border edgings to run. If you want straight edgings, the line can be marked out with a tight string line. Curvy edgings can be marked out by a line marker spray. If you wish to experiment with the curve visually first mark it out with a length of hose pipe. Step 2: Excavation
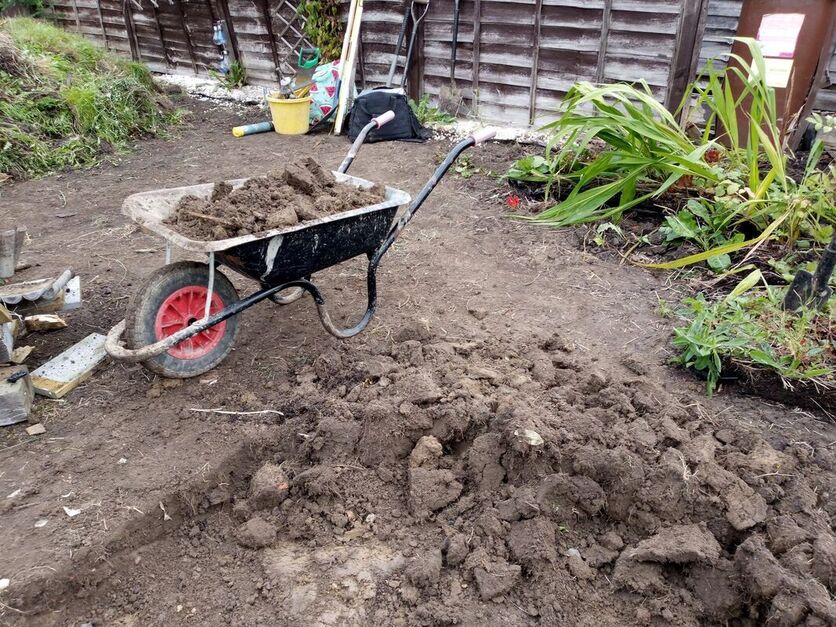
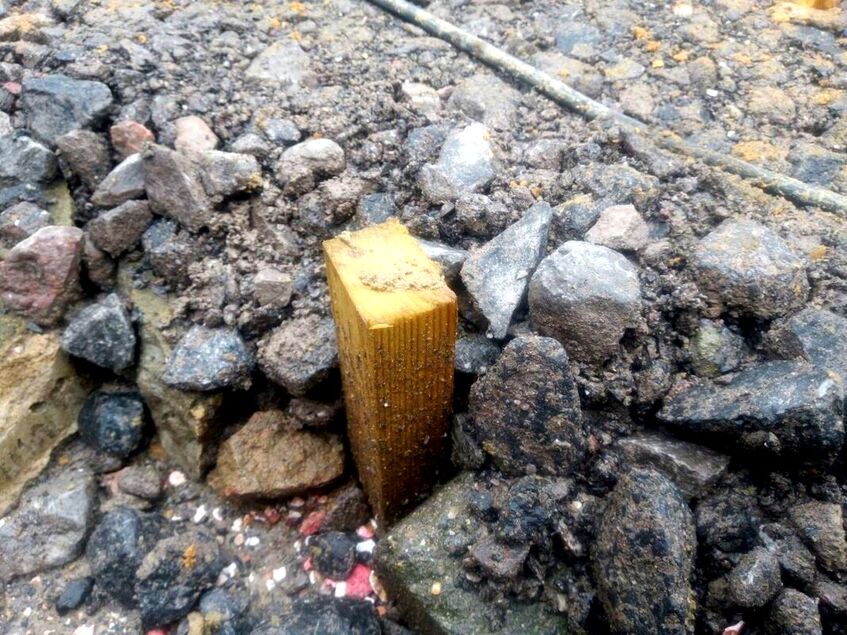
Excavate a square and linear foundation for your new edgings. The excavation should be slightly wider than the edgings themselves and reach a depth of about 130mm. This will enable a sub-base of 80mm a mortar bed of 30mm and leave 20mm for your paving edgings. Make sure the excavation is neat, consistent with no loose left in the base. Step 3: Working out levelsMake sure you plan your levels correctly, you want your edgings to be level with no dips or bellies. If you are working between two levels set up a tight string line so you can discover the completed level. It is a good idea to peg out your sub-base level throughout your excavation. This way you can lay your edgings down upon a consistent bed or mortar. Step 4: Installing sub-base
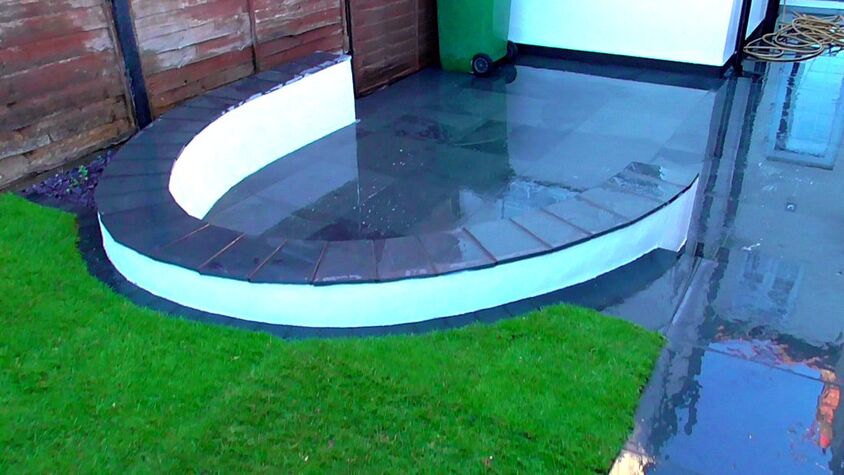
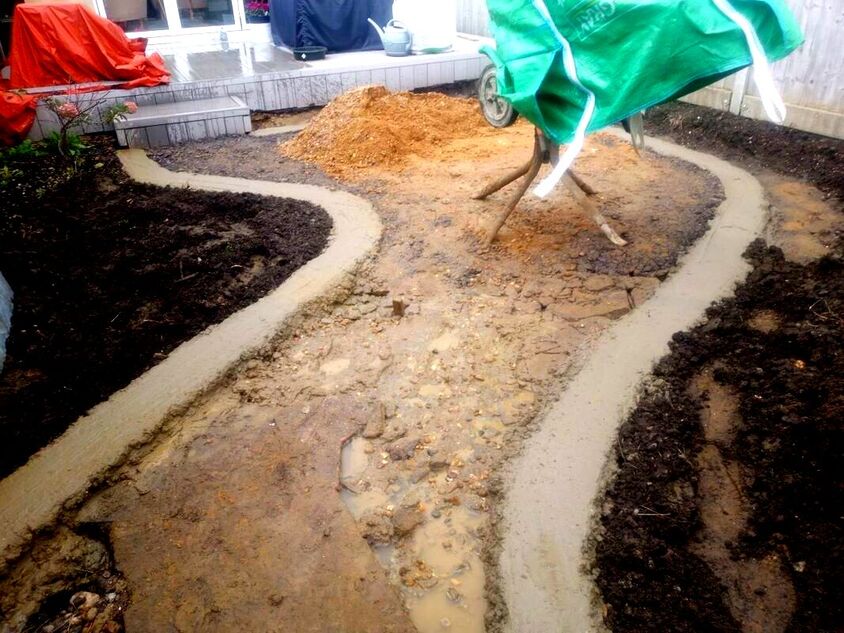
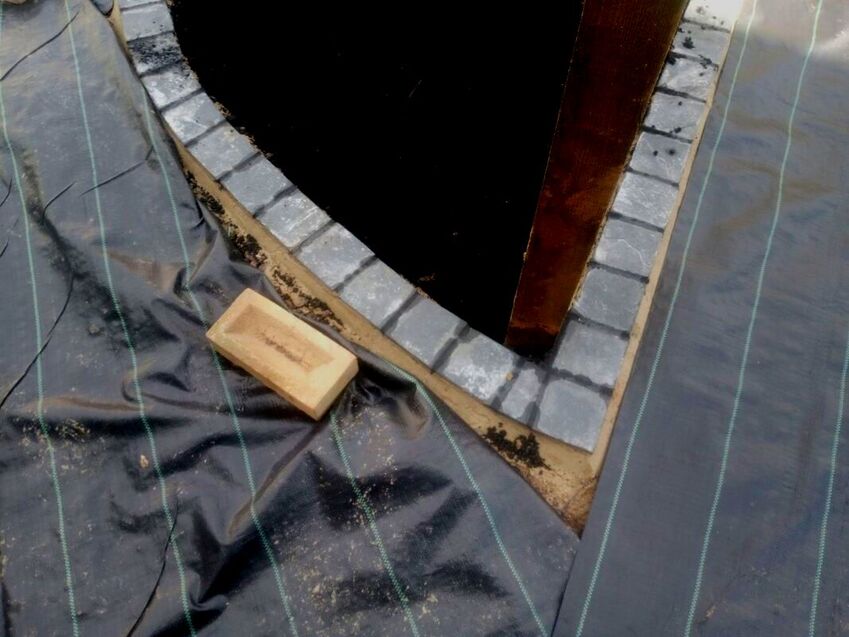
Supply and spread your sub-base evenly to the top of the pegs. One of the most common aggregates for this is mot type 1 which compacts well. Once this is spread it can be compacted with a sledge hammer or tamper. Alternatively you can lay a concrete foundation to base your edgings like in the image below. Step 5: Cutting your edgings
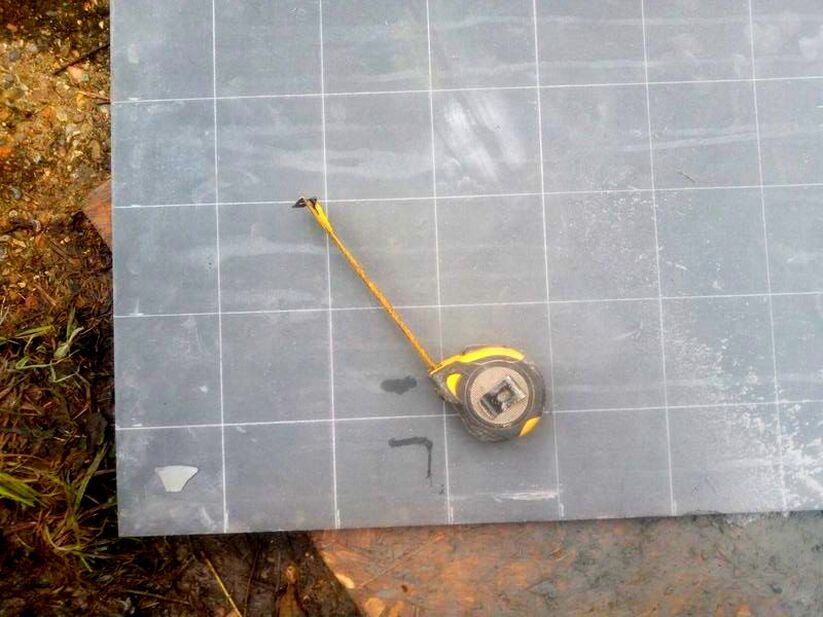
In the example here we have created our own slate sett effect edgings from paving slabs. In order to achieve this you will need to mark sections of your slabs into 100mm squares. If however, you prefer a brick or block effect these shapes can also be marked and cut. Once you have market out your edging shapes cut them out with a grinder and diamond blade. Step 6: Mixing Mortar
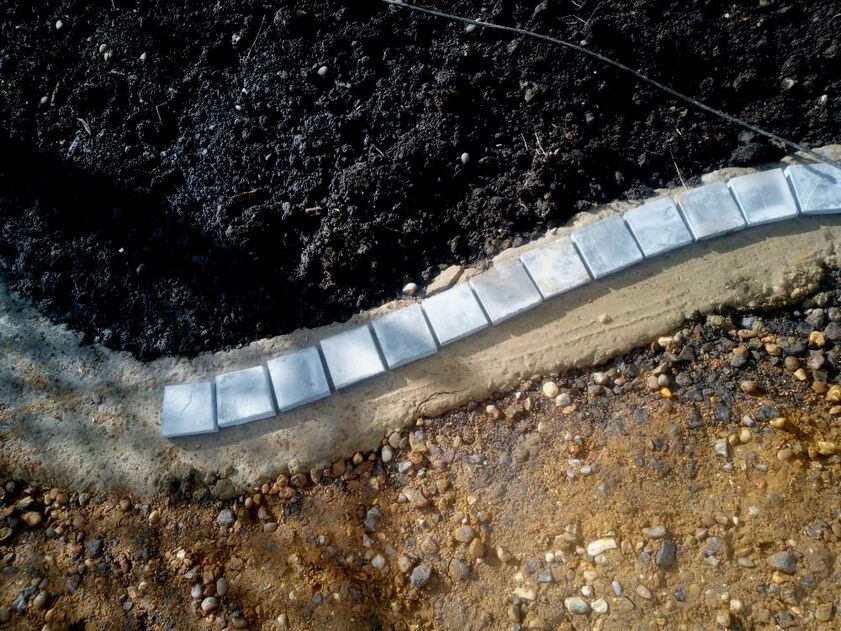
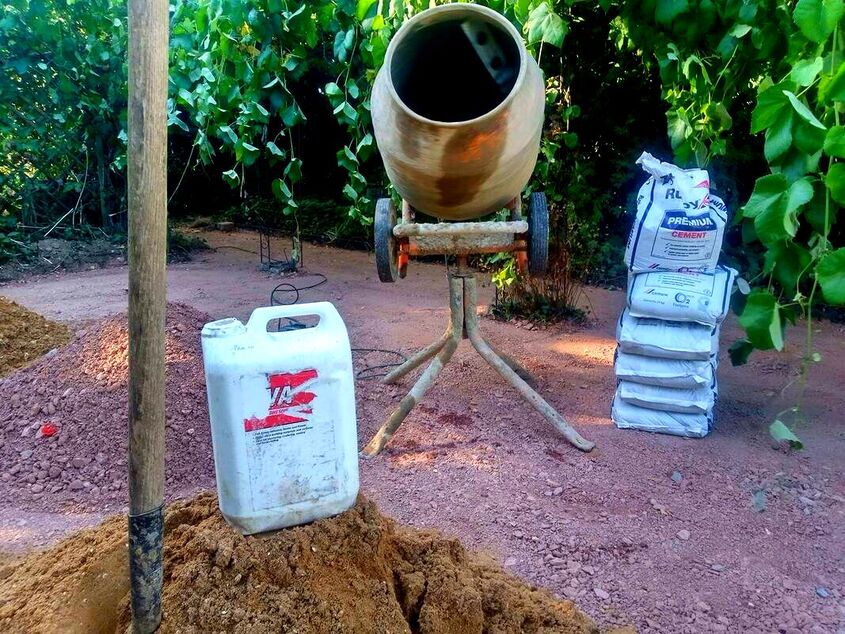
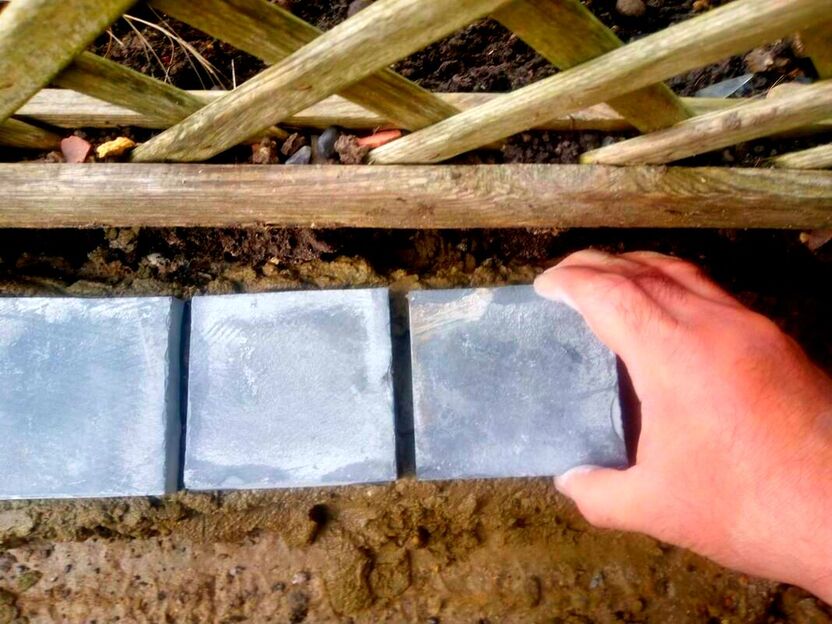
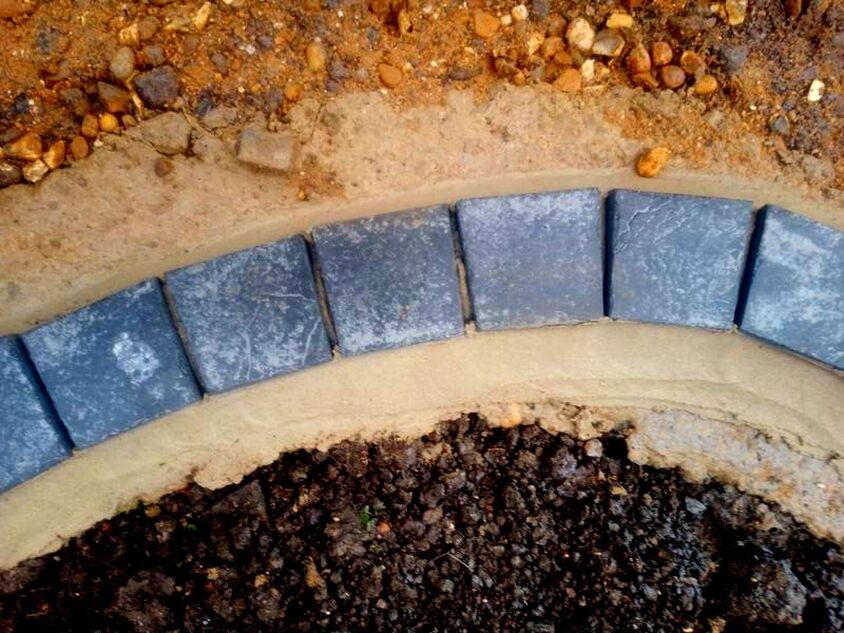
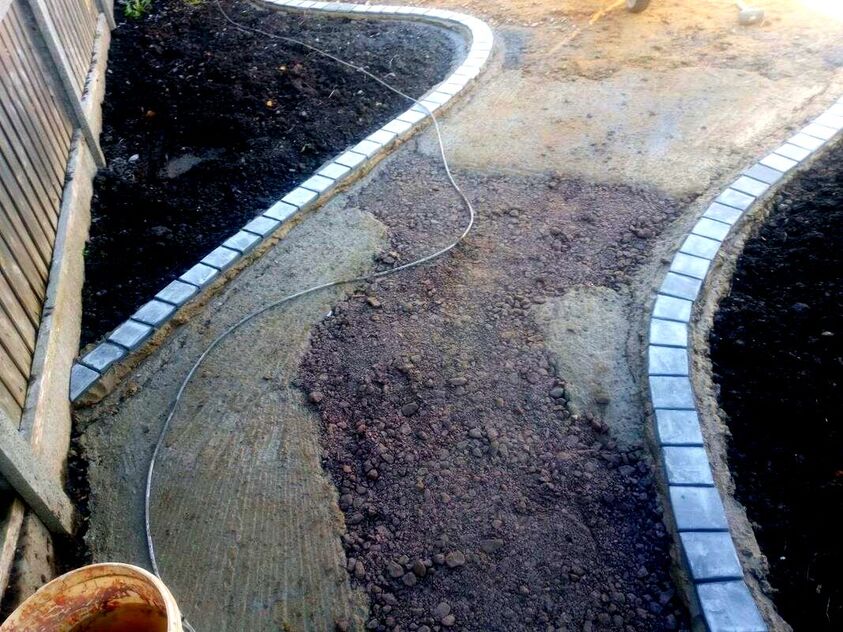
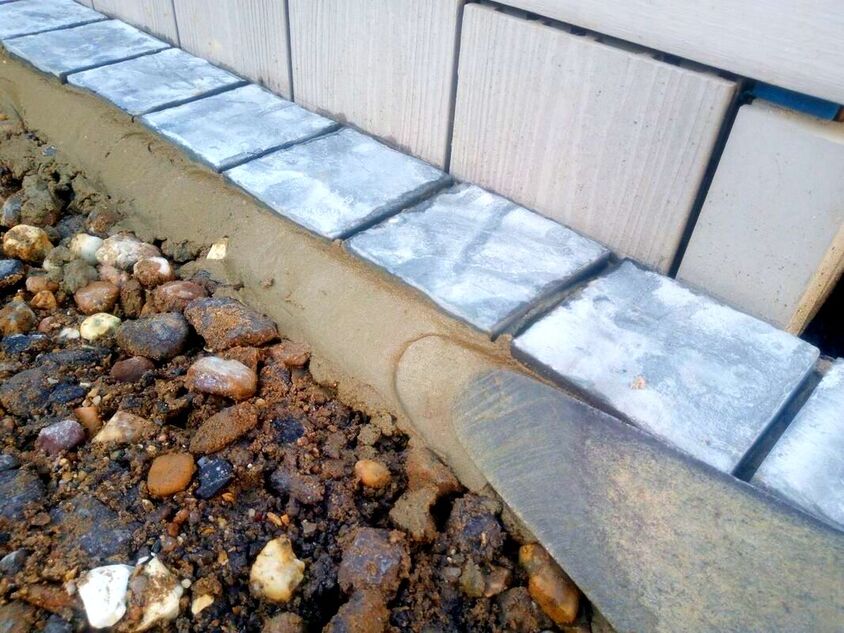
Mix up 4 parts sharp sand and 1 part cement with water until it reaches the consistency of bricklaying mortar. Make sure you add some plasticiser which allows mortar to be as workable as possible without too much water in the mix. Slate can have some problem bonding to wet mortars so it is also a good idea to ad a bonding agent. It is always more efficient to use a cement mixer when mixing mortar. Step 7: Laying your edgingsLay a fillet of mortar along your sub-base foundation. Make sure you work valleys and peaks into the mortar; this will provide give to bed your edgings down level. To make your slate edgings extra strong you may want to cut extra key groves to the base with a grinder. Bed down your edgings until they are flush and level. Step 8: Cutting curves into slate edgingsIf you are laying edgings to a curve like in the example below your will need to cut them to accommodate the curve. This can be achieved by cutting slight angles to adjoining edgings. Overlap the edgings to follow the curve and then cut the overlapping angles to each edging block. For a step by step guide of creating perfect curves with square pavers visit our step by step guide here. Step 9: Jointing your edgings
Leave your newly laid edgings for at least 24 hours to set hard. The next day joint your slate edgings with a plastering sand and a cement mortar mix. Especially for black slates I find adding a little black mortar dye very effective for jointing slate edgings. Mix 3 parts plastering sand to 1 part cement dry and gradually add water with some plasticiser. Do not make the mix too wet as it could stain your slate edgings! The mix should be just damp enough to get a finish with a jointing iron. You should just about be able to form a ball with the mix in the palm of your hand. You should also only grout when the weather and the edgings are bone dry. Step 10: finishing
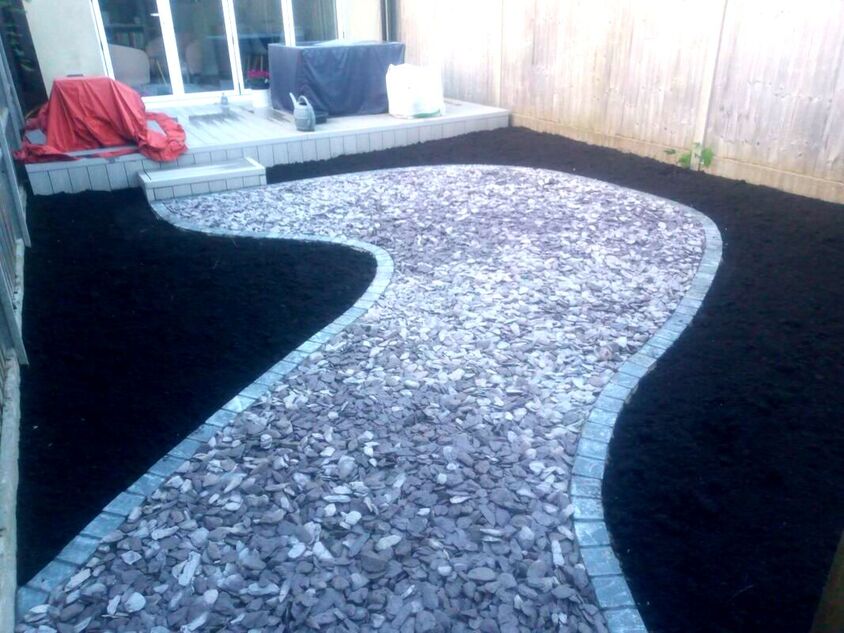
When you have completed jointing your edgings, sweep any excess grouting mix off with a paint brush. Tidy up the surrounding area and fill up any gaps around the completed slate edgings. In the example here I filled the pathway between the edgings with slate chippings! Clean up the area of materials and tools and admire your completed project. This is the most rewarding part of any hard landscaping project. FAQS about slate garden border edgingIs slate edging expensive?
|
The Author
|
Landscaping services across Buckinghamshire, Amersham, Aylesbury & High Wycombe
Hyde Heath, Amersham, Buckinghamshire |
|
