|
This article contains affiliate links
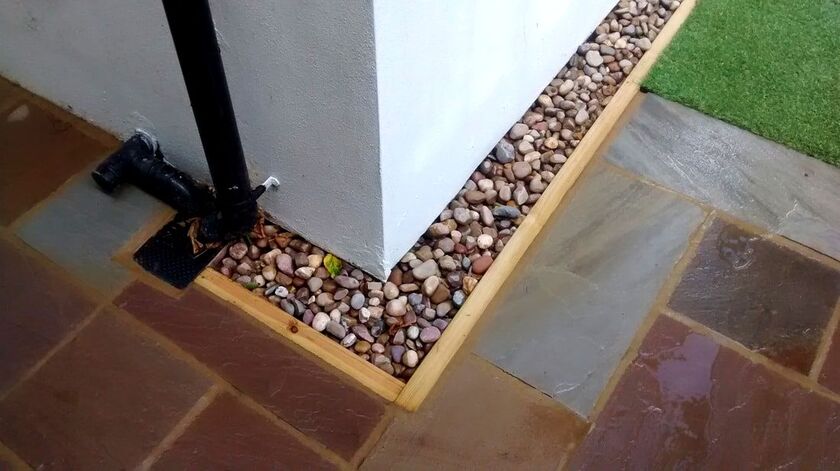
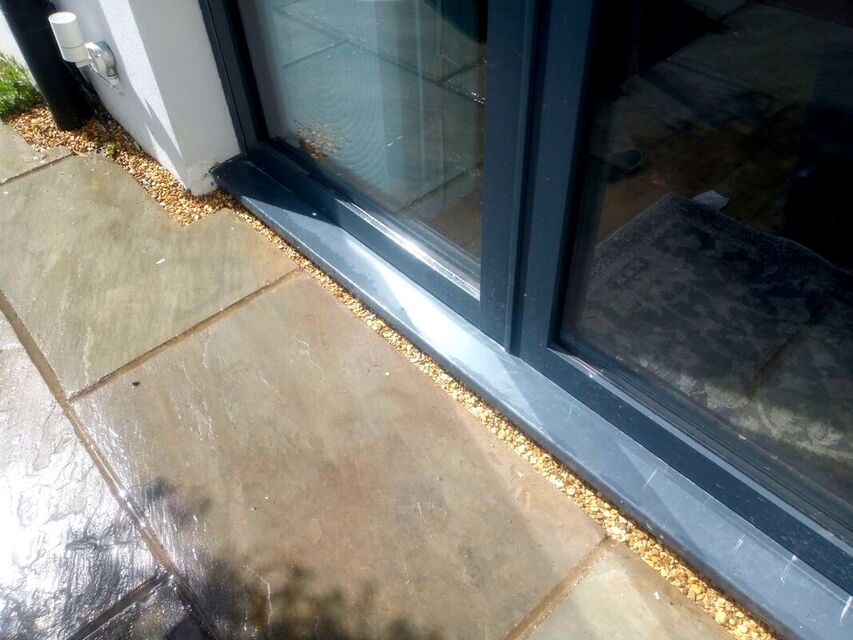
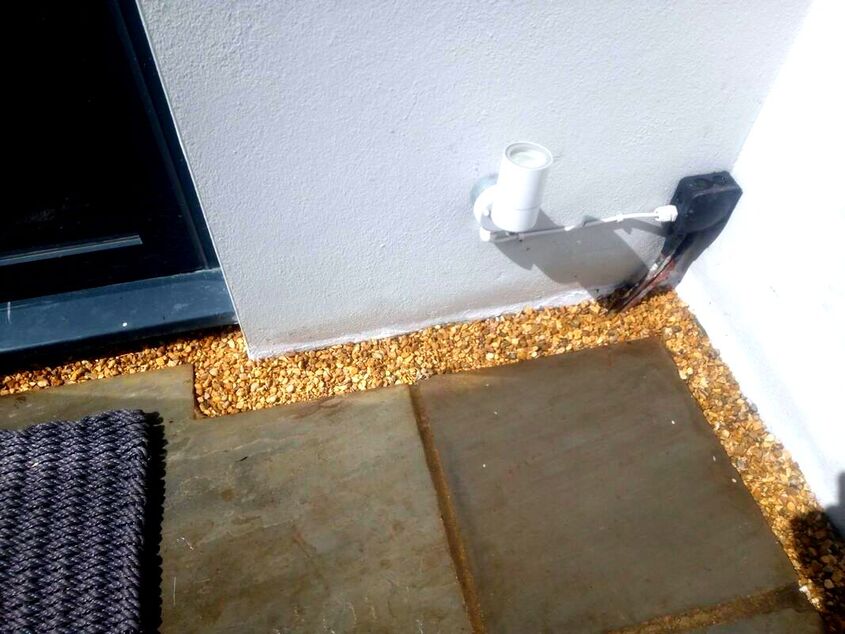
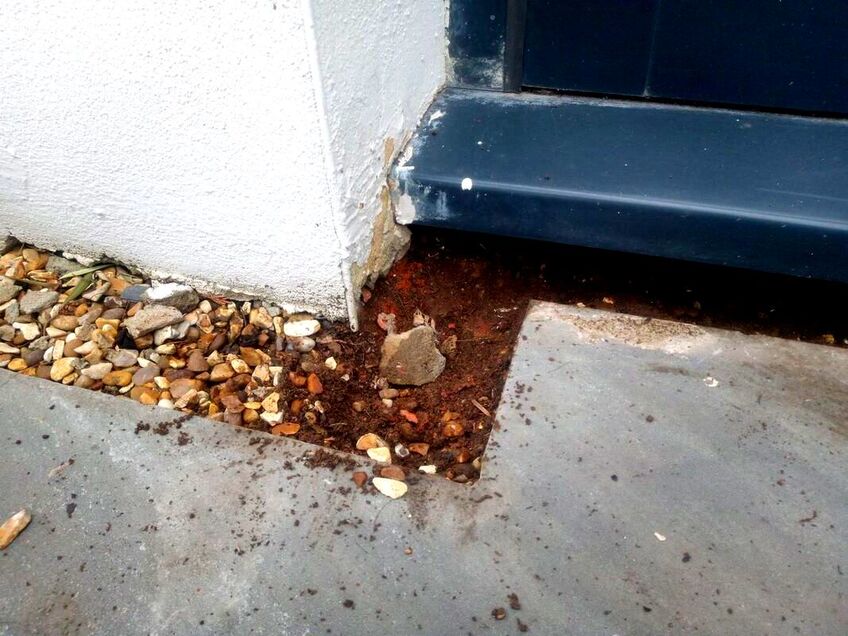
Gravel stips or ‘splash traps’ have been implemented where paving adjoins buildings
There is some debate however as to weather these features are necessary or either a good idea entirely. From experience laying countless paving and patio projects for a number of contractors and clients I have formed my own view. In this article I will discuss what I have learned about gravel trap installation over the years. I will explain why gravel traps have been installed so widely, if they are necessary and how they should be installed correctly. Why are gravel strips installed between paving and buildings?One of the most common cases for installing gravel channels around buildings is for drainage. However, if the sole function was to allow water to drain away a channel drain would be much more effective. The problem with collecting large quantities of surface water in channel drains is where to direct it? Sustainable drainage strategy prefers as much surface water to permeate back into the ground as possible. This means gravel traps do offer some limited drainage benefits around paving. The problem is these gravel channels soon become silted and clogged after a few years. This results in a moisture retentive sponge sitting against your building all year. Such gravel traps can start to encourage weed establishment and look generally unsightly.
The truth is if paving is laid correctly it should direct water away from the building.
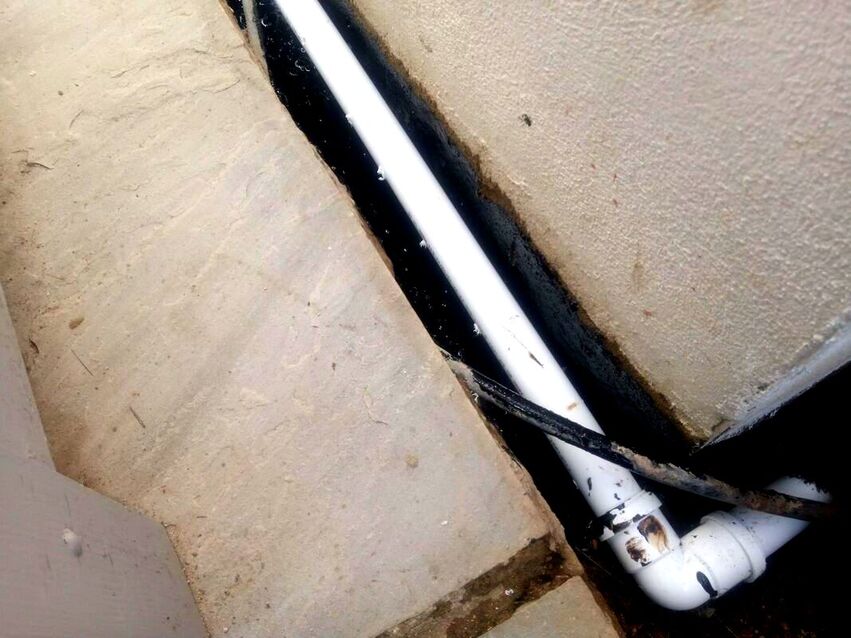
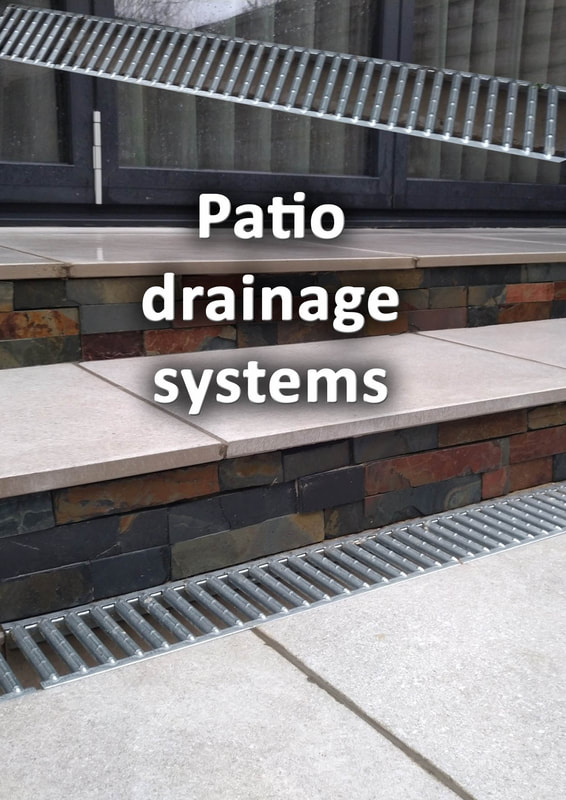
However, it takes more skill to lay paving with the correct falls away from walls and building entrapments. Consequently, gravel traps have sometimes been installed by lazy contractors or those not skilled enough to lay paving to slight falls. There is some claim that gravel borders will reduce water back splash during heavy rain. Gravel would certainly reduce back splash however the eaves of most roofs jut out further than most gravel and splash traps. There is no doubt that in many cases gravel traps can look visually appealing. This is especially so if the gravel contrasts or compliments the paving material you are using. Gravel strips can also help to mask small cuts around the edges of paving. Should you install a gravel strip around your home and paving?I don’t think there is any scenario which dictates that a gravel trap should be installed. If water is falling off paving and sitting against your home a grated channel drain is the best option. Such should be integrated into a greater patio drainage strategy and system. However, if you decide to install a gravel trap for aesthetic reasons make sure it is installed correctly. Correctly installed gravel traps should include a level of water proofing and a perforated drainage pipe to channel away standing water. How to install a drainage gravel trap around your home
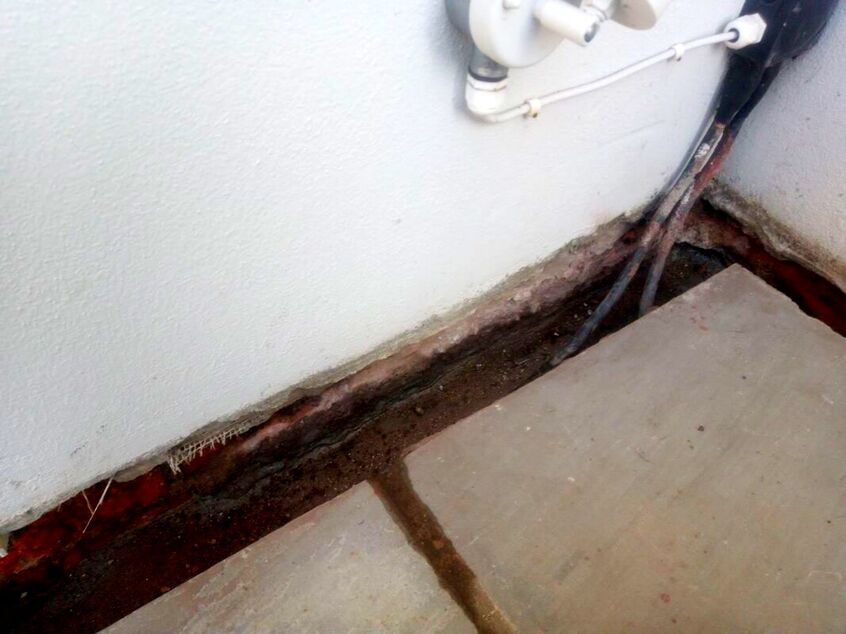
Step 1: Create your trapIf you have existing concrete or paving around your home you will have to mark out and cut your channel. Typically such a channel is between 60mm and 100mm wide. A breaker should then be used to break out the strip of hard standing. In the example we are using here we are revamping an existing gravel trap which has become blocked. In such a case remove all of the gravel and silt from your drainage channel. Step 2: Air dry your gravel trap
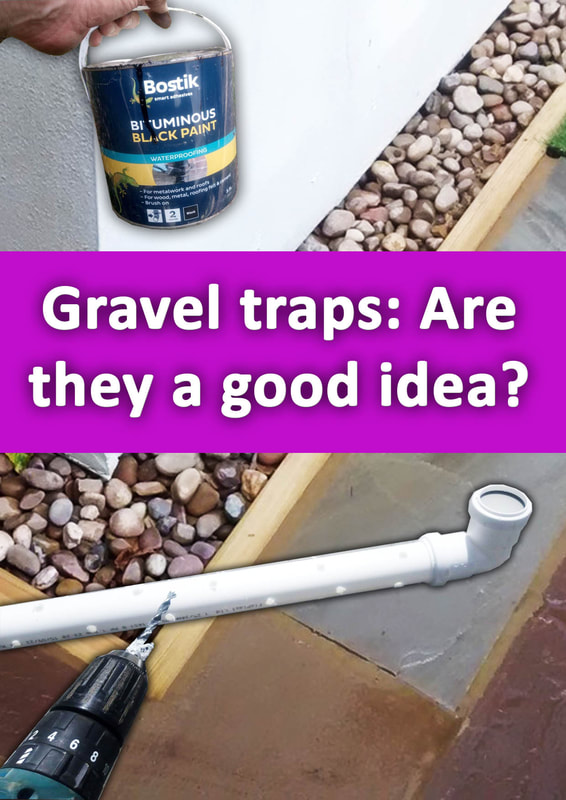
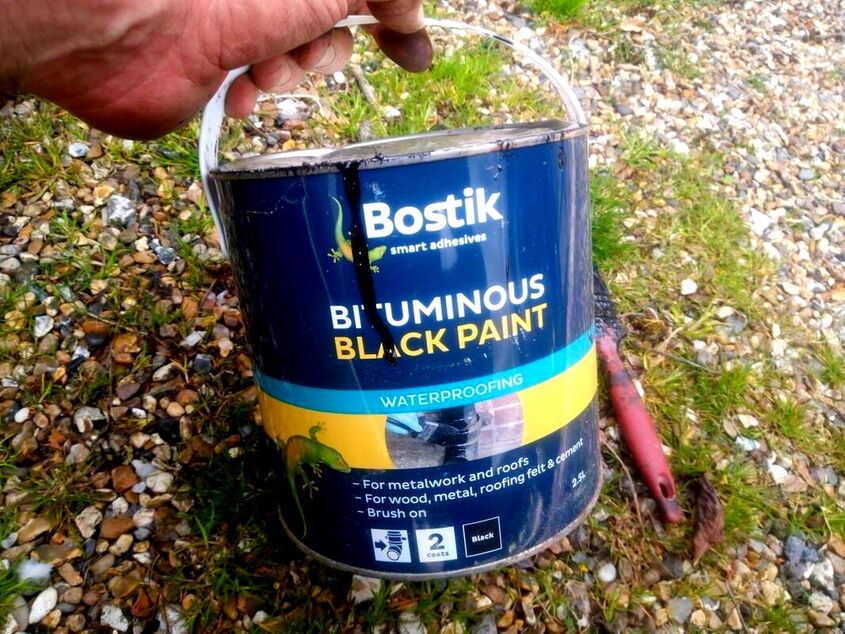
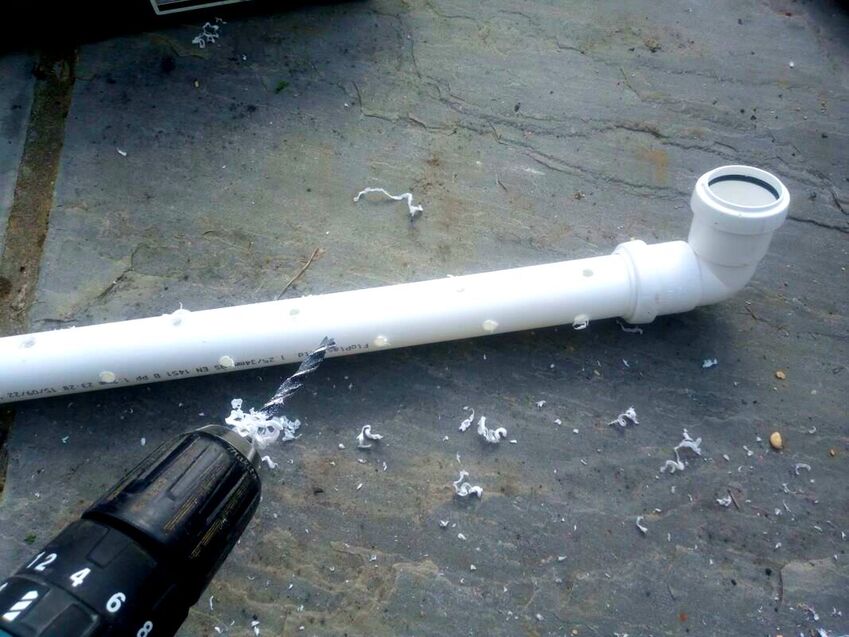
Whether you have broken out a new gravel trap or cleared out a new one you must allow it to dry out. Make sure you give the inside walls and edges a goof brush off with a stiff hand brush. Once your gravel trap is dry you can rework the channel. Step 3: Re-line your gravel stripIt is always best to line your gravel strip with a smooth water proof render. This will reduce the risk of damp and silting. Mix up a 1:4 plastering sand mortar mix and add a bonding and waterproofing agent. Mix up the mortar to a stiff brick laying mortar and render the inside of your channel as smoothly a possible. If you want water to flow out of the channel create a level mortar base. Once your channel is re-lined allow to set. Step 4: Waterproof gravel strip with bitumen paintWhen your mortar is well set, (after a few days) apply two coats of external grade bitumen paint. Take maximum care not to stain your paving or the walls of your home above the gravel line. Once this is complete leave to cure for 24 hours. You can now refill your gravel trap with free draining non-calcareous gravel or install a drainage pipe. Step 5: Install a perforated ground pipeI find most perforated pipes on the market are too larger diameter and flexible for gravel traps. Consequently I recommend a 32 mm PVC ground pipe is normally best for such gravel traps. You will need to drill multiple drainage holes to the pipe smaller than the propose drainage gravel. This must then be laid to the base of your gravel trap. Elbow attachments will enable you to install your pipe work corners. Step 6: Connect your pipe to its destination drain
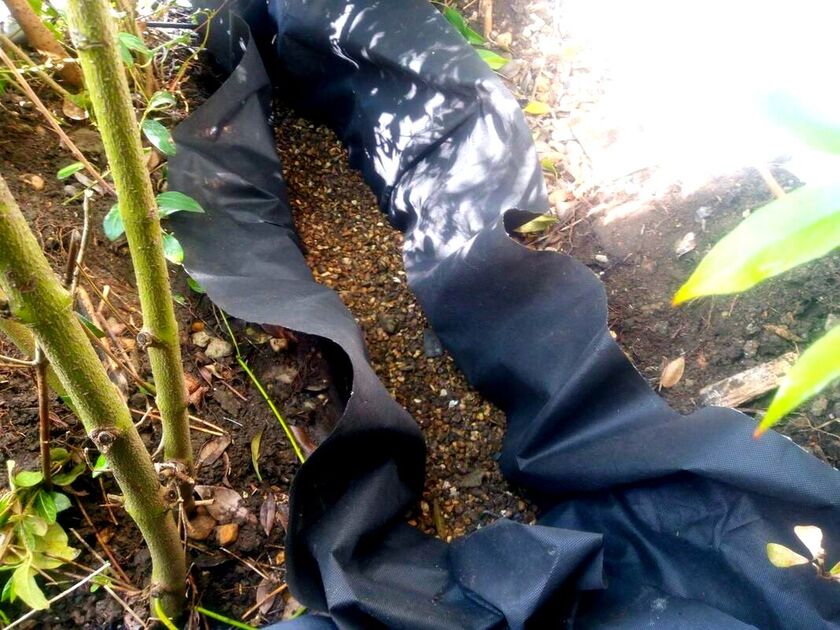
You will then need to connect your pipe to your drainage destination. If you already have a garden drainage soak-away or wetland this could be adequate. If not you may want to install a soak-away of some sort. The size of this will depend upon the catchment area of the paving. In the example here we created a small linear soak-away in a low lying flower border. For more information on topic, visit out article on patio drainage and garden soak-away installation. Step 7: Refill your gravel strip with gravelWhen you have completed your pipe-work back fill your gravel strip with gravel. The best gravel for drainage channels is a non calcareous, free draining aggregate like 10mm pea gravel.
Thank you for reading our article on gravel strips and slash traps for paving around homes. Below I will link to some other articles you may find helpful.
'As an Amazon Associate I earn from qualifying purchases'
0 Comments
Leave a Reply. |
The Author
|
Landscaping services across Buckinghamshire, Amersham, Aylesbury & High Wycombe
Hyde Heath, Amersham, Buckinghamshire |
|
