|
This article contains affiliate links
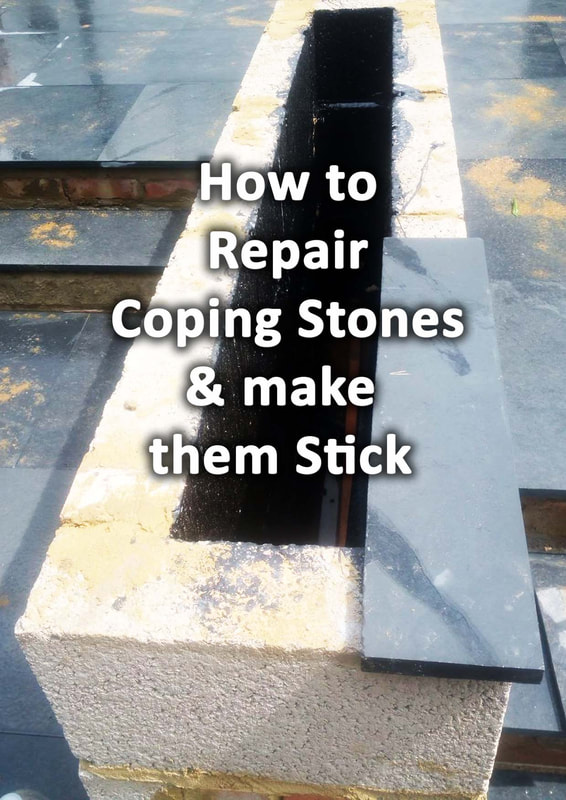
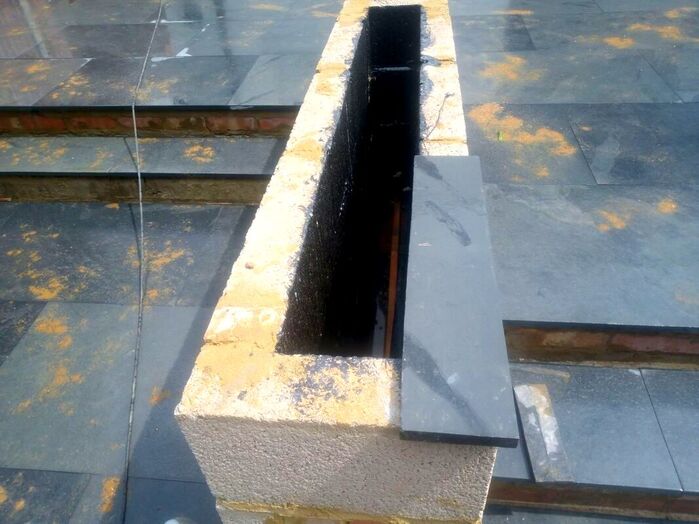
Loose coping stones can be an annoyance and make your property look dilapidated.
As copings are typically situated on the top of walls they also have a risk of falling and breaking. This can lead to troublesome replacements of both copings and mortar to match the existing! Consequently it is wise to repair loose copings as soon as humanly possible. Here I will show you how to repair loose coping stones and make them less likely to become loose in future. Why do coping stones come loose?
There are a number of reasons why coping stones will work loose over time. Many copings do not have very defined grip ridges to their base. A lack of suitable key grip can make it very difficult for mortars to bond well. This is even more so the case with materials such as slate and porcelain which are no very absorbent. Consequently, it is better to lay such copings with a bonding agent added into the mortar. Weak mortar mixes are also sometimes to blame for loose copings. If the cement ratio is low, the mortar may have trouble bonding to the copings.
Furthermore, mortar which dries out very quickly can fail to set well and bond to the copings. This can be an issue with laying very absorbent copings in hot and dry weather.
Similarly mortar mixers which are too watery can also prevent a durable seal forming. As copings are usually located in places which endure impact and extremes of weather they are often prone to coming loose. Later in this article I will describe how you can alter your copings to prevent this happening. Can you use adhesive or glue to fix coping stones?
You can use adhesive and strong glues to fix coping stones. However this methods effectiveness will depend upon the type of adhesive and the condition of the underlying mortar. Your adhesive will have to be a durable and suitable for outdoor use. Also you do not want your glue to be too flexible as it will lead to fractured joints or pointing. However, your underlying mortar is is crumbly or weak you may find the glues bond will only be temporary. Therefore, using adhesive to repair copping stones can be effective as a quick fix in the correct circumstances. What is the best mortar mix for coping stones?
The best mortar mix for coping stones is a hybrid between a strong bricklaying mortar and slab laying mortar. This means a 50/50 mixture of both sharp and soft sand. The fine particles of the soft sand provide better suction and bonding to the mix. At the same time the course, sharp, sand allows for thicker bedding and high strength. Therefore the mix ratio should be 1:4, one cement, two parts soft sand and two parts sharp sand. For extra stickiness a PVA bonding agent and plasticiser should be added to the mix. The mortar should be mixed to the consistency of a stiff bricklaying mix. Why my are coping stones not sticking to mortar?
Coping stones not bonding to mortar is a common problem. This is because there are few different factors which can contribute to poor bonding. Firstly, many copings do not have very grippy undersides for mortar to key into. This can further be exacerbated by impervious materials such as slate. In my step by step guide below I will give some tips on how to mitigate this. Other reasons for poor bonding are; weak mortar mixes, dry mortar mixes, runny mortar, no bonding admixtures in mortar, fast setting caused by absorption and either extreme heat or extreme cold. How to repair coping stones with cement mortar step by step
Step 1: Remove loose coping stones
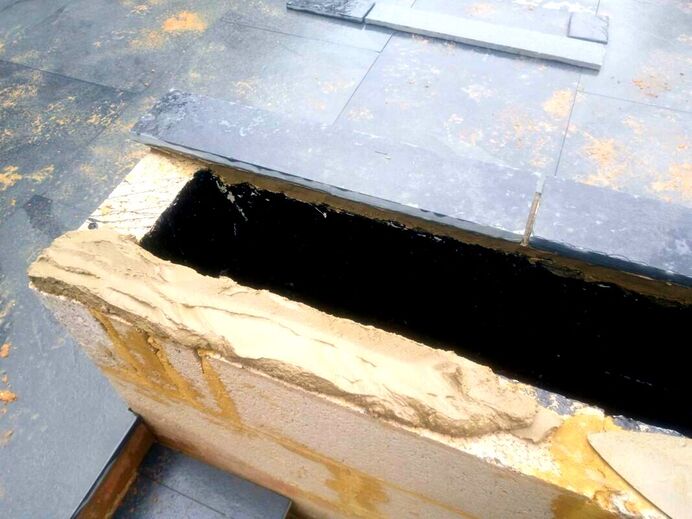
Remove your loose coping stones away from the wall carefully without dropping them. Even if your copings are very loose they can sometimes still be awkward to remove. Therefore it is a good idea to have a hammer and bolster to hand. Step 2: Removed failed mortar
Remove all of the failed mortar from both the wall and any stuck to the copings. Stuck on mortar can be surprisingly stubborn, if you have no luck with a chisel you may need a grinder. Step 3: Cut bonding keys to copings
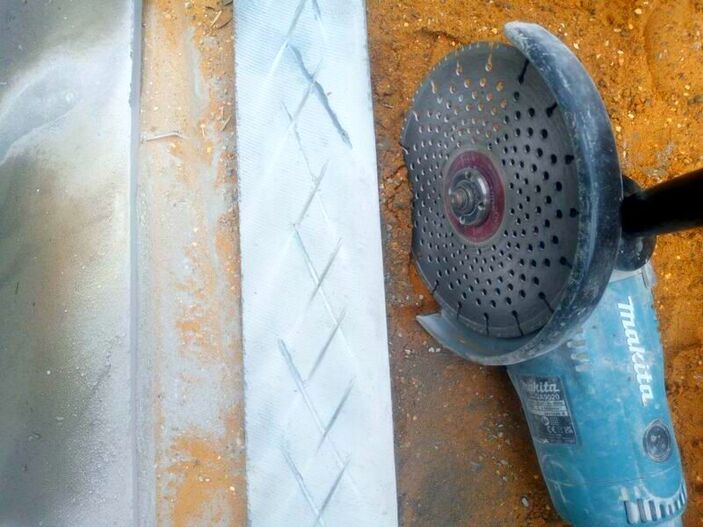
Using a grinder and diamond blade, cut scores into the undersides of your copings at varying angles. This is best done in an X Pattern which will provide a good strong key for mortar to grip into. Such a key will strengthen the copings from multiple impacts and directional forces. Step 4: Clean bonding surfaces
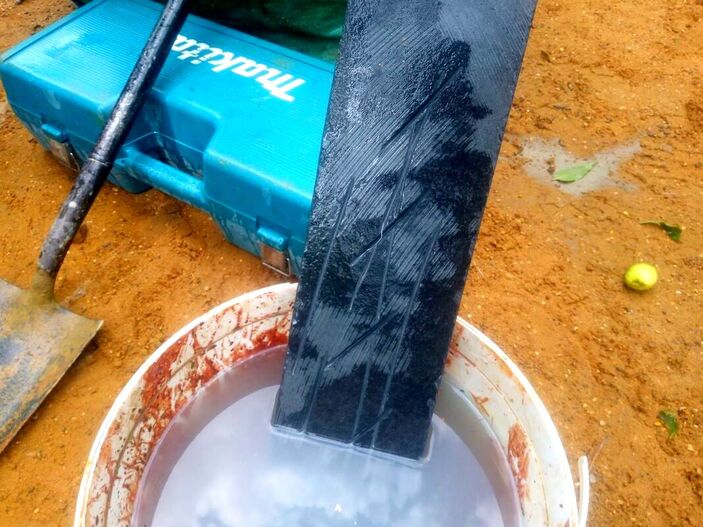
During the cutting process there will be a lot of dust created. Fine dust upon your wall and copings can create a barrier to strong bonding. Consequently, if is essential you give both your wall and copings a thorough wash and brush. Step 5: Mix up bedding mortar
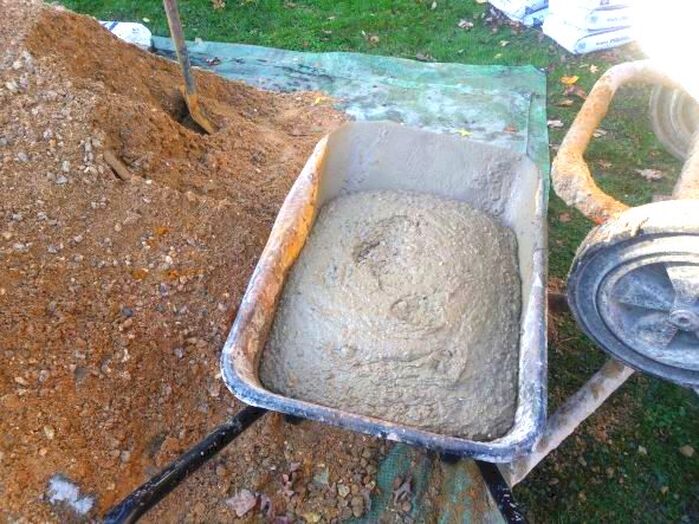
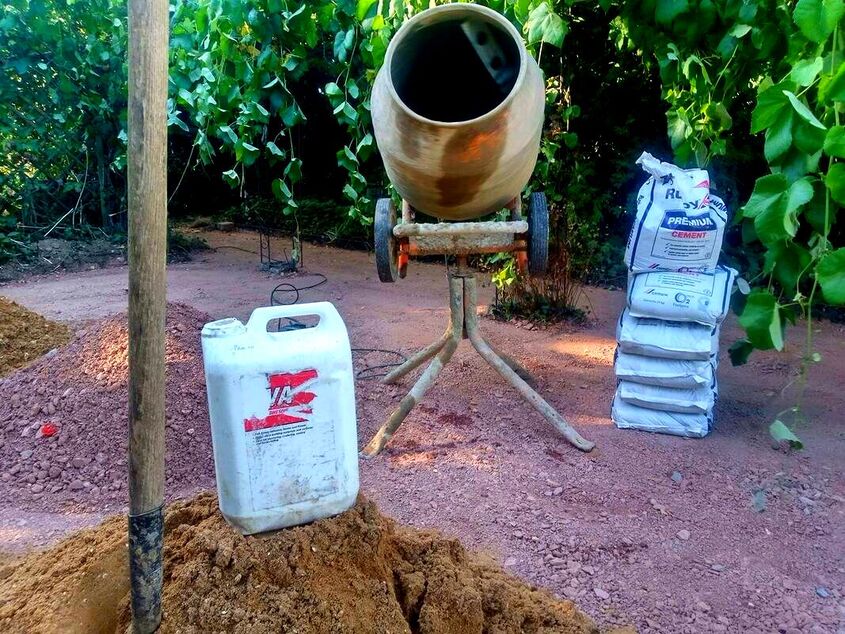
Getting the mortar mix correct is an essential part of repairing your loose copings successfully. In my experience the best mix for laying copings is a strong, 1:4 mortar mix with one part cement to four parts sand. Use a 50/50 mix of sharp and soft sand for better bonding. Add PVA bonding agent and mortar plasticiser to your mix. Add water until you reach a consistency of a stiff bricklaying mix. Step 6: Bed down copingsBefore you bed down your copings make sure your bonding surfaces are free from dust and debris. If you’re experiencing hot and dry weather gently dampen the working area with a wet brush. Using a bricklaying trowel apply an even bed of mortar to bed down your copings. Make peaks and valleys in the mortar so the coping beds down easily to the correct level. Step 7: Point coping joints
When your copings are laid, cut off any excess bedding mortar from the undersides of the copings. Using a pointing trowel, smooth down the mortar to a clean and neat finish, then, with a grouting mix, grout the joints between the copings. If you have never grouted copings or paving before visit out step by step guide here. Step 8: Curing
Leave you copings to cure, if there is any risks of them being disturbed, cover them over. The copings should be solid after around 24 hours. Thank you for reading our article on how to repair loose coping stones. Below I will link to some other articles you may find useful.
'As an Amazon affiliate I earn from qualifying purchases'
0 Comments
Leave a Reply. |
The Author
|
Landscaping services across Buckinghamshire, Amersham, Aylesbury & High Wycombe
Hyde Heath, Amersham, Buckinghamshire |
|
