|
This article contains affiliate links
One of the most common questions in regard to garden landscaping is how to make your garden level? A level garden is the most comfortable and functional to host a multitude of different activities.
These can be recreational or more functional. Level gardens are perfect for playing sports, entertaining guests and just generally relaxing. Gardens however being outdoor spaces rarely conform to the flat surfaces or right angles of the home. Therefore levelling and re-landscaping for flatter areas is a common pursuit. Why level your garden?
Safety
As well as just being more functional there are many reasons why it is better to have a level garden. Uneven and steep gardens can be a safety hazard. It is surprising just how easy it is to trip or stumble on uneven areas and especially in wet conditions. Steep slopes, lawn depressions, and drop offs all are hazards that can result in injury.
Drainage
The best soil conditions for growing plants are places which have consistent moisture content throughout the year. Level gardens are more likely to allow rain water to absorb slowly into the ground evenly. A typical occurrence with uneven gardens is high dry areas and boggy low areas. Both of which are detrimental for optimum plant grown. This also includes lawns so if you want the perfect lawn a level garden is always the best option.
Prevent ground movement
Unlevel and sloping gardens are more prone to ground movement. Any gradient is subject to the forces of gravity and over time this can lead to erosion and subsidence. This is generally not good news particularly for the fact that people’s homes are on the same plot. Sloping gardens combined with the forces of nature such as rainfall can result in considerable ground movement over time.
Adds value to the property
There is no doubt that the same house with a level terraced garden will be worth more than one with a steep slope or dramatic level changes. This is extremely understandable as it comes down to which home has more usable space. Generally I would say the installation of re-levelling landscaping would add to the home’s value by a proportionally similar amount.
Maintenance
Maintaining a level garden is much easier than a sloping and uneven surface. This is particularity so when it comes to mowing the grass. Lawn mowers are designed to cut on a level plain so the more level the lawn the better the cut. It is also much safer to use power tools such as mowers and strimmers on an even surface. This maintenance rule is also the case for flower beds. Duties such as weeding and pruning are much easier on level surfaces.
The definition of level
The definition of level is that of a horizontal plane or surface. More relevantly in landscaping level is typically referred to when a spirit level is laid to a surface. When the bubble fits neatly between the two lines the plane is as horizontal as possible to the centre of the earth.
This is also the same using a spirit level on the vertical plane when measuring what brick layers refer to as ‘plumb’ When it comes to ‘levelling’ a garden however the desire is rarely to make the garden spirit level perfect. When levelling a garden reaching a ‘flush level or consistent surface as horizontal as perfect is often more desirable. It is actually more advantageous to have an unnoticeable gradient or fall to the garden. This is to divert excess storm water in times of heavy rainfall. Hence I always make the point of separating the two terms of ‘level’ and ‘flush’ when referring to garden levels. Level anchor points
When attempting to level your garden you may find that you have some pre existing ‘benchmark’ levels to consider. These include the base of your fences, Level of entrances and damp proof course of the home.
These are your defining levels and will be what you have to work to as they cannot be changed. For instance a patio should always sit around two brick courses below the damp proof course. This is to reduce the risk of water and damp getting into your home. In gardens which slope dramatically fences are usually ‘stepped down’ as they go downhill. This makes it very difficult to dramatically reduce ground levels to the garden. If you excavate too deep the concrete of the posts will show. If you build the ground up too high you will need to install heavy duty retaining walls to the boundary. This can also cause overlooking issues with the neighbour. Assess surrounding topography
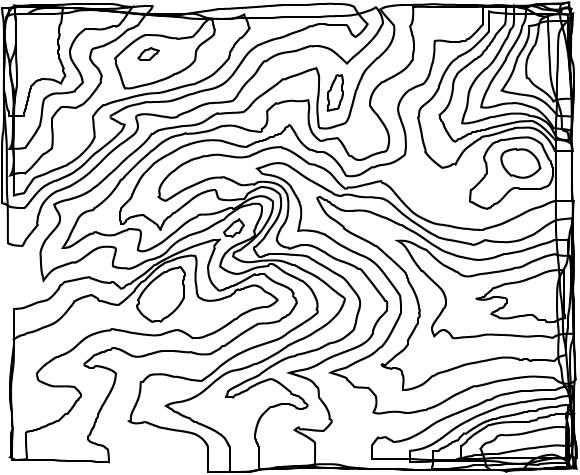
When planning on levelling a garden it is important to understand the surrounding topography. This is particularly relevant if you are living in a hilly area. It could be that the surround levels around your garden may influence your garden conditions in a way you did not realise.
Exterior levels can create wind tunnels, frost pockets, shelter belts and manipulate your gardens water table. When planning to do major re-levelling works it is important to assess these factors. The best way to do this is to conduct a full site survey of the area and overlay these onto a plan of the garden. This process can help to identify opportunities and constraints of your project. Be aware of drainage
One of the most important factors when considering re-levelling a garden is drainage. It is important not to think of drainage as something isolated within your garden. The drainage of your garden will rely on the surrounding water table and lay of the land.
When assessing the surrounding topography try to predict where storm water will run in times of heavy rain. If you are planning to make large changes to the landform try to predict how the changes will affect this. If you are going to install large retaining structures it is important to install weep holes and drainage gulleys. These will enable trapped ground water to escape without adding extra pressure to the structure. Try to design in ways to actually benefit the effective draining of the site. Assess where the existing surface water of the garden runs to and try to keep its destination the same. Why not read our in depth article on garden drainage here. Tree roots
Tree roots are a common cause of changes in garden levels over time. As trees grow the roots slowly expand leading to bumps and divots. The root mass of trees usually results in a slight rising of the ground.
This is also typically compacted and very dry. By bringing in a large quantity of topsoil you can smooth over these imperfections in level. However you should beware of burying any of the trees trunk, this can lead to rot and eventually death. It is also possible to kill a tree by changing the level in a way that affects the moisture content of the ground. Services
Before any large excavation to your gardens soil it is important to find out if you have any services under your soil. Electric cables, drainage systems and water supply pipes are a headache if ruptured. Try to find out the location of these if any before you commence work.
Cut & fill
When planning the re-levelling of your garden you are going to have to understand the concept of cut and fill. This is particularly important when terracing a garden. You will need to know how much soil you will need to get rid of and how much to bring in. In the perfect scenario the cut amounts will match the fill amounts so no expense will be necessary.
However this is rarely the case and to quantify the cut and fill you will have to work out volumes in cubic metres. This is done by multiplying the length by width by average depth of the soil. This will give you your calculation and it is important to place the decimal point correctly. It is also vital to realise that excavated soil bulks up by 30% so add this to your cut calculations. By understanding how to calculate cut and fill you will be able to re-level your garden in the most efficient way possible. Many people are surprised by how large some of the quantities involved are even for small gardens. Terracing
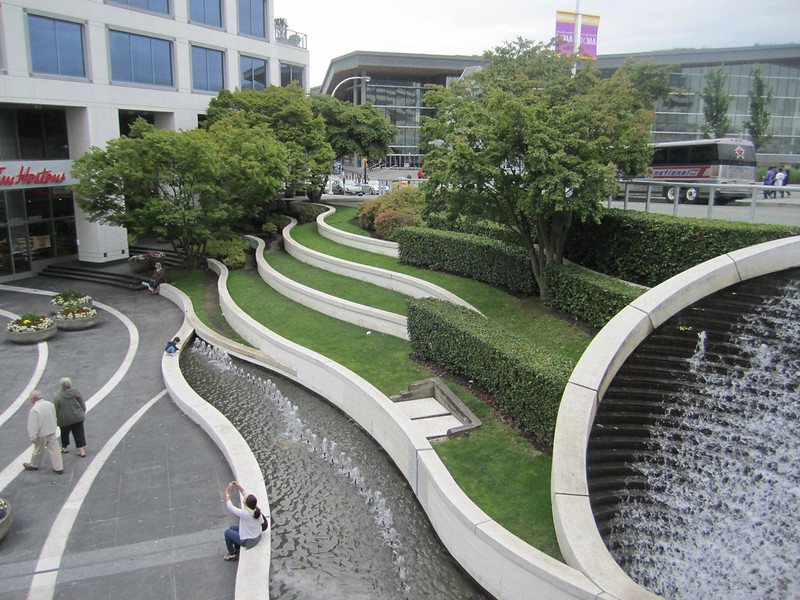
Terracing is by far the most popular way to make a garden level. It is however the most expensive and most amount of work. Terracing involves turning a slope into a series of flat, level areas in a stepping fashion.
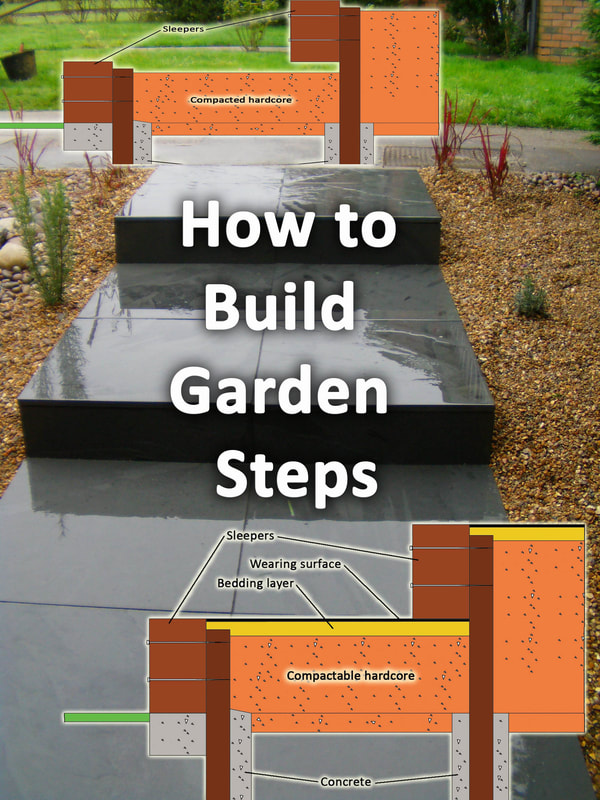
In order to achieve this robust, retaining structures must be installed into the landscape. These are typically thick, masonry walls built on a solid concrete foundation. Existing spoil from site and bought in soil is then filled level with the top of the retainers. This creates a series of level terraces which can then be landscaped to your taste. Bear in mind that it takes soil a while to naturally settle so consider allowing the ground to rest before implementing extra hard landscaping such as paving. Terraces will require access steps to be built to allow access to the varying levels. Retaining structures
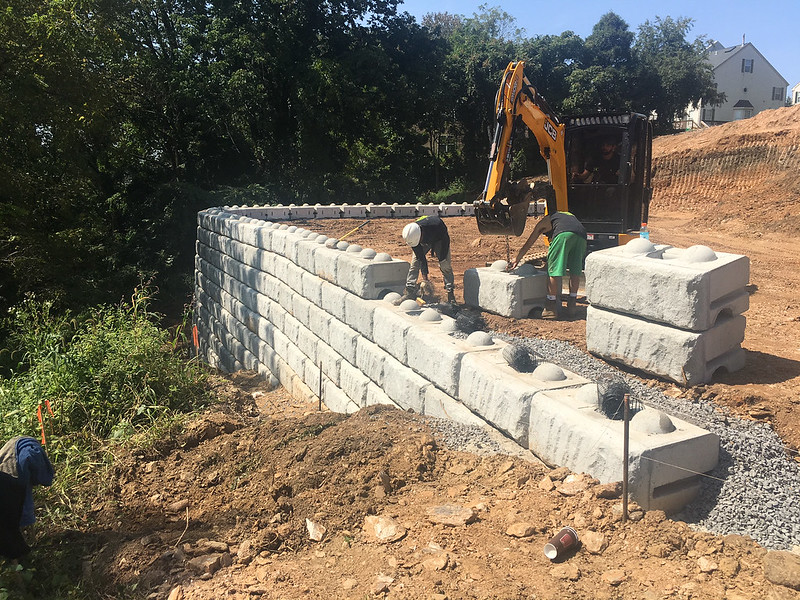
The most important part of terracing your garden to a series of new levels is the retaining structures. These should be strong and robust enough to take the weight of tones of moist soil and not fail.
It will be important to install a large concrete foundation to any wall to ensure a secure footing this will usually be at least 500mm deep and wide enough to take advantage of the cantilever effect of the weight of the retaining soil. It is important that all retaining walls have weeps holes and drainage interventions to enable ground water to escape from the retained soil. Below we have listed the most common methods of creating retaining walls. In-situ concrete
In-situ concrete is when ballast and cement is mixed with water on site to create concrete. Concrete is also sometimes delivered wet and pumped to where it is needed. Retaining walls built this way are moulded with timber form work or shuttering.
Wet concrete is poured into shuttering to create a solid wall of concrete. These retaining walls are extremely hard wearing and strong. The advantage of building retaining walls this way is they can be moulded to any shape even curves. This method requires skill to correctly install the shuttering and work the wet mix. These retaining walls will need a finishing render or some method of cladding for aesthetic purposes Concrete blocks
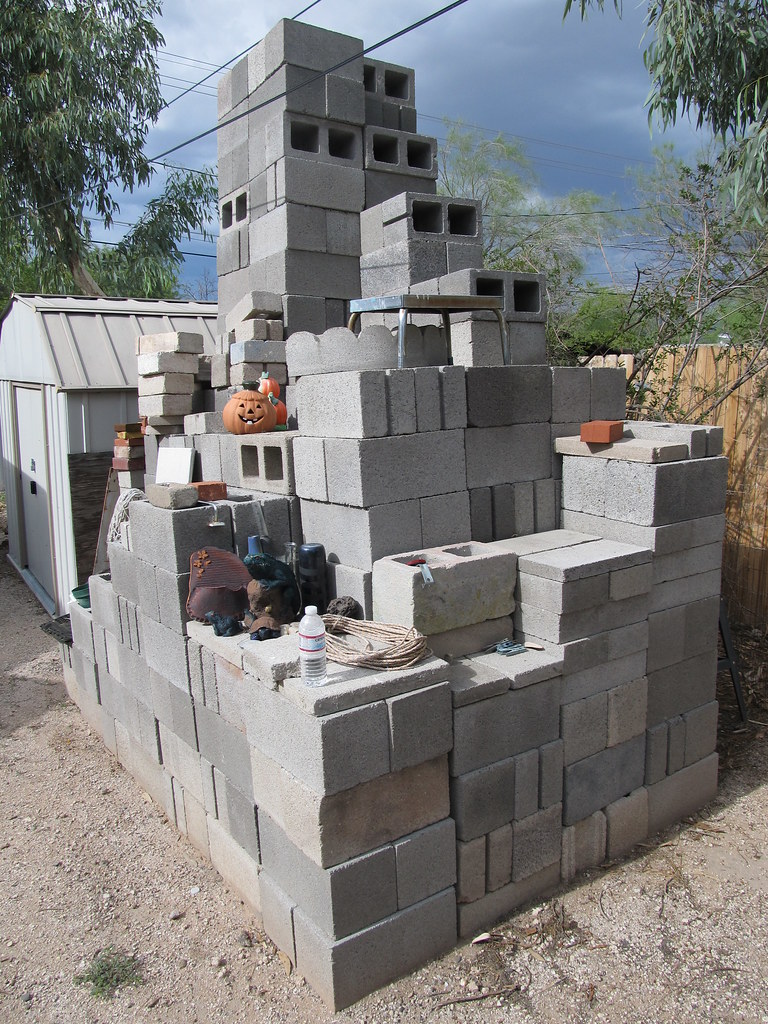
Concrete blocks are probably the most common solution for building retaining walls for terracing. Like in-situ concrete the wall will look unsightly so will have to be rendered, painted or clad.
To get to the minimum preferred thickness blocks should be laid on their side for extra strength. Alternatively you can build your wall with concrete hollow blocks. These can be filled when the wall is built with wet concrete. Concrete blocks are an effective way to build retaining walls for your terraces. Bricks
Bricks are a great way to build vertical structures in the garden. They look good, come in a wide variety of styles, materials and colours.
For retaining walls these should be laid in a double brick thickness. These will preferably be built in a bond where header bricks bridge the two courses. A bond like monk bond or Flemish is suitable for this. Bricks look much better than concrete meaning they do not need cladding. However they are time consuming to lay and expensive requiring specialised, skilled labour. Gabions
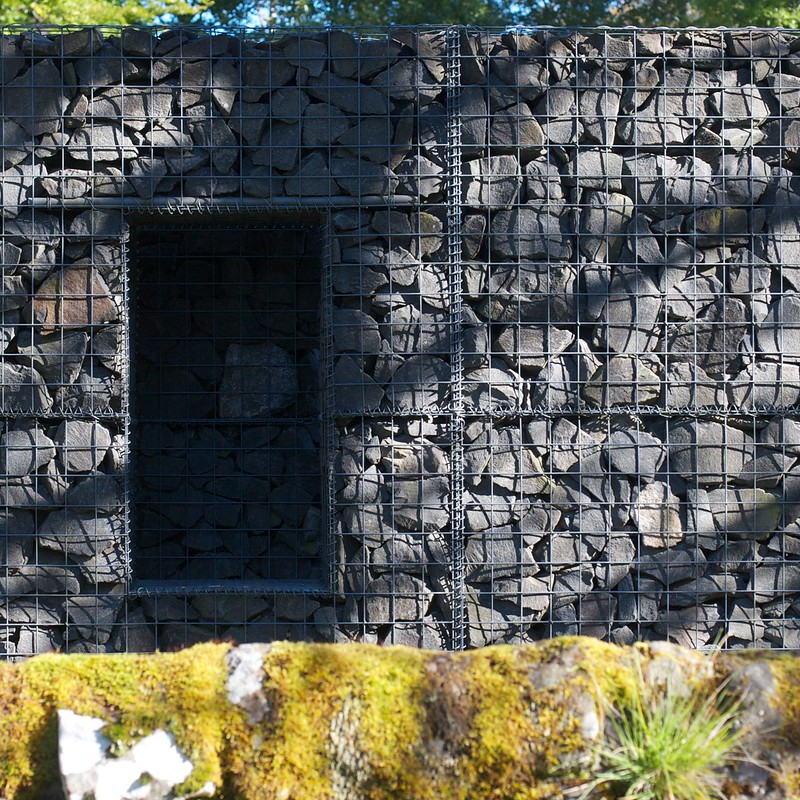
Gabions are cages made of strong, rigid wire and to be filled with rocks or a large aggregate of choice. They pack down flat into squares and are easy to move to site. When filled they provide a large, stable block which is free draining and capable of retaining large amounts of soil.
They offer an attractive visual texture in the landscape and very versatile. One of the main disadvantages with gabions is they are very wide and take up a lot of space. Generally even graded rocks which fill the gabions are expensive and awkward to move to site on mass. Gabion system cages can now be bought on Amazon here. Stone
Natural stone is a beautiful material to work with and comes in a wide range of materials and colours. Natural stone can be laid like bricks with mortar but does require relatively consistent sized units.
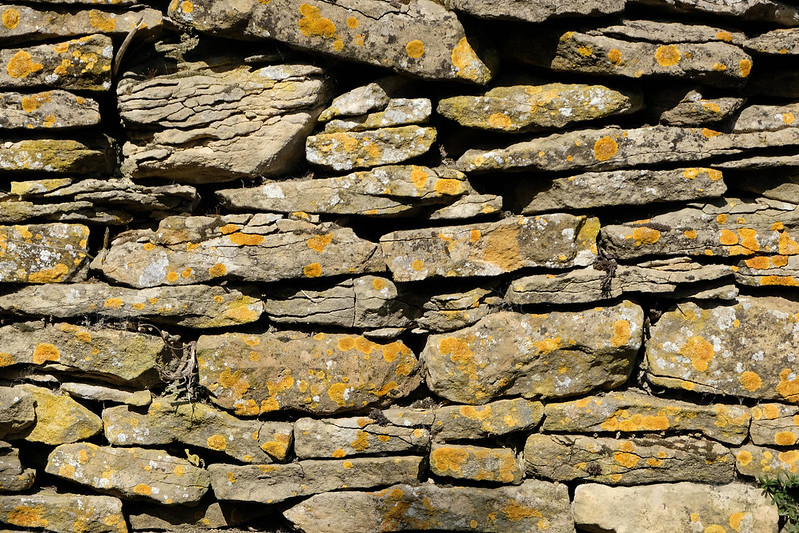
Natural stone does require some skill to be built this way. Just as much skill is needed to point the large bulky joints neatly. Getting the wall flush and plumb with irregular stones also takes some skill. One of the best ways to use natural stone is to lay a dry stone wall. With retaining walls to make up for a lack of bonding mortar dry stone walls can be built with a backward lean. This allows backward pressure to assist in the retention of soil. The gaps in the between the stone allows for free flowing drainage through the wall. Nooks and crannies are also beneficial to wildlife. Banks
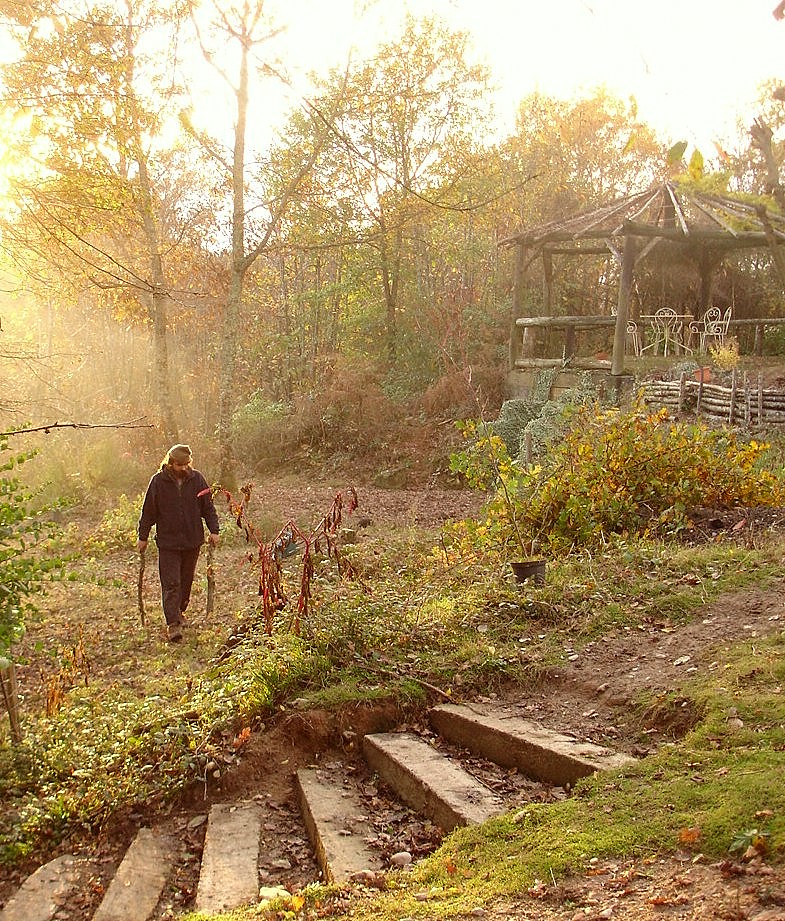
If you wish to terrace a garden on a budget and have adequate space then a simple earth bank can do the job. These are the most rough and rustic solutions to terracing relying on the angle of repose of soil which is about 30 degrees.
The biggest drawback to this is the space they take up as they need to be wide enough to slope retained soil down to the next level. Earth banks can be planted with stabilising vegetation such as large shrubs and small trees. Rockeries can also be made out of the sloping banks and decorative planting schemes. Re-levelling
Whether you are aiming to make your garden level by terracing or simply smoothing out some bumps and divots re-levelling effectively is vital. It is important to remember that ground once disturbed will resettle naturally better than mechanical means.
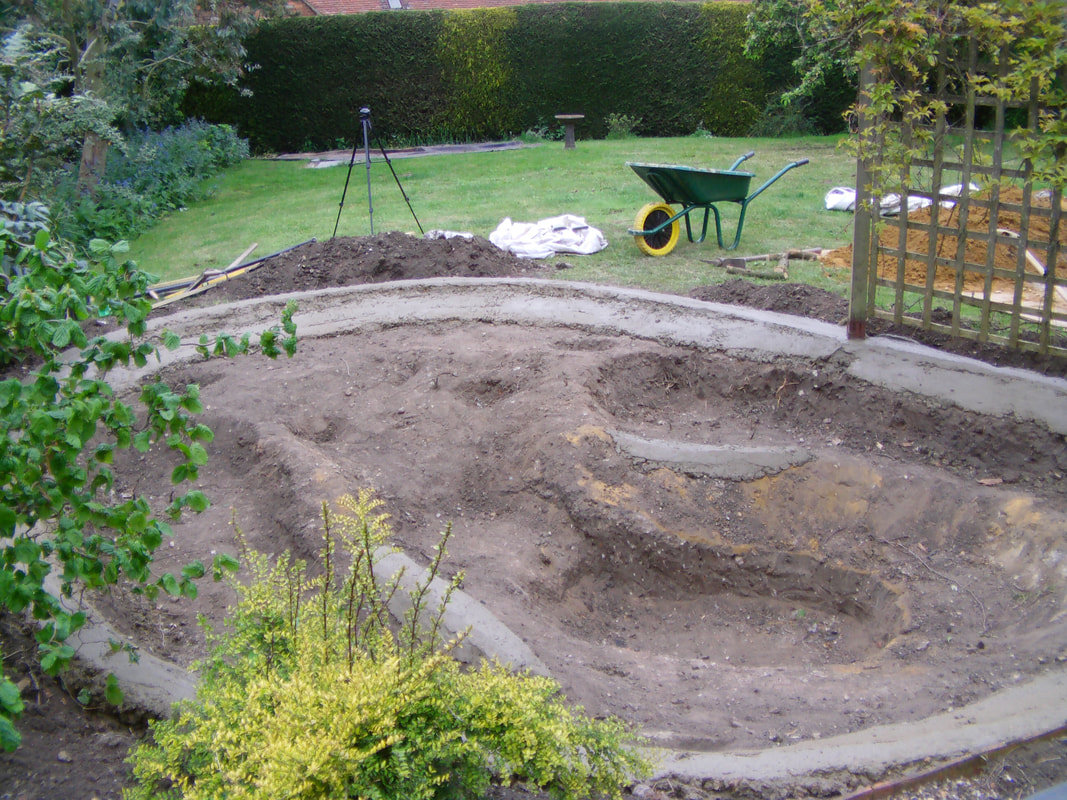
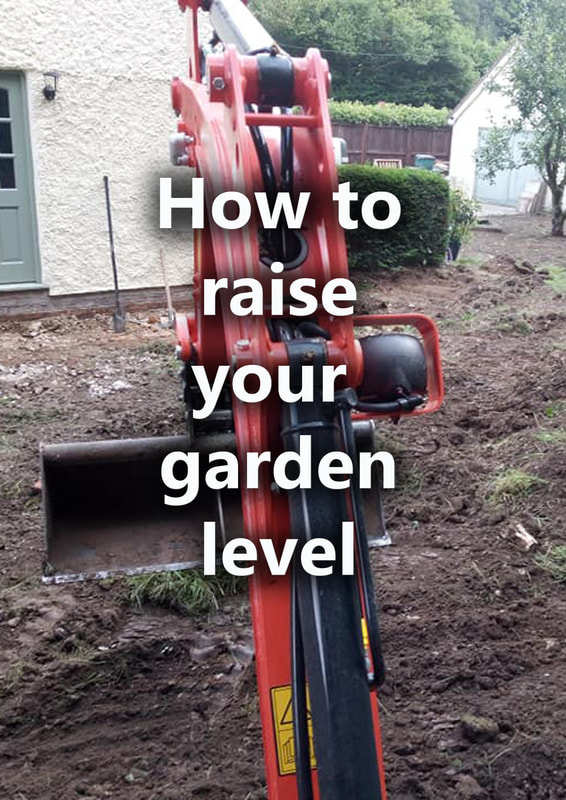
Therefore if you are filling large voids try to level the subsoil before adding softer topsoil on top. When re-levelling large areas the use of a small excavator can be beneficial. If you cannot access an excavator high areas can be broken up with a pick axe and moved to lower areas with a wheel barrow. Once you have a level surface as possible it is beneficial to spread loose topsoil and rake or it level. Levelling a lawn
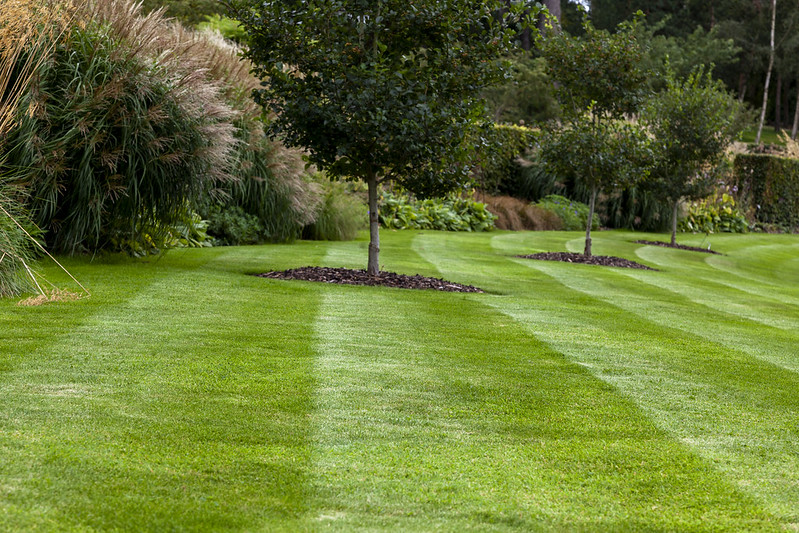
The best way to re-level a lawn is to relay the whole area with fresh turf. The best way to do this is to scrape off the old turf and dispose of it. Then with a rotovator plough the soil to a loose, fine tilth. Rake out and roots and stones and break up any large clods. At this point it is beneficial to add some sharp sand for drainage and some compost based loam to ameliorate the soil. Rake the lawn to a new level and relay a new good quality lawn turf and water well until soaked through.
Relaying a whole lawn due to cost will not be possible for everyone. There are therefore some other options available to you to smooth out diverts and low areas. The first method is to strip off the turf in the low areas and cut neat edges to the adjoining turf. Add new topsoil to the low areas and grade to a new favourable level. Consolidate the ground and either see or re-turf and water well. If you are really on a budget and are prepared to raise the level over time there is the slow build up method. This involves mixing large quantities of a 50% sand 50% topsoil mix and slowly spreading it over low areas gradually. The mix should be spread at no deeper than 7 millimetres evenly over the grass. The idea is to have blades of grass still growing through the mixture. This can be done once a month during the growing season until the grass naturally re-adjusts itself to a new level. A stiff broom can then be used to spread the mixture evenly through the grass. Levelling paving
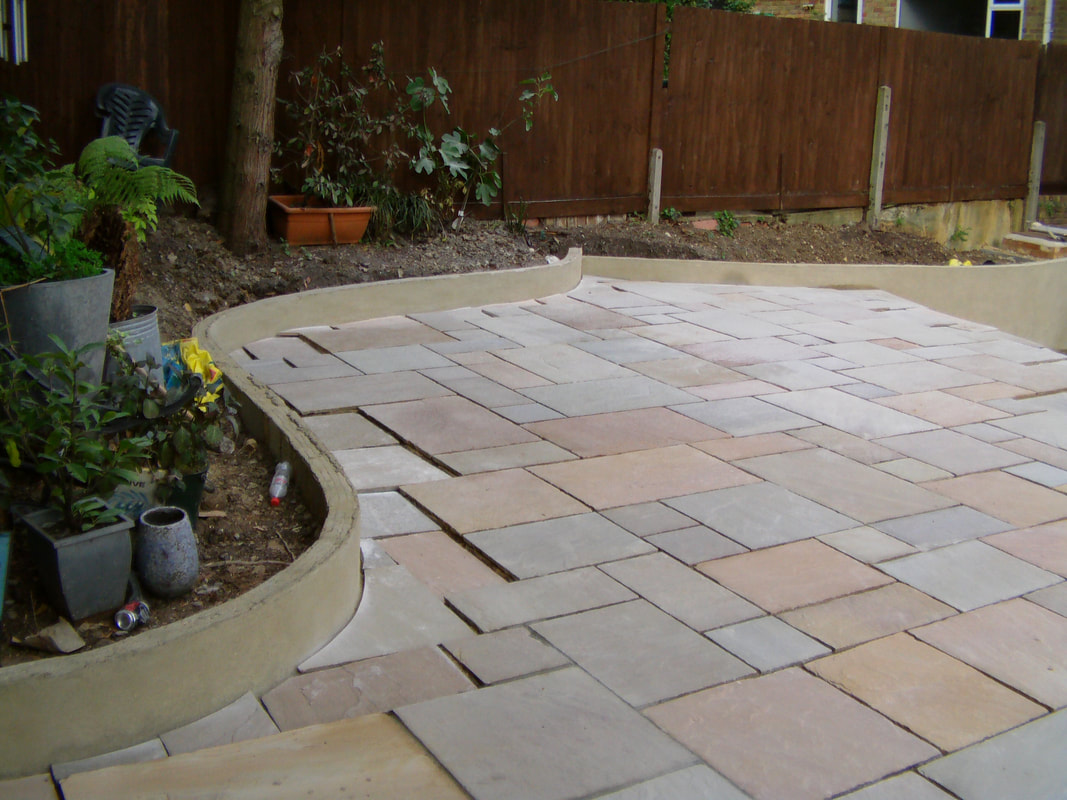
If you are planning on paving an area which has been built up after a terracing project the ground must be allowed to settle first. Alternatively you can fill these areas with hardcore and concrete and compact every 100mm to avoid sinking.
If you have existing paving which has become uneven or even developed a sink hole there are a number of reasons why. A common reason for this is a nearby tree root which has forced ground movement in the area. Sink holes can occur anywhere and especially on areas of chalk but on the whole these are rare. Subsidence is always a possibility especially in undulating areas. Most of the time however undulating paving is usually a result of poor construction. If repairing a small area lift the paving, remove any visible roots plug low areas with concrete and relay the paving. If you need to re-pave a whole area which has been poorly built to re-level it this is what you need to do;
Lift all the paving. Scrape off any hardcore or base work which is free of mud and retain. Dig out the whole area to a depth of 160mm below the finished surface and dispose of. Buy an adequate amount of a compactable aggregate such as MOT Type 1 to a depth of 100mm with the other retained hardcore. Compact the whole area with a vibro-compaction plate.
This leaves a remaining depth of 60mm that’s 20mm for the paving and 40mm for a mortar bed. Lay the paving on a consisted 1:4 mortar mix of cement and sharp sand to a new consistent level. Laying level paving is a skill and relies on good preparation and the correct tools. It is good to hire a competent landscape contractor for this task. If you do it yourself you will need a cement mixer, 6 foot level, shovel, trowel, wheel barrow and tamping hammer. For more information on our recommendations for paving check out our paving article here. Conclusion
There is no doubt that if you have an uneven or sloping garden making your garden level is a top priority. Gardens should be places of enjoyment and recreation therefore level and comfortable spaces are essential. Reaching a perfect level surface however is not always a simple or cheap endeavour.
This is especially true in areas of natural undulation and level changes. Hard landscaping involving moving large quantities is not easy at the best of times. However due to the flexible nature of gardens in terms of design and acceptability there is always solutions which are attainable. If you want to lay out some expenditure and terrace a steep slope or just re-level a patio or lawn. There are always options of varying expense and involvement for each desired outcome. Levelling a garden is something which can be done over time or in one hit. At every stage of the process there will be opportunities to draw from every site. This is the joy of working with landscape!
If you are considering undertaking your landscaping project yourself why not visit our resource page. We also have an informative article on the best landscaping tools for individual landscaping projects.
If you require a landscape gardener or landscaping services do not hesitate to contact our local team. We cover Buckinghamshire including: Amersham, Aylesbury, Beaconsfield, Great Missenden, High Wycombe, Chesham, Chalfont and Gerard's Cross.
0 Comments
Leave a Reply. |
The Author
|
Landscaping services across Buckinghamshire, Amersham, Aylesbury & High Wycombe
Hyde Heath, Amersham, Buckinghamshire |
|
