|
This article contains affiliate links
Slate chippings are a robust and durable landscape aggregate perfect for surfacing patios, paths and flower borders.
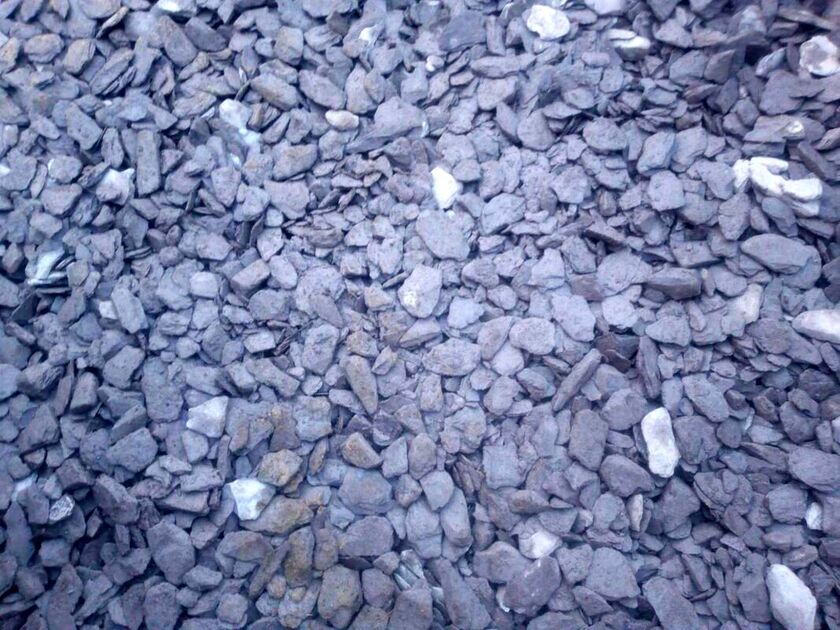
Unlike many landscape gravels slate chippings have a flat form leading to less displacement when walked upon. This makes them generally more stable and more comfortable to travel over. Their natural tones and coarse, visual, texture makes them suitable for a wide range of garden styles and designs. If you want to know how to lay slate chippings you have come to the right place! In this article I explain how to lay slate chippings to patios, driveways and garden flower boarders. I will cover topics such as ground preparation, correct size grades and the best edging for slate chippings. How to lay slate chippings for paths and patios
Slate chippings are perfect coverings for garden surfaces which host pedestrian traffic. Paths and patios laid with chippings are both functional and aesthetic. The visual texture and natural colours can contrast well with lawns and surrounding planting. As slate is naturally durable and hard wearing it is well suited to well travelled parts of the garden. It is important however to prepare the ground like any other surface designed for human walking.
This means basing up your slate chipping area in a similar fashion to a patio. This translates to removing the top, soft layer of soil, laying a sub-base and laying membrane.
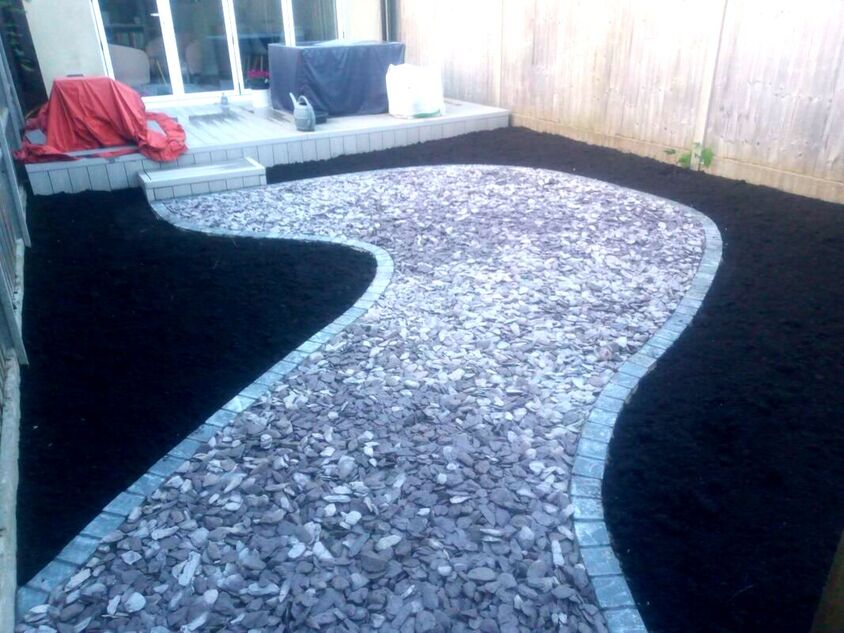
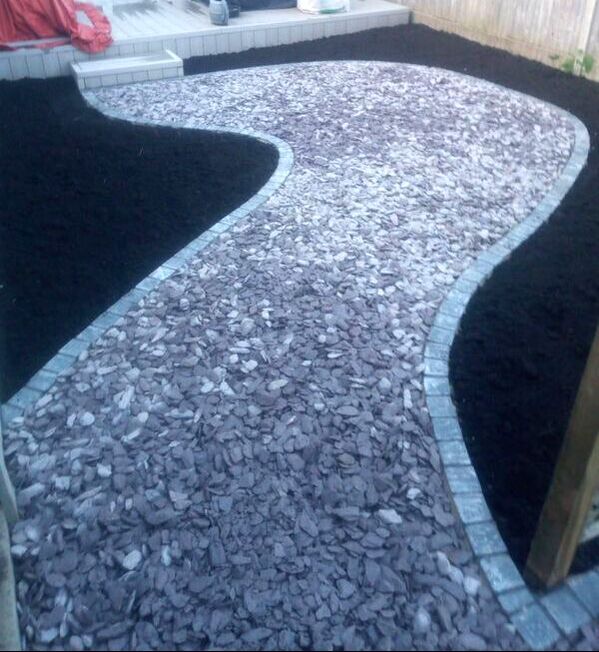
Typically you will need 80mm-100mm of sub-base and around 30-40mm of slate chippings. This means excavating down to a depth of about 125mm. Below I will include step by step instructions with images of how to lay slate chippings in your garden. The guide will include pictures of my latest slate chipping project in West London. How to lay slate chippings step by step
Step 1: Setting out
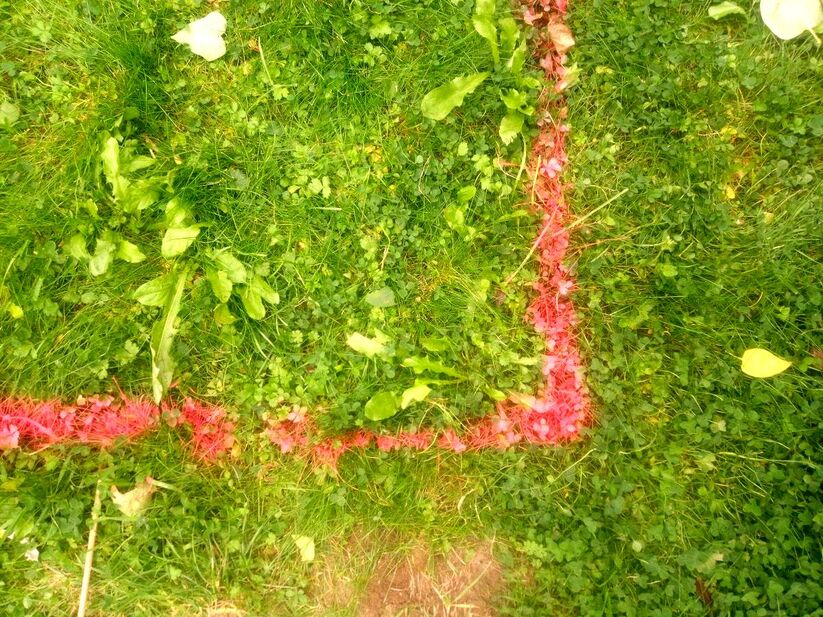
One of the most crucial parts of any landscaping project is setting out and planning. Mark out the area you wish to lay your chippings to define its shape.
It is a good idea to work out how many square metres your area covers. This will enable you to calculate the correct amounts of sub-base and chippings you will require. Step 2: Levels
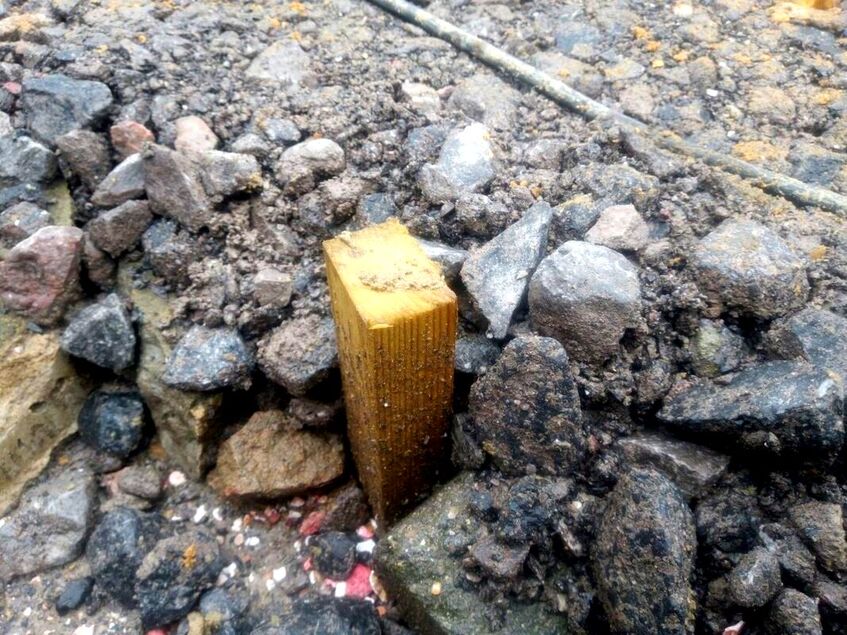
An often overlooked element of laying decorative gravels is surface levels. You will need to lay your chippings onto a base which is relatively level. This will prevent chippings working their way to lower gradients over time. Slate chippings look the best when they are laid to a consistent level. To achieve this mark your finished level with a tight string line. Pegs can then be tapped to the proposed sub-base or completed level. This will enable you to excavate to the correct depth and level your sub-base. Step 3: Excavation
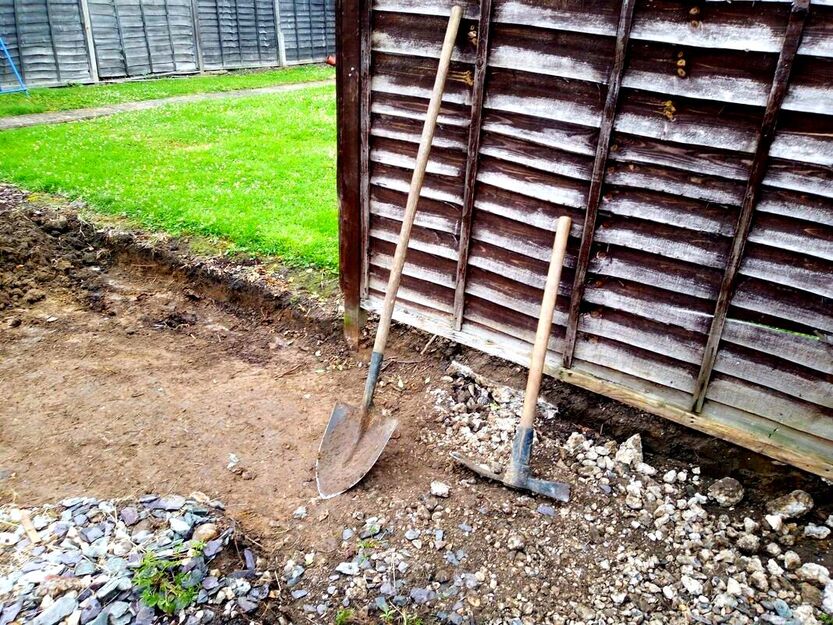
Excavate out any soft soil from under your chippings area, this is not necessary for flower beds. Excavate your soil to the desired depth and dispose of the soil if you cannot utilise it. The best way to do this is by ordering a skip. Make the excavation as neat and as consistent as possible with square sides. Step 4: Edgings
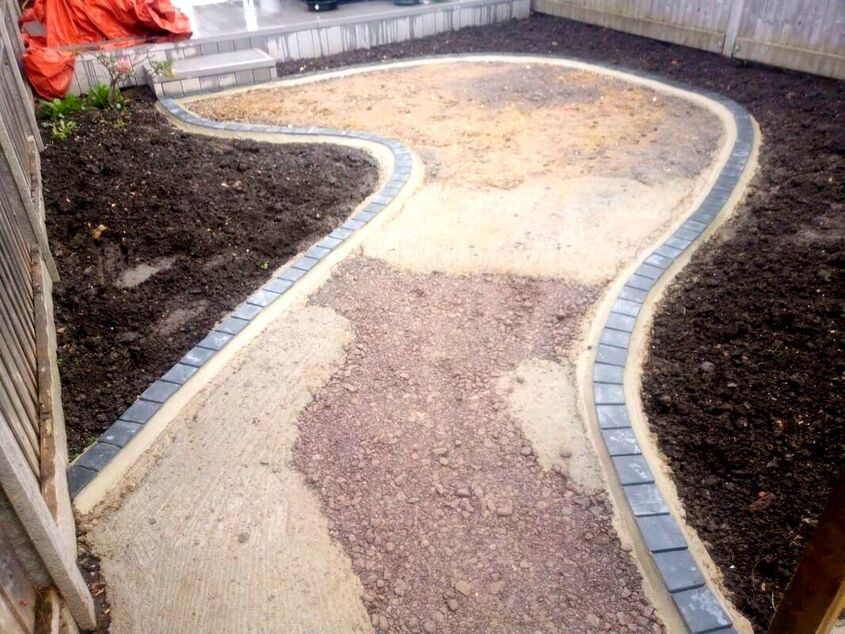
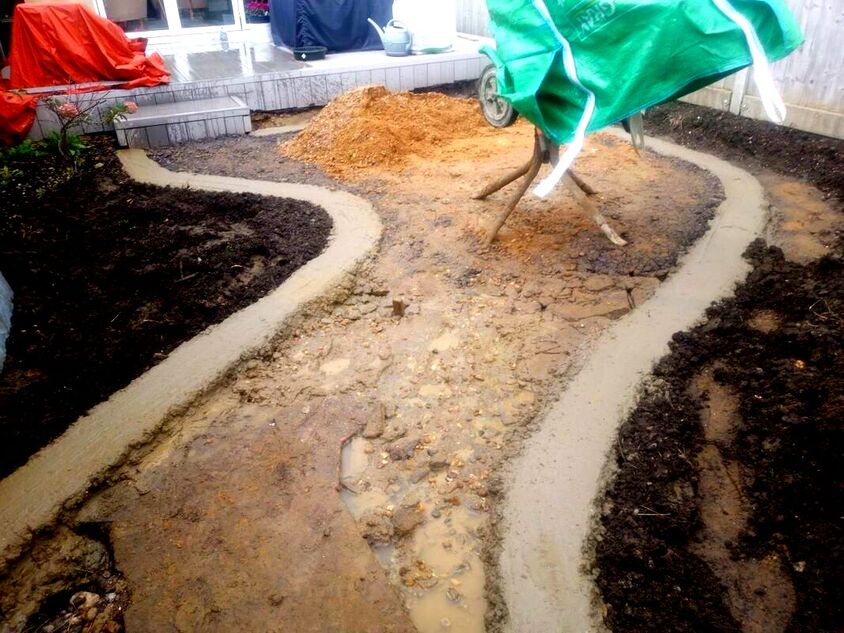
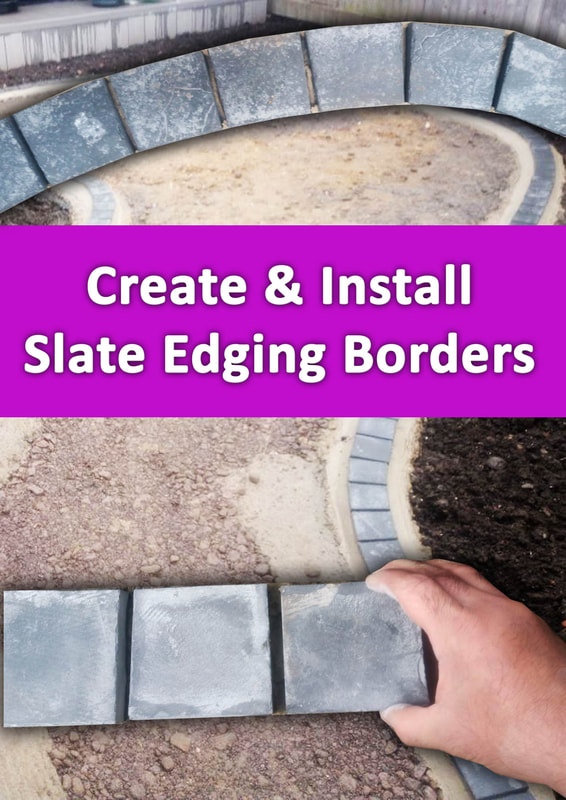
Most of the time you will need to install retaining edgings to contain your slate chippings. Edgings will provide a clean edge to the surface and prevent it mixing with surrounding soil. There are many options when it comes to retaining chippings and gravels. Why not check out our article on the best edgings for gravel surfaces here. I personally find slate edgings and slate sett edging are the best edgings for slate chippings. These are what I have used in this particular case study. Why not visit myarticle on how to create and install these slate border edgings here. Depending upon what edgings you chose you may require to create a shallow concrete foundation or haunch. Step 5: Sub-base
Supply and spread your sub-base aggregate as level as possible. I always find pegging out your sub-base level every 2 metres is a great way to do this. You can then easily rake your sub-base to the top of the pegs. Once your sub-base is laid, compact your base well with a vibro-compaction plate. Step 6: Membrane
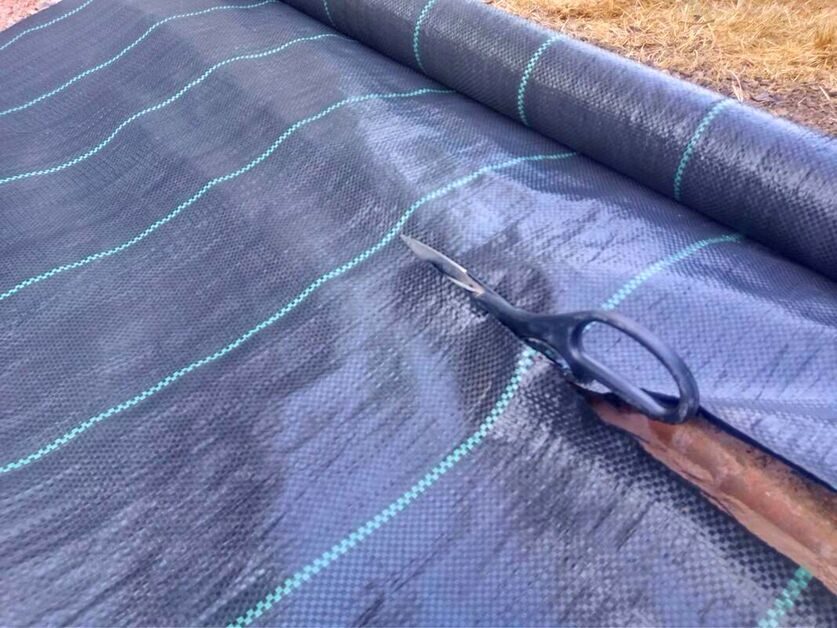
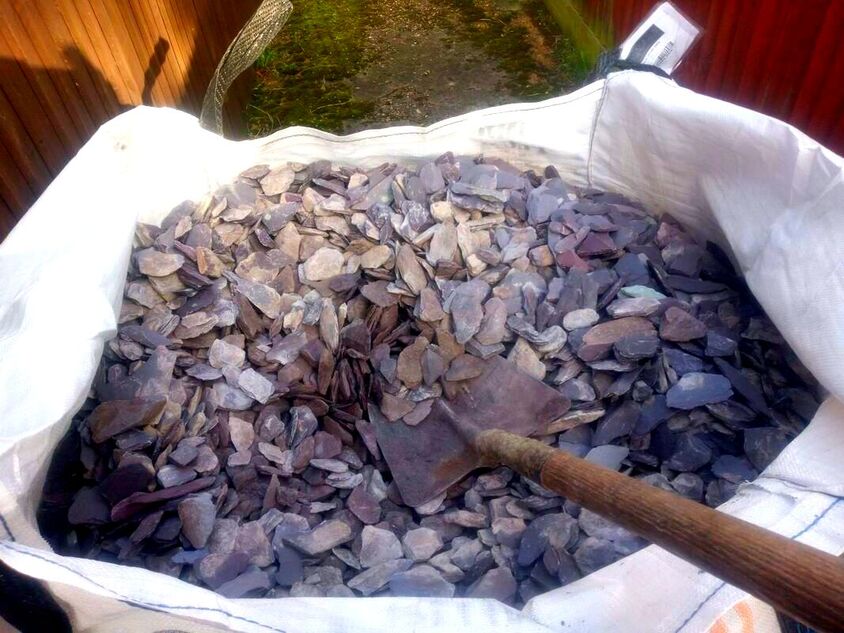
A durable landscape membrane will prevent your sub-base mixing with your chippings. It will also help to prevent weed establishment and root penetration. Lay out your membrane preferably not on a windy day pegging it down securely. Step 7: Laying your chippingsSpread your slate chippings to your prepared area as level as possible. This is best undertaken with a wheelbarrow, rake and shovel. Slate chippings can be particularly challenging to shovel especially the 40mm grade. Consequently, I recommend using a long handled shovel with a pointed end. You have now completed your slate chipping area and you can admire your masterpiece! How to lay slate chippings on a drivewayJust like laying slate chippings for patios and paths driveways will require a suitable sub-base. This means a robust sub-base such as well compacted mot type 1 aggregate at a depth of 150mm. As driveways are exposed to greater forces, a thicker grade of chipping around 40mm will be necessary. You will also require robust, retaining, edgings to hold the surface in place securely. How to lay slate chippings on soilIf you are laying slate chippings on flower borders and soil you will not require a sub-base. It is well advised however, to mix in plenty of organic matter such as compost first. This will reduce compaction from the weight of the slate and provide nutrients for plants. A finer size grade of slate chippings is best for flower borders such as 20mm. 20mm gravel will be easier for perennials and bulbs to penetrate during the spring. Make sure you install a robust landscaping membrane so weeds do not become established. FAQS about slate chippingsHow to prepare the ground for slate chippings?If you are preparing the ground for slate chippings you will at least require a robust landscape membrane. This will prevent underlying soil and silt rising up between the chippings causing weed establishment. If your slate is for a path or seating area it is best to remove the top 125mm of topsoil. This will enable you to install a robust base suitable for pedestrian traffic. For slate paths and seating areas spread a minimum 80mm depth of compactable mot type 1 under the membrane. If want to drive a car over surface make sure you have a minimum 150mm layer of mot type 1. How deep should you lay slate chippings?Due to the flat nature of slate chippings you do not get much displacement under foot. Consequently you can lay them to a generous thickness. For 40mm grade slate chippings lay at a depth of around 50mm depth. For 20mm grade chippings lay to a depth of around 30mm. Can you put slate chippings straight on soil?
It is not a good idea to place slate chippings straight onto soil. Eventually soil will seep up through gaps leading to silting and weed establishment. At the very least it is best to lay a robust landscaping membrane under the chippings. Can you put slate chippings on grass?
You can certainly replace areas of grass with slate chippings however you should not lay them straight onto grass. For paths and seating areas make sure you excavate the top 125mm of topsoil and dispose of. This will enable to lay a solid 80-100mm sub-base layer under your slate. The sub-base can then be compacted and a robust landscaping membrane applied. Your slate chippings can then be laid on top. Is slate better than gravel?
The main advantage of slate chippings over gravel is stability. As slate has a more flat and horizontal form it is less likely to displace under foot. This makes it a firmer surface with a reduced threat of aggregate becoming stuck in vehicle tyres and shoe treads. Slate chippings have a unique visual texture compared to gravel so what is best for you may come down to personal taste. How to lay slate chippings on a slope?
Slate is generally better at sticking to slopes than traditional and more circular gravels. However, gravel grids will provide you with more stability on a slope. Make sure you go for a dark coloured grid or one which compliments your slates colour. Aggregates always end up slipping to the bottom of the slope anyway only retaining what’s within the grid. This means white grids will be fully visible on a slope and will look awful! It is always best to level areas as much as possible which will base loose gravels and chippings. Will plants grow through slate chippings?
Most plants are capable of growing through slate chippings; however delicate bulbs such as snowdrops and crocus may struggle. If planting bulbs or perennials under slate make sure you scatter a thinner layer over such areas. 20mm grade slate chippings are much easier for plants to grow through than 40mm. If you do not want plants growing on or through your slate make sure you install a sub-base and membrane. Should you put membrane under slate chippings?
You should always lay a membrane under slate chippings to prevent soil or sub-base mixing with the chippings. The only circumstance I could see laying slate chippings without a membrane is on top of a concrete base.
Thank you for reading our article on how to lay slate chippings. Below I have linked to some other resources you may find helpful.
'As an Amazon associate I earn from qualifying purchases'
0 Comments
Leave a Reply. |
The Author
|
Landscaping services across Buckinghamshire, Amersham, Aylesbury & High Wycombe
Hyde Heath, Amersham, Buckinghamshire |
|
