|
This article contains affiliate links
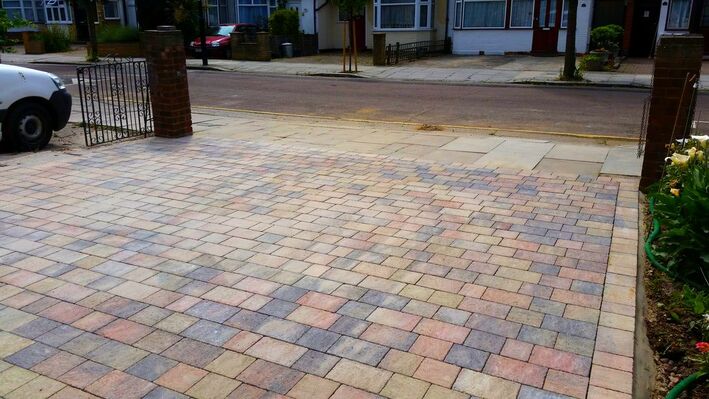
Block paving has become a familiar sight as one of the most popular driveway surfacing materials.
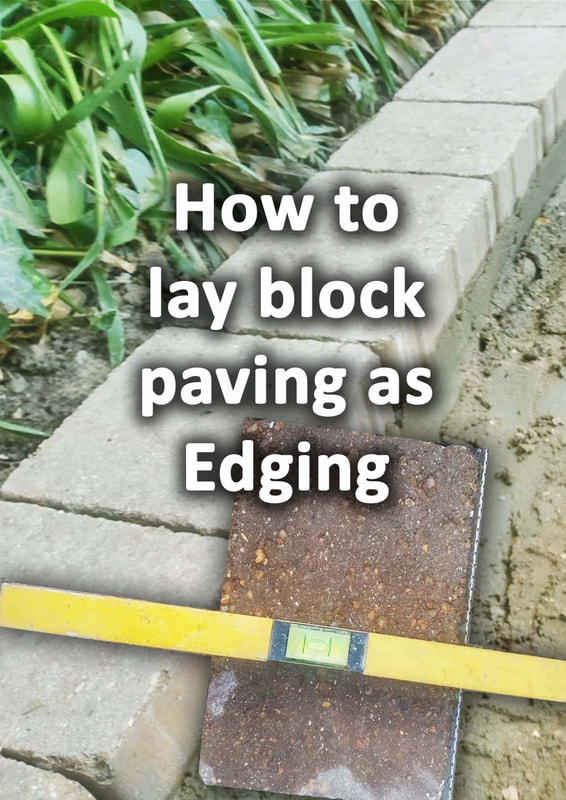
However, block pavers have also become well known for their numerous, other, landscape uses. One of the most favoured ways is using block paving as garden edging. In this article I will show you how to lay block paving as edging on mortar step by step. Can you use block paving as edging?
Block paving by its very nature is intended to be an effective edging material. When block paving is laid, perimeter blocks are mortared in to create a robust and strong edging. This enables screeding sand to be retained and compacted under pressure. Block paving is designed to have a continuous and consistent width. This makes it very effective to lay as garden edging which is flush with surrounding surfaces. Its uniform width and smooth surface makes it perfect for edging paths, flower borders and mowing edges for lawns. Benefits of using block paving as edging
A main benefit of using block paving for edging is it comes in a wide variety of sizes and colours. Each unit is easy to handle and is relatively affordable compared to other materials. Block paving is made using concrete with dense aggregates and colour dyes. This makes it extremely durable and resistant to freeze and thaw degradation like traditional bricks. Blocks are easy to cut to shape making them a very versatile garden edging material. What is the best mortar mix for block paving edging?
Very similarly to conventional paving, block paving edging is laid on a mortar bed of about 40mm. This means the best mortar mix for laying block paving edging is 4 parts sharp sand to 1 part cement. The mix should have enough water content to create a good suction, seal with the blocks. However, the mix should not be so wet that it does not heap up on a trowel. It is a good idea to add mortar plasticiser to the mix to make it as workable as possible. The base of block paving can be very smooth and a little impervious. Therefore, a little Exterior Waterproof PVA added to the mix can increase its bonding potential. Can you create curves with block paving edging?
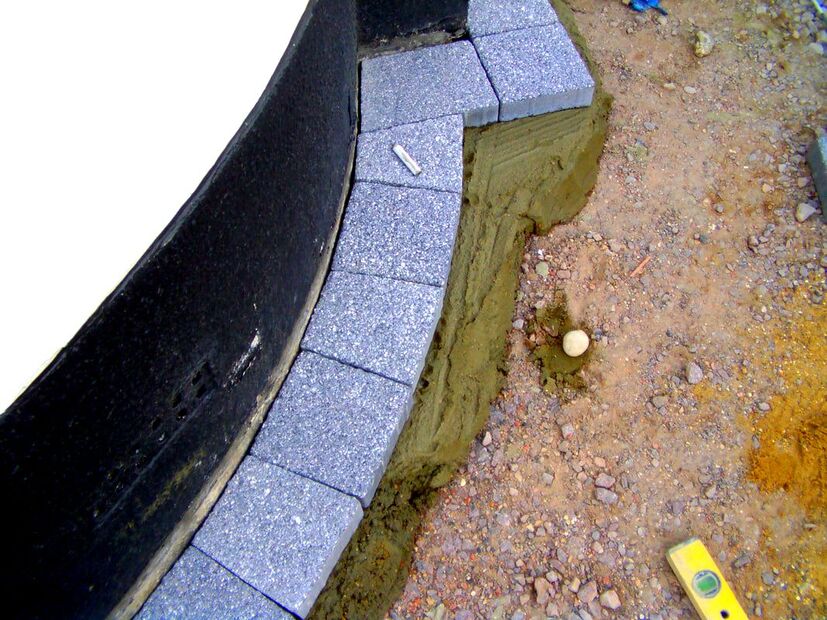
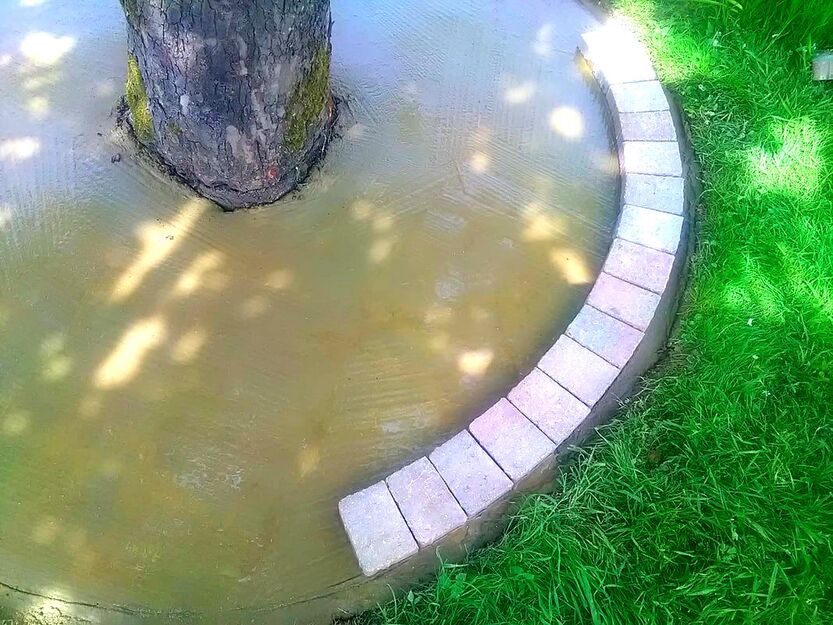
To create curves with block paving you have two options: the first option is to use the smallest block pavers butted up together. Each paver can be slightly angled to create a gradual curve over distance, like in the image below. Typically you would use the smallest block of the typical driveway 3 sizes packs. These sizes can be purchased individually in large, retail packs like the Marshalls tegula 120x160x60mm blocks.
The second option is to cut small angles to the blocks you want to curve. The best way to do this is to lay your edgings to a curve leaving out every other block.
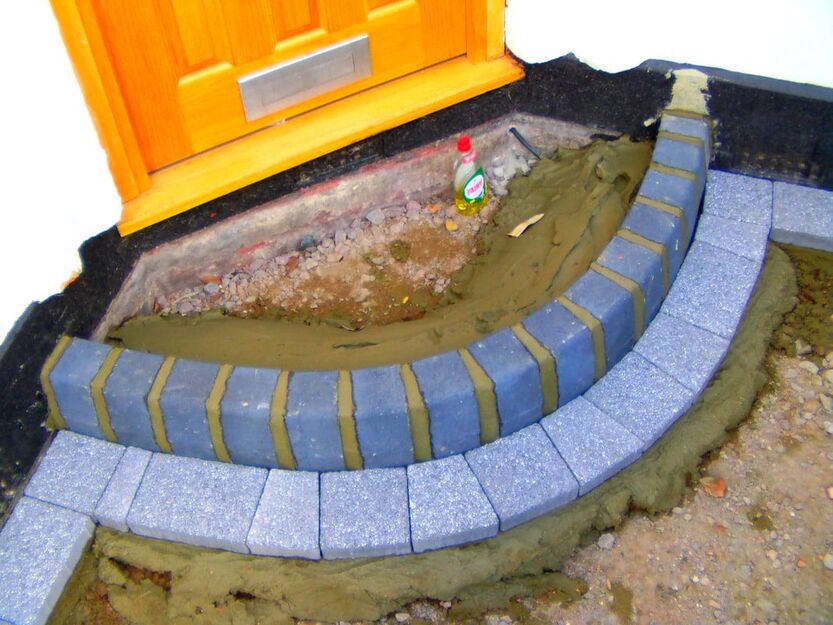
Make sure the distance between the furthest corners is the same width as a block. Then hover a block over the gap with its corners neatly between the adjoining blocks corners.
You can then mark and cut each side of the infill block, both cuts will resemble a narrow triangle. The infill cut should then neatly fit in between the two whole blocks like in the example above.
When continued over distance this can create a very attractive and consistent curve to block paving edging.
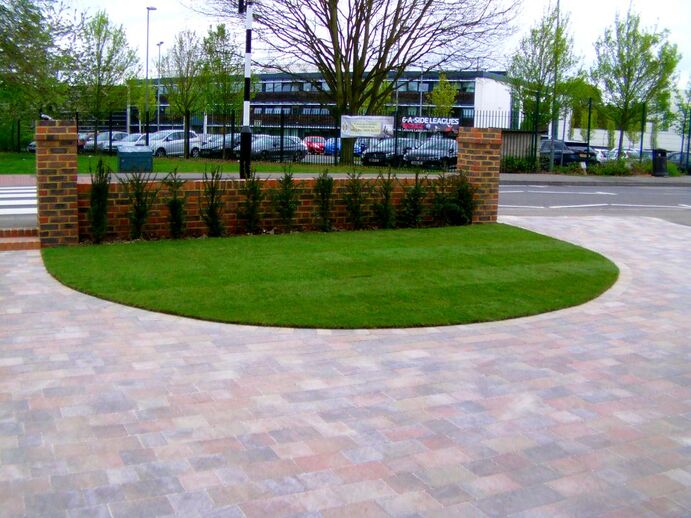
One of our block paving projects with curved block paving edging
How to lay block paving as edging step by step
Step 1.
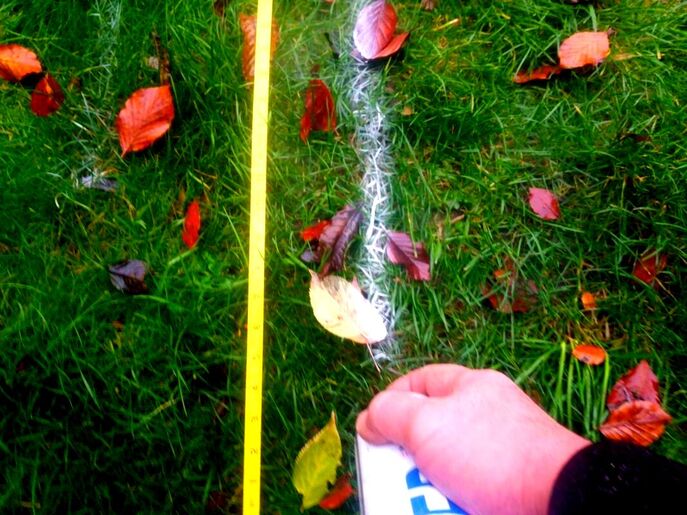
Mark out the route and placement of your block edging. This can be done with pegs, marking spray or rope.
Step 2.
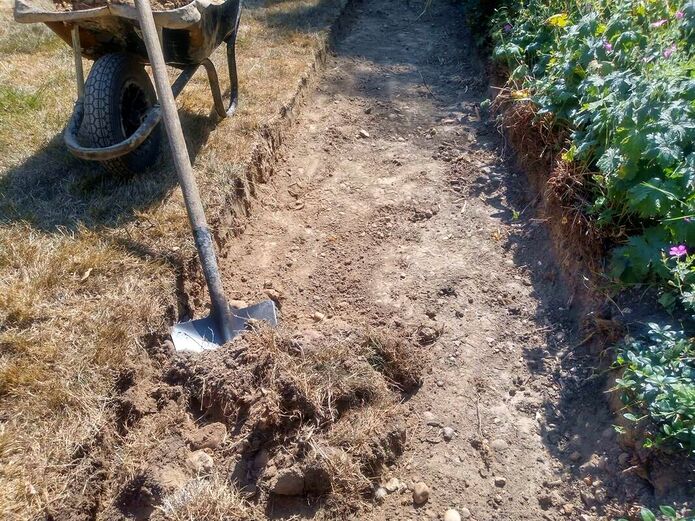
Excavate out the soft, topsoil layer where your edgings are going to be situated. Dig out a little wider than the width of your blocks and to a depth of around 160mm deep from your finished level. Try to make your excavation as square and consistent as possible with no loose soil left within the trench. You may be surprised by how much soil you remove while excavating!
Soil bulks up by around 30% when digging out so factor this into your waste calculations. An ideal scenario would be utilising the soil elsewhere, if not you will have to remove it from site. Why not read our article on how to remove soil from your garden. If you wish to skip it read our article on how to fill a skip with soil here. Step 3.
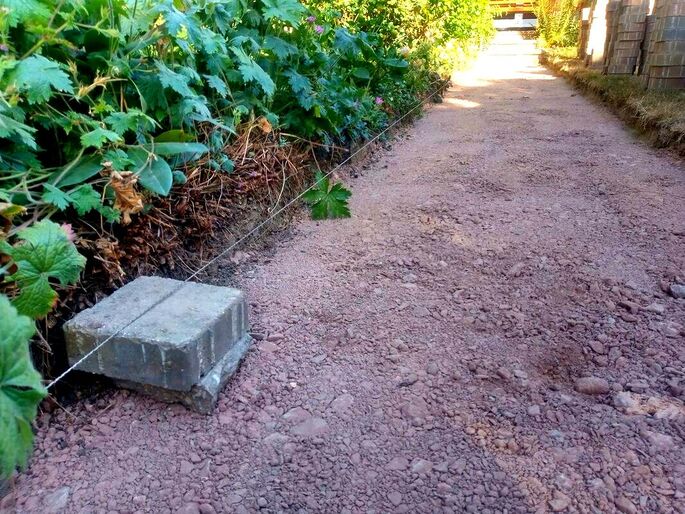
Work out the finished level you want your block paving edgings to be. This is so you do not excavate too deeply when digging out for the edgings sub-base. Most of the time you will want a flush and constant level across the path of your edgings. To achieve this run a tight string line from each end of your destination levels. Pegs can then tapped in to mark this finished level of your wearing surface.
Step 4.
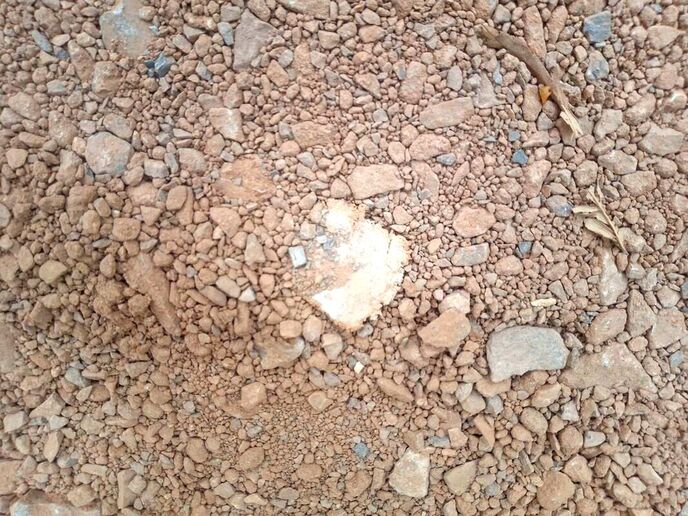
You now have neat and linear trenches; these are the perfect void for your edging build up. You will need to scatter a 60mm layer of loose and compactable hardcore to the base of your excavation. The best aggregate for this is mot type 1, commonly available from all builders’ merchants. To work out how much you need you will need to times the excavations width x depth x length.
For example, if your edgings are 160 millimetres wide, 20 metres long with a 60 millimetre type 1 layer your calculation would be:
0.160 x 0.060 x 20 = 0.192 cubic metres of Type 1 Which works out at about 300 kilograms of type 1 hardcore, therefore, you will need 12 (25kg bags) of Mot type 1. 25 Kilo bags of mot can be bought from well know builders stores such as Wickes. For larger 850kg quantities it is better to buy this in jumbo or bulk bags. Step 5.
When your mot compactable hardcore has been spread within your excavation you will need to compact it. This can be done using a tamper or if you do not have access to one a sledge hammer also works well. Tamp the type one down until it is well compacted and bites into the soft ground below. A good way to compact to a consistent level is to peg out your completed type 1 level. The sub base can then be spread a little higher than the pegs so it compacts flush with them.
Step 6.
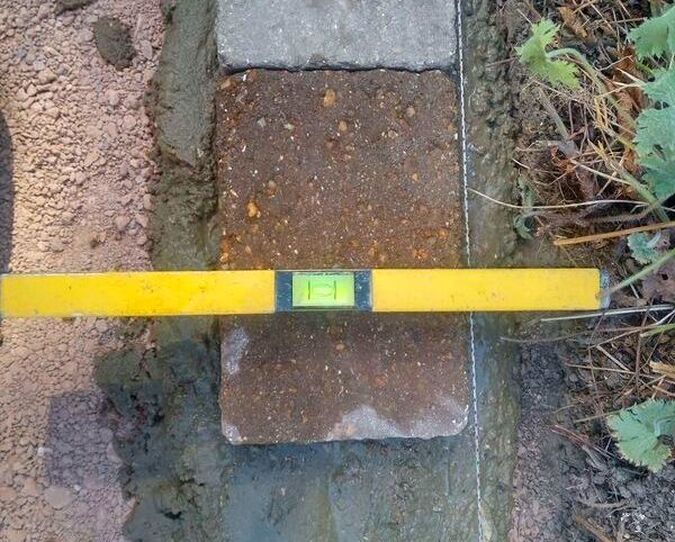
You are now ready to lay your edgings on cement mortar! If you need to lay to a consistent height, set up a tight string line! If you are laying to an existing, adjacent level like a lawn you can do this by eye. However, it is advised to use a level or straight edge to flush up blocks as you lay.
Step 7.
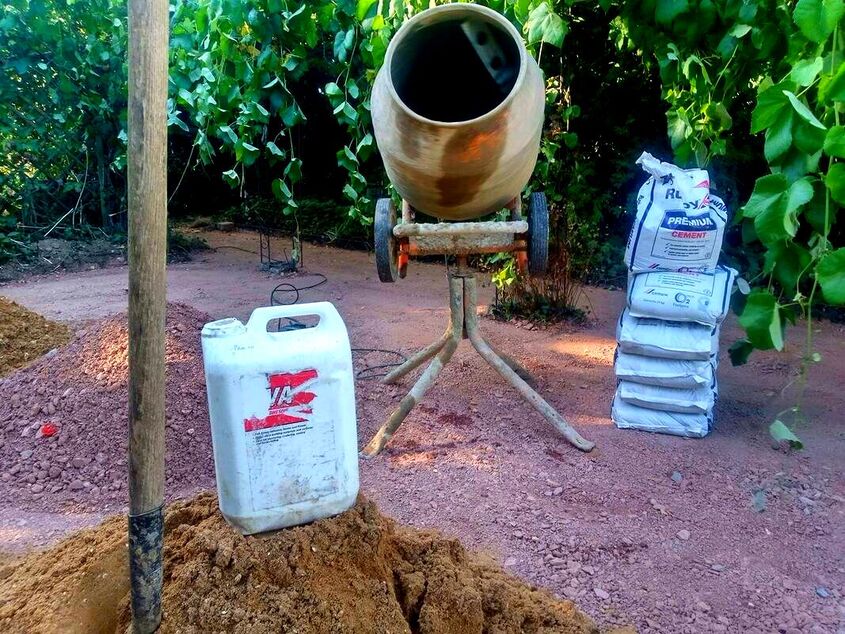
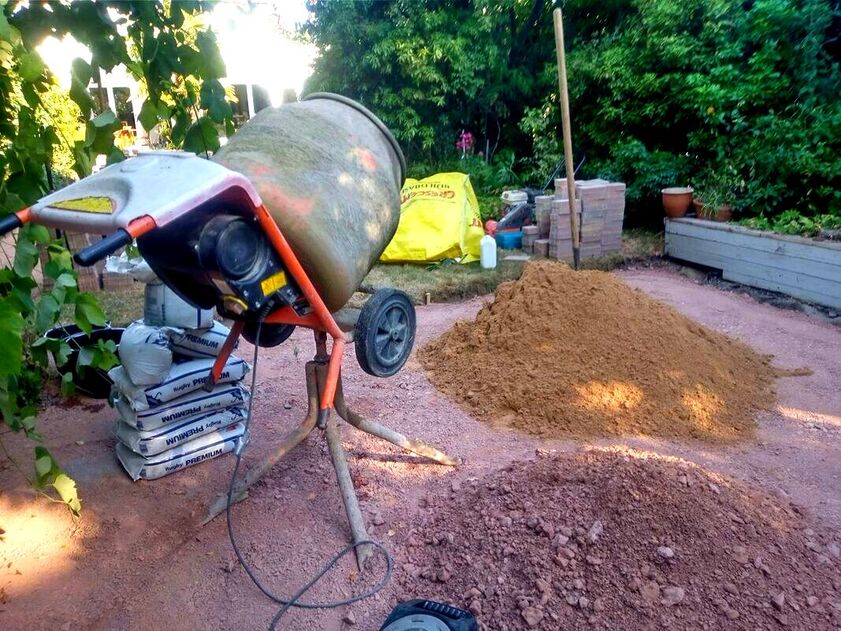
Mix up your mortar; you will need to mix 4 parts sharp sand to 1 part cement. This is best done in a cement mixer for a consistent mix. It is advised to add plasticiser to the mix to make your mortar more workable.
Step 8.
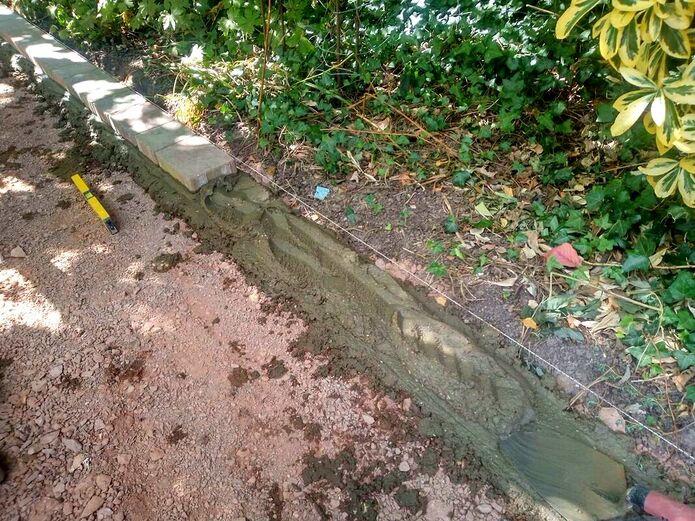
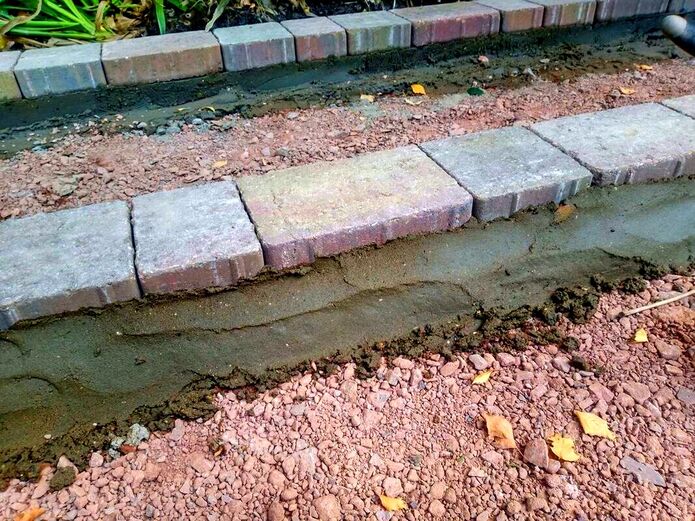
Spread out a consistent depth of mortar across the compacted hardcore. Using a trowel, create ripples and peaks to allow the mortar some give when tapping blocks level.
Step 9.
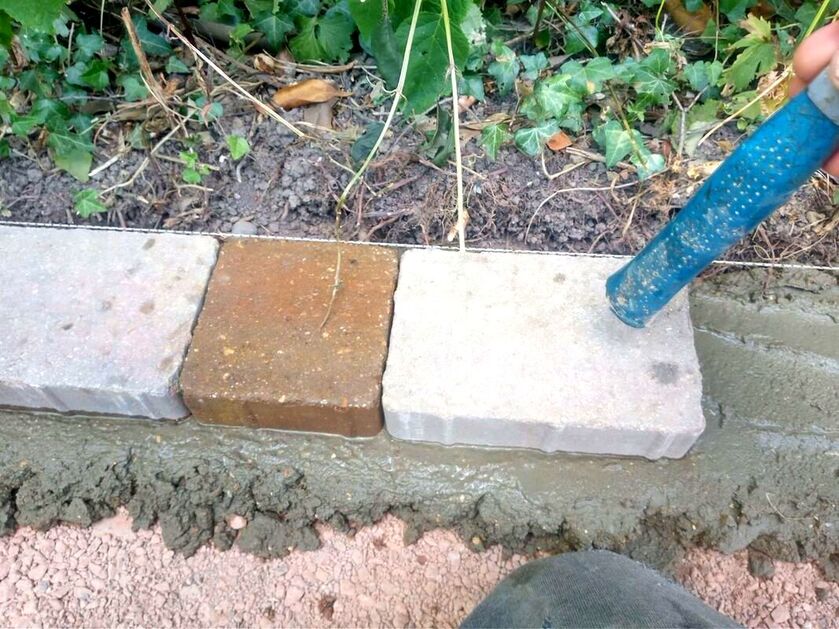
One at a time, tap your block paving edging onto the mortar. They should have a consistent mortar bed under each block for the length of the edgings. You can use a string line and spirit level to maintain a consistent level. Alternatively you can level long paths of mortar like you would do levelling concrete. After an hour, the mortar bed will become firm enough for you to gently place the edgings straight on. You want the mortar to be firm but still sticky and moist on the surface.
Make sure that your edgings are relatively level widthways as you work. If you lay them with too much of an angle the edgings will look odd from a distance.
Step 10
Once you have your blocks bedded to the correct level and position you can haunch them in. This involves pointing a triangular mortar fillet around the edge of the blocks to hold them in place. Try to keep the haunch lower than the top of the blocks. This will help to conceal any unattractive mortar haunching.
You have now completed your block paving edging! Thank you for reading our article on how to create garden edging with block paving! Below I have linked to some other relevant articles you may find useful.
'As an amazon affiliate I earn from qualifying purchases'
0 Comments
Leave a Reply. |
The Author
|
Landscaping services across Buckinghamshire, Amersham, Aylesbury & High Wycombe
Hyde Heath, Amersham, Buckinghamshire |
|
