This article contains affiliate links
Manhole covers are a necessary installation around any building. They allow you access to valves or inspection chambers in case of blockages.
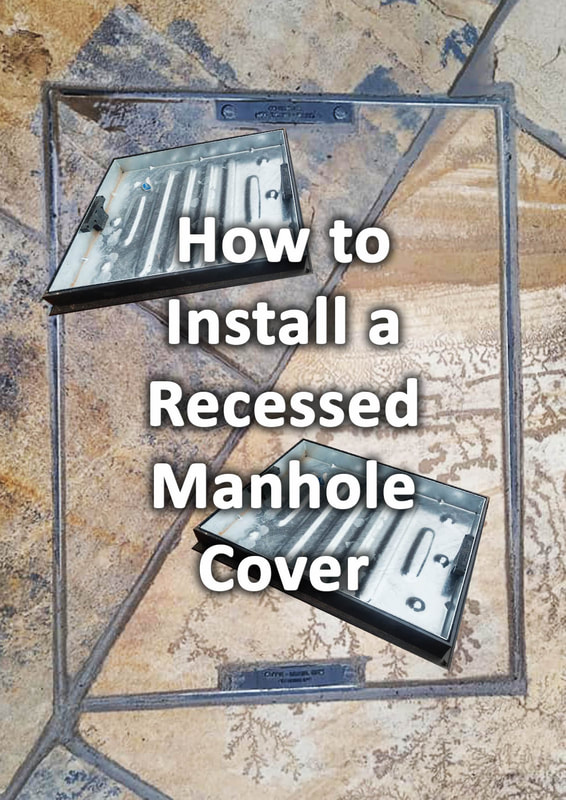
These should always be quick to access and easy to locate. Traditional manhole covers therefore can become quite an eyesore especially within new paving. Recessed manhole covers are designed to hold surfacing materials to help camouflage their presence within a wider surface. Typically this means only the perimeter rim and lifting mechanisms are visible. This makes recessed manhole covers the best option where inspection chambers fall within a patio or other hard surface. Many shy away from the installation of such fundamental utilities, however they are very simple to install. In this article I will explain how to install a recess manhole cover step by step. 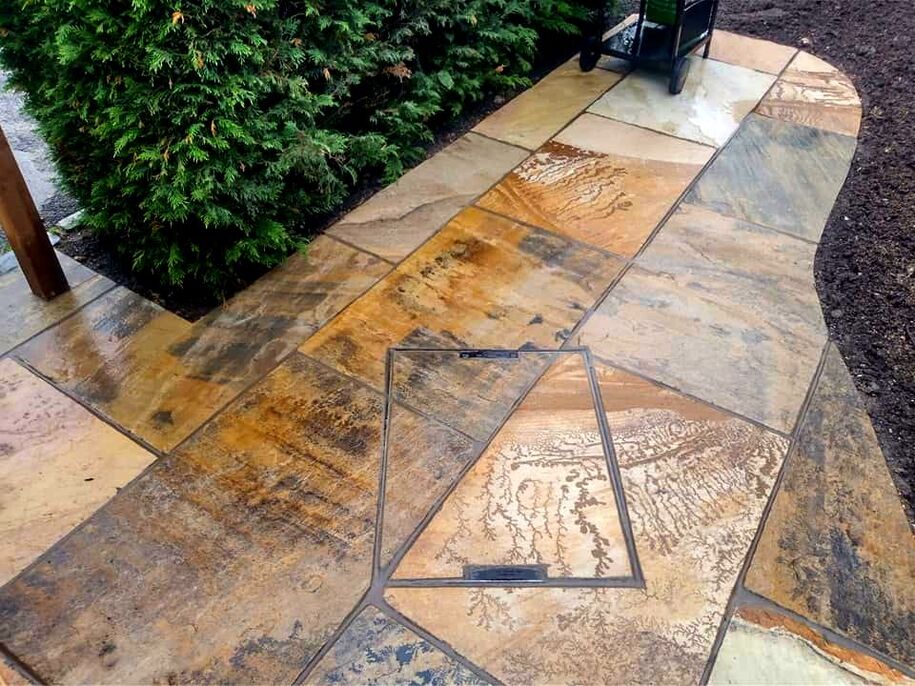
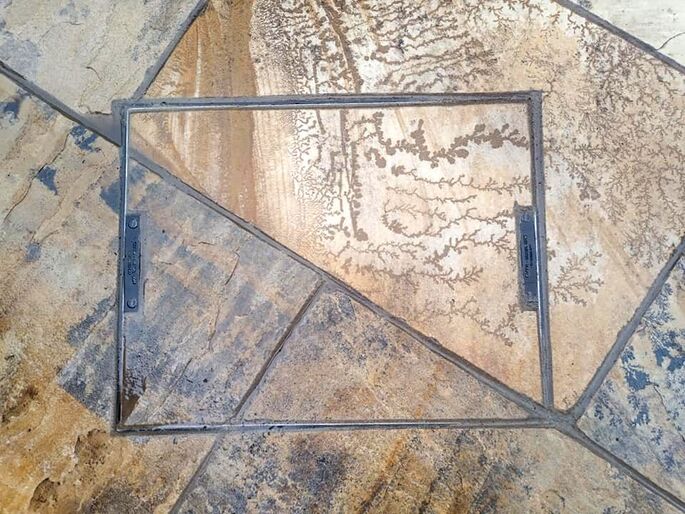
Neat cutting to a recessed manhole cover on one of our paving projects
How do recessed drain covers work?
Recess manholes come in a wide variety of sizes and variations but fundamentally work the same way. They consist of a recessed, metal, of a particular depth to accommodate a specific construction build up. This tray slides tightly into a bedding frame which has a wide, flat, rim for bedding down onto mortar. The bedding frame allows you to bed down and level the manhole while still having access to the chamber. This is very convenient as it allows you to collect any mortar which falls into the chamber as you work. Such a system allows you to neatly point around the bedding rim for a neat and sealed chamber. 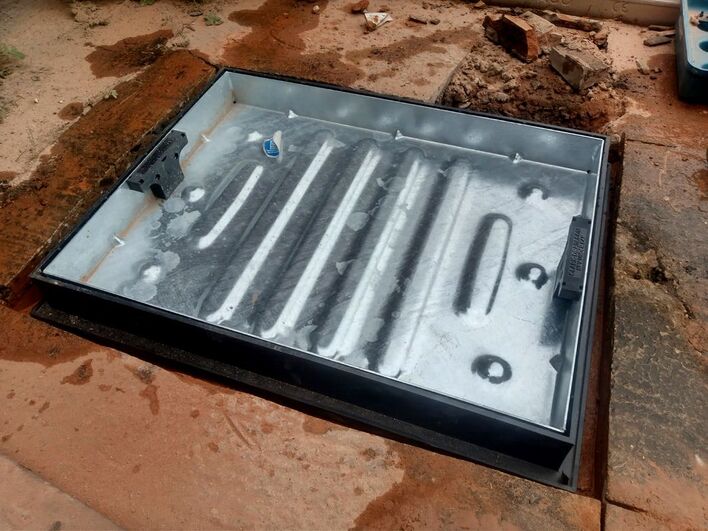
How to lift a manhole cover
Very often existing manhole covers can become difficult to lift out. This is because over time grit and debris can become wedged within the seal. Most manhole covers have some sort of handle or void to attach a lifting mechanism. If the manhole cannot be easily lifted out manually it could be jammed. In order to remedy this you will need a thin but strong hand tool like screwdriver to prise the lid from the frame. This can be done gradually at every corner until you can move the lid. Some very old, metal, manhole covers can become very rusty and actually fuse to the frame. In such a case you may need to prise the lid away with a hammer and bolster. Make sure you have some gloves, a trowel and bucket to hand. Often prizing open an old cover will cause mortar fragments and dirt to fall into the chamber. When lifting a manhole try not to strain your lower back! Make sure you bend your knees and lift correctly & safely. 
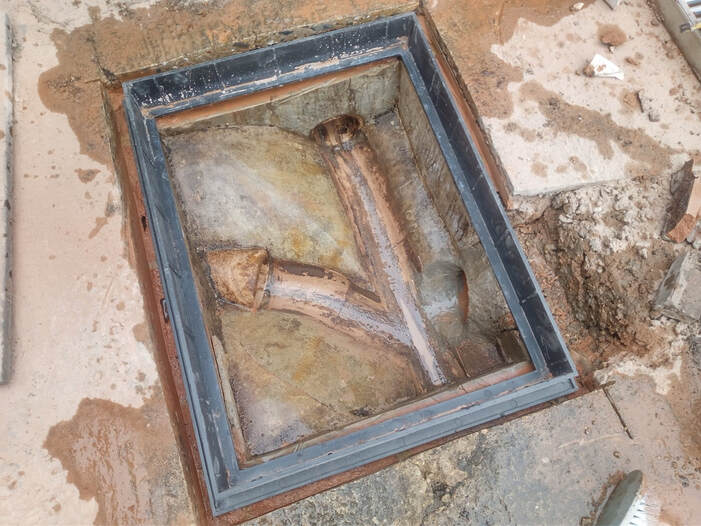
Inspecting the manholes condition
Opening a manhole cover for the first time can be a look into the unknown. Some chambers are robust and clean while others can be cracked, fragmented and littered with debris. The first step before installing a new cover is making sure the chamber is clean. Clear out any obstructions or loose dirt with a towel. It is also a good idea to wash the chamber with a hand brush and soapy water. This will enable you to thoroughly inspect the condition of the chamber. Depending on where you live some manhole chambers can be a century old. Many of which were built with clay bricks and clay pipes. 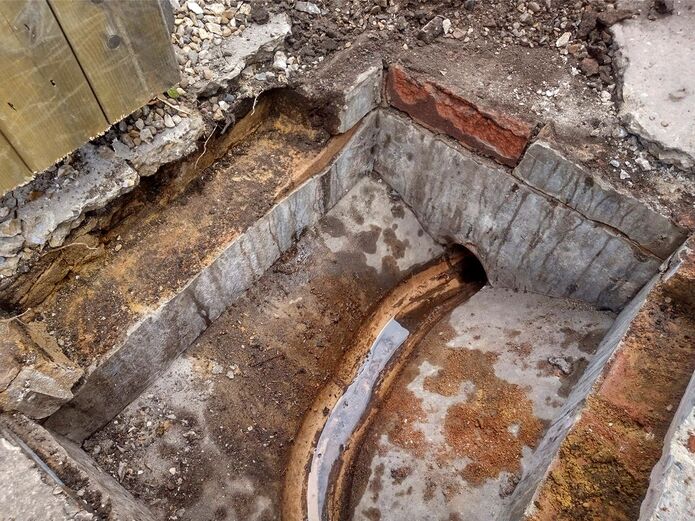
A typical issue is that the top layer of brickwork has degraded due to freeze and thaw action. If so, it is important to replace the fragmented bricks with a less absorbent brick like an engineering brick.
If there are any cracks or voids in the chamber walls make sure they are sealed well with mortar. Make sure you mix the mortar strong, a 3:1 cement and plastering sand mix with a water proofer admix. Manhole chambers should not have crevices for bacteria and other organisms to multiply. 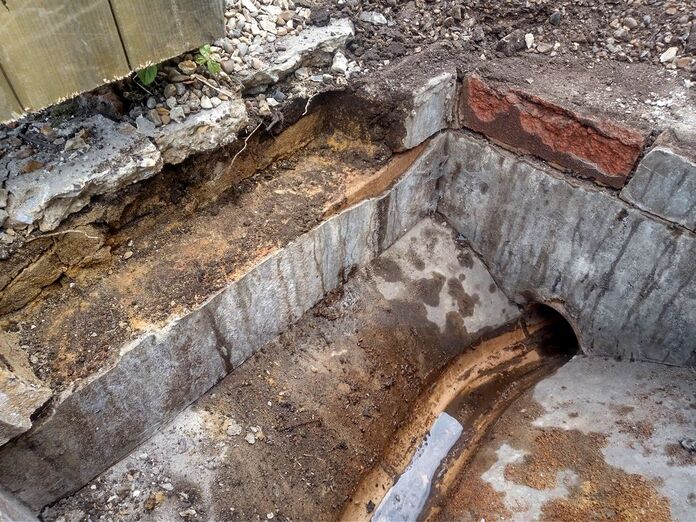
Assess your completed levels
Working out the completed levels for your paving is vital to know how deep your manhole should be. Generally the recess manholes for paving have a pan of between 40-50mm. You will also need a minimum bedding layer of around 10mm. Therefore you will require around a 60mm depth around the chamber from your completed level. It is important your mortar bed is not too thick, if it is it will be challenging to level the bedding frame. Too much bedding mortar will result in cement falling down into the chamber. It will also be more difficult to render a smooth and flush finish under the bedding frame. 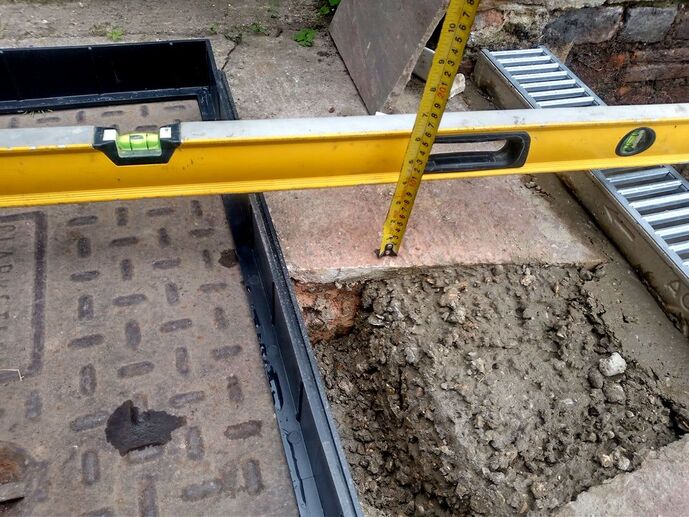
Reworking the shaft
As recessed manholes are much thicker than conventional covers it is a common requirement to lower the chamber. This normally requires removing the top course of brickwork from the chamber or cutting out concrete. Concrete can be cut out gradually with a 4.5 or 9 inch grinder and diamond blade as shown in the image below. If you have a brick chamber then a club hammer and bolster could be enough to remove the top course of brickwork. 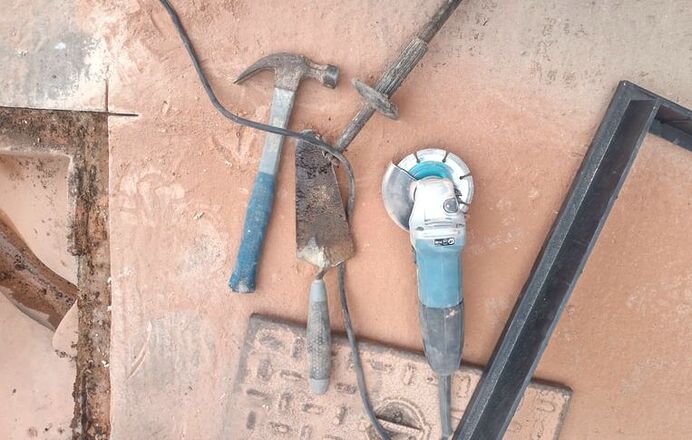
You may then need to manipulate the height of the chamber with thinner materials to reach the optimum height. This can be achieved with cut down paving or clay tiles.
Alternatively you could be in a situation where you will need to raise the manhole cover. In this case you can do so with bricks or concrete and formwork. Whilst reworking the shaft be ready to collect any fallen mortar or debris as it falls. 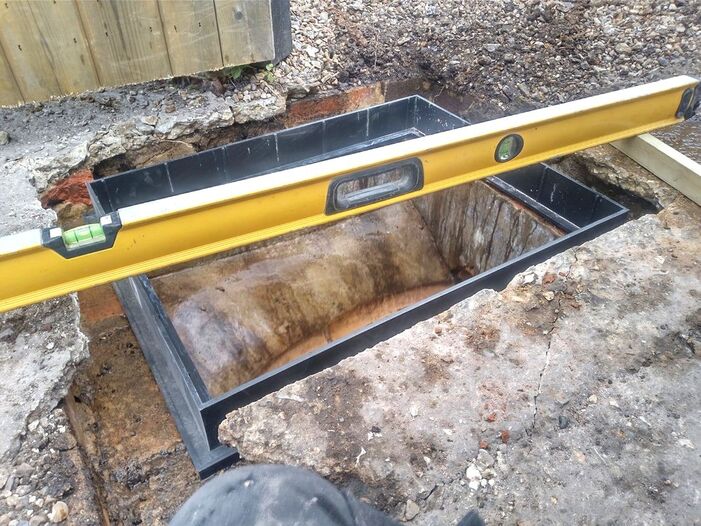
Mortar mix
Mortar mixes for setting in recessed manhole covers should be strong and impervious. When mixing your mortar try to make it a minimum ratio of 4 parts sand to 1 part cement. You will need the mix to be workable but stiff with no water discharge under pressure. The moisture content and workability of the mortar will depend on your bed thickness. However most of the time using a course sand such as sharp sand will adequate. Adding admixtures such as PVA and mortar water proofer is also recommended. This will inhibit the ability for bacteria and other germs to penetrate the mortars surface. Being workable enough to point a good seal to the surface will also be essential. 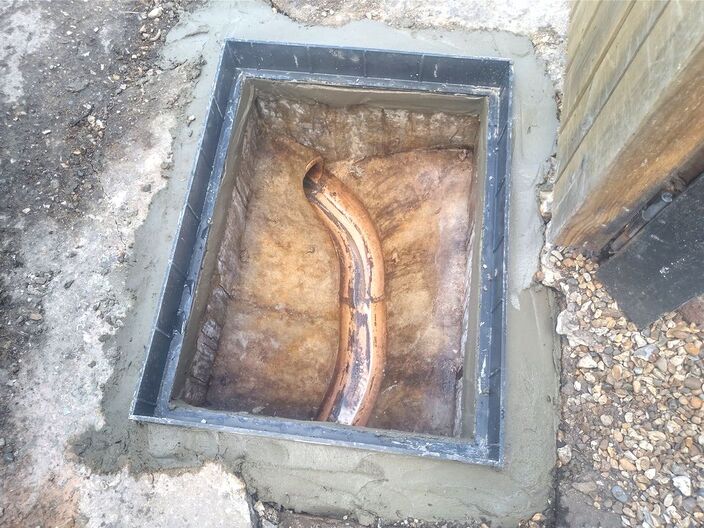
Bedding down the manhole
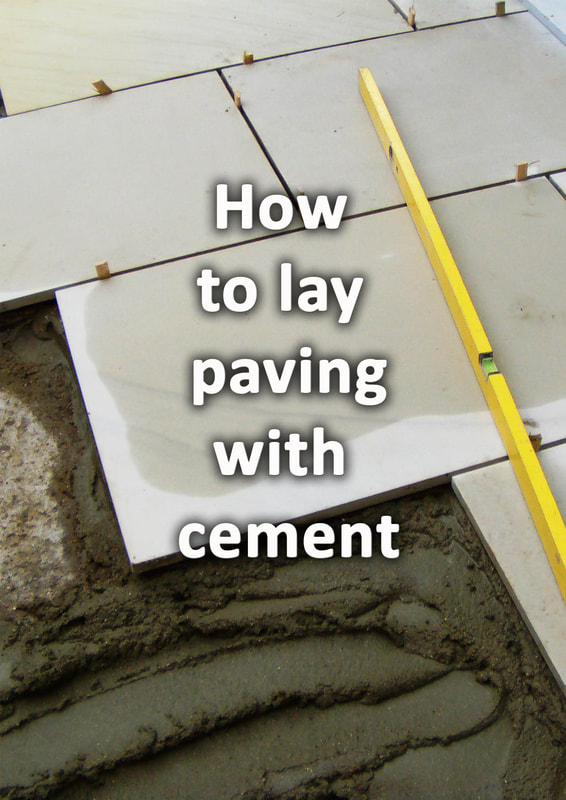
Bedding down a recessed manholes bedding frame can take some trial and error even for experienced contractors. You want to make sure that all 4 corners are either flush with the finished paving level or just below. The best way to do this is waiting until the paving has been laid around the manhole. This will enable you to bridge a long spirit level over the recessed manhole to level it in. Make sure you have an even bed of mortar all the way round the top of the chamber for a good seal. Remember that whenever you tamp down one side the over side may rise. 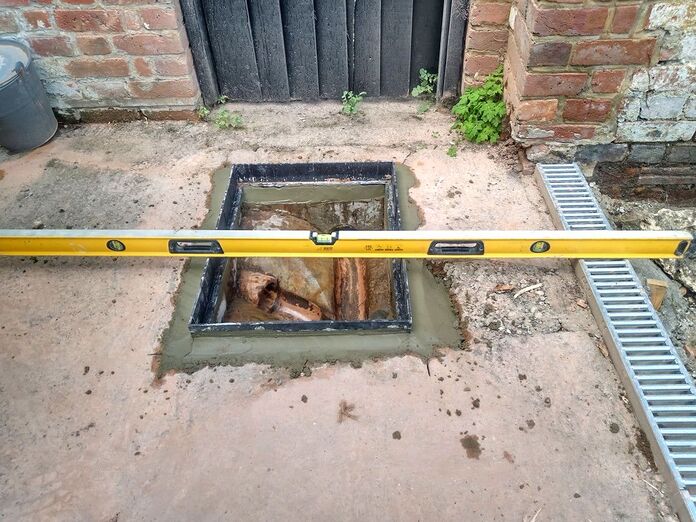
Therefore when tamping, try to tamp gently all the way as you work the manhole into position. Don’t worry if you need to lift it a few times, this is completely normal. Once you are sure it is level correctly create a triangular haunch all the way around the rim. This will give it extra strength but just make sure to leave enough room to still except the paving. Be sure to re-check the levels as the manhole is starting to set to make sure it has not moved. As you work make sure no mortar is falling into the chamber. If it does be sure to scoop it out and flush through the chamber with a bucket of water. Setting time
It is important to allow your manhole cover to set for 24 hours with no impacts or disturbance. It is very common to leave the recess pan off during setting. This is to reduce weight on the mortar when tamping and stop others stepping on the pan. If you do leave the manhole open when setting, make sure it’s obvious there is a present hazard. Cover over the manhole with a wheelbarrow or tape the area off well. When the setting time is complete re-check your levels to make sure it has set into the correct position. The recess pan can then be placed back into the bedding frame ready for cutting in. 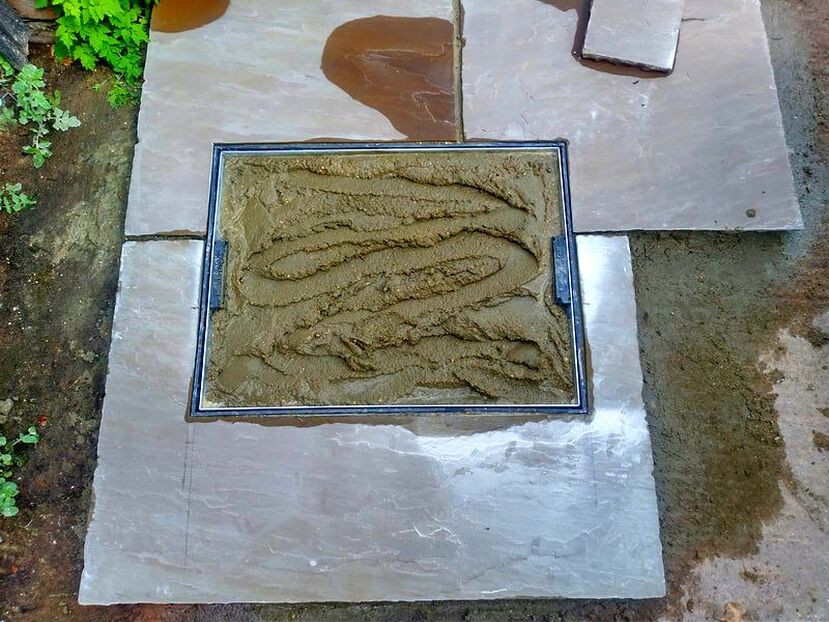
Cutting in
The best way to turn what is typically an annoyance into a thing of beauty is by intricate cutting. Recess manholes which have been cut in carefully and neatly actually become a focal point. There is always an ongoing sense of satisfaction when manholes are cut in beautifully. The first tip for cutting in man holes is taking your time! Don’t rush and make every cut count! Try to maintain whatever existing paving pattern you have in the rest of the patio. A combination of careful measuring and cutting will ensure a perfect result you can be proud of. 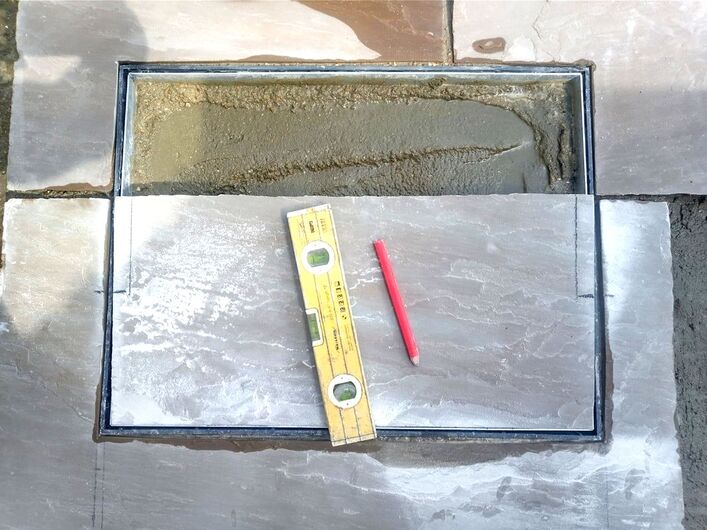
Thank you for reading our article on how to install a recessed manhole. If you will require paving or recessed manhole installation please contact us here.
'As an Amazon Associate I earn from qualifying purchases'
1 Comment
1/10/2023 12:53:29 am
I appreciate you saying that the best choice when inspection chambers are inside a patio or other hard surfaces is recessed manhole covers. On our property, my mother wants to construct a patio close to the manhole. I'll advise my mother to consult a professional so that the patio and manhole do not appear weird. Leave a Reply. |
The Author
|


Landscaping services across Buckinghamshire, Amersham, Aylesbury & High Wycombe
Hyde Heath, Amersham, Buckinghamshire
|
|