|
This artcile contains affiliate links
Building raised beds in your backyard can have multiple benefits for your gardening endeavours.
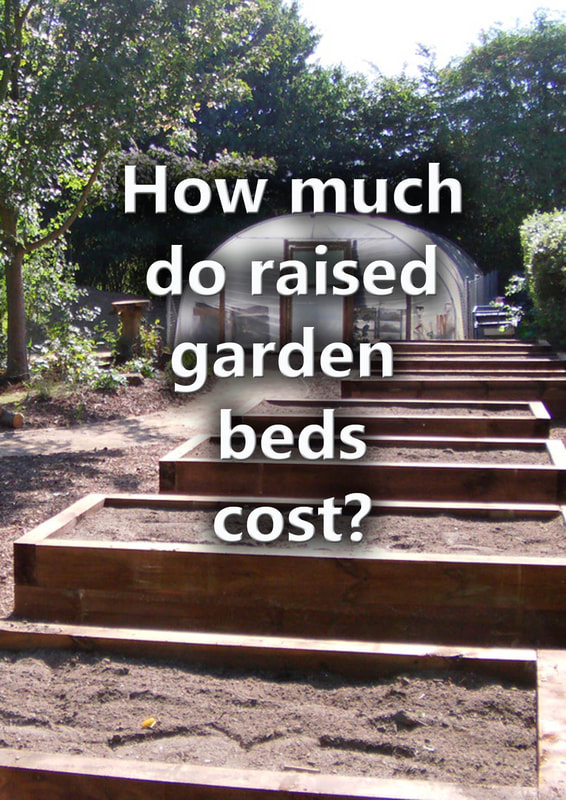
Firstly, raised beds give you have more control over your soils quality and fertility. A deeper and better quality soil means both larger and healthier plants. Although building raised beds is normally a straight forward process, sloping ground can be problematic. Any retaining structure should always be built square and level for maximum stability. Therefore the question presents itself; how do you build raised beds on a slope? There are actually a couple of ways to build raised beds on a slope with timber and sleepers. For brick, block and masonry materials there is only really one way. In this article I will explain how to build raised beds on a slope step by step. The problem with raised beds on sloping groundOne of the main problems with raised beds on sloping ground is moisture and nutrient distribution. I learned this from personal experience in my own vegetable garden. I initially built my raised beds to the gradient of a slope to save time and money. However the problem was the plants at the lower end always grew better than those at the higher end. This was because both nutrients and moisture were running towards the lowest end. Consequently, it is always best to build your raised beds level upon a slope. Furthermore level raised beds look much more aesthetic and orderly within a garden space than sloped. How to make your raised bed level on sloping groundFundamentally the best way to build raised beds on sloping ground is to excavate into the slope to form a level base. This means one side of your bed will be slightly buried while the other is standing proud of the lowest point. This way you can have multiple, level, raised beds stepped up and down the landscape. Create a level concrete foundation
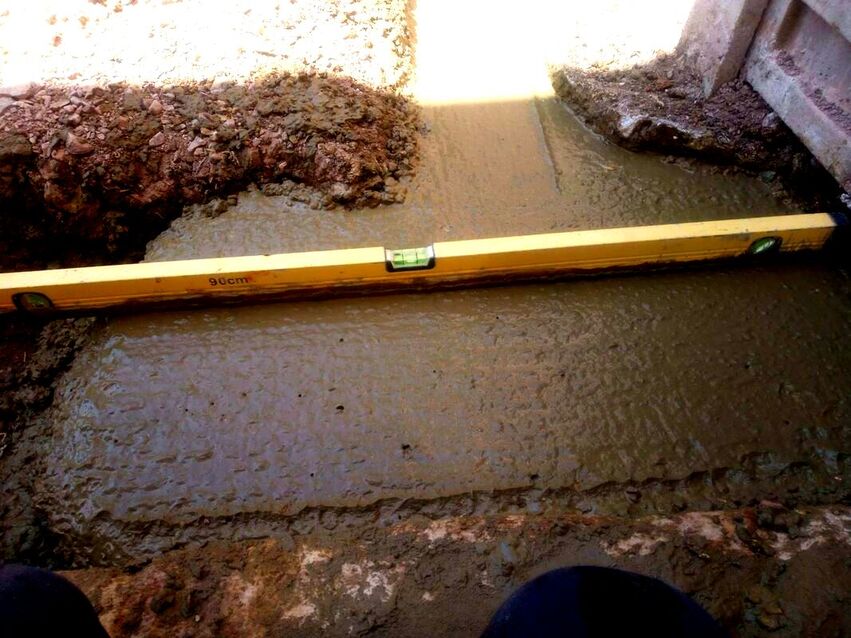
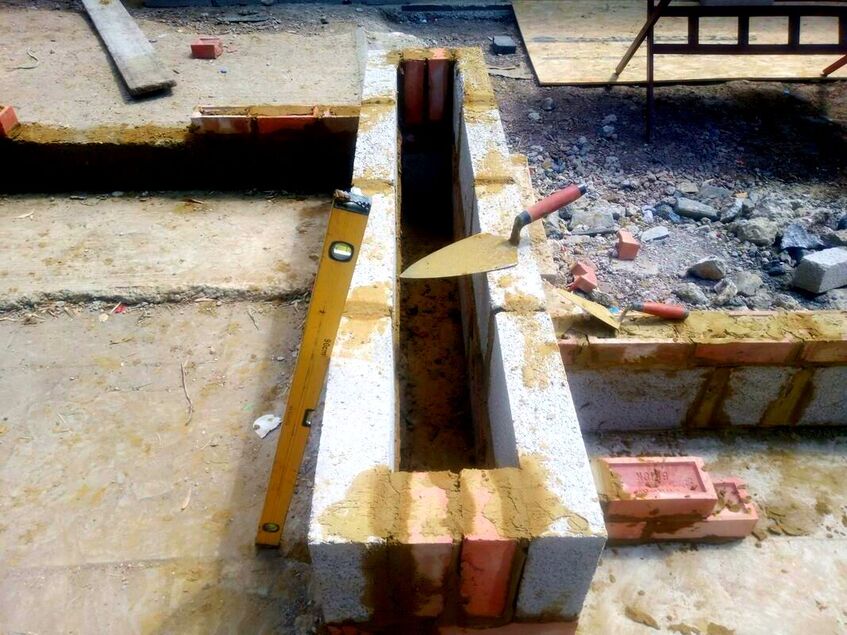
The best way to build raised beds level on any slope is to create a level perimeter foundation with concrete. If you are building raised beds with brick, rocks or concrete blocks you will need this anyway. Even with timber sleepers however, a firm and level base will make beds stronger and easier to build. How to build a raised bed on a slope with concrete, or rocks
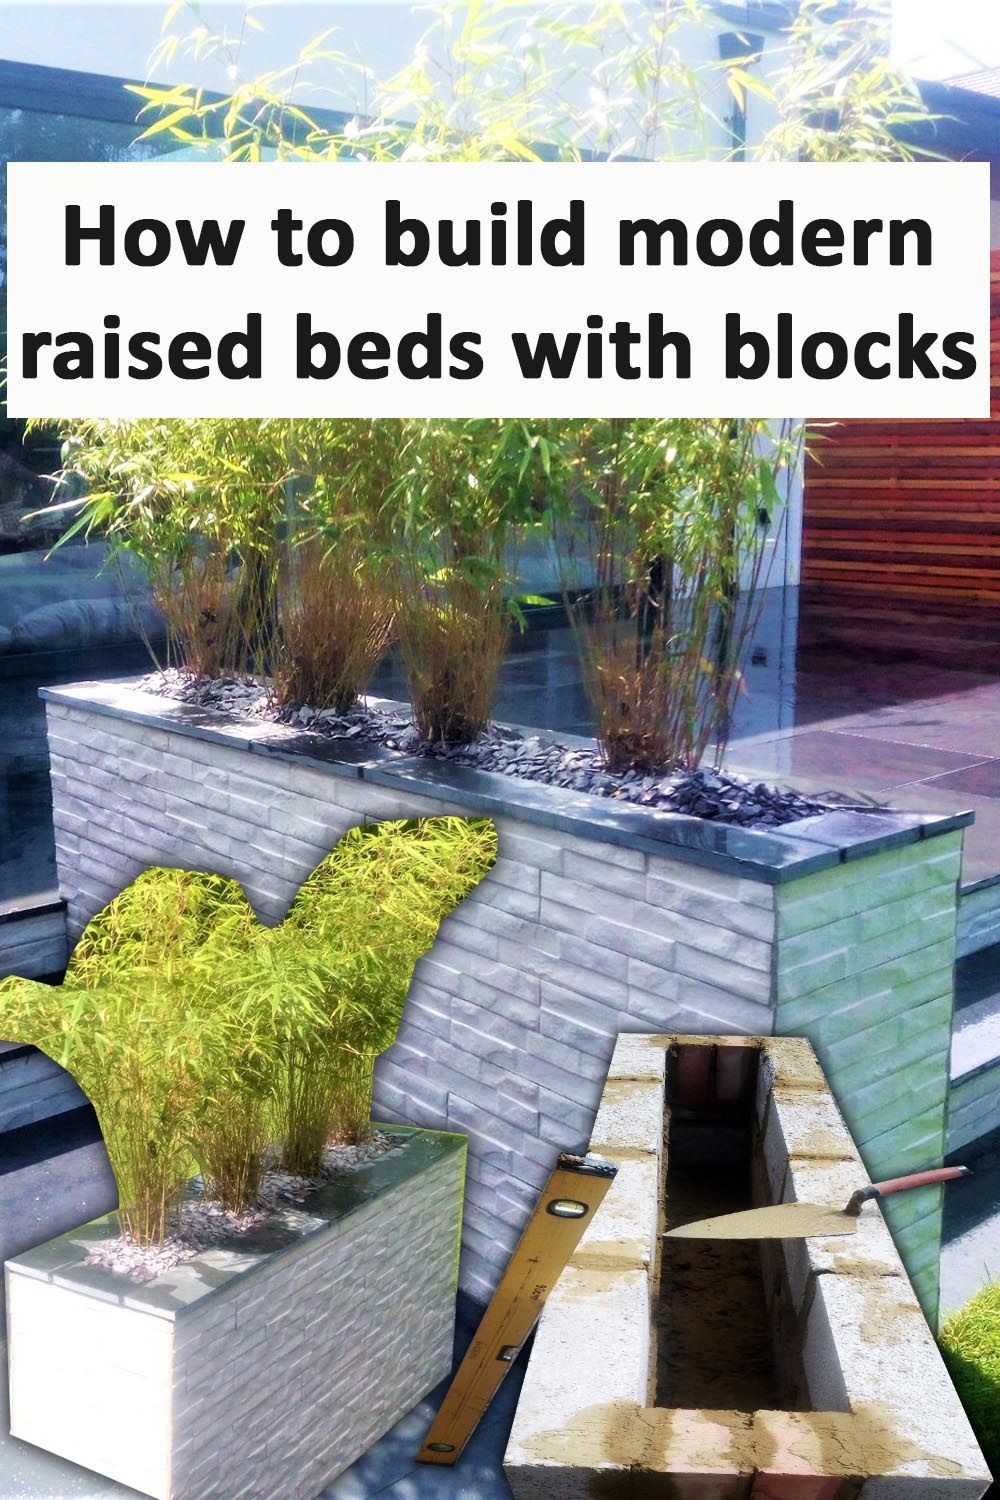
The best way to build a raised bed on a slope with masonry materials is to excavate a stepped foundation into the slope. A concrete foundation can then be laid and stepped 100mm under the sloping ground level. Blocks can then be built into the slope to create a level raised bed. How to build a raised bed on a slope with sleepers
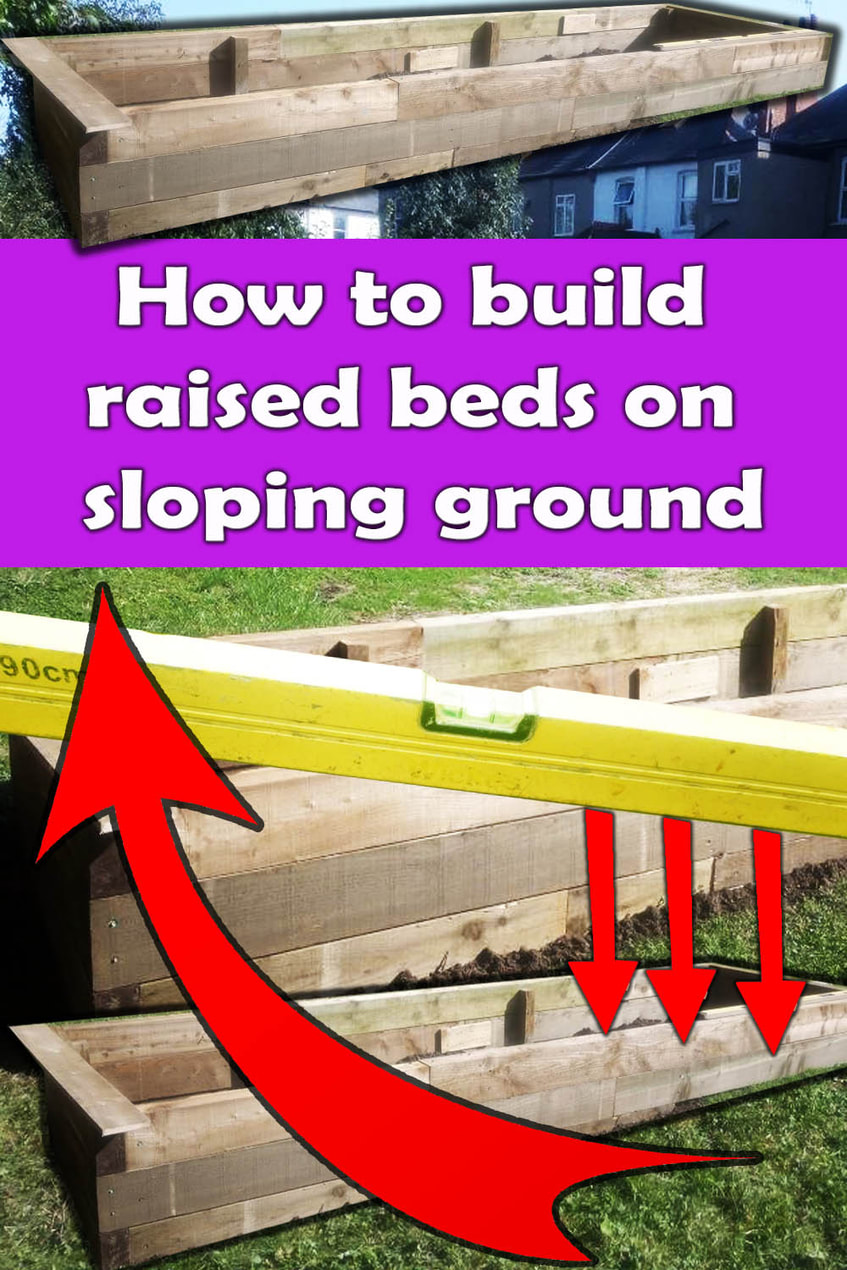
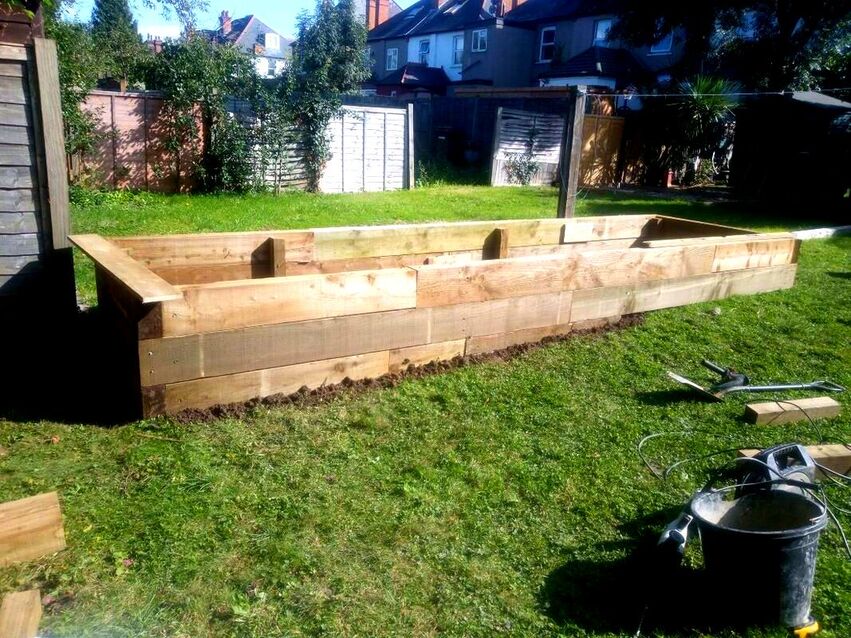
If you want to build a raised bed on a slope with sleepers the same idea applies. It is best to excavate a level platform first into the slope. However, if this is too much digging for you there is another way for timber beds. This involves lifting one end up opposed to burying the bed at the high end of the slope. You will have to fix your elevated end to strong timber posts and then fill in the lower sides later. Below I will show you how to build a raised bed this way, step by step with pictures. Step 1: Positioning
The first step when building raised beds is to plan out and decide their positioning. It is always best to position beds in full sun within reach of a water source. Positioning raised beds on a slope will be easier if they run across the gradient. This will enable them to step down in a terrace fashion helping to retain the slope. It will also mean less laborious excavation into the front of the slope. Step 2: Marking out
Mark out the position of your new beds with line marker paint or string lines.
Step 3: Setting levels
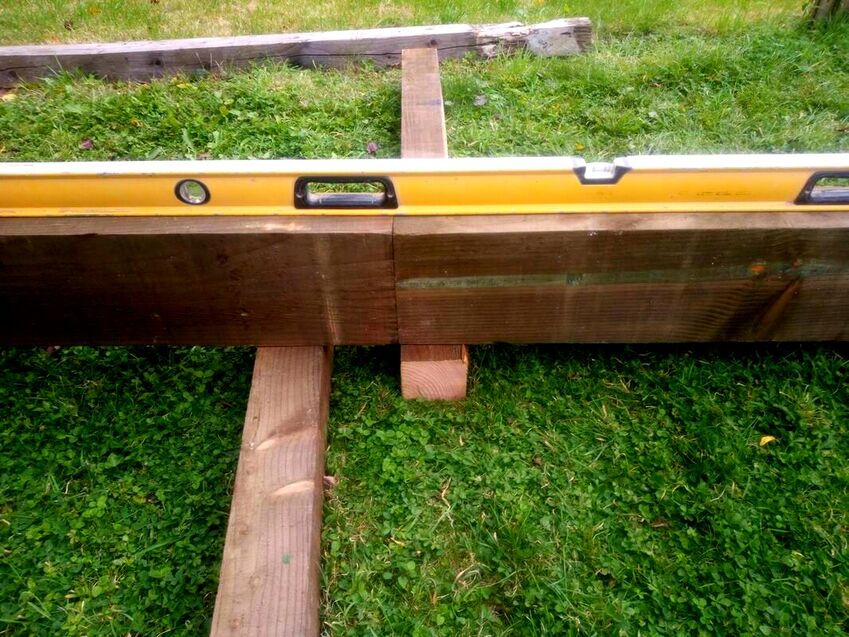
Get an idea of your levels by pegging out along the slope with timber pegs and a long spirit level. Step 4: Setting out Sleepers
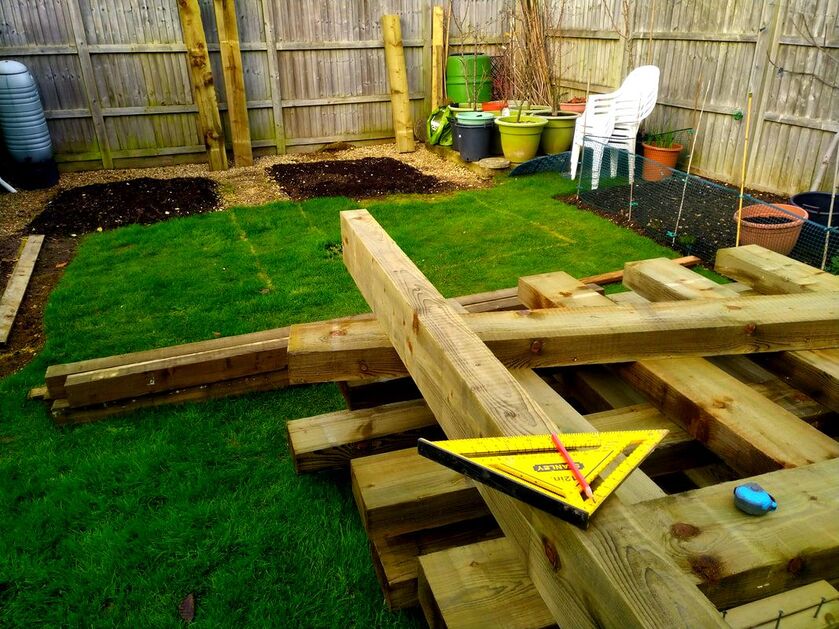
When building raised beds with sleepers it is effective to set out your timber lengths first. You want as little wastage as possible so try to make your beds the length or width of a full sleeper. When you have set out your raised beds you can start marking your cuts. Step 5: Cutting Sleepers
Measure and mark your cuts squarely and accurately so your sleepers fit together well. Step 6: Fixing your base frame
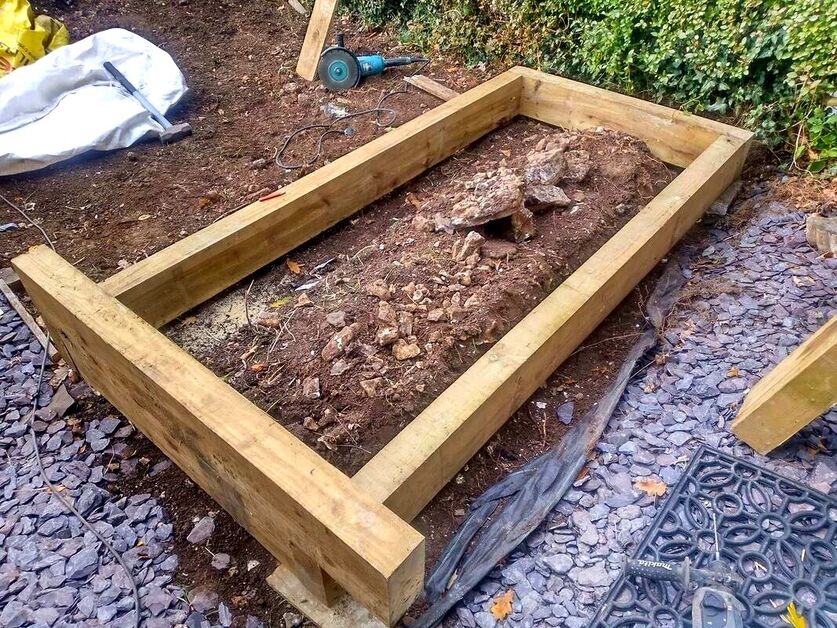
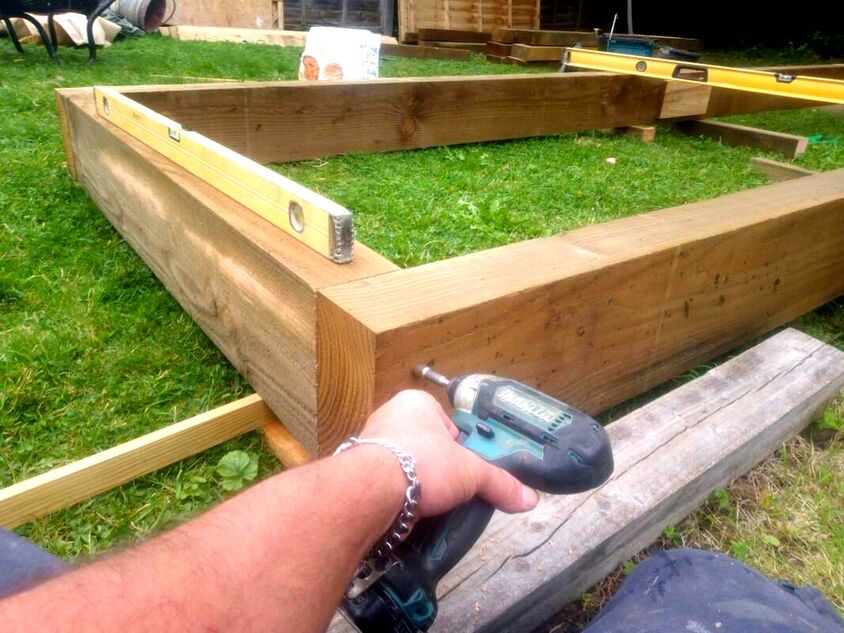
When you have your first course cut you are ready to fix your sleepers together. Place sections you need to fix together on a flat and level surface. Drill pilot holes from one sleeper into the adjoin section. Then fix them securely together using robust timber lock, hexagonal head screws and a power drill. For mid-length section joins brace sleepers together with 25mm x 150mm gravel boards and external grade screws. Step 7: Levelling your Base frame
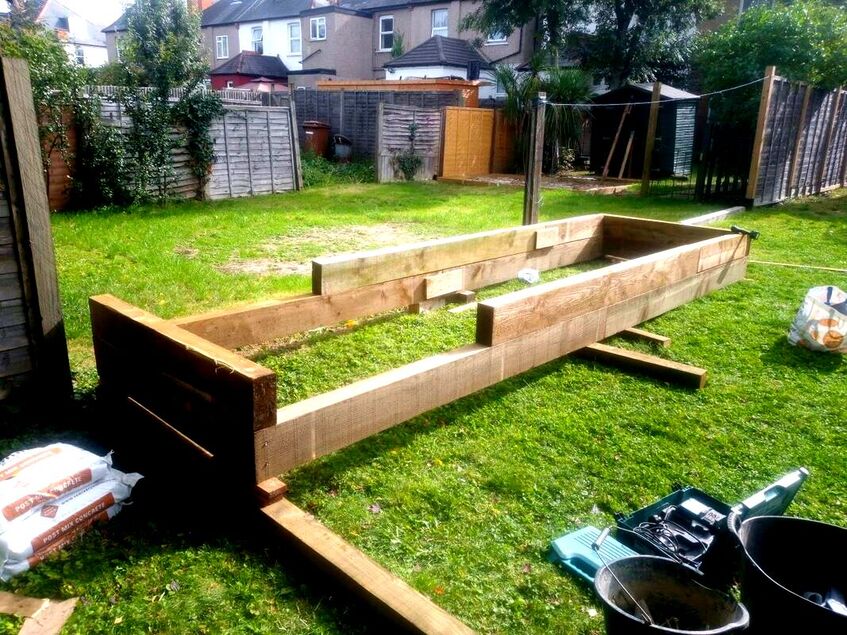
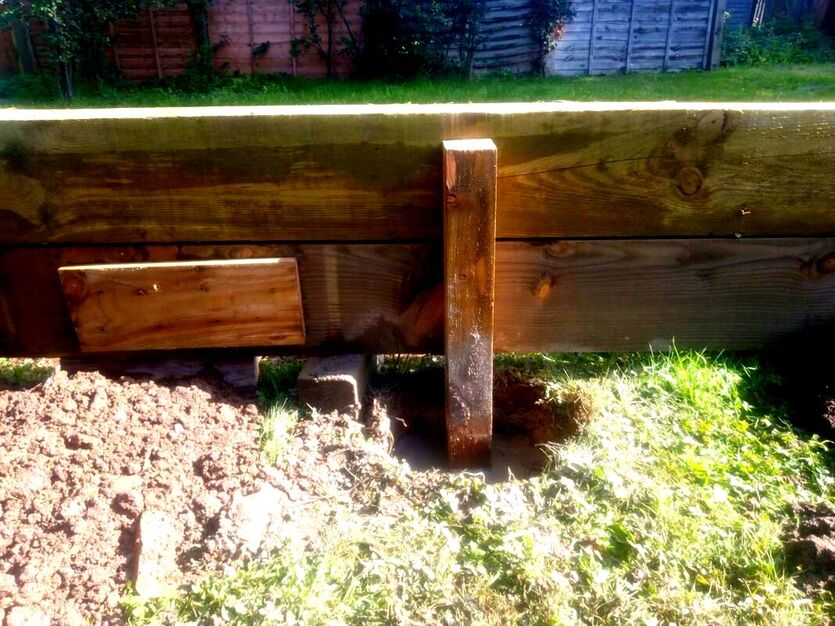
You will now need to raise up the lower end of your base frame to make it level. Lever up your low end with a spade or iron bar and wedge it up until its level. Wedge up your frame with concrete blocks or bricks to hold it up level. The height of your wedges will depend upon how steep your slope is. Step 8: Fixing your Base frame
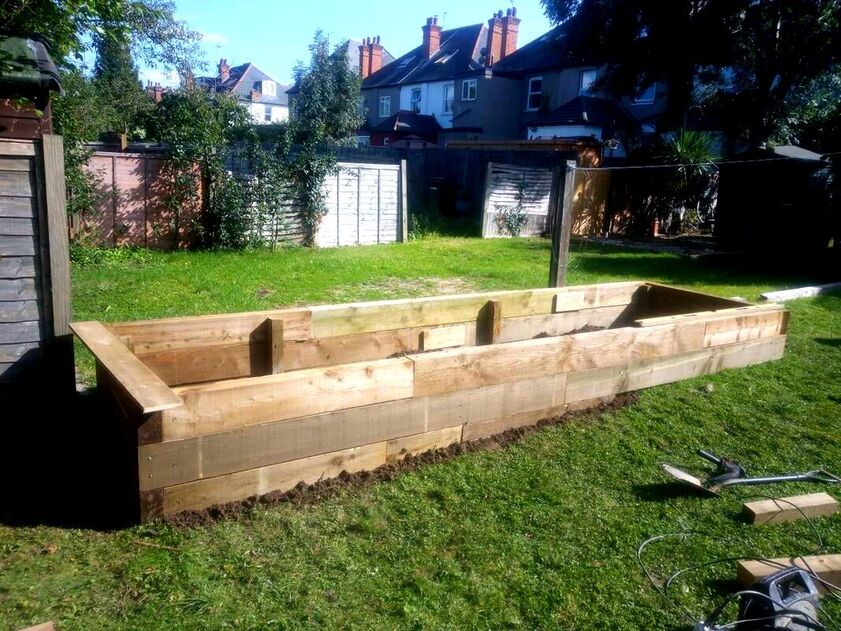
Once your frame is level you will need to fix it into position. The best way to do this is by installing 75mm thick timber posts to the raised up corners. Excavate post holes down at least 400mm deep into the soil. Fix the sleepers into the posts so they are vertically level and concrete them in withpost-crete. When your posts have set you will have a free standing and level raised bed. Step 9: Building your beds
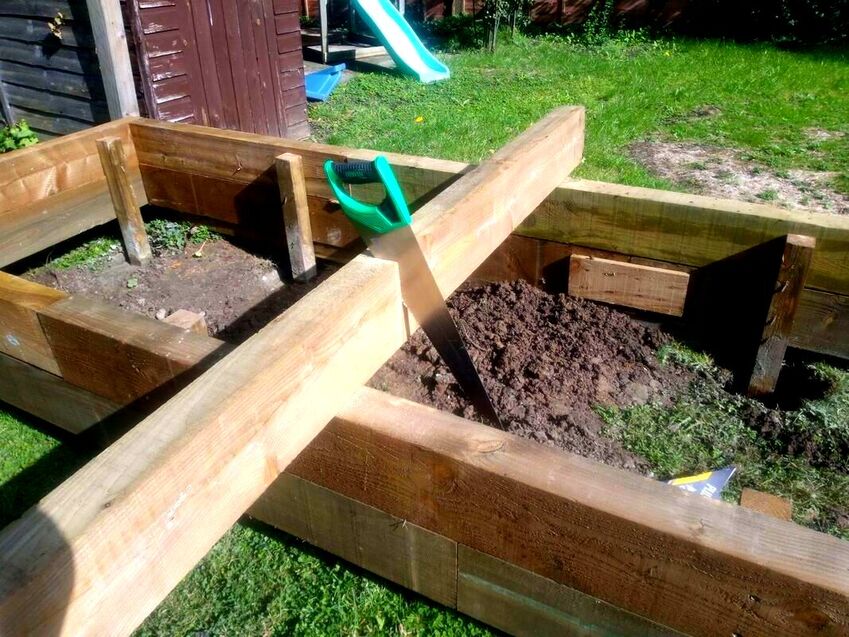
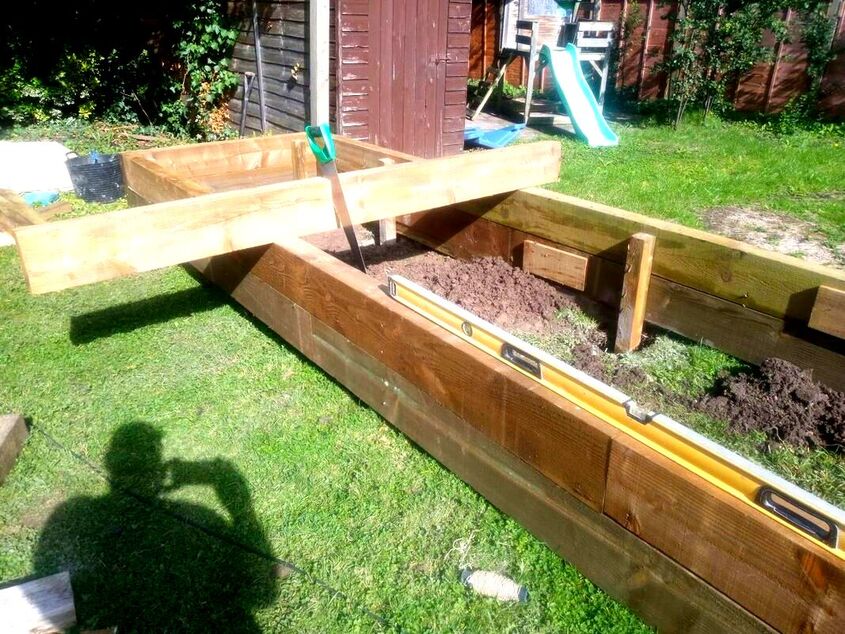
Now your bed is raised up level, complete the building process by adding any additional courses. Make sure any joins between sleepers are layered over by full sections to create stability. Fix down your sleepers securely with timber-lock screws. Step 10: Filling in bottom gaps
Although there is little excavation for this method of building raised beds on slopes there is a glitch. You will have to brace angled timber cuts to the raised up sides of your structure. To fix them securely you may need to concrete in more vertical posts to the raised end. Once you have cut in the infills neatly and secured them you can fill up your beds. Step 11: Fill up your raised beds
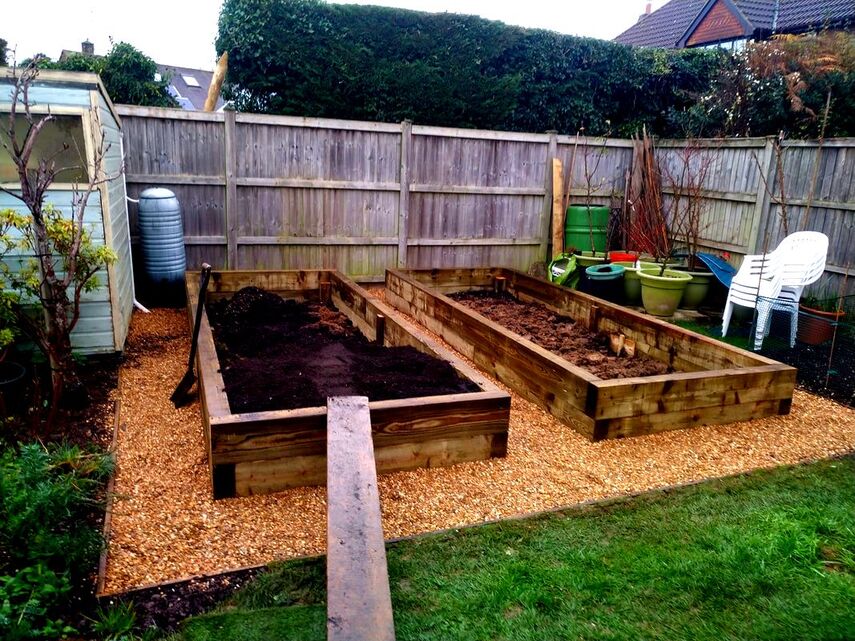
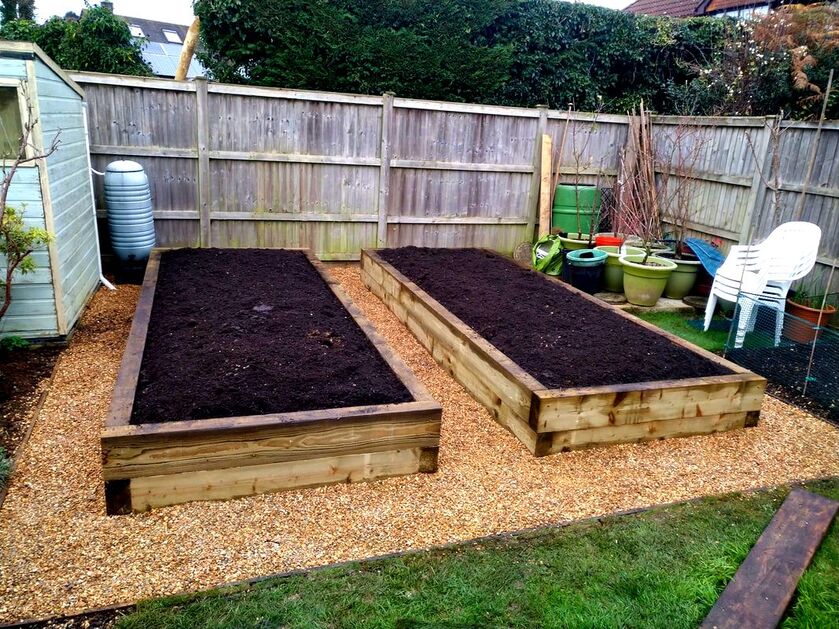
Now your sleeper raised beds are completed you can fill them with soil. This is best undertaken using a scaffold board, wheel barrow and rake.
Why not visit our article on what is the best soil for raised beds here. FAQ’sCan you put a raised bed on a slope?
You can certainly put raised beds on a slope if you want to. However, if you run the bed to the sloping ground it will create unbalanced growing conditions. You may find plants grow better at the lower end of the slope than the higher end. This is because gravity will pull water and nutrients to the lower end of the bed. Consequently you are better off building level beds on sloping ground. Do raised beds need to be perfectly level?
Raised beds do not have to be ‘perfectly level’, however it is best to build them as level as possible.
This is particularly so if you have many beds together or level structures and buildings in the background. If your beds are not level the human eye may pick up upon the imperfections.
Thank you for reading our article on how to build raised beds on a slope. If you require raised bed building services please do not hesitate to contact me.
We build sleeper, brick and concrete raised garden beds. We cover most of Buckinghamshire with typical projects in; Amersham, Chalfont's, Aylesbury, High Wycombe, Beaconsfield Chesham and Berkhamsted. I have linked to some other articles below you may also find useful.
'As an Amazon Associate I earn from qualifying purchases'
0 Comments
Leave a Reply. |
The Author
|
Landscaping services across Buckinghamshire, Amersham, Aylesbury & High Wycombe
Hyde Heath, Amersham, Buckinghamshire |
|
