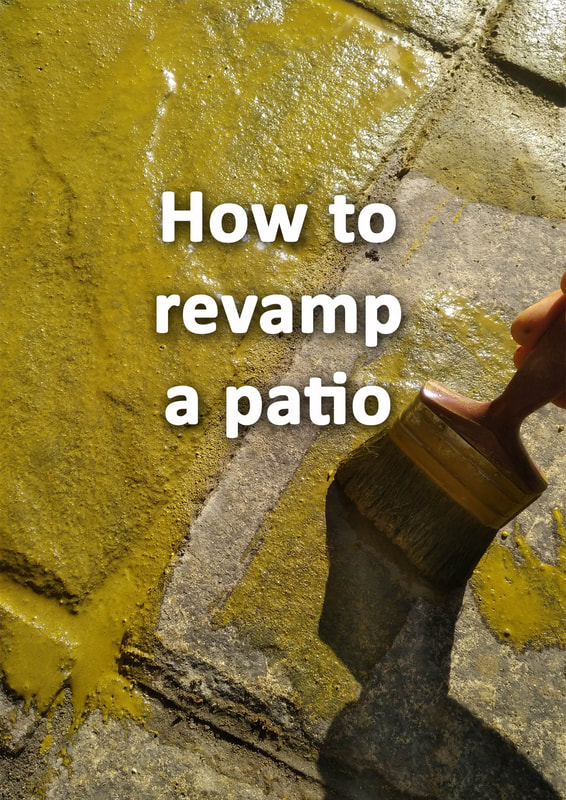
This article contains affiliate links
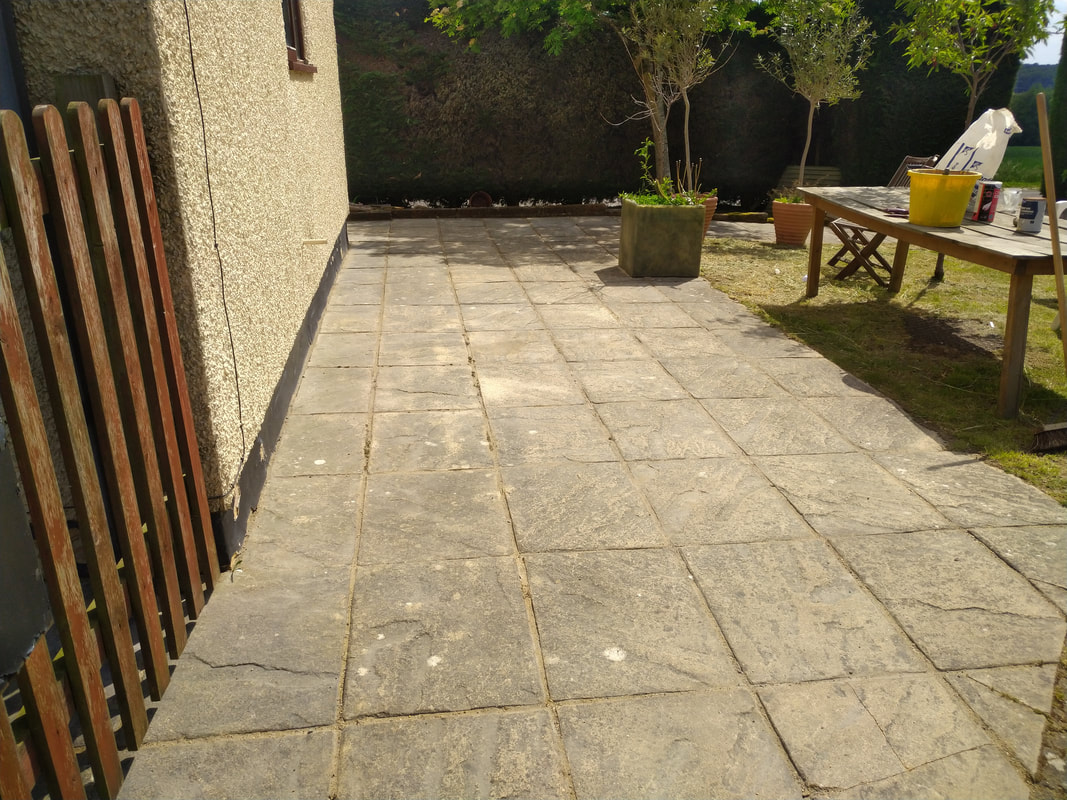
Patios are typically the transition point from the house into the garden. They can be created in a variety of methods, materials and styles.
Most often garden patios are created in two main ways; with in-situ concrete and concrete pavers or natural stone pavers. In this article we will cover how to revamp both types of patio. Unlike wearing surfaces of the home, patios are constantly exposed to the rigours of the outside environment. Intense UV rays, freezing temperate, excessive damp, abrasion, biological stains, grease, and beverages all degrade a patios colour and condition. 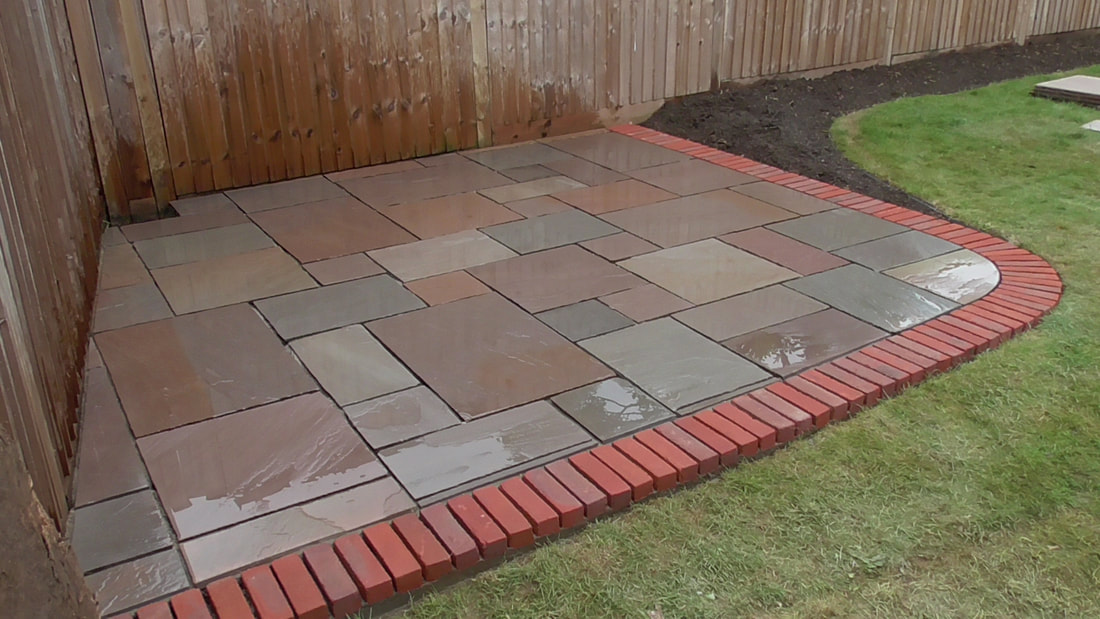
The question is how to revamp a patio? Well the answer to that question will depend on what material your patio is and what has caused its degradation. It has to be said that ‘generally’ natural stone is easier to clean and revamp to good standard. However this will depend on its permeability and durability.
In-situ concrete and concrete paving with colour dyes are usually more troublesome to get to a high standard. This is because over time the acid within rain erodes the top wearing surface exposing the aggregate. The suns UV light also bleaches the concrete dyes leading to a grey, pasty, colour. How to revamp a concrete patio?
Even though it’s difficult to revamp a concrete patio to its original state, there are many ways of improving it. This is the case for both in-situ concrete (expansive areas of wet mixed concrete) and paving. Below we have described the preparation, cleaning and re-colouration methods of revamping a concrete patio. Discolouration of concreteWhen concrete pavers or wet mixes are set they form a dense, 'sealed layer' on the surface called the cream. This is where high densities of hydrated cement rise above the aggregate mix on the surface. It is this strong, top layer where riven patterns and textures are moulded onto paving slabs. Over time this strong, impervious layer breaks down as acid rain attacks the calcium within the concrete. This leads to an open textured surface which will now absorb surface water. This absorbance leads to the acceptance of stains and the formation of algae. Algae blooms can result in dark and even black stains which form deep within the concretes structure. This action combined with fading concrete dye leads to extremely dirty looking and unattractive colouration. There are a few ways this can be solved however the first approach will be to clean the concrete. 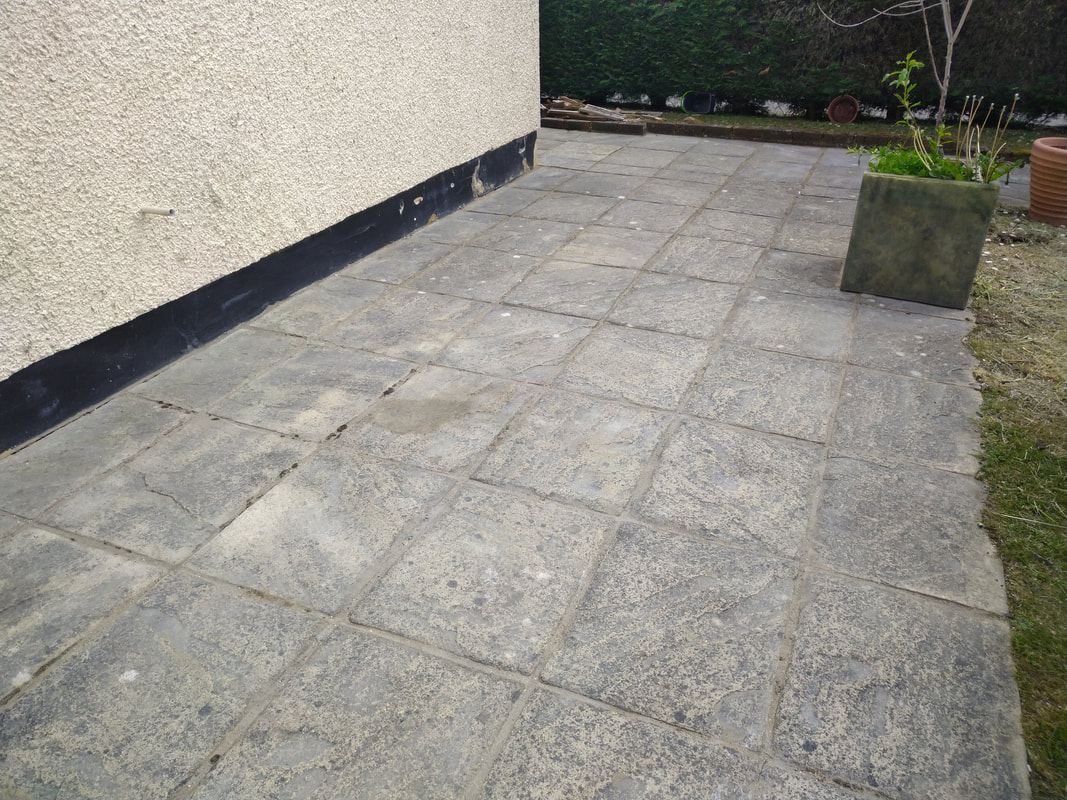
Pressure washingThe best way to begin going about cleaning your concrete is to use a high power pressure washer. These typically plug into the mains power and also connect to an external tap. The high power water blasts deeply into the structure of the concrete. This blasts out fine dust, dirt and algae blooms. Generally this method will dramatically change the appearance of the concrete to a lighter and cleaner tone. If so you may wish to simply leave it at that, or you could go further and seal it or stain it and then seal it. These will be discussed in coming paragraphs. For powerful cleaning we recommend the Karcher Home Pressure Washer. 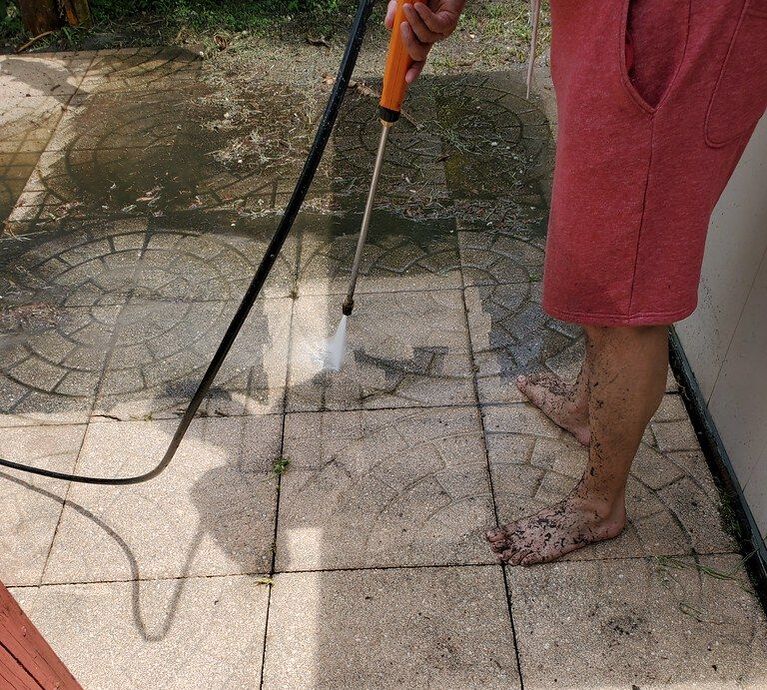
Brush cleaningAlthough pressure washing is usually enough to clean concrete occasionally you may have to put in some elbow grease. If your concrete still looks stained or dirty you may have to try brushing in detergents for a deeper clean. Generally for greases and oils household detergents such as washing up liquid and warm water are adequate. You can also add a couple of cups of ammonia and then brush this into the surface with a stiff brush. You should try to use a vertical then horizontal motion or brush in a circles. After you have brushed over the whole area it ideally will be pressure washed. Now if you wish you can take things further by revamping you’re paving with colour. 
How to colour an existing concrete patio?Concrete paint
Concrete paint is a remarkably effective way of making tired concrete patios look as good as new. These come in a range of colours and can make cleaning and maintenance much easier.
To apply concrete paint make sure your patio has been cleaned thoroughly as described in the previous section. It is important that your patio has dried out completely before applying the paint. This is best done in summer so the paint seeps deeply into the concretes upper layer. This will prevent scuffs taking off the top layer or surface flaking later. Even though concrete floor paint can dramatically change the look of a patio I find it does look painted! Even new concrete paving has different shades which makes it look more natural than a consistent, painted surface. Such concrete floor paints are available on Amazon here. 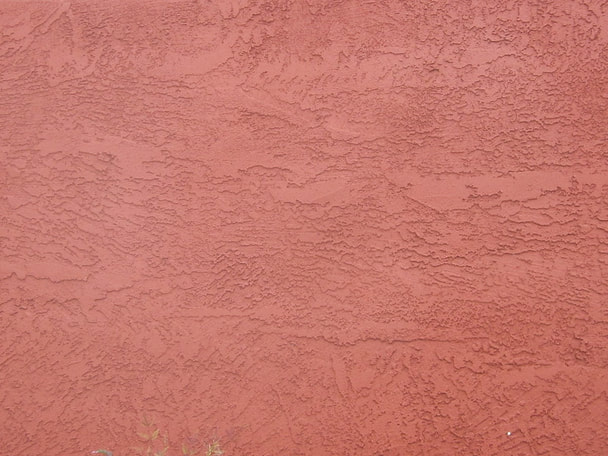
The concrete dye method
Another way to colour your concrete patio is to use something called the dye method. This is a method which I theorised and tested in the images below. It works on the concept of staining the concrete with high strength, wet cement with added concrete dyes.
This is simply painted onto the concrete staining it the colour of the dye. Concrete dyes can be purchased in powder form and traditionally come in the limited colours of buffs, oranges, charcoals and reds. This does give you some limitation in colour choice however these can be lightened by using white cement within the staining mix. The main benefit of this method is it seeps into the surface maintaining existing shade variations in the patio. This is particularly beneficial when staining old pavers which had some colour or shade variation.
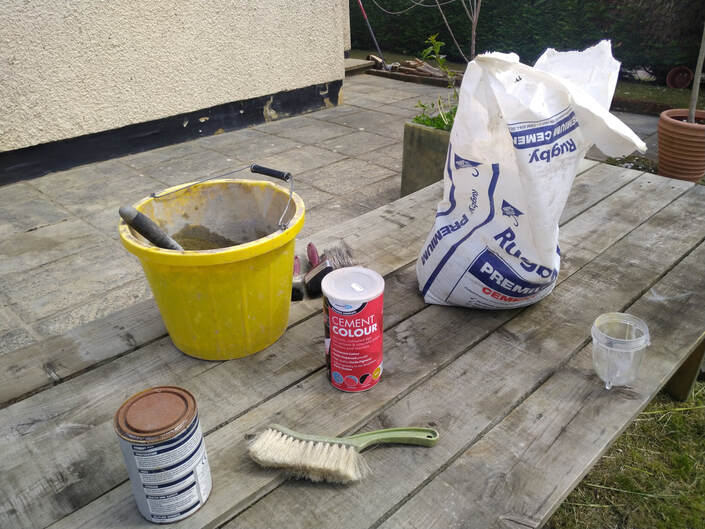
What you will needConcrete dye
Traditionally sold in powder form in 1 kg cylinders these are available from most builder’s merchants or hardware suppliers. You will need around 1kg per 20metres squared of patio depending on how porous the surface is.
 Cement
For lighter applications use white cement such as Snowcrete. Regular cement however is more than sufficient and is used in the example images below. Typically you will need 2kg of powdered cement for every 20metres squared of paving.
 5 gallon bucket
For mixing
 Pointing trowel
For mixing
 Heavy duty paint brush
For application
 Dust mask
To prevent the inhalation of dust
 Water proof gloves
To prevent concrete burns and staining to skin
Step 1: Preparation
Make sure the surface of your patio has been cleaned as described above with a pressure washer or brush cleaned. The surface of the concrete must be dry and able to absorb the wet, dye mix thoroughly. Consequently application should be carried out during the summer months. Application should take place just before night time so curing takes place slowly during cooler, night temperatures.

Step 2: Mixing
Firstly apply the dust mask so it makes a tight seal with your face, also apply your safety gloves. Mix the cement powder with the dye powder well in the gallon bucket. For a 20 square metre patio you will need 2 kg of cement powder to 1 kg of dye powder. Slowly apply water and mix thoroughly until the mix forms a single, cream like consistency.
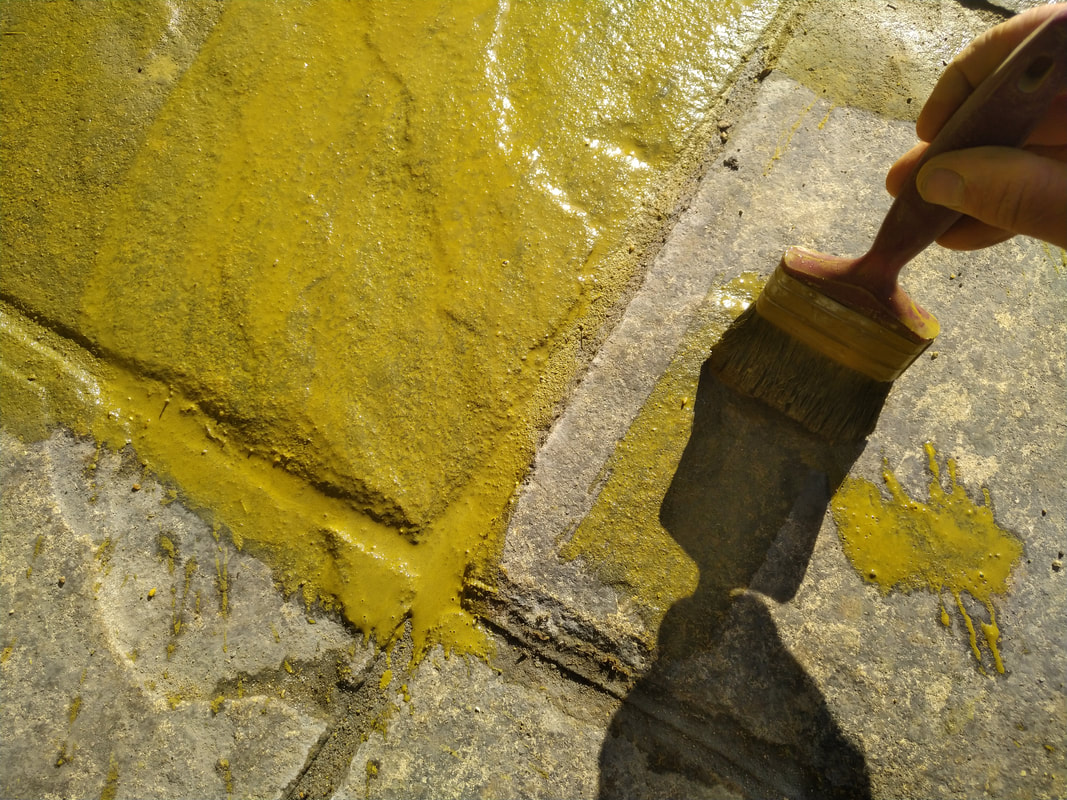
Step 3: Application
Using the paint brush, brush the creamy mixture over the patios surface until it is stained. Keep working in the mixture so it has a consistent viscosity as over time the bottom may thicken. Keep going mixing more where necessary until the whole patio is covered.
Step4: Curing
Preferably the paving will be left to cure overnight away from direct sunlight. The paving should not be walked on if at all possible. The patio should be left to cure for no less than 24 hours.
Step 5: Washing
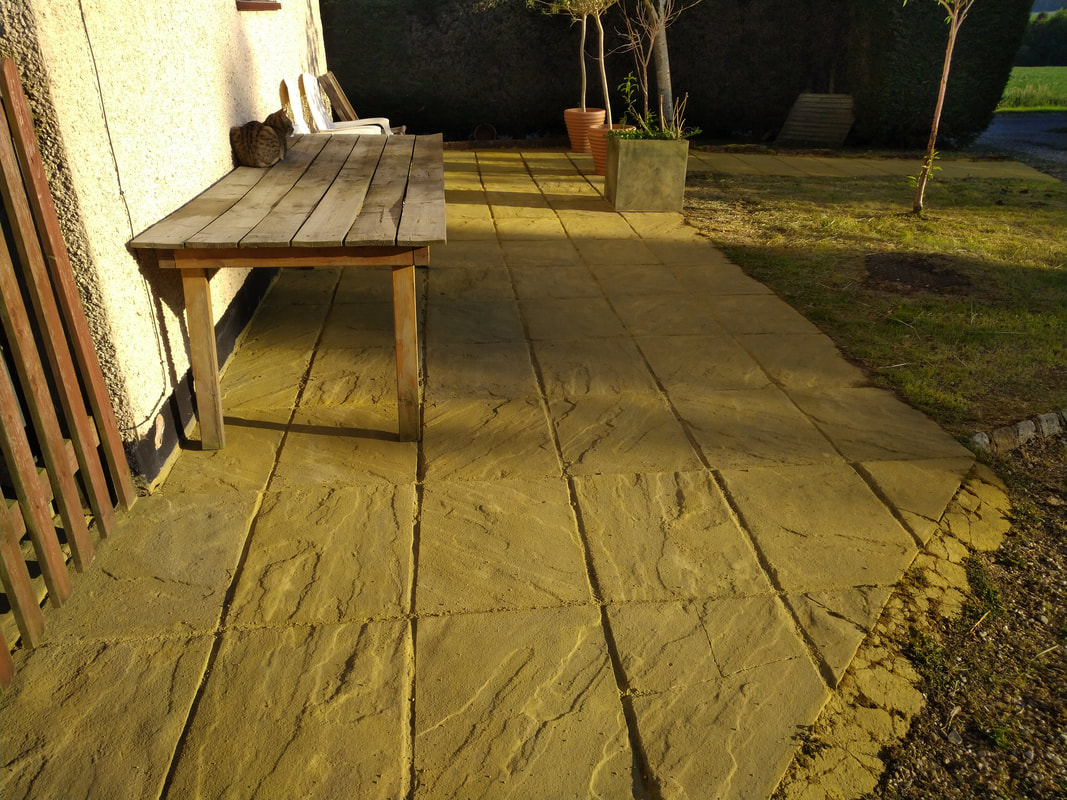
After 24 hours the patio can be given a thorough wash. This is to clean off any remaining residue from the staining mix. The result should be a beautifully revamped patio with a new bright colour tone.
Before
After
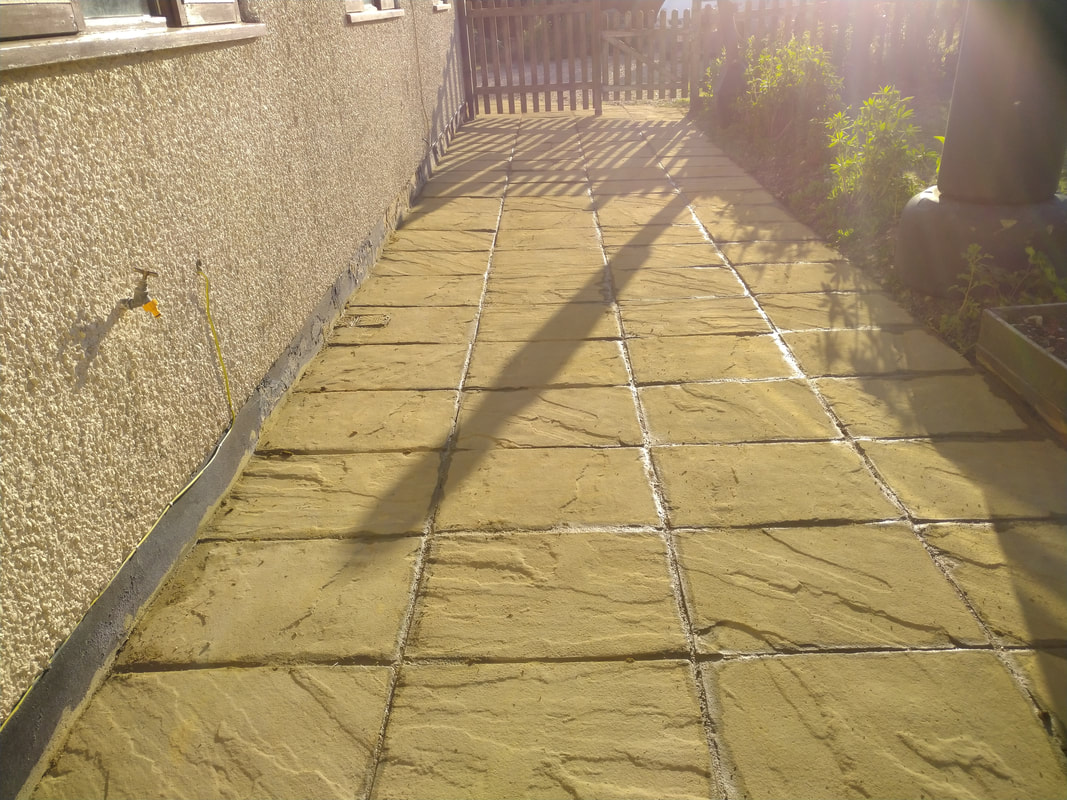
How to revamp a natural stone patio
Natural stone is generally easier to revamp if it is merely suffering with the effects of age. Staining from cements and other chemicals is a whole other subject matter. As natural stone paving is made up fully of its own materials its colours do not fade like concrete. Typically a robust pressure wash and clean is 'usually' all that is required to revamp them. 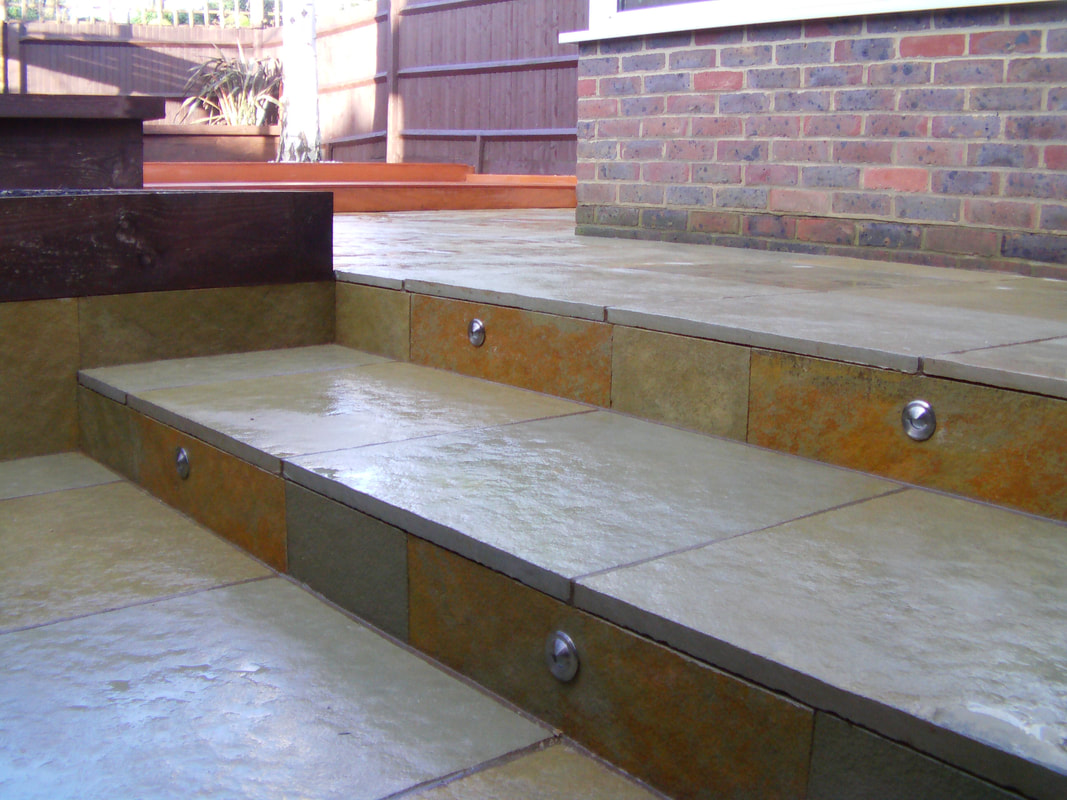
Pressure washingAs with concrete paving simply pressure wash the surface well with a high pressure, pressure washer. This is usually enough to blast out any staining, discolouration or absorbed dirt. Heavy duty pressure washers are available to rent from most tool, rental stores. 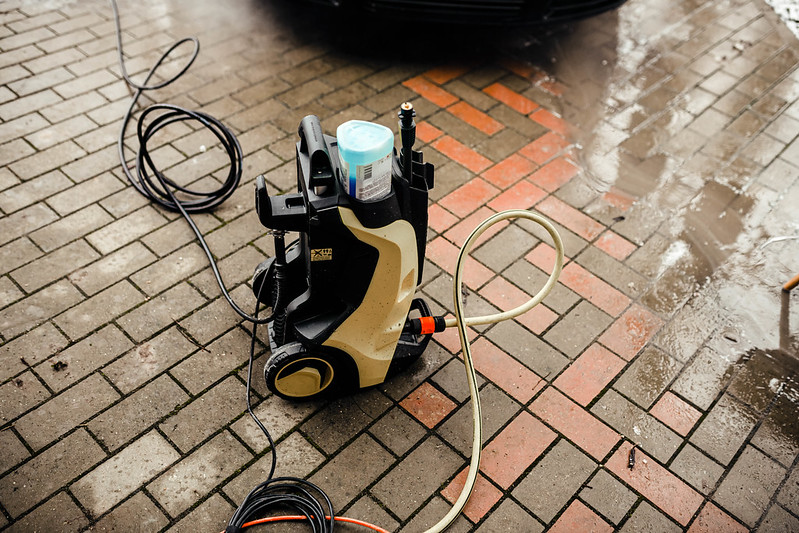
Brush cleaningAs with concrete, brushing in household detergents is usually enough to clean off oils and greases from natural paving. For deeper biological stains a squirt of bleach can also be effective. Before using any cleaning detergents and especially bleach make sure you trial a small area first. Do this in an inconspicuous part of the patio to make sure it does not react with the material. Patio cleaners containing strong acids should also be avoided especially with sandstones and black limestones. These can cause chemical reactions and severe discolouration. Most of the time a good brush clean with suitable patio cleaners is enough to revamp natural paving. PolishingThis is a process where hard surfaces, typically concrete are polished with a series of abrasive pads. These pads, usually textured with granite or diamond particles grind down the existing surface. The polishing pads come in grades which can smooth concrete and stone to a smooth, glass like finish. Generally this method is not optimum for patios as it can make an external surface slippery. Also the heavy duty polishing machines can flip loose paving and not access tight corners. Polishing is generally a more common treatment for in-situ concrete than paving. 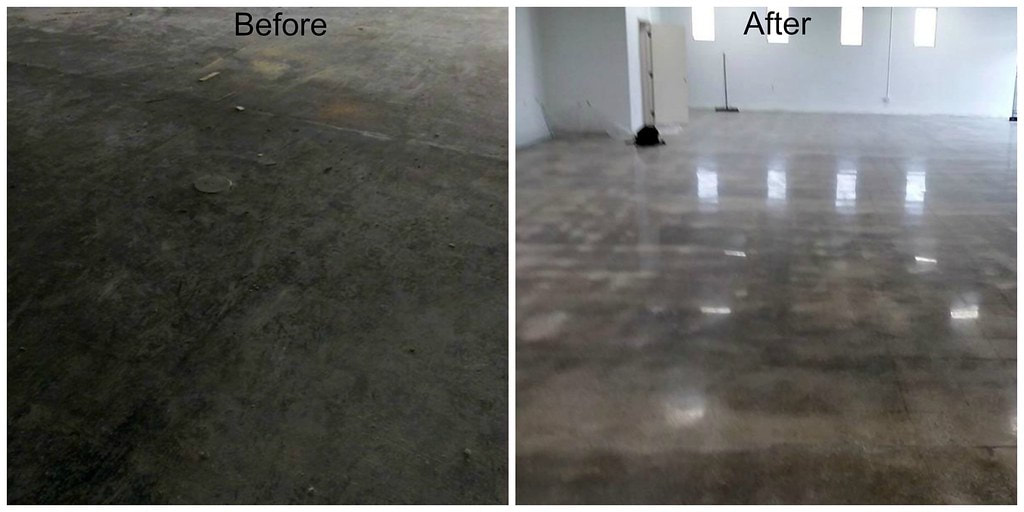
Sand blastingSandblasting also known as abrasive blasting and is the process of blasting sand at high pressure onto surfaces. This abrasive action can be used to smooth rough stone or erode top layers of stone and concrete. Such blasting can lead to a desirable, egg shell, textured surface especially in natural stone. Blasting can revamp patios but due to its cost only worth doing on well laid, good quality, materials. Jointing
Most of the time revamping a patio will also involve re-jointing. Jointing or pointing is the most common defect with patios. This is typically due to the fact the jointing has been done incorrectly. Jointing will also fail if the paving has been incorrectly laid or the wrong materials used. Jointing is prone to freeze and thaw action as well as dissolving in acid rain over time. 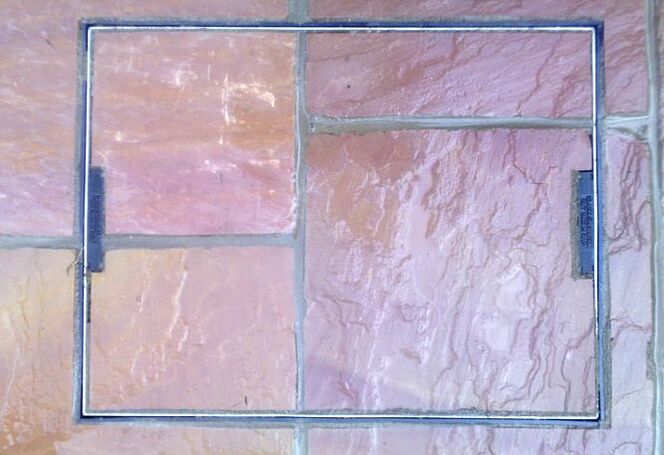
How to re-joint a patio
If a part of your patio revamp also requires re-jointing then this is what you must do: Remove all existing pointing from the patio, this can be done by cutting them out with a grinder or hammer and bolster. Check none of the paving slabs move when walked upon if they do they will need to be relayed on a ‘consistent 1:4 wet mortar mix bed’. This will then need to be left to cure for 24hours. It is then essential to remove any fine dust or debris from the jointing gaps. This can be done with a heavy duty blower or pressure jet. You need to wait for a dry day with ‘no rain in the forecast for 12 hours after the completed jointing. All paving and gaps must be bone dry before starting. With a bucket measure out a 3:1 jointing mix with one part cement and 3 parts plastering or Leighton Buzzard sand. Mix this dry until you reach a consistent colour. In a bucket mix water with some kind of mortar sealant, you can also usePVA. Slowly add small amounts of the water to the dry mortar and mix it in. Be cautious here, if you put in too much water you will ruin the mix! The mix must be damp just enough to get a sealed finish but dry enough it does not smudge on the paving. 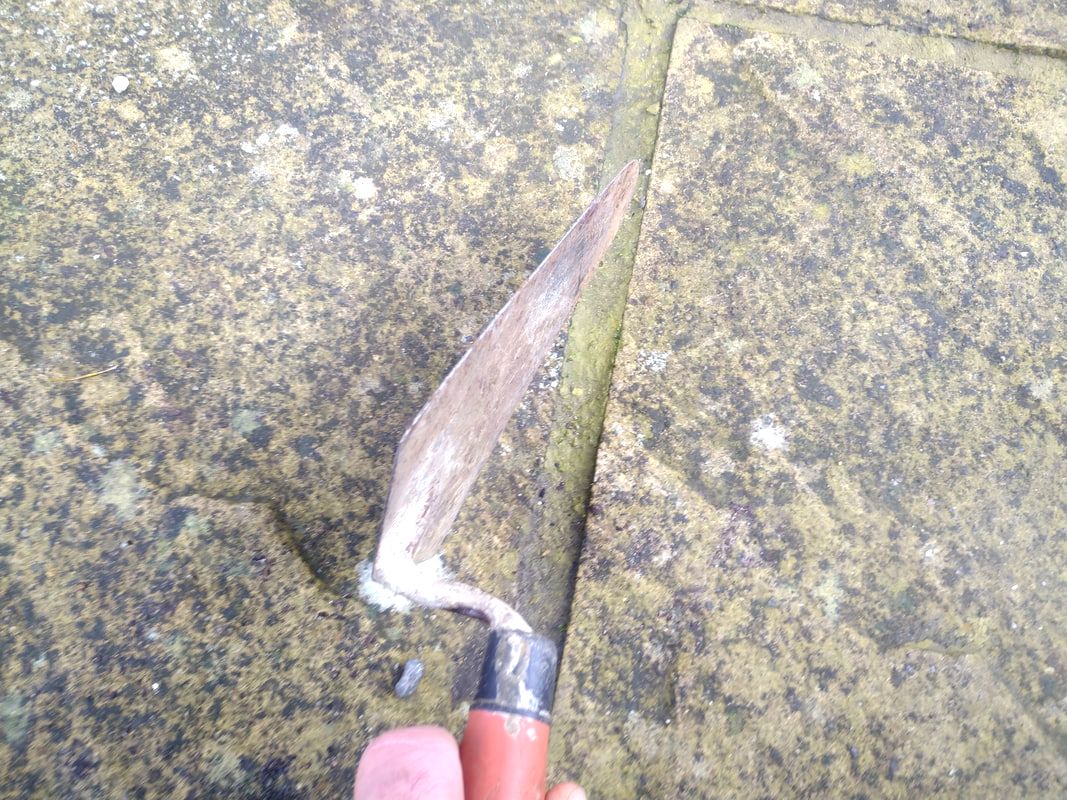
This is an art in its own right and you must take your time. Work the mix until it has a loose, granary, brown sugar like consistency. Using a pointing trowel scoop the mixture into the gaps and compact it with the edge of the trowel.
Make sure it is well compact particularly in the corners of the paving, using a jointing iron or hose pipe push down onto the mix and along the joint to make a neat, sealed finish. Brush excess mortar away and into the open gaps that are yet to be jointed. It is very important a very soft bristled hand brush is used here; (Large paint brush) otherwise you will brush lines in the jointing. Repeat the process until the whole patio is complete. Because this is a strong mix it may start to dry out after a couple of hours. Consequently you can flick small amounts of water into the mortar as you go and remix it thoroughly. 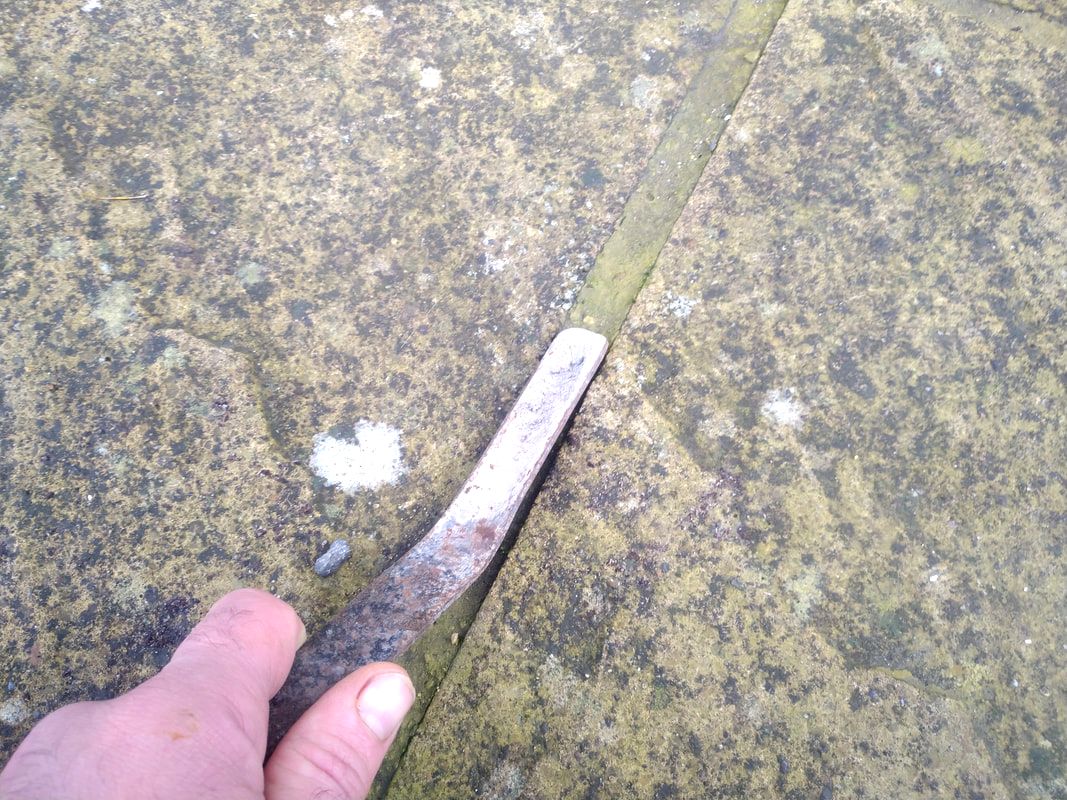
Sealing a patio
Sealing involves applying a thin layer of an impervious substances to prevent water contacting and seeping into the subject. In this case patio sealers are generally made from chemicals which seep into the paving’s surface. This creates a waterproof layer which prevents penetrating damp and staining. When revamping a patio using any methods described in this article it is a good idea to apply a sealant. This helps to preserve the patios, new, clean state and prevents it degrading further in the future. 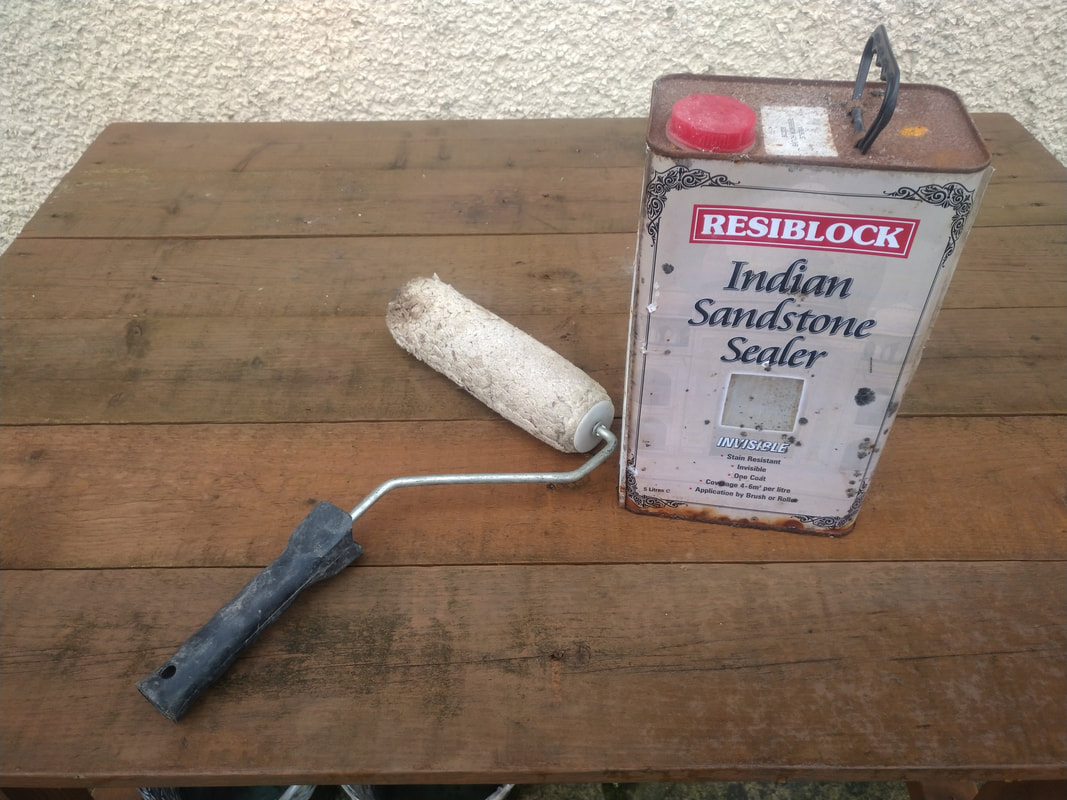
There are plenty of good quality sealants on the market and some are now material specific, some of these have colour enhancing qualities.
Some natural stone paving such as sandstone actually looks better when it is damp. Some sealants are formulated to replicate dampness therefore improving its overall appearance. To seal a patio firstly you must make sure your patio is clean of all debris and dust. On a warm, dry, day simply apply the sealant using either a large paintbrush or roller. Sealing is the best way to finalise your patio so it looks good for years to come.  
Undertaking a new landscaping project yourself? Why not visit our helpful resource page and recommended landscaping tools article here.
If you need assistance in relaying or re-vamping a patio please do not hesitate to contact us.
Some of our typical, local project locations include; Amersham, Aylesbury, Beaconsfield, Berkhamsted, Chalfont, Chesham, Gerard's Cross, Great Missenden, High Wycombe, Princes Risborough and Wendover.
0 Comments
Leave a Reply. |
The Author
|


Landscaping services across Buckinghamshire, Amersham, Aylesbury & High Wycombe
Hyde Heath, Amersham, Buckinghamshire
|
|