|
This article contains affiliate links
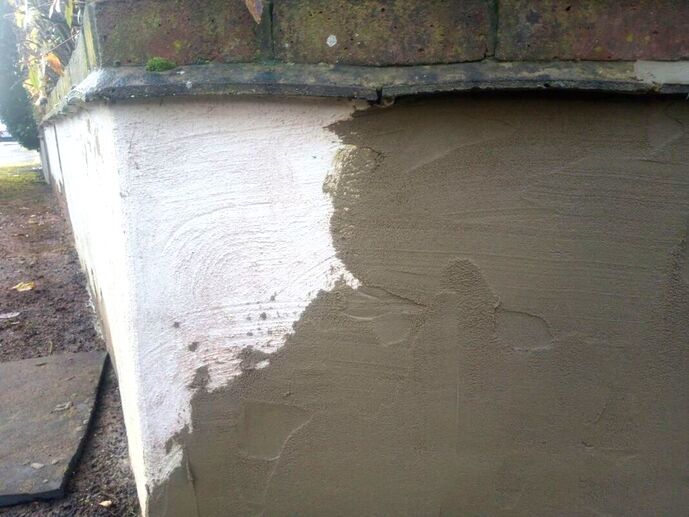
Render is a fantastic way to create a smooth or textured surface to old masonry work. External rendering is suited to many garden styles including modern and traditional design. However, render is not without its drawbacks and it is sometimes common for external render to flake off. There are many reasons why garden wall render can fail including trapped moisture and frost action. In this article I will explain how to remove old render, repair and re-render a garden wall. Can you patch up render on a garden wall?
If you’re render is falling off your wall it is very possible you will be able to patch it up. Firstly, you will have to assess the condition of the existing or remaining render. If it sounds hollow when tapped or easily flakes from the wall then it will need to be removed. If most of the remaining render feels strong and robust you can patch up the garden wall with render. Why is render falling off my garden wall?
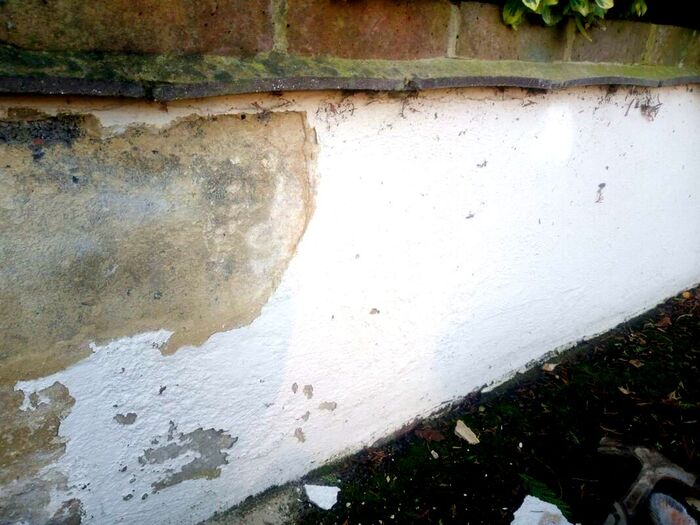
Normally rendering falls off a garden wall due to freeze and thaw action. This is where moisture between the render and the wall freezes and expands. The process slowly prizes the render away from the walls surface. This is more typical in low garden walls where there is no damp proof course. Retaining garden walls holding back large volumes of moist soil can also suffer from such action. However, there may be other reasons why mortar is falling of a garden wall.
Sometimes brickwork underneath render can slowly start to degrade. When clay bricks become old and wet they can crumble.
This can make render attached to the bricks also flake and fall. Examine the condition of the structural wall underneath the render to see if is crumbly or powdery. It is also the case that when render is applied it can sump and form air pockets if overworked. If render is towelled about too much on the walls surface it can loose its suction bond while setting. Can you repair render yourself?
As complicated as it sounds and seems you can repair render yourself. If you are a complete novice, the smaller the repair area the better! There is nothing wrong with having a go and familiarising yourself with the process. Most of the time you will need to apply a scratch coat first. This can be a good opportunity to practice towelling and finishing. What is the best sand for rendering a garden wall?
The best sand for rendering has consistent, course and circular particles with no large grit or fine silts. Soft powdery sand like 'brick laying sand' can lead to excess moisture absorption and shrinkage leading to cracks. However, gritty sands like sharp sand can contain larger grit particles which can hinder tight towelling and suction. This is why Leighton Buzzard sand is one of the best sands for rendering as it has uniform and circular particles. For the finishing coat a little builder’s, soft sand can be added to reach a smoother, plaster like finish. Do you need to add PVA to a rendering mix?
PVA has traditionally been added to walls before rendering and the rendering mix itself. It is said that PVA will help the mortar bond better and help to waterproof the render. However some tradesmen say PVA is not necessary and can reduce renders ability to stick. Whatever the case it is advised that you add some sort of mortar water proofer to your rendering mix. This will minimise exposure to damp and frost damage and help the render to bond. What is the best mortar mix for outside rendering?
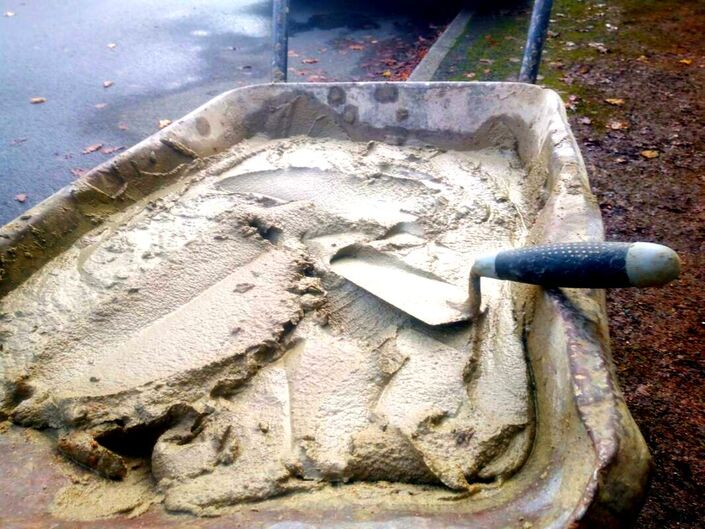
For the first coat or 'scratch coat' 4 parts plastering sand or sharp sand to one part cement. For the finishing coat I mix 4 parts plastering sand 1 part builder’s sand and 1 part cement. You could also use hydrated lime instead of the builder’s sand. Make sure you add plasticiser to make your mix more workable. You can also add water proof admixtures to prevent moisture and frost action. How thick should render be on a garden wall?
Typically about 12 mm is about right for an external rendered garden wall. Don’t forget you will first need to apply a scratch coat of about 5mm. Then you can apply your finishing coat of about 7mm. Why is render not sticking to my wall?
Render may not be sticking to your wall for a number of reasons. The most common reason is fine traces of dust and dirt are preventing render bonding to the wall. To mitigate this, make sure you brush and wash your wall done thoroughly first. During warm and dry weather absorbent walls can suck out renders moisture quickly. This can result in a loss of suction and the render failing to stick to the wall. Trying to apply too much thickness in one go can lead to render simply falling off the wall. How to repair rendering and render a garden wall step by step.
Step 1.
Investigate the existing rendering to see how loose it is and remove any flaking mortar.
Step 2.
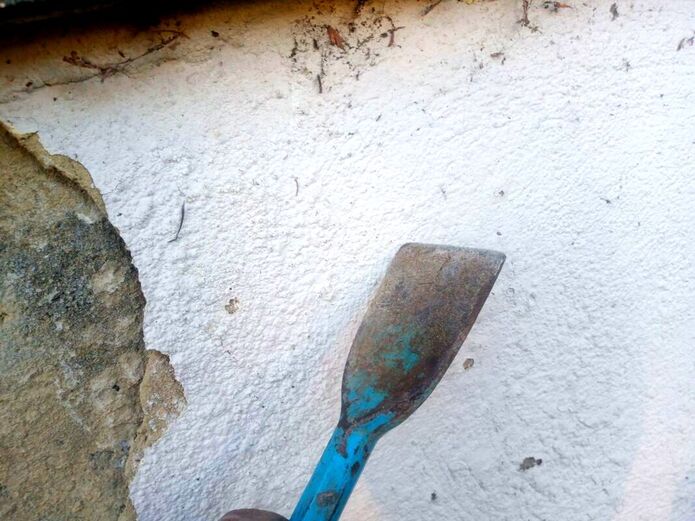
Examine the wall further by tapping the surrounding mortar with a bolster. Weak and unbonded render will sound hollow compared to solid areas.
Step 3.
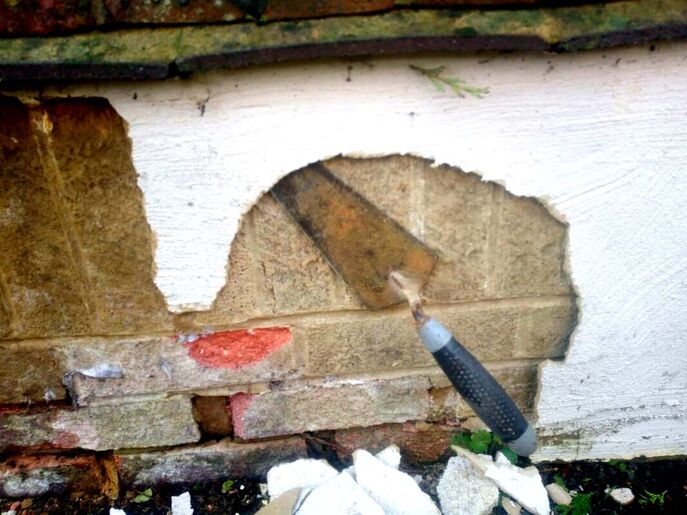
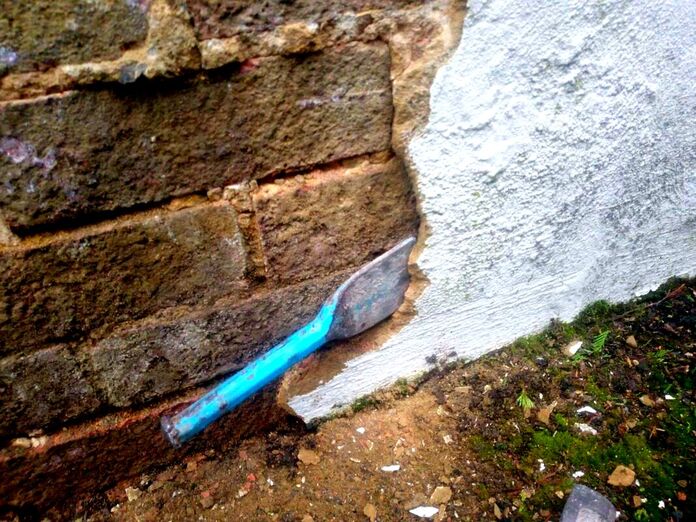
When you have identified hollow render, using a hammer and bolster remove it from the walls surface. You should only really leave render which is solid and cannot be separated from the wall.
Step 4.
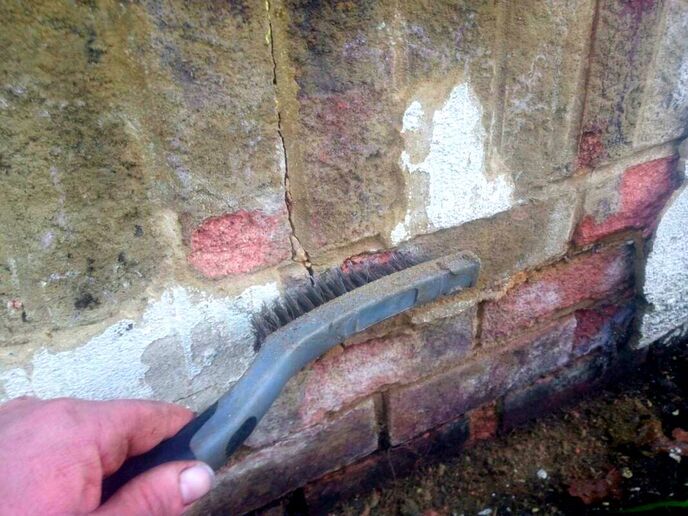
Using a wire brush, brush off any weak rendering or flaking paint from the walls surface. Make sure you wire brush the walls surface to remove any degraded or loose materials.
Step 5.
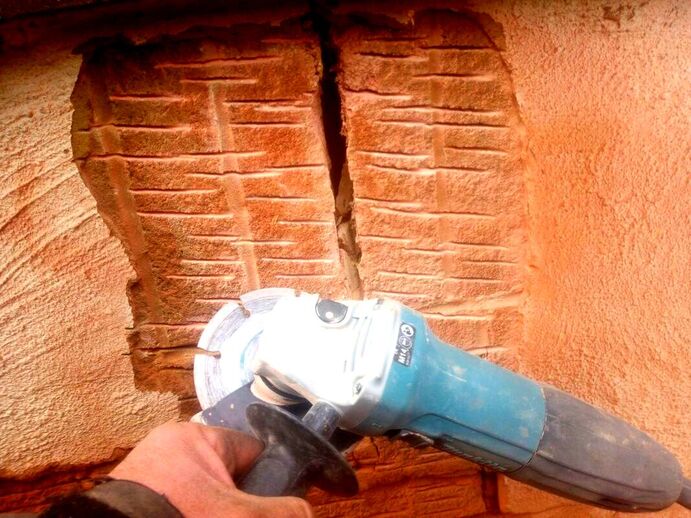
Using a hand grinder, score grooves into the surface of the wall to provide a key for new render. This is not always essential but provides extra grip if you want the strongest result. Make sure you wear a tightly fitted dust mast and eye protection!
Step 6.
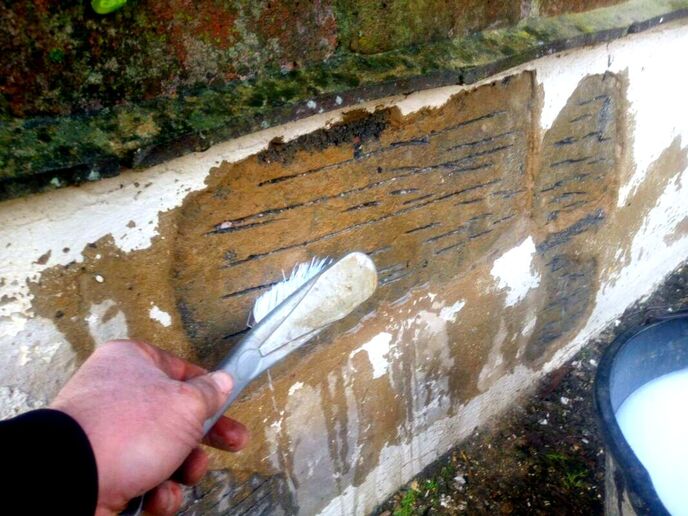
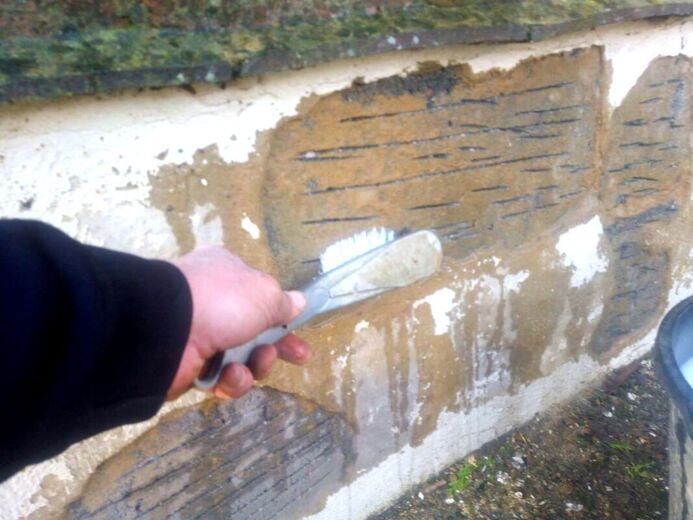
Your cutting will create lots of fine dust, consequently when finished you must clean the wall thoroughly. This is best achieved with a bucket of water and a hand brush. Make sure you brush out all the dust residues from the surface and cut scores. You must then allow the wall to dry out.
Step 7.
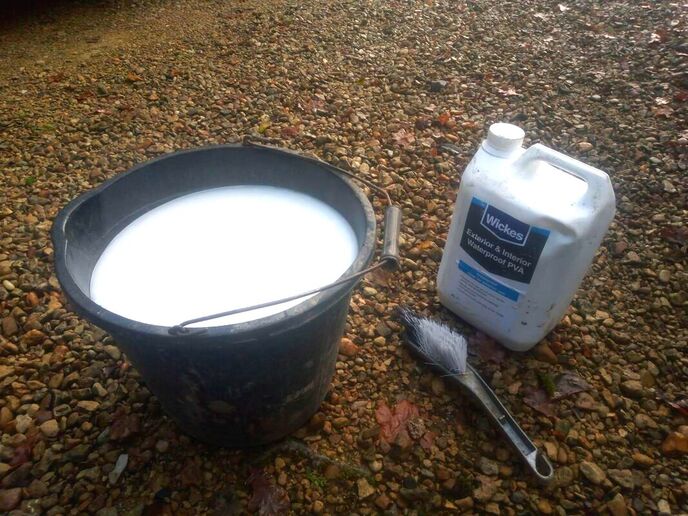
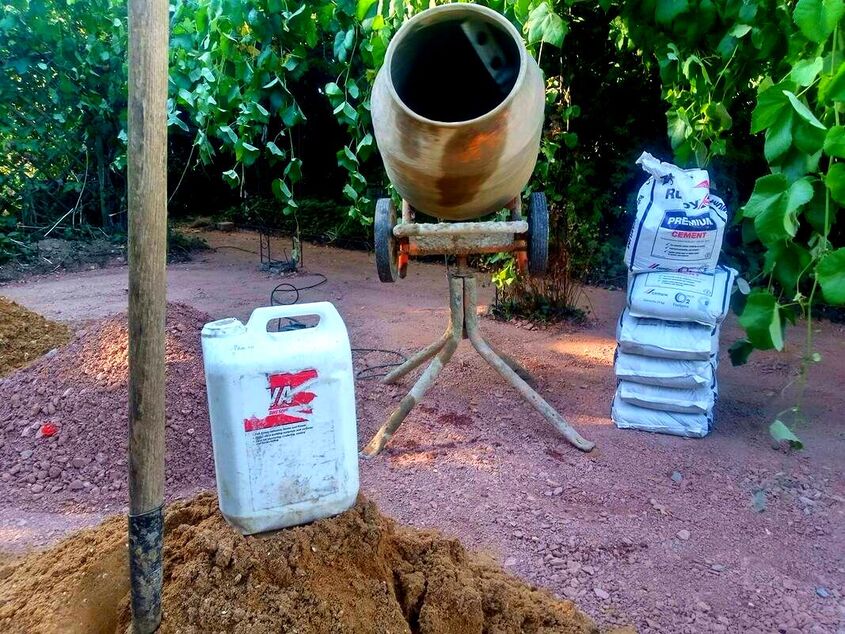
Empty two golf ball sized blobs of external, waterproofing PVA into the bottom of a bucket. Fill the bucket two thirds full with water mixing in the PVA until it dissolves.
Step 8.
Using a hand bush, coat the wall with the PVA solution. This will help the mortar to bond better to the wall below. It is also beneficial to have the wall ever so slightly damp on the surface before applying render.
Step 9.
Mix up your first render coat, I typically use 4 parts plastering sand and 1 part cement. I add about two egg cups of both mortar plasticiser and waterproof PVA to the mix. Mix until it has a stiff but workable consistency.
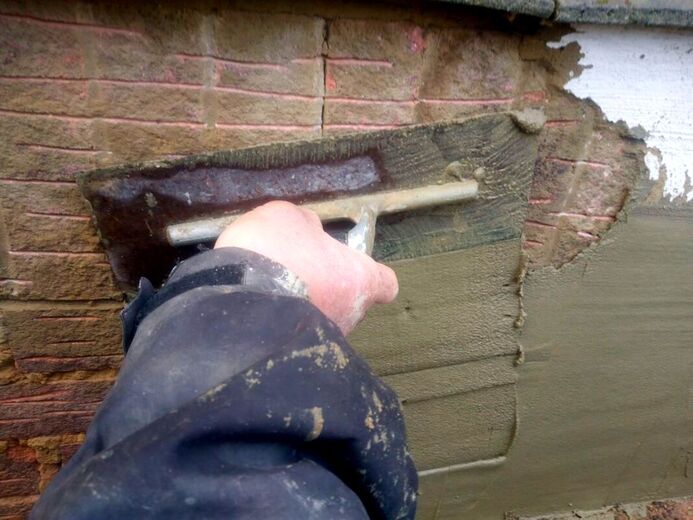
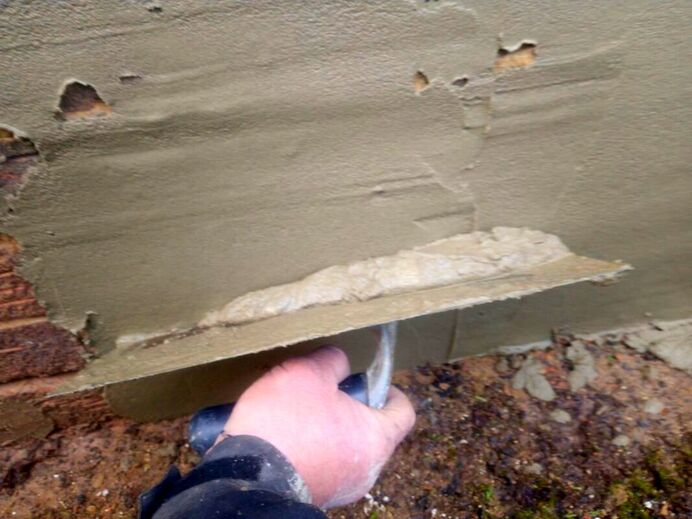
Step 10.Using a brick laying trowel, load up your rendering trowel with a wide load of render. Start at the base of the wall tilting your wrist so the render gently makes contact. Using a steady movement, glide your hand up vertically forcing a layer of mortar up onto the wall. This will take a little practice to get a feel for how much pressure to apply. Make the render as smooth and as a consistent depth as possible. Step 11.
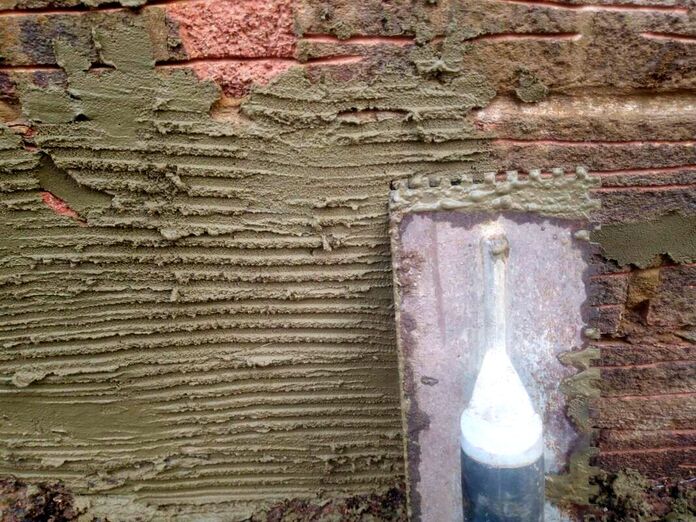
Use this first scratch coat as your practice run for applying the finished, smooth surface! You can use a straight edge to gently screed off high points.
Keep working render into the low points until you have a relatively level surface. When the mortar is starting to go off, score some key lines into the surface. This is the reason for the first coat being called the scratch coat. Allow this at least 24 hours to set before applying the finishing coat. Step 12.
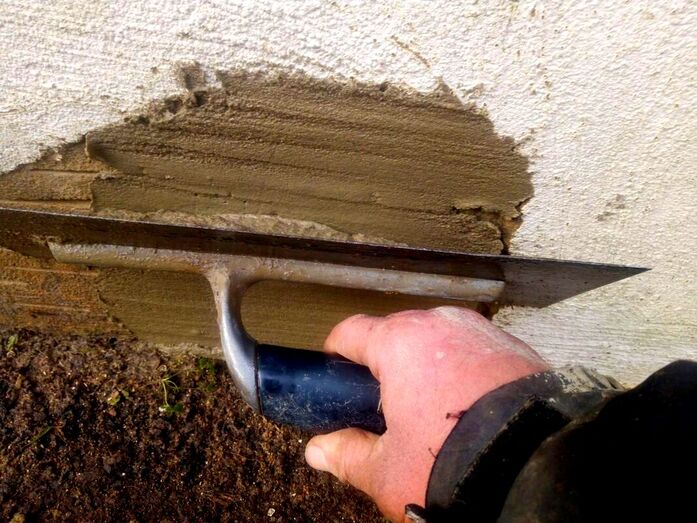
Mix up the final coat, This can be slightly weaker than the base scratch coat. I prefer to mix 4 parts plastering sand, 1 part soft sand and 1 part cement. As before, I like to also add plasticiser and PVA External water proofer. Mix until you reach a moist and workable consistency. Step 13.Using your rendering trowel apply the render to the wall as evenly and smoothly as you can. Try to keep an even and consistent thickness as this will help the mortar to stick well. You can use a straight edge to gently screed off high areas. As the render starts to dry you can fill in low spots gently. Try not to over work the render as this can lead to air pockets forming and it falling off. Rendering is a bit of a skilled art and will take some time to master.
When you have the render as smooth and consistent as possible you can have a rest.
You now have to wait until the face of the render starts to become firm. How long this takes will depend upon the temperature, time of year and the moisture content of the wall. You will have to keep an eye on each section as it can set inconsistently across the walls surface. Step 14.
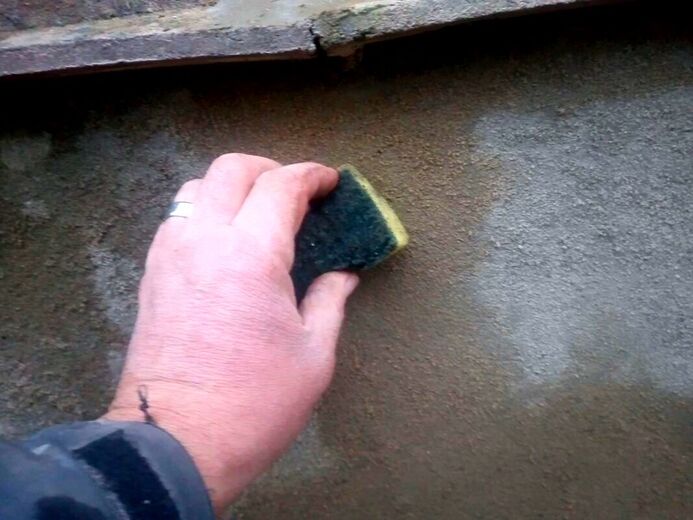
Using a sponge float, or damp sponge, start to softly work the surface of the render in circles. This will slowly open up the surface of the mortar and allow the render to breathe. Gently working the renders surface will allow any small blemishes to be evened out. This gentle process will also allow low spots or hollows to be gradually filled in.
Step 15.
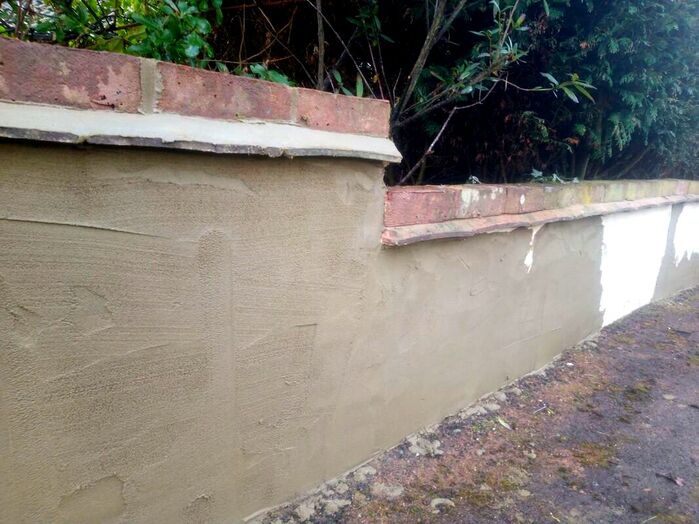
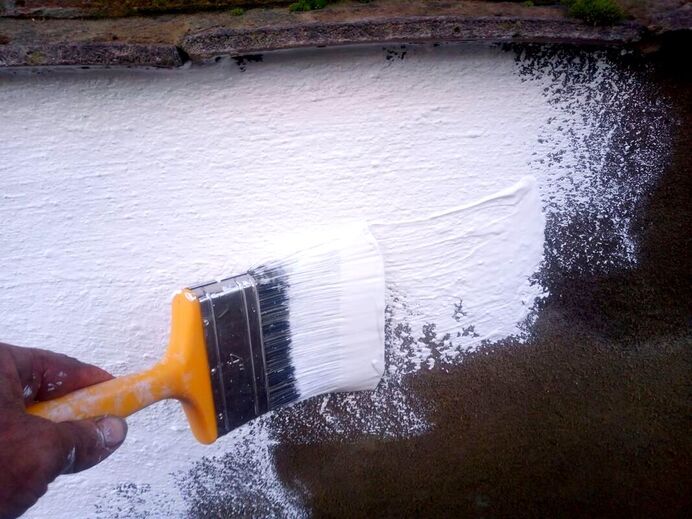
You have now completed your rendered wall and can be pleased with your work of art! Do leave your render at least a couple of weeks to set before painting.
Thank you for reading our article on how to repair rendering and render a garden wall. We have featured some other articles below you may find interesting.
'As an Amazon Associate I earn from qualifying purchases'
2 Comments
1/16/2023 10:42:25 pm
It's great that you elaborated on the importance of matching with a traditional design for your cement rendering project. Last week, my wife wanted a cement rendering service to add a more fabulous appearance to our home. Thanks to this instructive article, I'll be sure to consult a trusted cement rendering service as they can provide more information about the potential of our home.
Reply
7/29/2023 01:46:54 am
You need to carefully prepare the region for render that lasts. This entails patching up any fractures, washing the wall with water and a bristled brush, and gently removing ornamental elements like vents, pipes, and alarm boxes (these may be put back later). We advise contacting a professional to remove these devices because they might be difficult to remove and break easily. Additionally, you will need a professional to address greater concerns like fundamental fissures or weak buildings before rendering the wall yourself. In other instances, walls have collapsed just days after being rendered!
Reply
Leave a Reply. |
The Author
|
Landscaping services across Buckinghamshire, Amersham, Aylesbury & High Wycombe
Hyde Heath, Amersham, Buckinghamshire |
|

