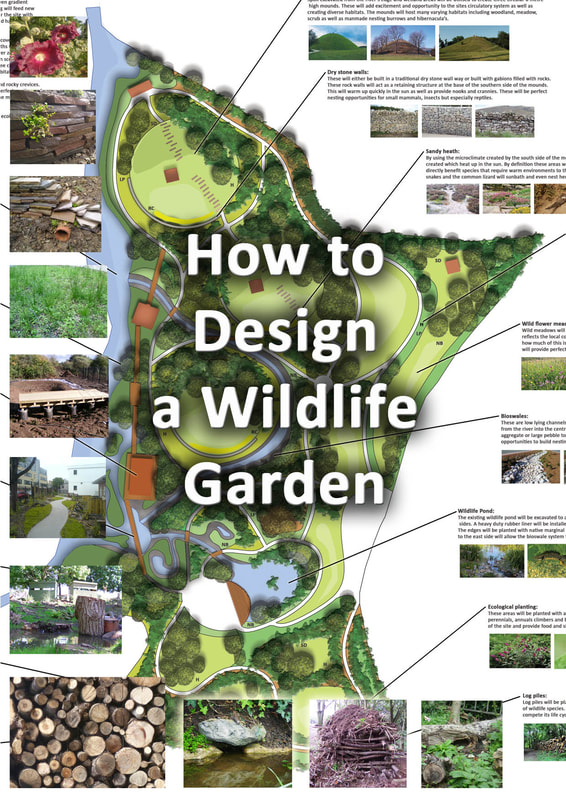
|
This article contains affiliate links
Garden ponds are one of the most effective ways to encourage wildlife into your garden.
Not only do ponds create excellent habitats for wetland species they also provide drinking water for other creatures. For the nature enthusiast a wildlife pond can create hours of both entertainment and study. A successful wildlife pond will host multiple wetland habitats and contain varying depths and shelves. It is also beneficial if your pond looks as natural as possible within the landscape! This will look best visually and provide as much reassurance and security to wildlife. In this article I will explain how to build a natural looking wildlife pond step by step. I will include images of previous ponds I have built within wildlife garden landscaping projects. Planning your pond
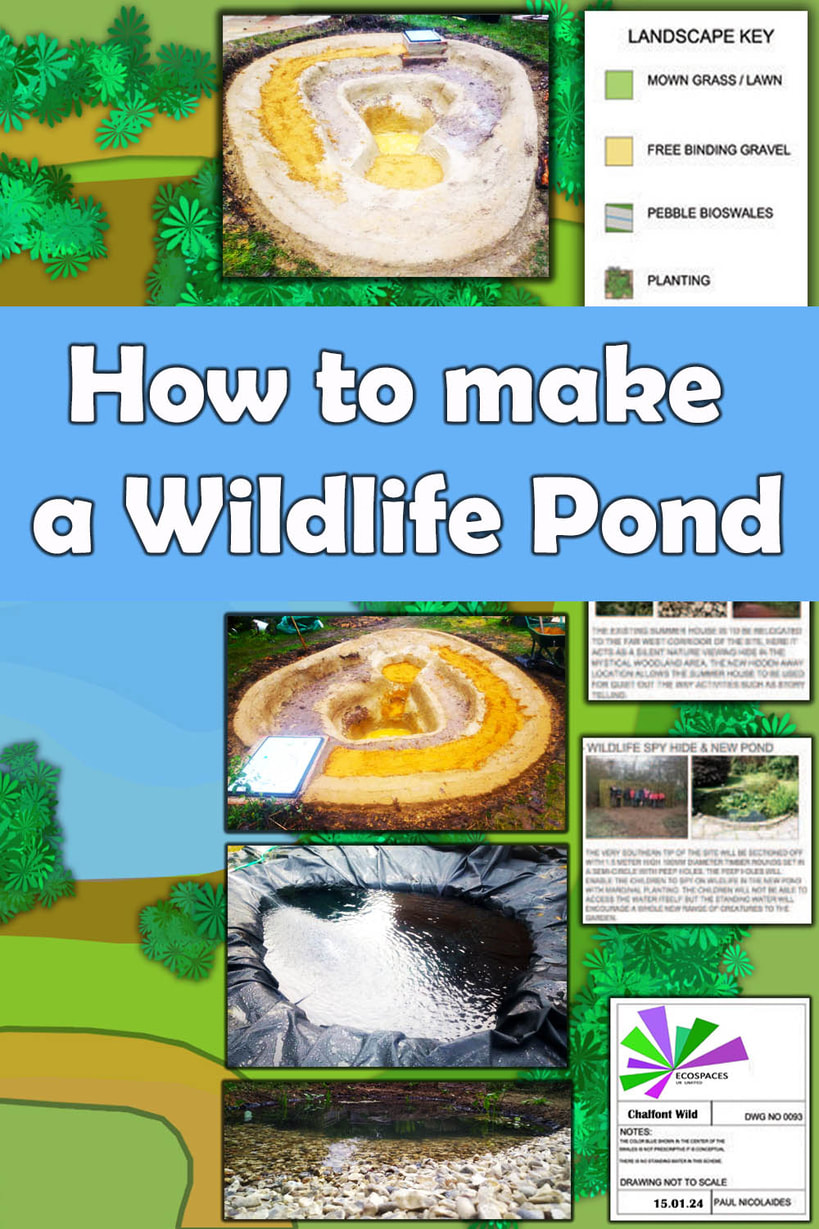
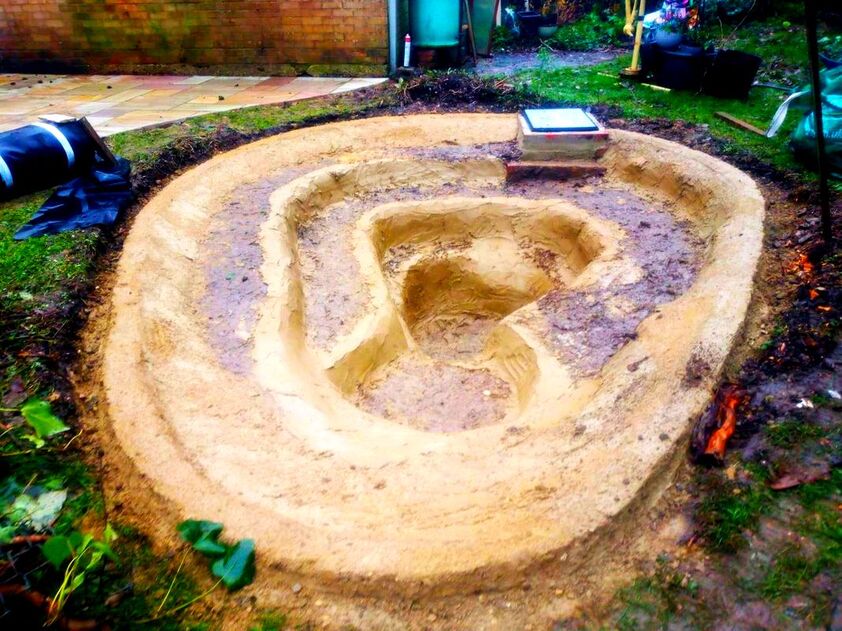
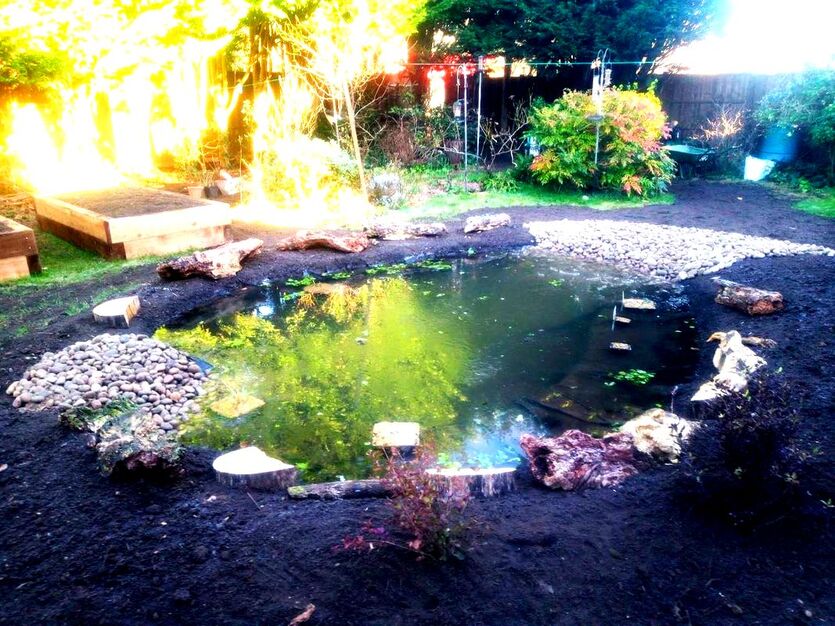
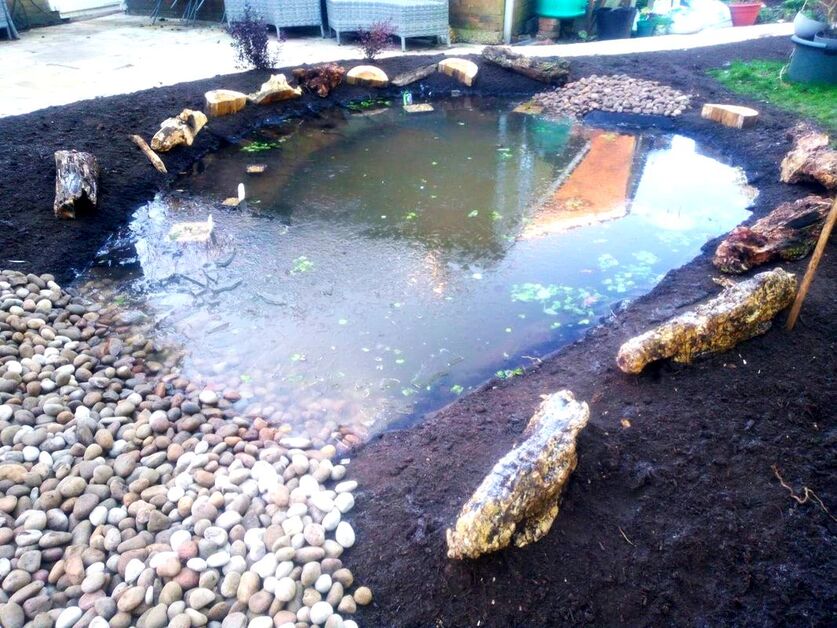
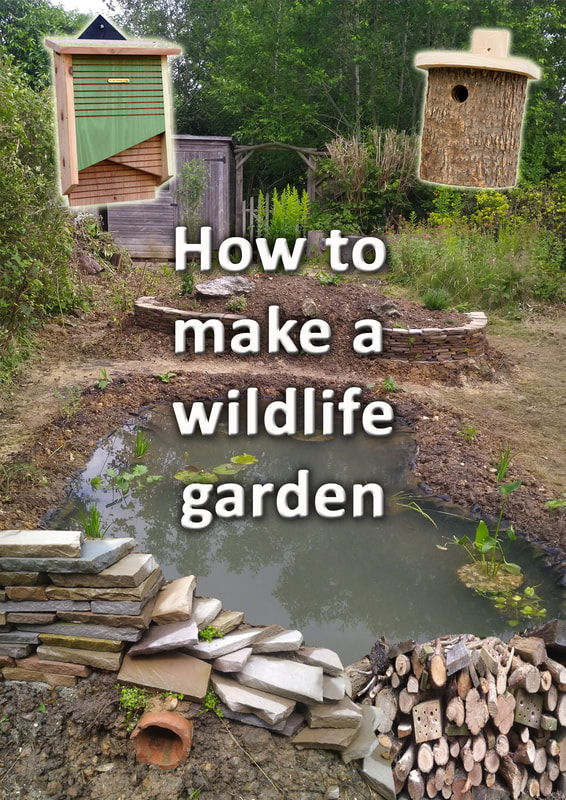
One of the main factors to consider when planning a pond is its shape. The best ponds for wildlife have a deep central zone which has a large volume. This deep zone keeps the ponds water temperature stable during hot summers. It also provides a collection pit for inevitable amounts of dirt and organic debris which will accumulate within the pond. Try to plan for at least one gentle slope leading out of your pond. This will provide easy access for amphibians and warm shallows for aquatic insects. You will want to pan your pond with plenty of varying shelves and depths. It is a good idea to sketch up a basic design of the profile of your pond before begin excavating. The image below is of a wildlife pond I built in Buckinghamshire to give you a look at the shape. Positioning your pond
Positioning your pond so it is the most beneficial to wildlife as possible is paramount. It is always better to locate a pond where there is the best access to surrounding habitats. This typically means closest to green corridors and garden boundaries. Wildlife prefers to have a sheltered access from the pond to other parts of the garden. A pond slap bang in the middle of a patio may look nice but may be problematic for some species. It is advantageous to integrate a wildlife pond within a well planned, planting scheme. Try to position your pond away from the canopies of large trees to prevent leaf clogging in autumn. It is best to locate your pond where it gets at least 6 hours of direct sunlight every day. This will enable pond plants to thrive and submerged plants to boost oxygen levels. How big should you build a wildlife pond?As a general rule the larger a pond you build the better it is for wildlife! Do not underestimate however the benefit even very small ponds provide. The trick is to ensure your pond has enough volume to host a stable environment. Very small and shallow ponds can become very warm in summer and freeze right through in winter. For small ponds you should really aim for a minimum depth of 450mm. However in a perfect world you will have a larger pond with a sizable deep zone of 1 metre. This will allow for a large body of water which has a stable and consistent temperature. It is optimum to incorporate multiple shelves at varying depths to cater for a broad range of species. A gentle sloping section can create 'warm shallows' which are beneficial to specialised species. I would say a good average size for a wildlife pond is 3 x 5 metres and about a metre deep. Pond safety
Pond safety can always be a consideration especially where children are concerned. I always recommend fencing off your pond not just for children but for wildlife too! A 1.2 metre tall perimeter picket fence can provide added security to wildlife and increase safety. A picket fence will give a feeling of privacy and reduce the chance of wildlife being disturbed by pets. Enclosed wildlife ponds also lend themselves to more quiet study and relaxation than open ponds. How to build a natural looking wildlife pond step by step
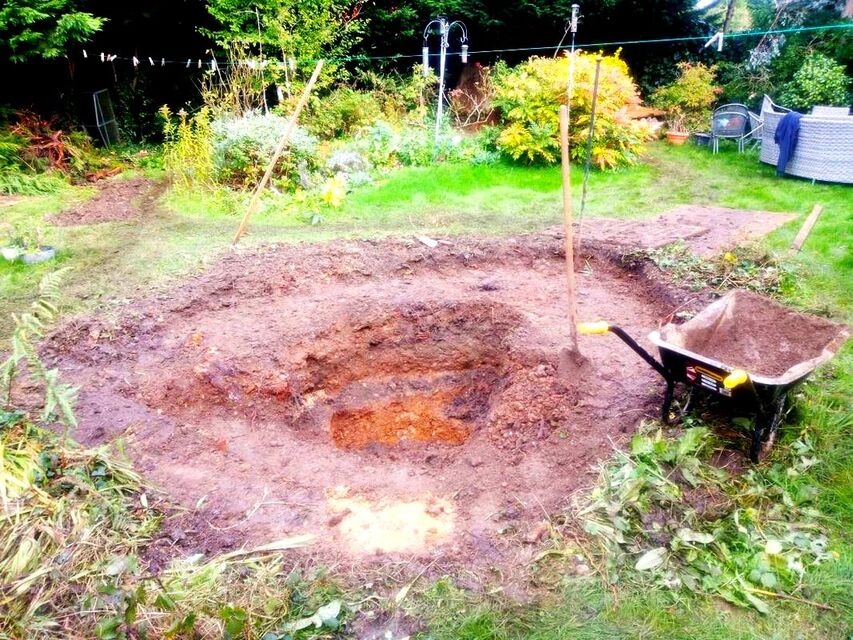
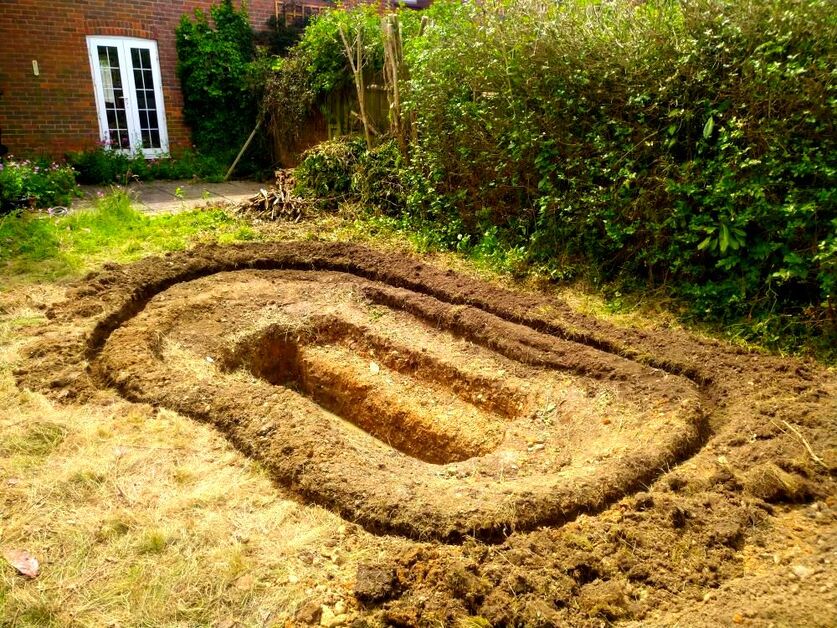
Step 1: Excavation
Excavate your pond from the centre outwards digging the deepest section first. This makes it easier to gently dig in your shelves and slopes into your ponds profile. Digging with a digger is good for large ponds but can be messy. You may need to hire a skilled operator for excavating neat shelves and slopes. I find its best to use excavators when it’s warm and dry. If your garden is wet you can end up making a real mess! Step 2: Spoil removal
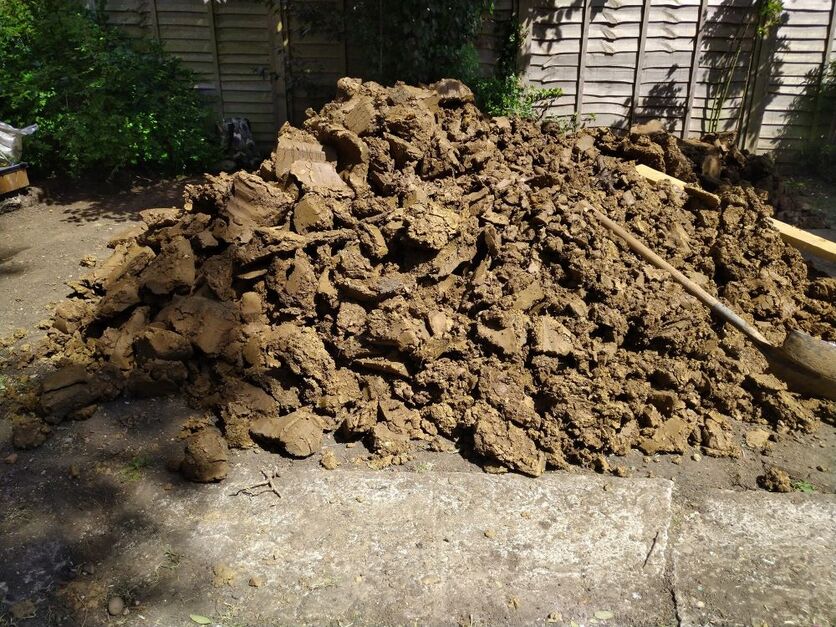
It’s easy to get carried away with the actual digging of the pond and not the spoil removal. Excavating ponds can create a large amount of bulky subsoil. This is best loaded into a skip using a wheel barrow. Alternatively you can use the spoil to fill in garden low spots and create mounds. Step 3: Shaping your pond
Shaping your pond can be tricky especially if you have never done it before. Combining sheer force and sculpting out consistent shelves and slopes can be difficult. The best tools for this are spades, mattocks and digging bars for tough ground. Step 4: Levelling your sides
To make your wildlife pond look as natural as possible you need to create level sides. This will allow the water level to completely hide your pond liner. I like to tap timber pegs level all the way around the perimeter of the pond. You can do this with a club hammer and a long spirit level. Then mix up some stiff concrete and create a level plinth all the way around the pond. This will enable you to lap your liner over the concrete and into the anchor trench. Step 5: Digging an anchor trench
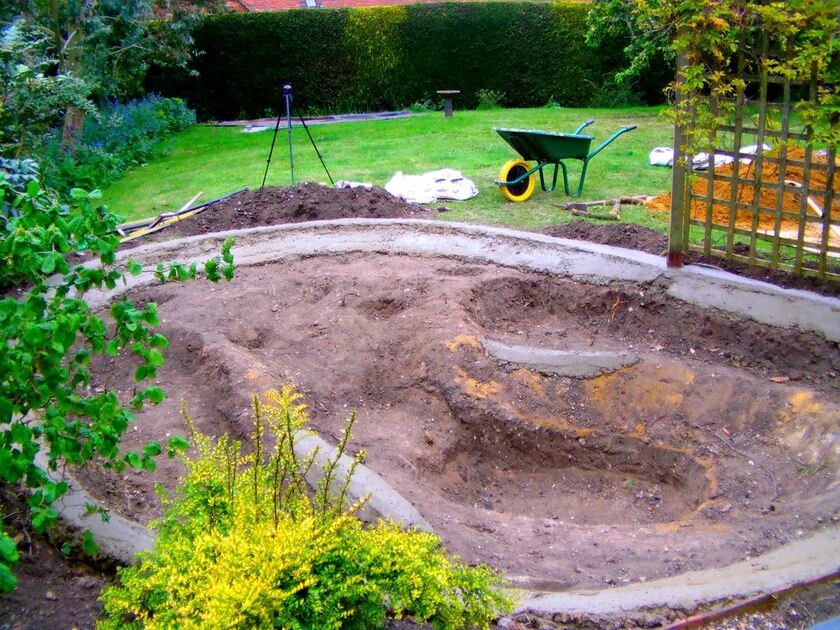
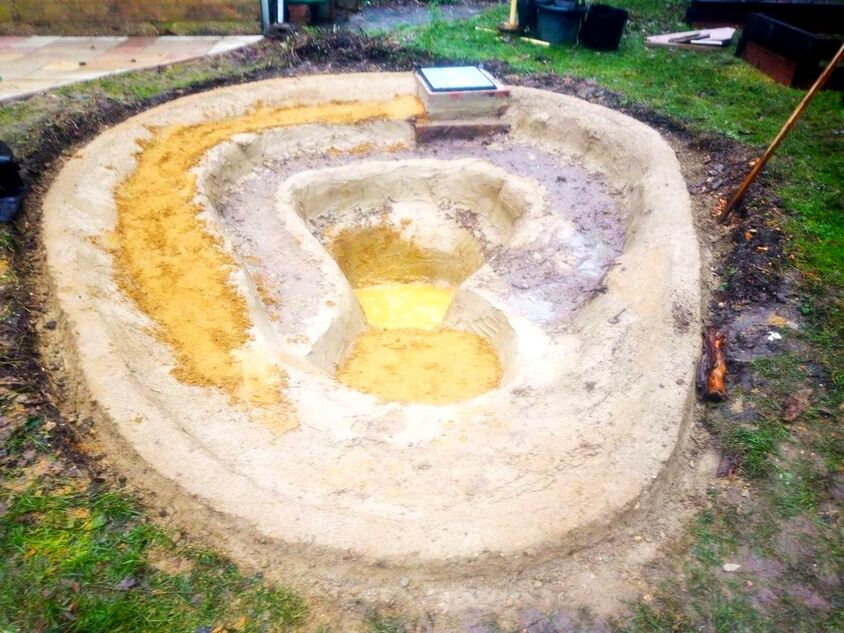
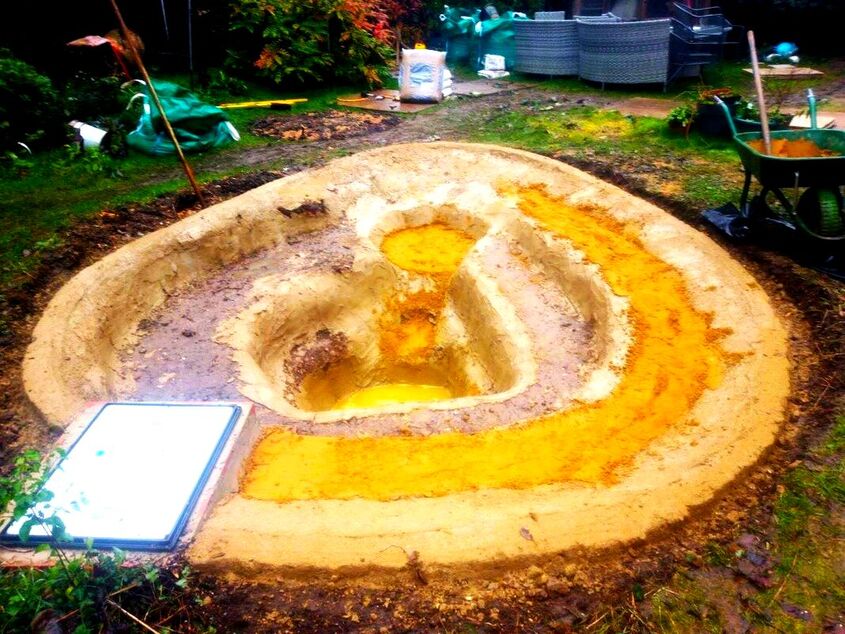
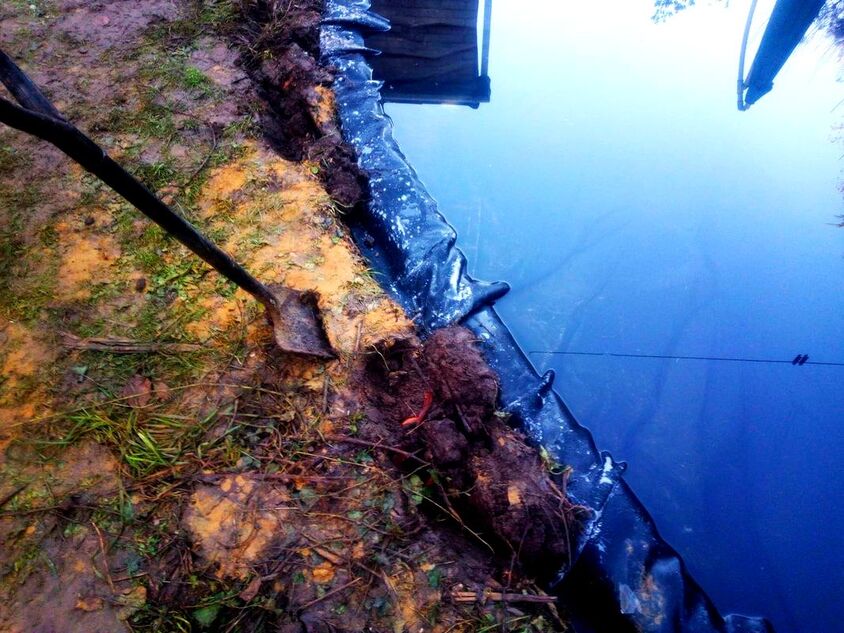
An anchor trench is a perimeter trench around your pond that anchors your liner firmly into position. You need to excavate a narrow trench about 150mm wide and 200 deep around the outside of your pond. This will enable you to bury the liner when the pond has been filled with water. Step 6: Smoothing verticalsAfter shaping your ponds slopes and shelves you will need to check the vertical parts of the ponds profile. You want to make sure there are no sharp protrusions present which may puncture the liner. This is not such a problem on soft clay but can be an issue on rocky soils such as flints. In such case you will want to smooth out the verticals with a cement based render. This can be seen from our latest wildlife pond project in the image below the next paragraph. Step 7: Softening depths & shelves
In a similar fashion the bottom of the pond also needs some softening from protrusions. Even with a robust under-liner installed softening the base of the depths and shelves is always advised. This is best achieved with a 25mm (1 inch) layer of soft builder’s sand. Step 8: Laying your underlay
Lay your underlay to the surface profile of your wildlife pond. Try to push any slack into every bulge and shelf of the pond. Step 9: Laying your liner
Roll out and open up your pond liner fully next to the pond. Then lower the liner gently into the pond, this is best done with two people. Hold the liner at each end and walk it over the centre of the pond. Gently lower the liner into the void and mould it into position. Step 10: Filling your pond
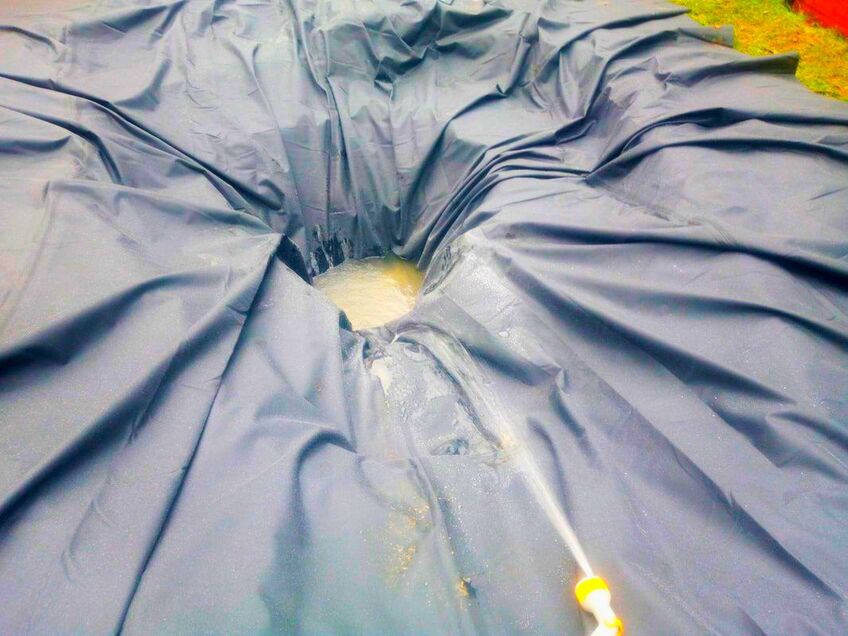
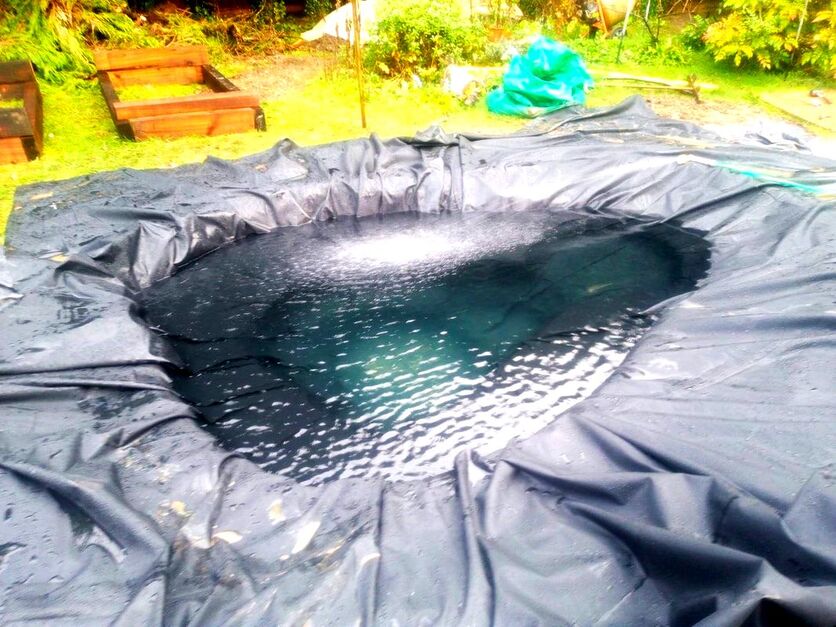
In a perfect world a wildlife pond would be filled with rainwater. However, in most cases this is not realistic so tap water can be used to fill it. Run your hose into the base of the pond and allow it to slowly fill. In a substantially sized pond this can take a while! Let the weight of the water push your liner flat along the ponds profile. Keep running the tap until the water meets the top of the level perimeter. Step 11: Anchoring liner
Cut the excess liner away making sure you have enough excess to fold into the anchor trench. Fold the excess liner into the anchor trench and back fill the trench with consolidated soil. Step 12: Soiling edges
Gently grade soil around the top of the pond where the liner meets the anchor trench. Try to slope and consolidate the topsoil so it looks as natural as possible. Your sides should slope gently enough so soil can be spread under the water line. Step 13: Planting your pondNow that you have created your natural looking wildlife pond you can start to plant it. You can plant native wetland species into the pond itself using perforated baskets and aquatic topsoil. Plants beneficial to wildlife can then be planted around the outside of the pond and watered well. Making your wildlife ponds sides look naturalThe most effective way of making the sides of your pond look natural is with a gradual gradient. By gently sloping your sides up to the waterline soil can grade down into the shallows. It is common for wildlife ponds to be incorrectly built with steep cliffs around the sides. This is not good both visually, or for wildlife. Furthermore exposed plastics and liners can be subject to degradation from sunlight overtime. To get your sides sloping correctly, excavate your pond a little wider than you need by about 200mm.
You then need to create a perfectly level plinth all the way around the pond. I find the best way to do this is with a strong concrete fillet about 100mm thick.
You can then form a gentle slope down from the level fillet with more concrete and a trowel. The liner will fold over the concrete resulting in the water level reaching the top of the concrete. This means when full the water will cover any exposed pond liner.
You can then gently fill soil around your edges to fill around the gentle slope. This is best achieved before the last section of the pond is filled to prevent over silting.
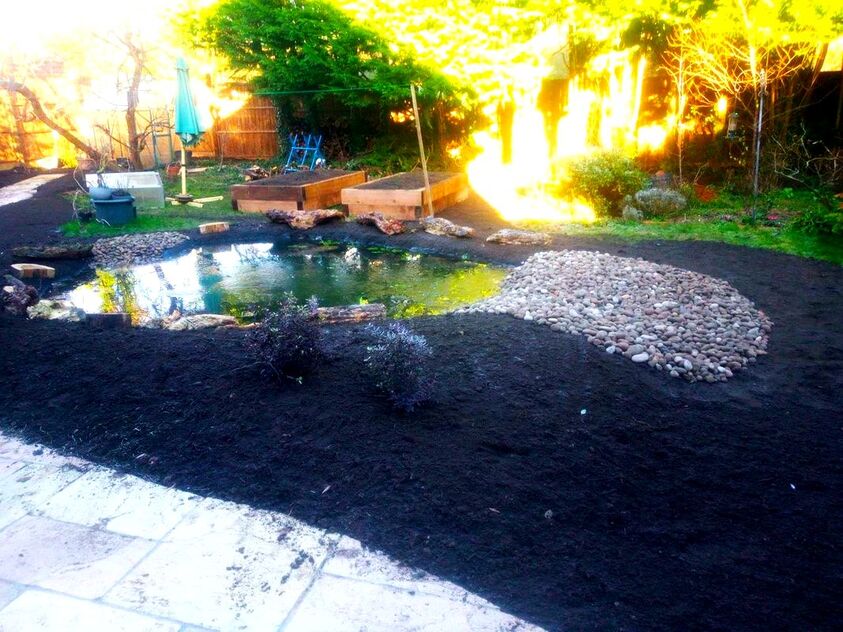
You then have the option to lay turf or even wildflower turf around the ponds edges. This is where you can let your creative juices flow! A ponds edges can be landscaped with rocks, dead wood and planting to make them look more natural! Should you add soil to your pond?
There is some debate about whether or not you should add soil to your new wildlife pond. There is no doubt a little soil initially is fine and actually beneficial to wildlife. However for smaller ponds in particular it is wise to not add too much soil, at least initially. If you put too much soil inside your pond you could find it becomes very overgrown too quickly! In a natural wetland a series of different depths and animal life keep plant communities in check. However, in smaller ponds these can soon take over if they have too much sediment. It is always best to plant up your new pond in planting baskets, at least initially.
This can help contain pond plants without them turning into an overgrown marsh. Your pond will naturally accumulate a soil base from airborne dust, and organic particles.
A little soil submerged around the edges is ok; too much can lead to cloudiness and aggressive plant growth. If you are going to add soil to your pond add nutrient poor soil such asaquatic compost. Using fertile garden soil or compost will lead to excessive algae, minimal oxygen and stagnancy. The larger your pond is the more acceptable it is to add some loose soil to its depths. My advice would be, start small and plant in baskets first. It is very hard to remove soil and robust root masses once they are established. Create a gravel beach
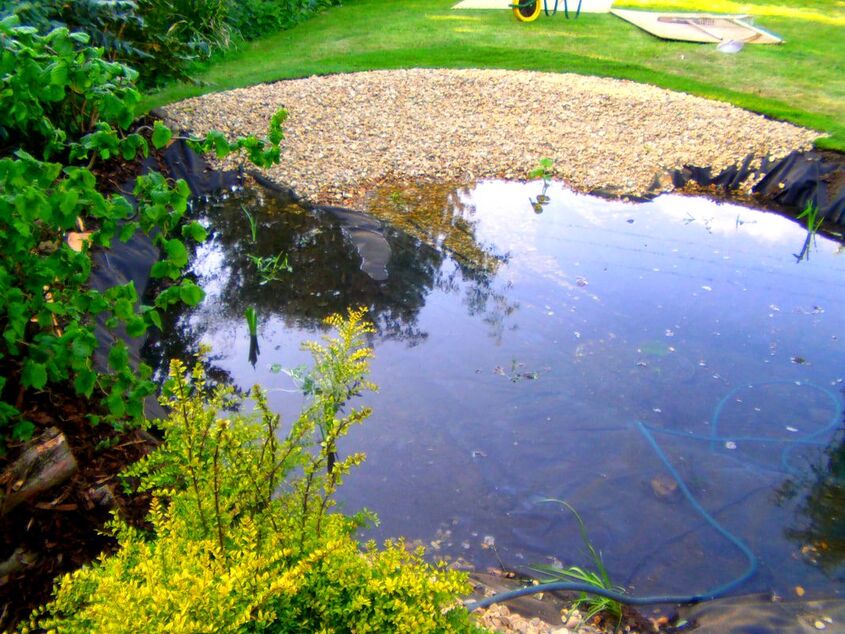
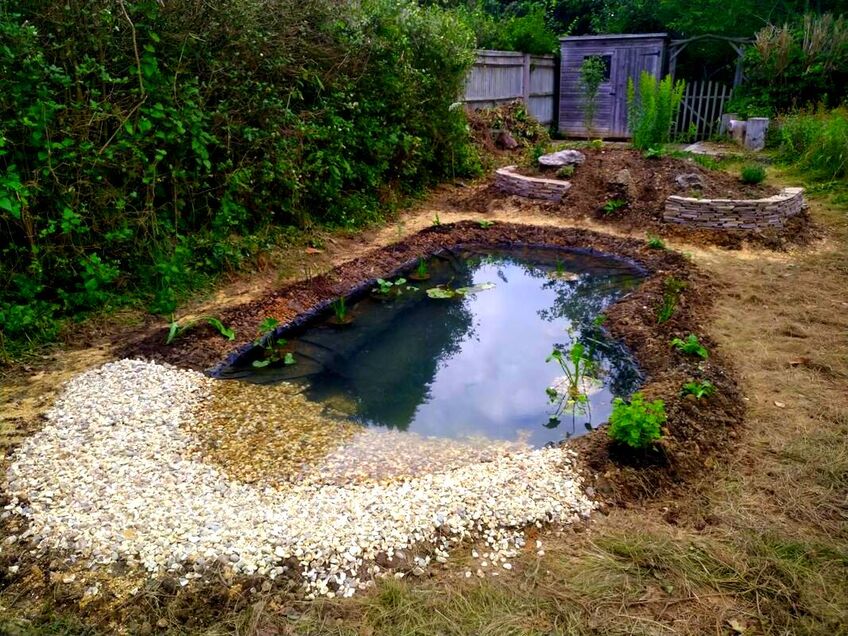
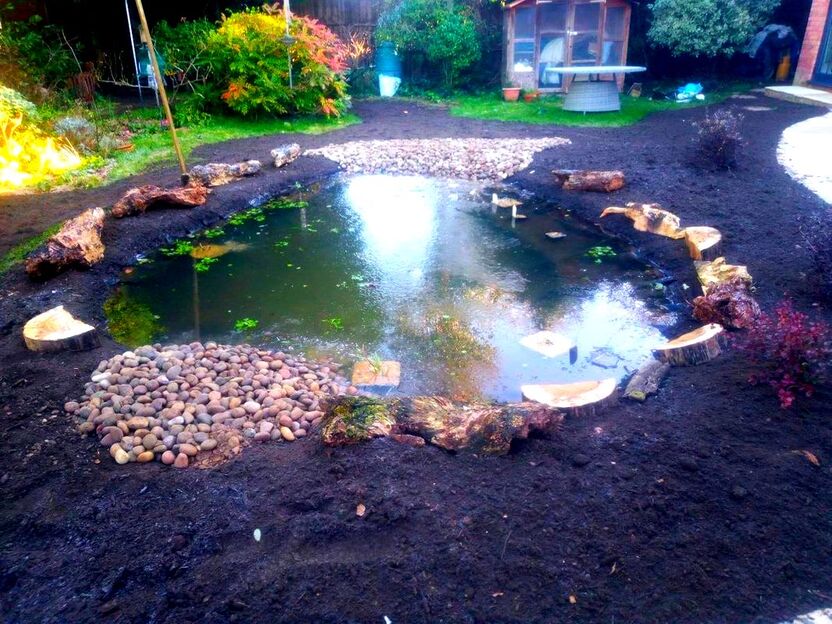
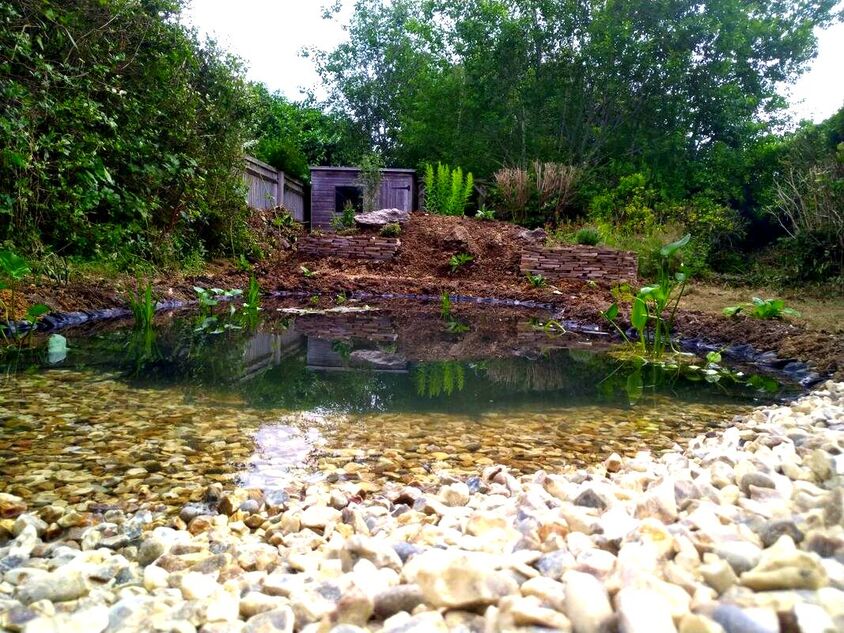
Having gentle sloping shallows in your pond can provide an opportunity for a gravel beach. This is where you lay pebbles into the shallows that emerge onto a pebble beach. Pebbles can be based with landscape fabric to create a plant free zone at one end. This can become an attractive feature which allows for clear views over the pond. The gaps within the pebbles create the perfect hiding places for aquatic insects and tadpoles. Below is an image of such a pebble we created in our last wildlife garden pond project. Planting in your wildlife pond
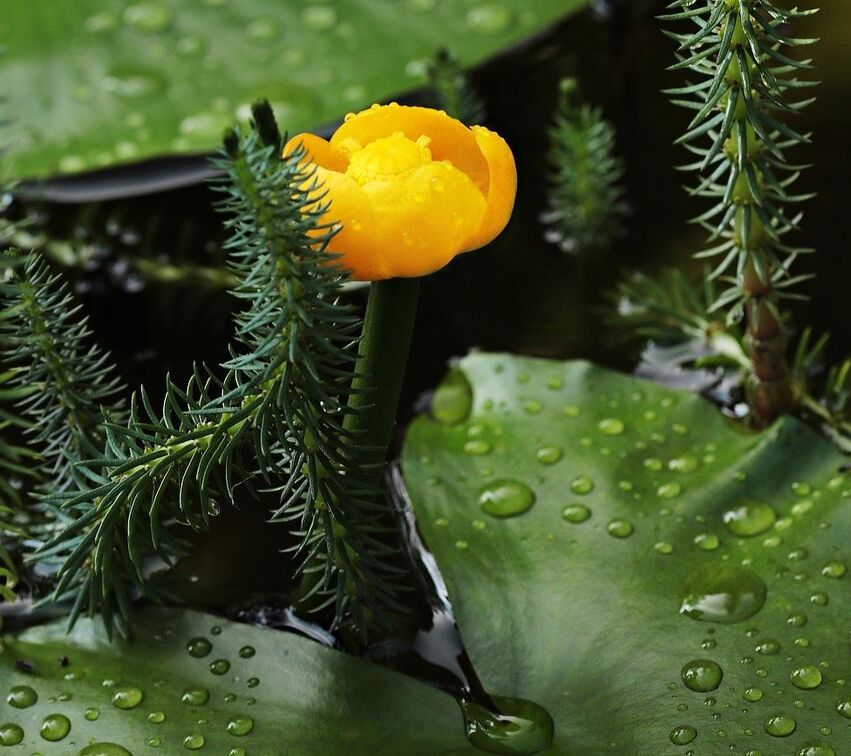
Some of the first plants you should establish in your pond are oxygenators. These are normally long and thin pond plants like ‘HornWort’. These can be anchored to the bottom of your pond to root within the sediment. The best way to do this is by tying the base of the plants to small stones. This helps them to anchor them to the bottom securely while they root. These plants will gradually begin to release oxygen into the water as they photosynthesise. The next stage is to plant some larger plants into your wildlife garden. Pond plants are typically characterised by their growing level in relation to waterline.
Marginal plants inhabit a ponds edge while submerged plants grow under the surface. A good range of diversity is always advised when planting a wildlife pond.
For maximum wildlife benefit try to stick to pond plants native to your country or region. I typically plant one water Lilly and many marginal’s to the shallows. This provides plenty of security to creatures leaving and entering the pond. Pond plants are naturally very aggressive growers so it is best to plant in perforated baskets. Make sure you use nutrient poor soil so your pond isn’t susceptible to algae blooms. Planting around your pond
When planting a wildlife pond the planting around the waters edge is just as important as the plants inside. Dense vegetation around the pond will provide plenty of security for wildlife. Groundcover plants are a really great choice as they provide dense vegetation without blocking out light.
A wildflower meadow leading up to the ponds edge is very effective for making a pond look natural.
Native plants or ecological planting which attracts beneficial insects are also a good idea! For a sunny pond flowering herbs such as fennel, rosemary, thyme and mint are great for pollinators. For frogs and newts plant large leaved plants like Bergenia and Rhubarb to provide damp shade. Creating shelter around your pond
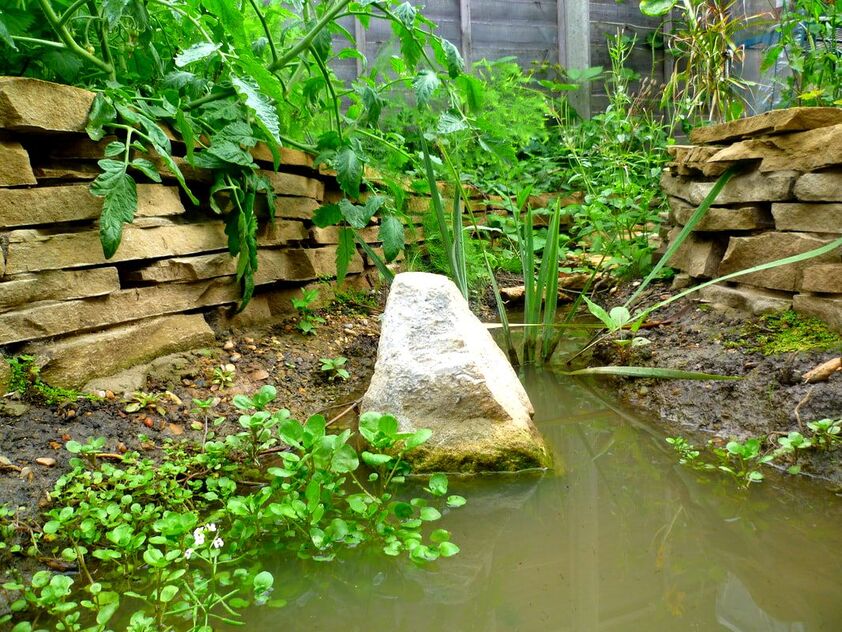
Another great way to make your pond attractive to wildlife is to create shelter. This can be as simple as some log piles or even manmade burrows. Dry stone wall structures are really effective for creating hiding places for small creatures. Newts particularly like to shelter in the warm and damp crevices inside the wall. Hibernacula’s can also be put together in-between planted areas. These are simply masses of vegetation, sticks, old masonry and soil which create nesting opportunities for small creatures. Wildlife pond maintenance
During warm weather you may find that pond weed can become quite overgrown. This can be removed by wrapping it around a stick and pulling it out of the pond. After a few years you may notice that pond plants will become overgrown. It is always good to clear out excess vegetation when it gets too extensive! As a general rule you will want a decent amount of visible open water. This will enable sunlight to penetrate the depths and keep oxygenators active. Every few years get into the pond and reduce the size of plants. Try not to use sharp tools and risk puncturing the liner.
Thank you for reading our article on how to make a wildlife pond.
If you require wildlife pond design and build services please do not hesitate to contact me. We cover most of Buckinghamshire and surrounding counties, we now also cover Norfolk. Although most of our wildlife pond projects are undertaken locally around the towns of; Aylesbury, Amersham, High Wycombe, Beaconsfield, Berkhamsted and Chesham. Below I will link to some other articles you may find useful.
'As an Amazon Associate I earn from qualifying purchases'
0 Comments
Leave a Reply. |
The Author
|
Landscaping services across Buckinghamshire, Amersham, Aylesbury & High Wycombe
Hyde Heath, Amersham, Buckinghamshire |
|
